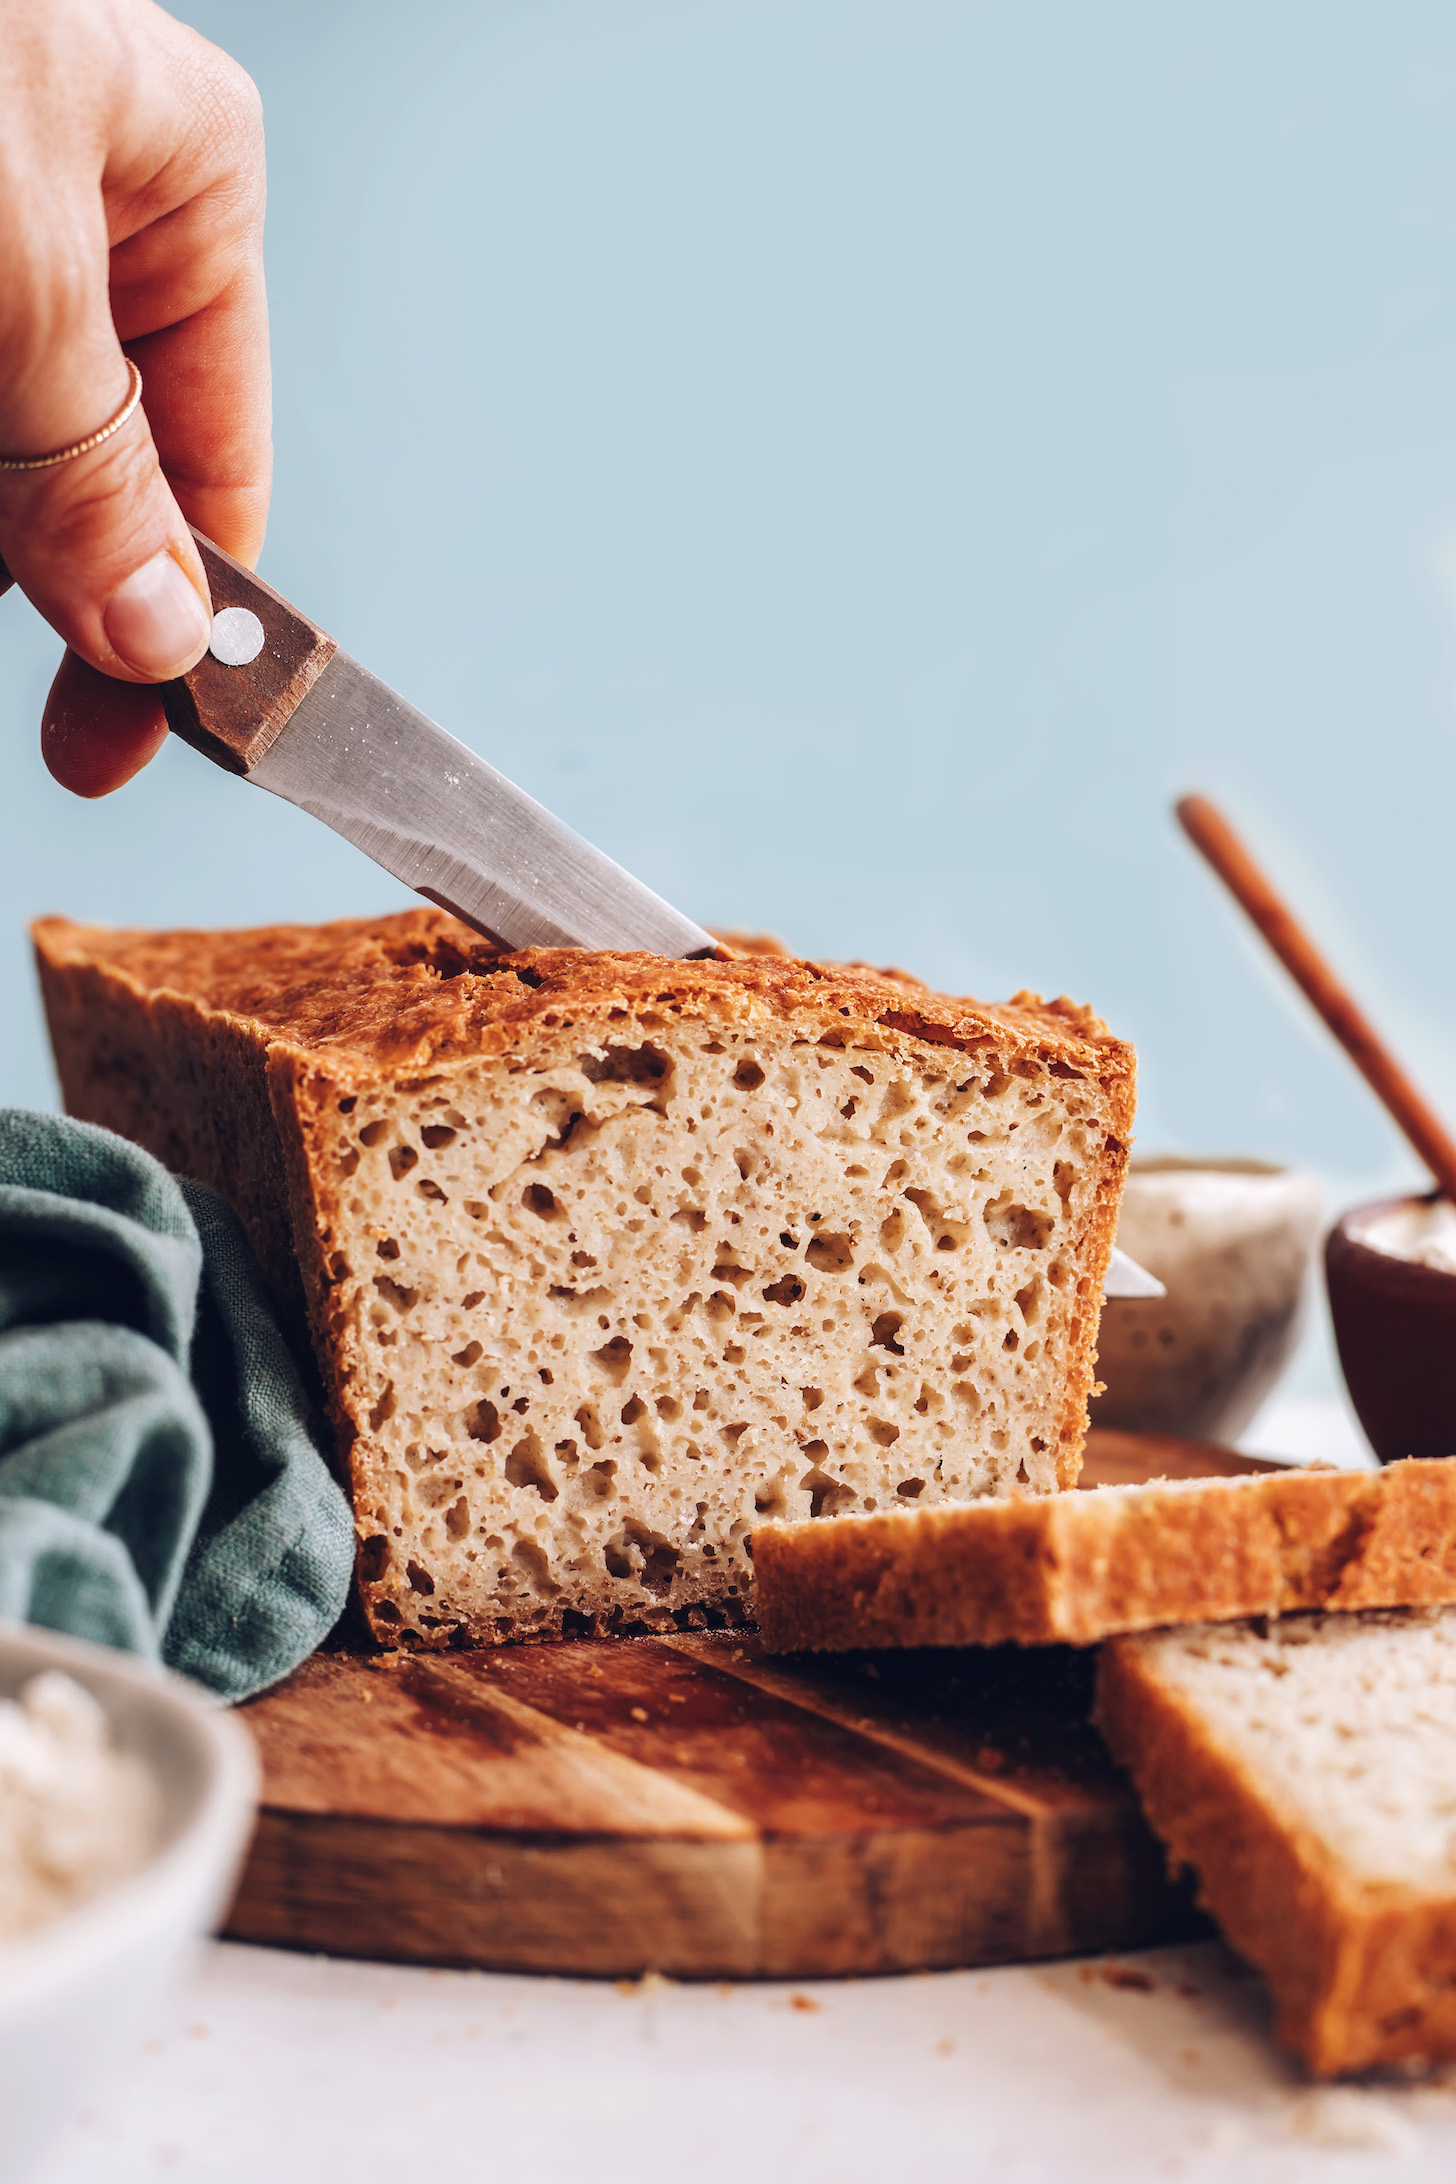
We aren’t kidding when we say this is the BEST gluten-free bread — it really is! It’s crusty on the outside, soft on the inside, fluffy, flavorful, and amazingly versatile. Not only that, but it’s also vegan and there’s no kneading required! Whoa! Isn’t that the BEST!?
We (of course) encourage you to make all your sandwich dreams come true with this bread, but you can also toast it up for breakfast or use it to make French toast, garlic bread, bread pudding, croutons, and beyond! The sky’s the limit and this bread will take you there! Plus, just 9 ingredients (pantry staples!) and minimal hands-on time required. Let us show you how it’s done!
How to Make Gluten-Free Bread
If you think making gluten-free bread sounds difficult, it’s time to kick that idea to the curb! When it comes to making bread at home, we’re into the dump, mix, rise, and bake style (a.k.a. super easy!).
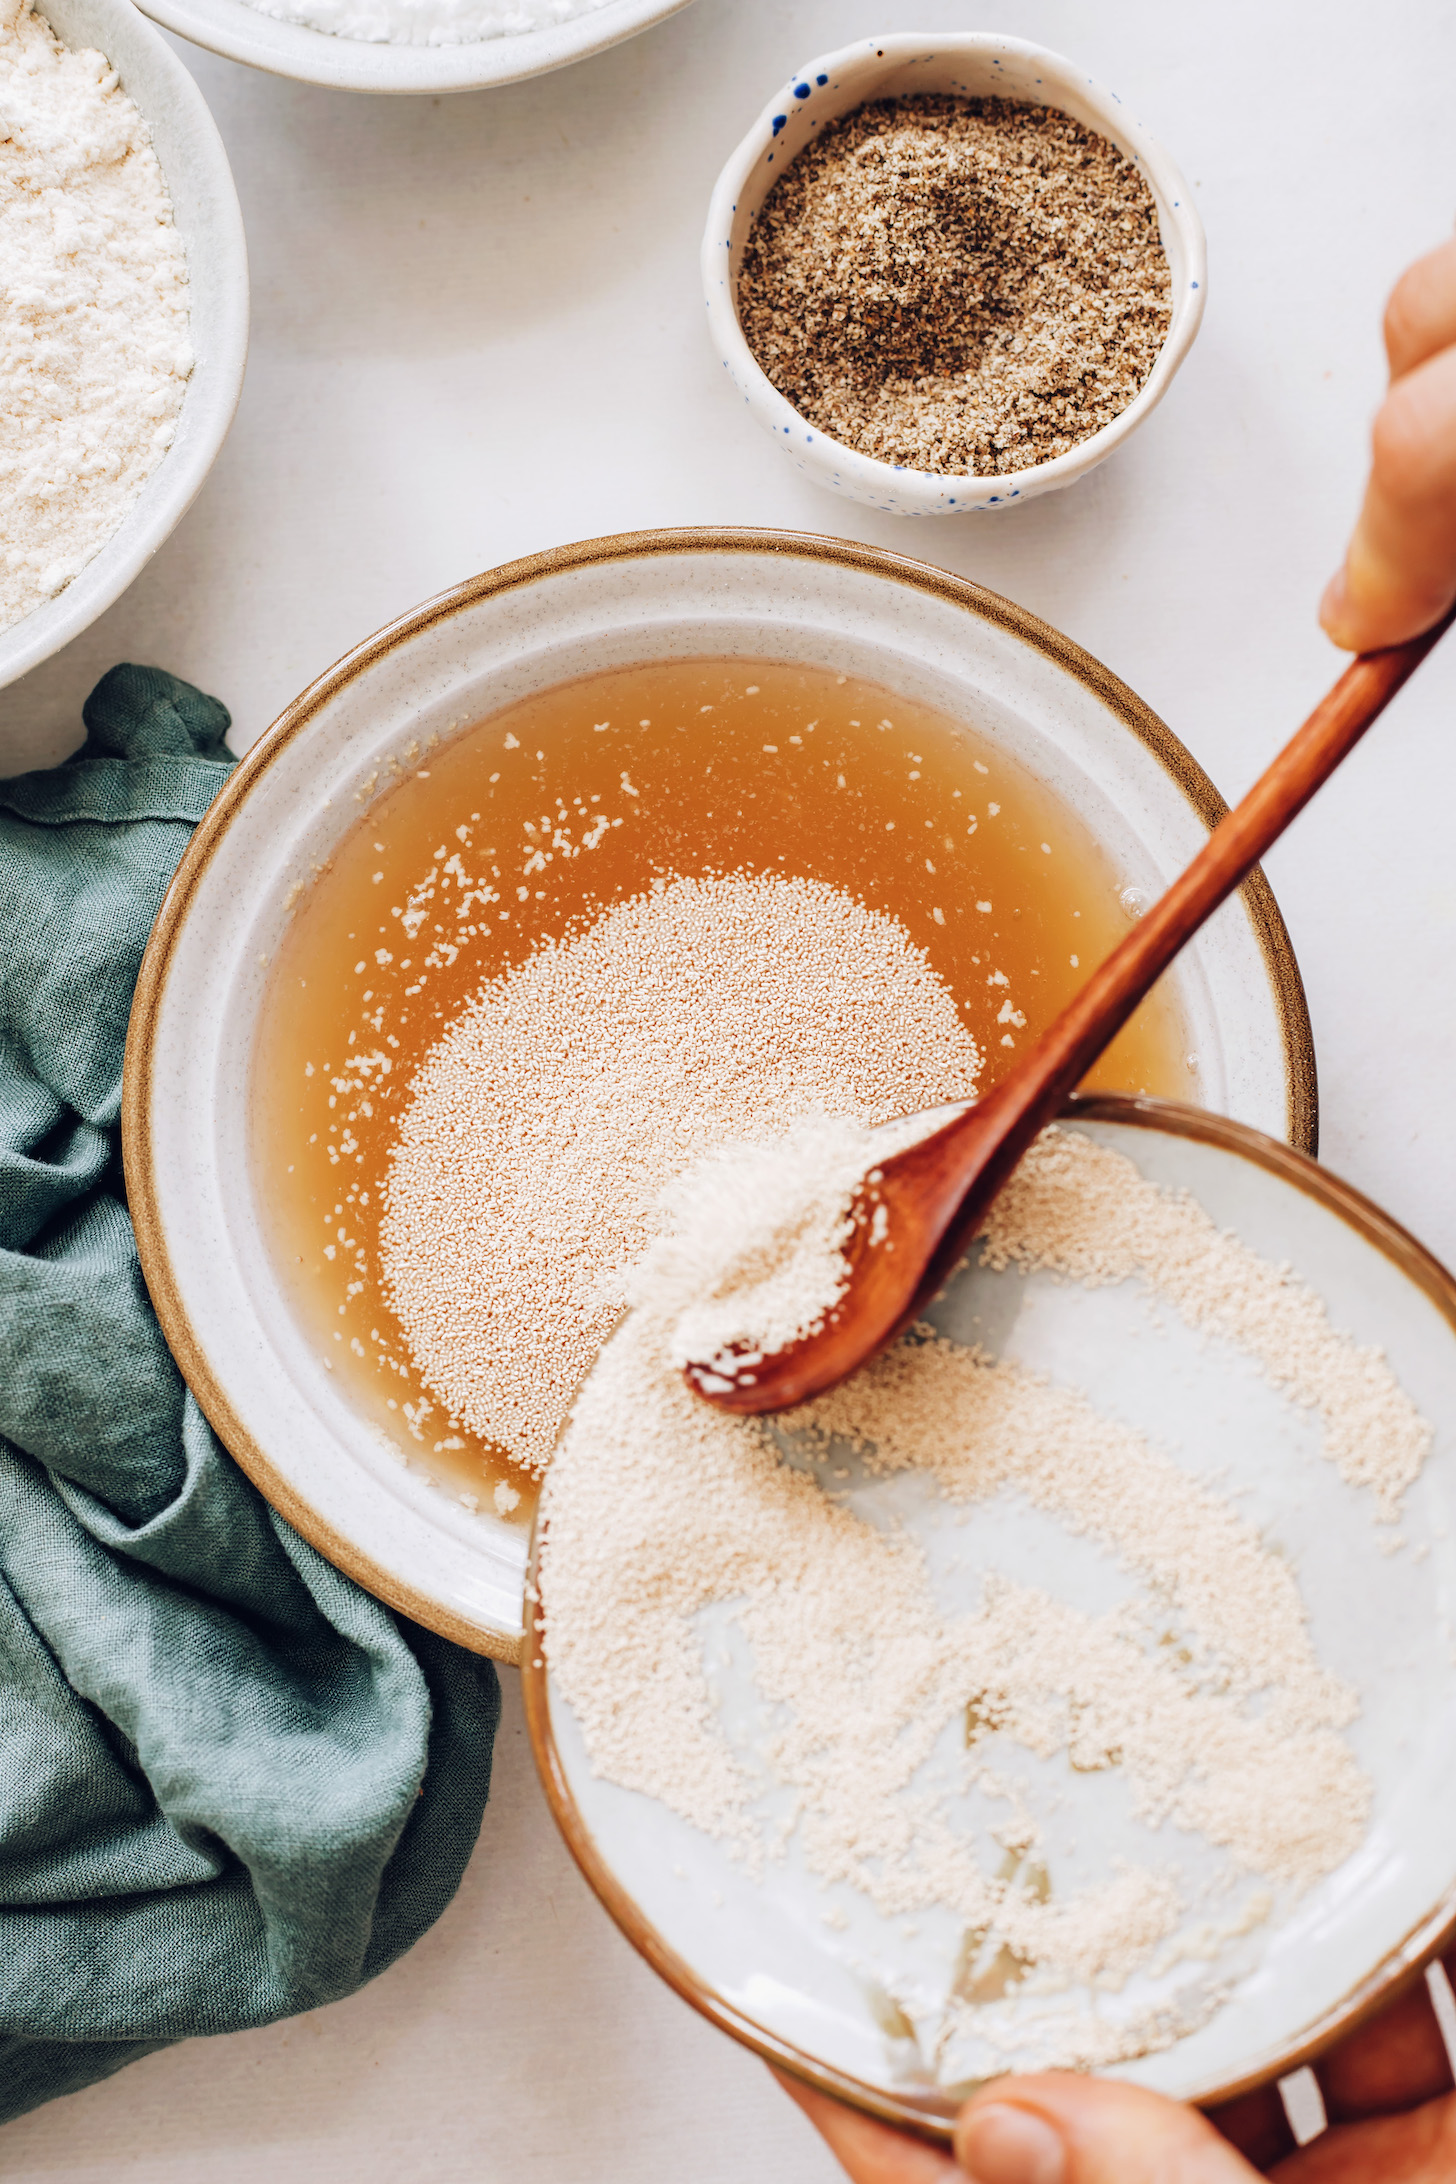
This beginner-friendly bread starts with a packet of yeast to make it rise and give it those lovely air pockets. If you’ve never used yeast, don’t worry — it’s easier than you think. Just make sure the water is the right temperature (100 – 110 F / 38-43 C) and be sure to include the sugar, which is essential because it feeds the yeast.
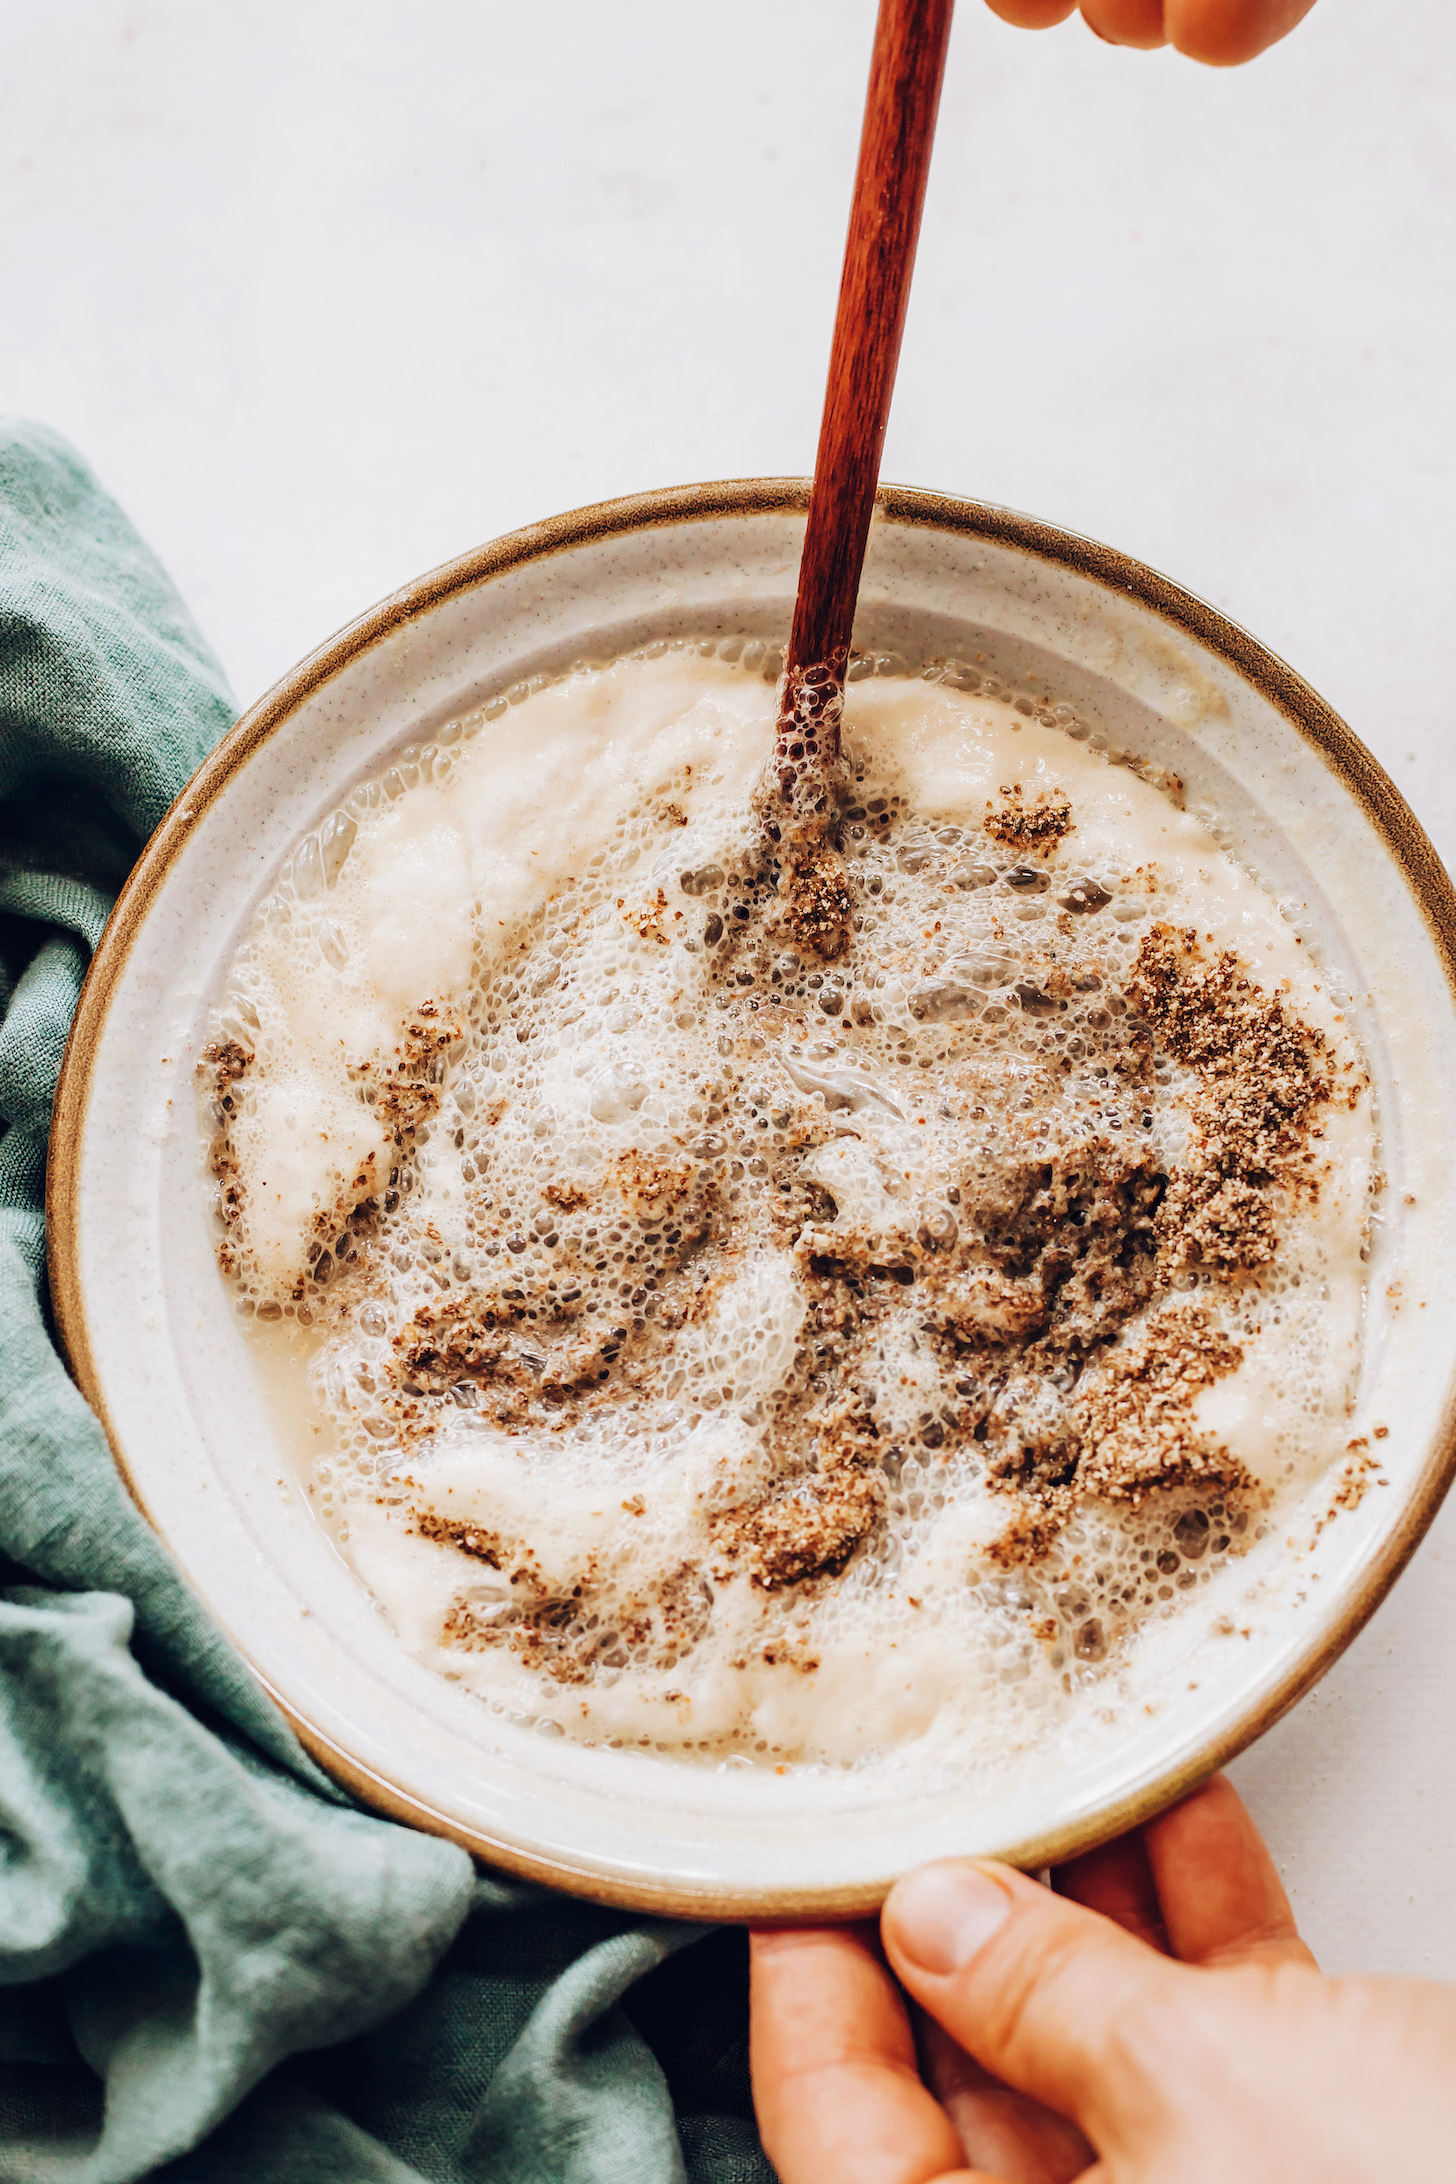
You’ll know it worked if the mixture gets frothy like the photo below. When it’s frothy, we add ground chia seeds as the egg replacement, keeping this recipe friendly for our vegan and egg-free friends. Did we mention it’s also nut-free?
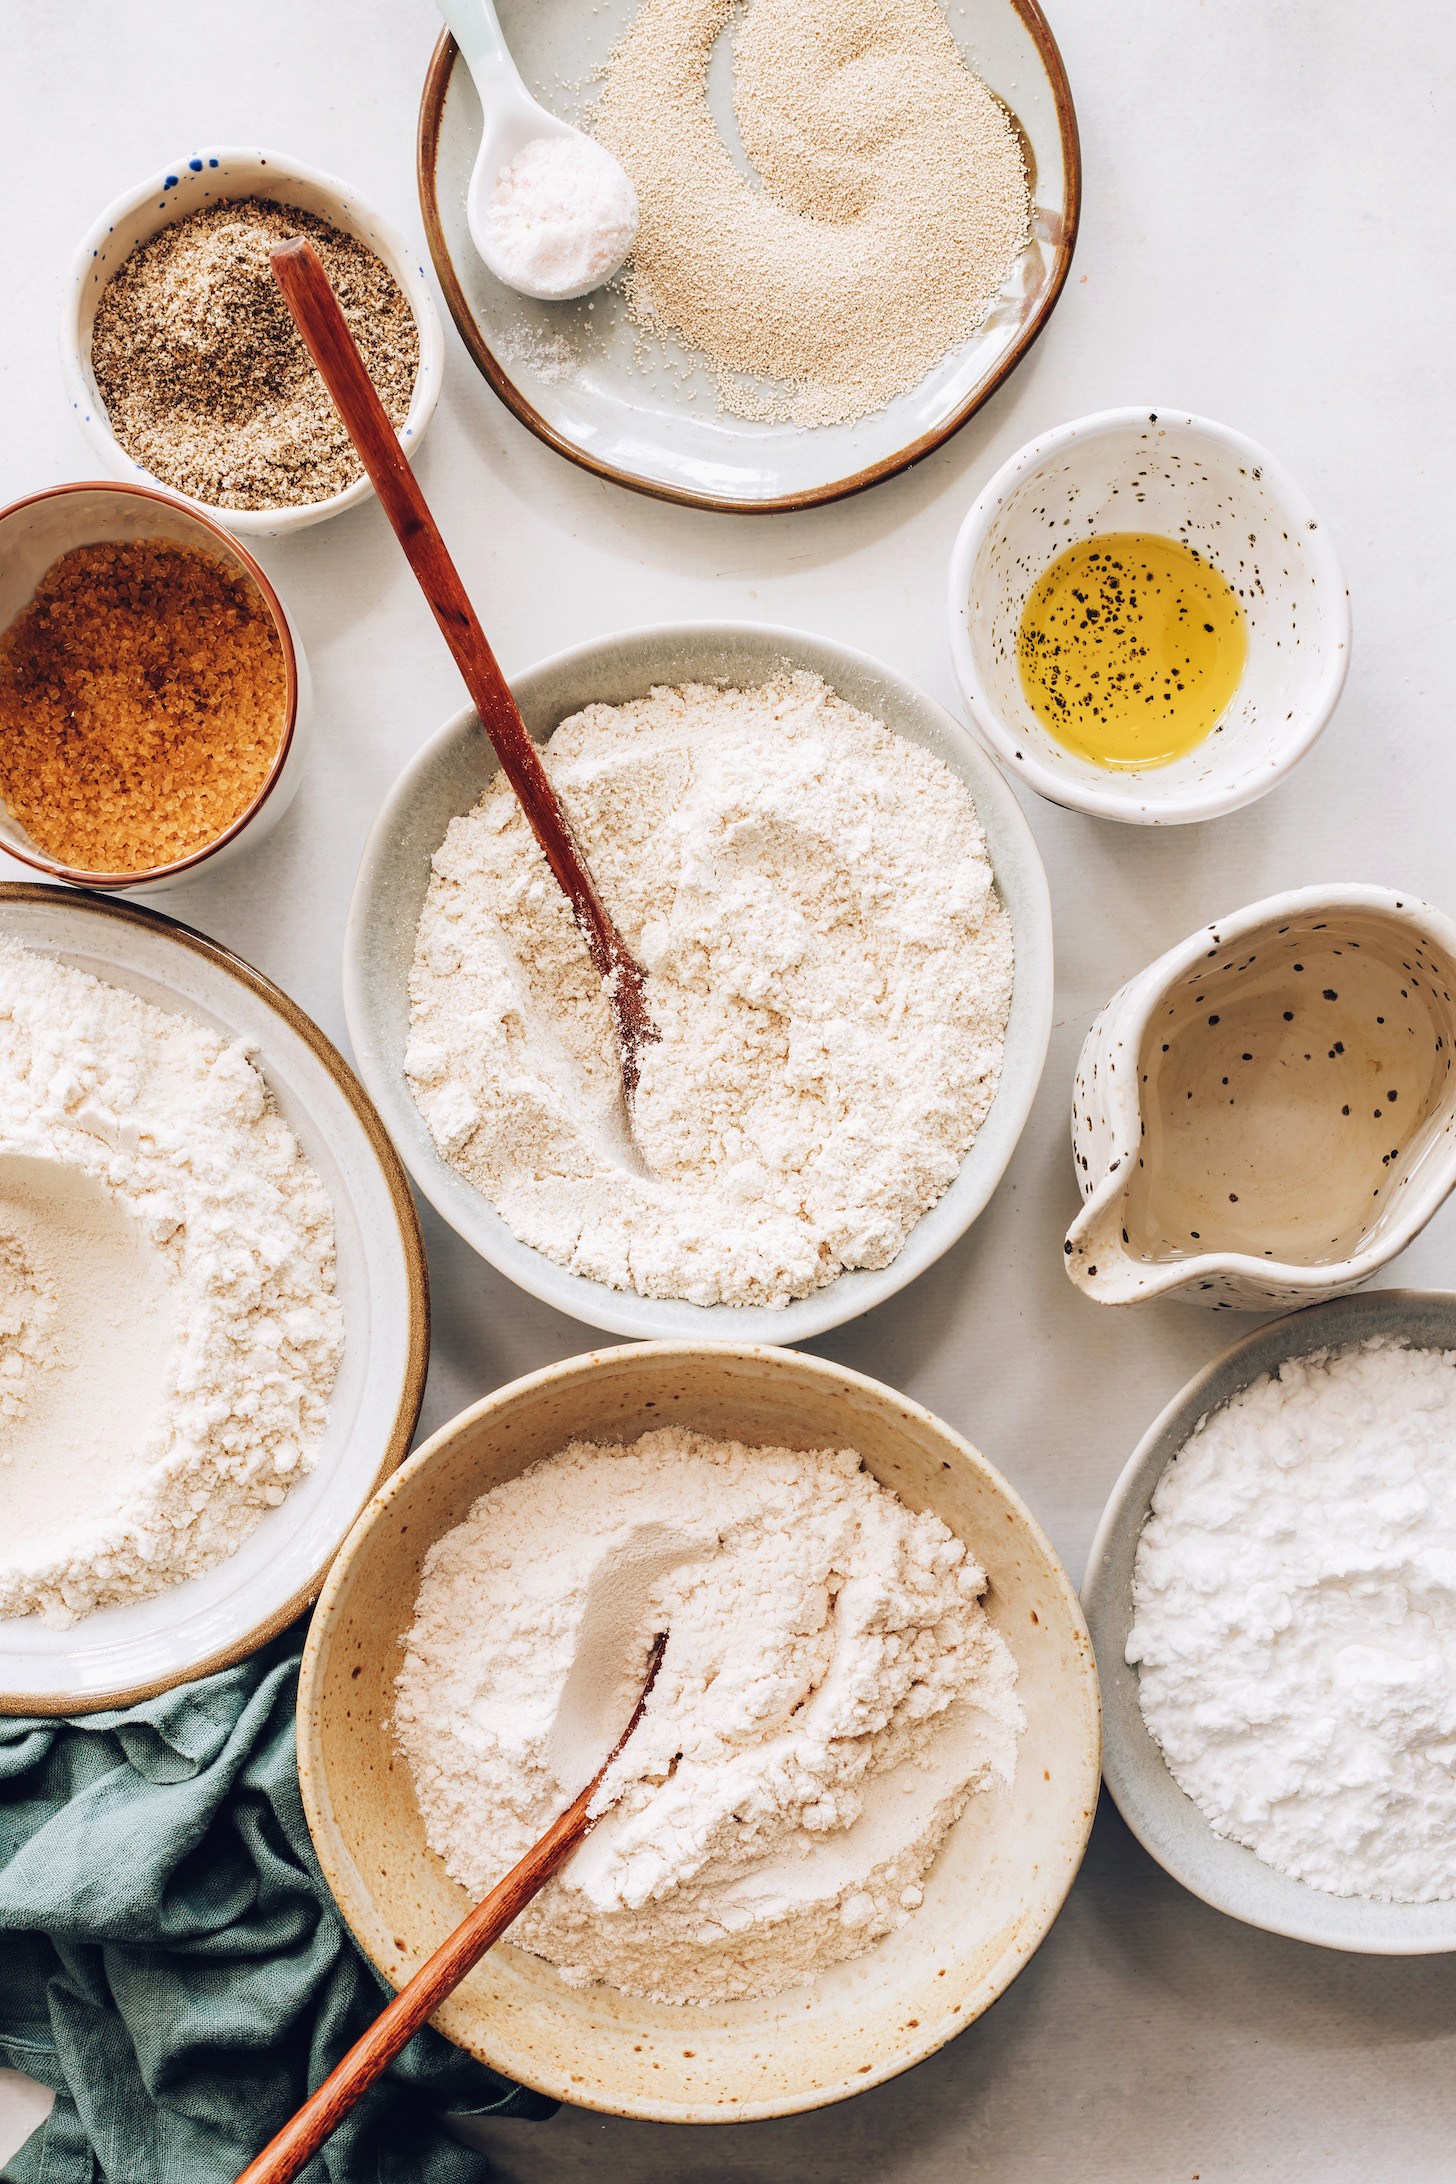
Next up: the gluten-free flours. The magic combo for this recipe is brown rice flour, oat flour, potato starch, and sorghum flour. While the whole grain flours add structure and wholesomeness, the potato starch is key for keeping it light (vs. dense). The final dry ingredient is salt for added flavor!
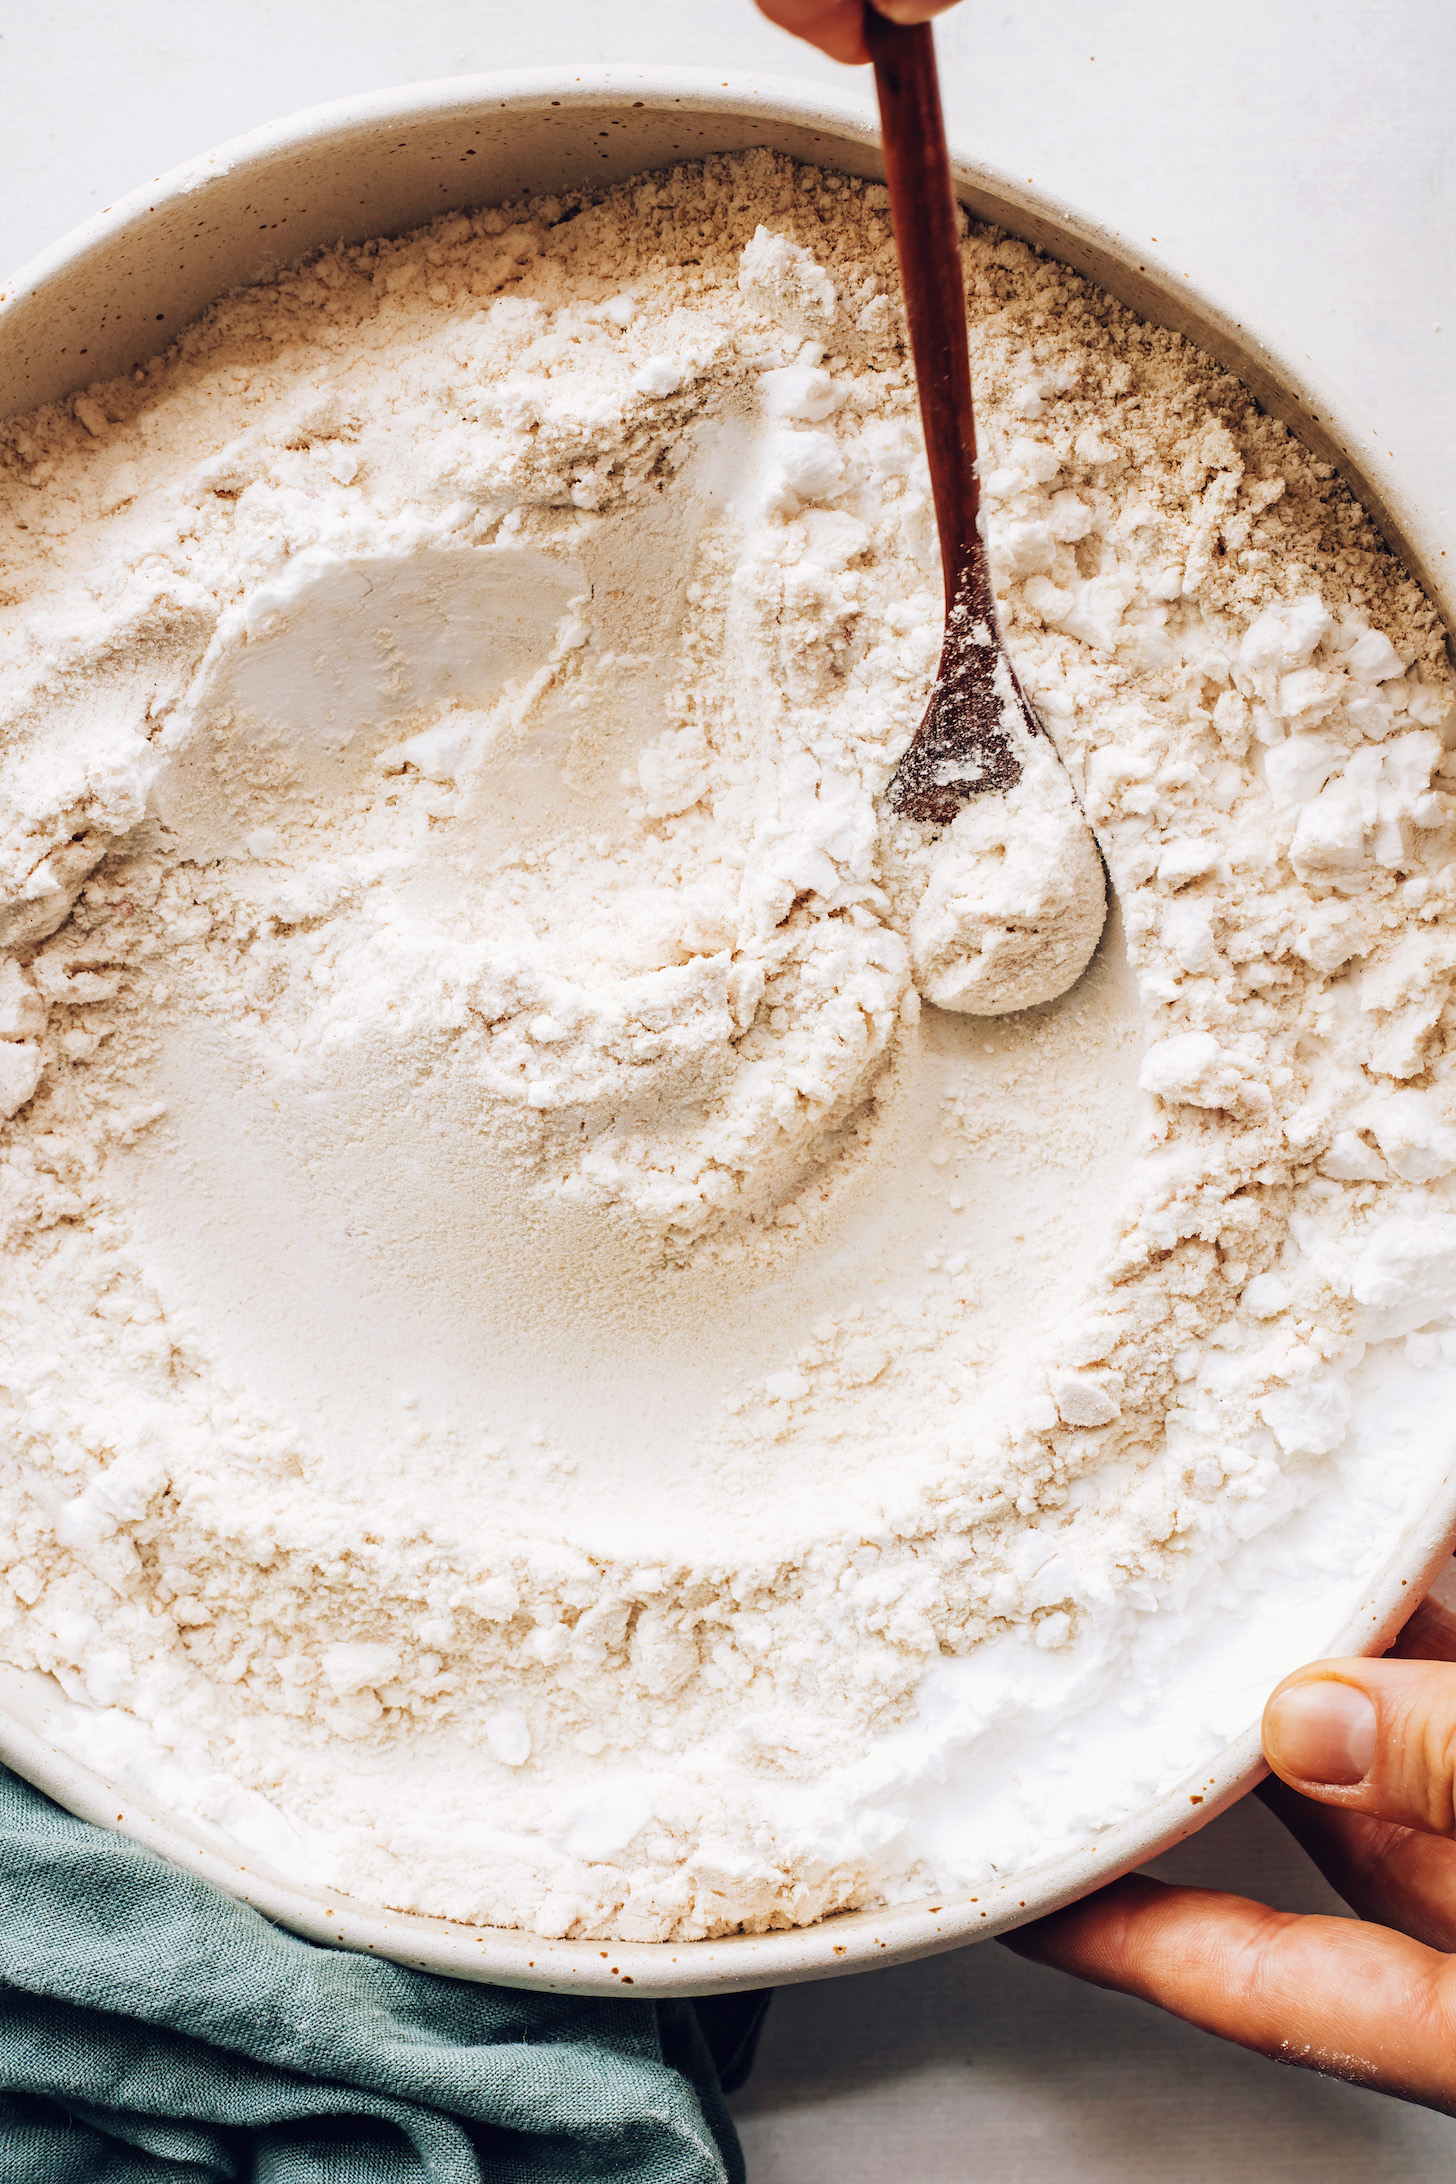
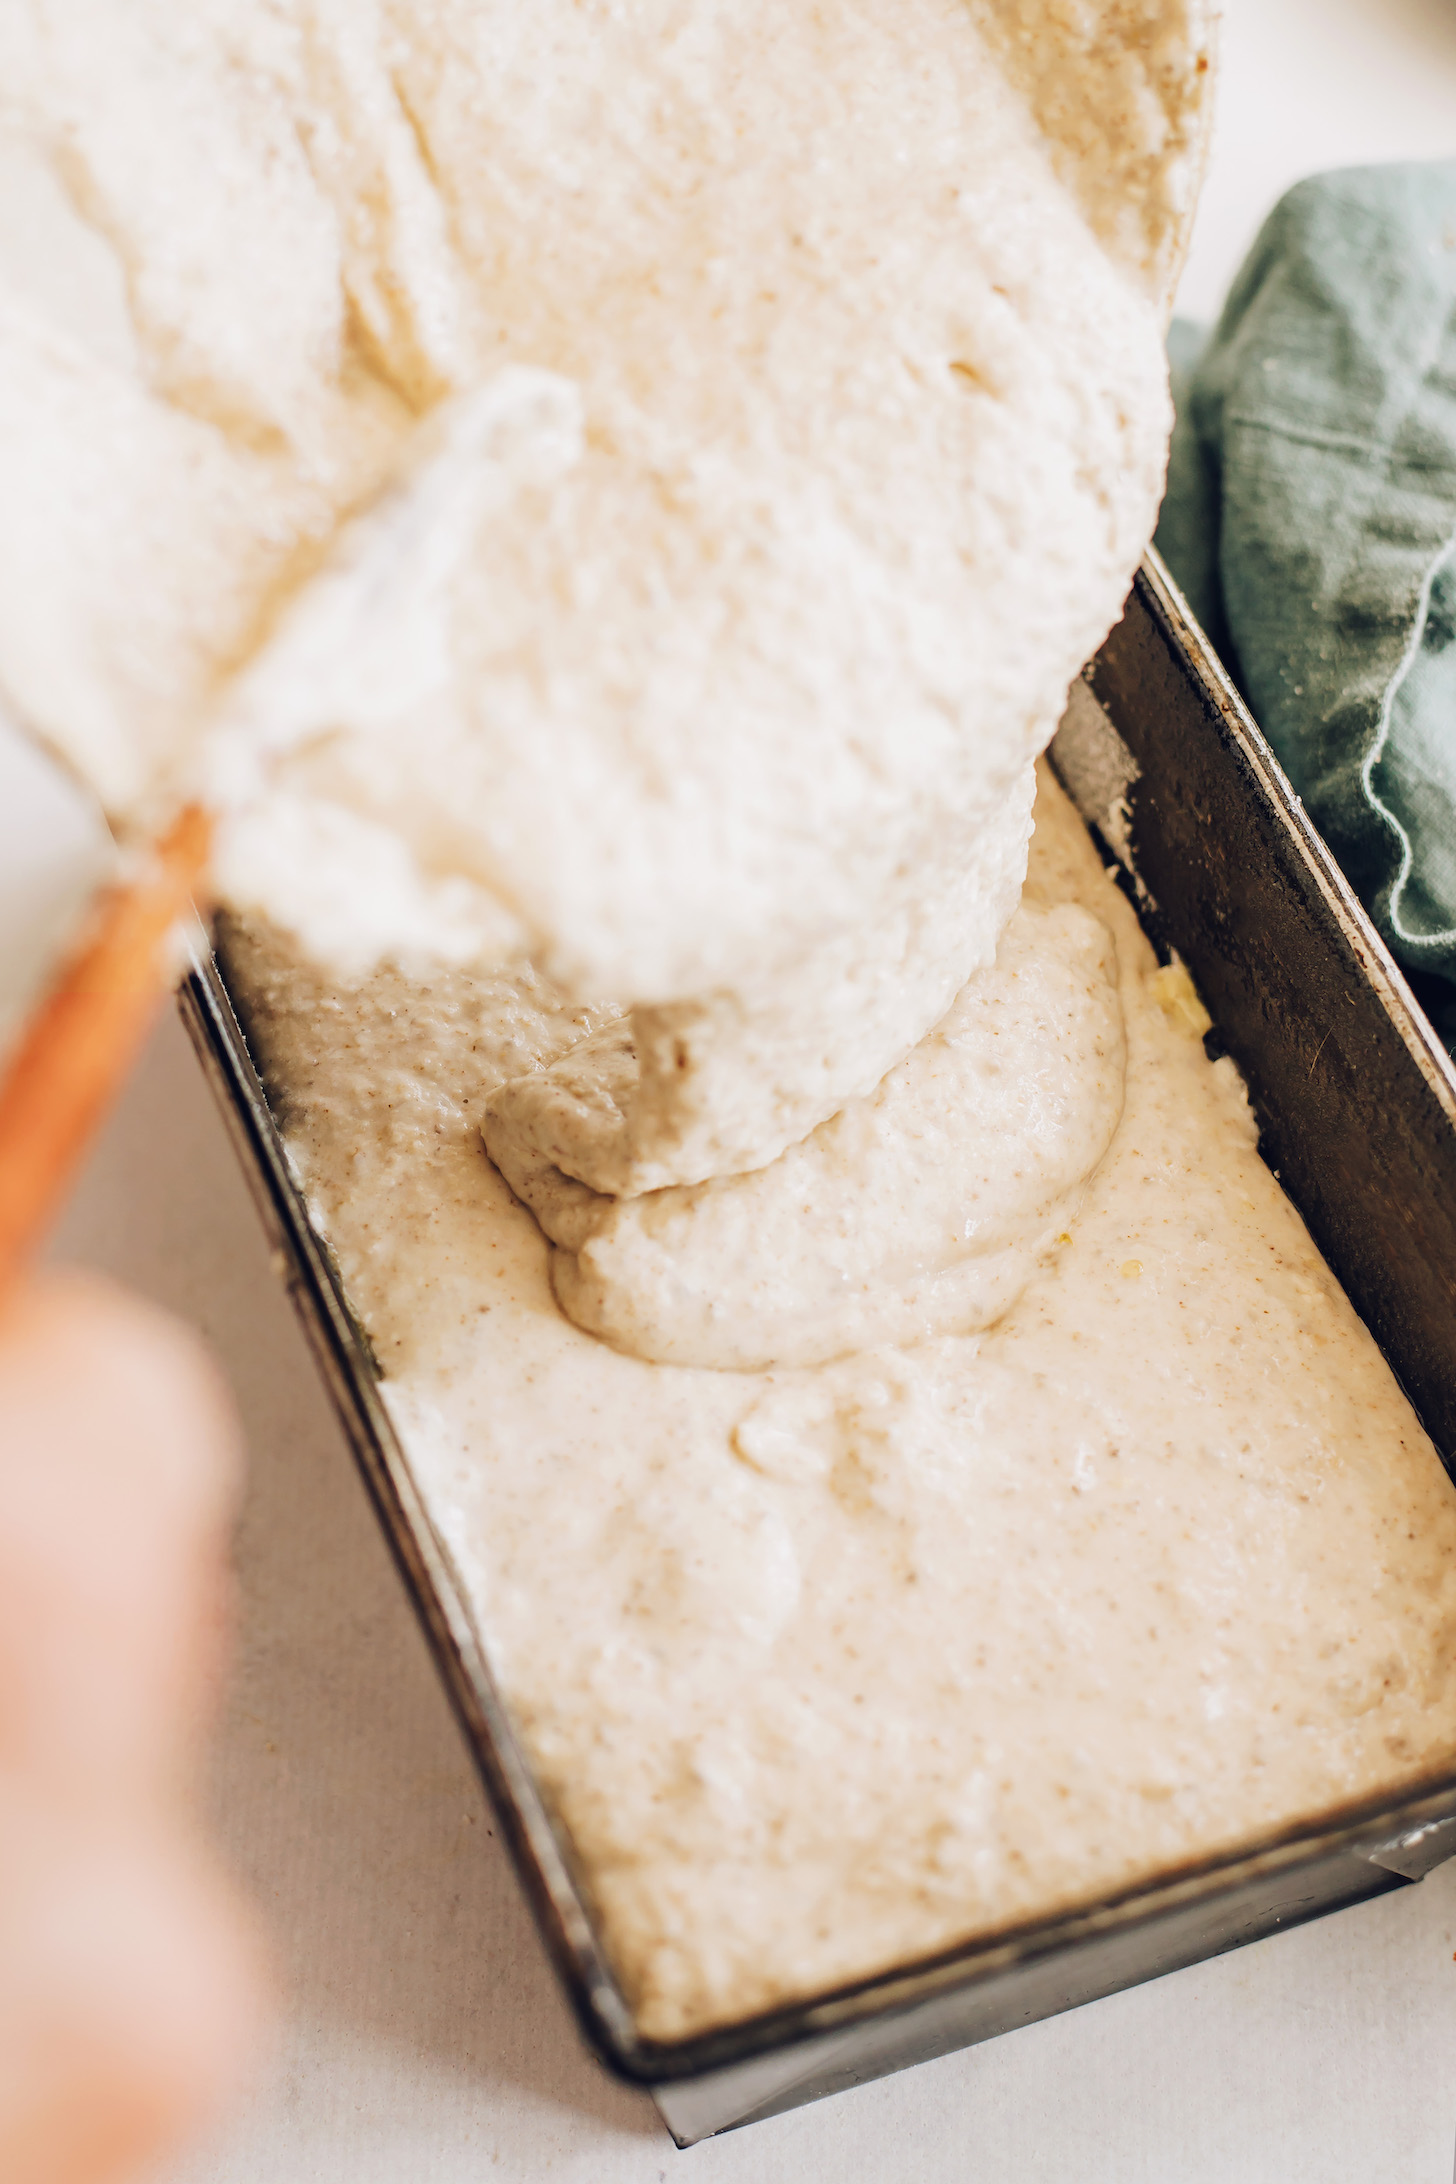
When the wet and dry ingredients combine, the most lovely, pourable batter forms and is ready for adding to a loaf pan.
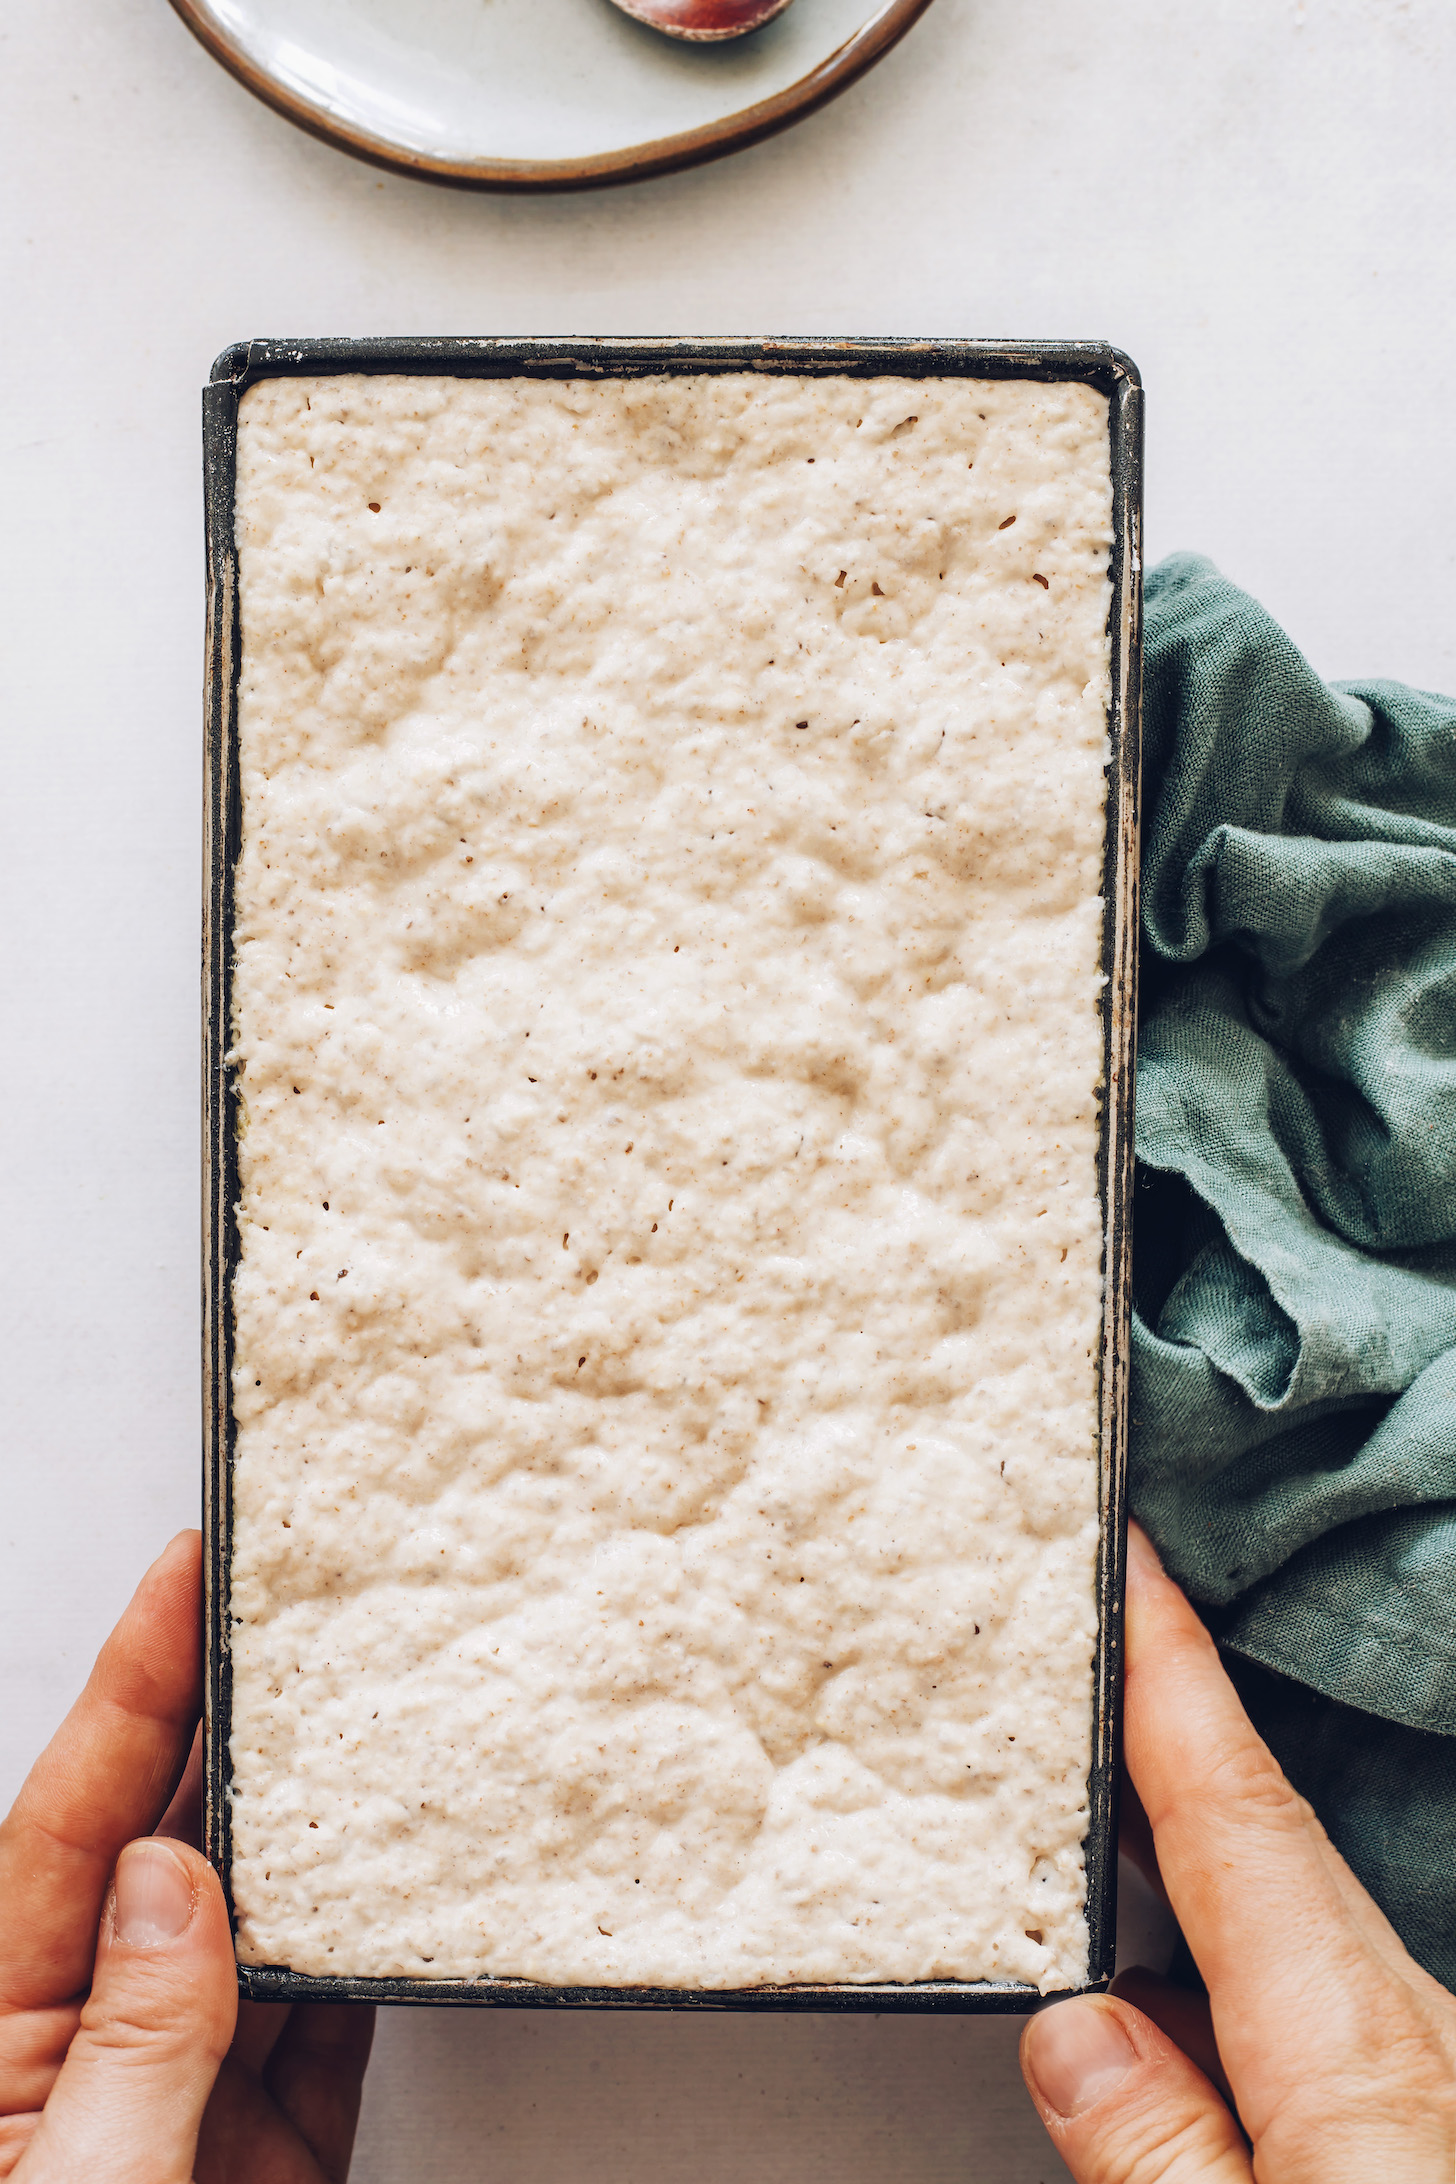
After a quick hour (got laundry, anyone?) in a warm spot, the batter doubles in size and is ready to go in the oven.
It starts at a higher temperature to develop a golden-brown crust, then we drop the heat to let it cook fully on the inside without burning.
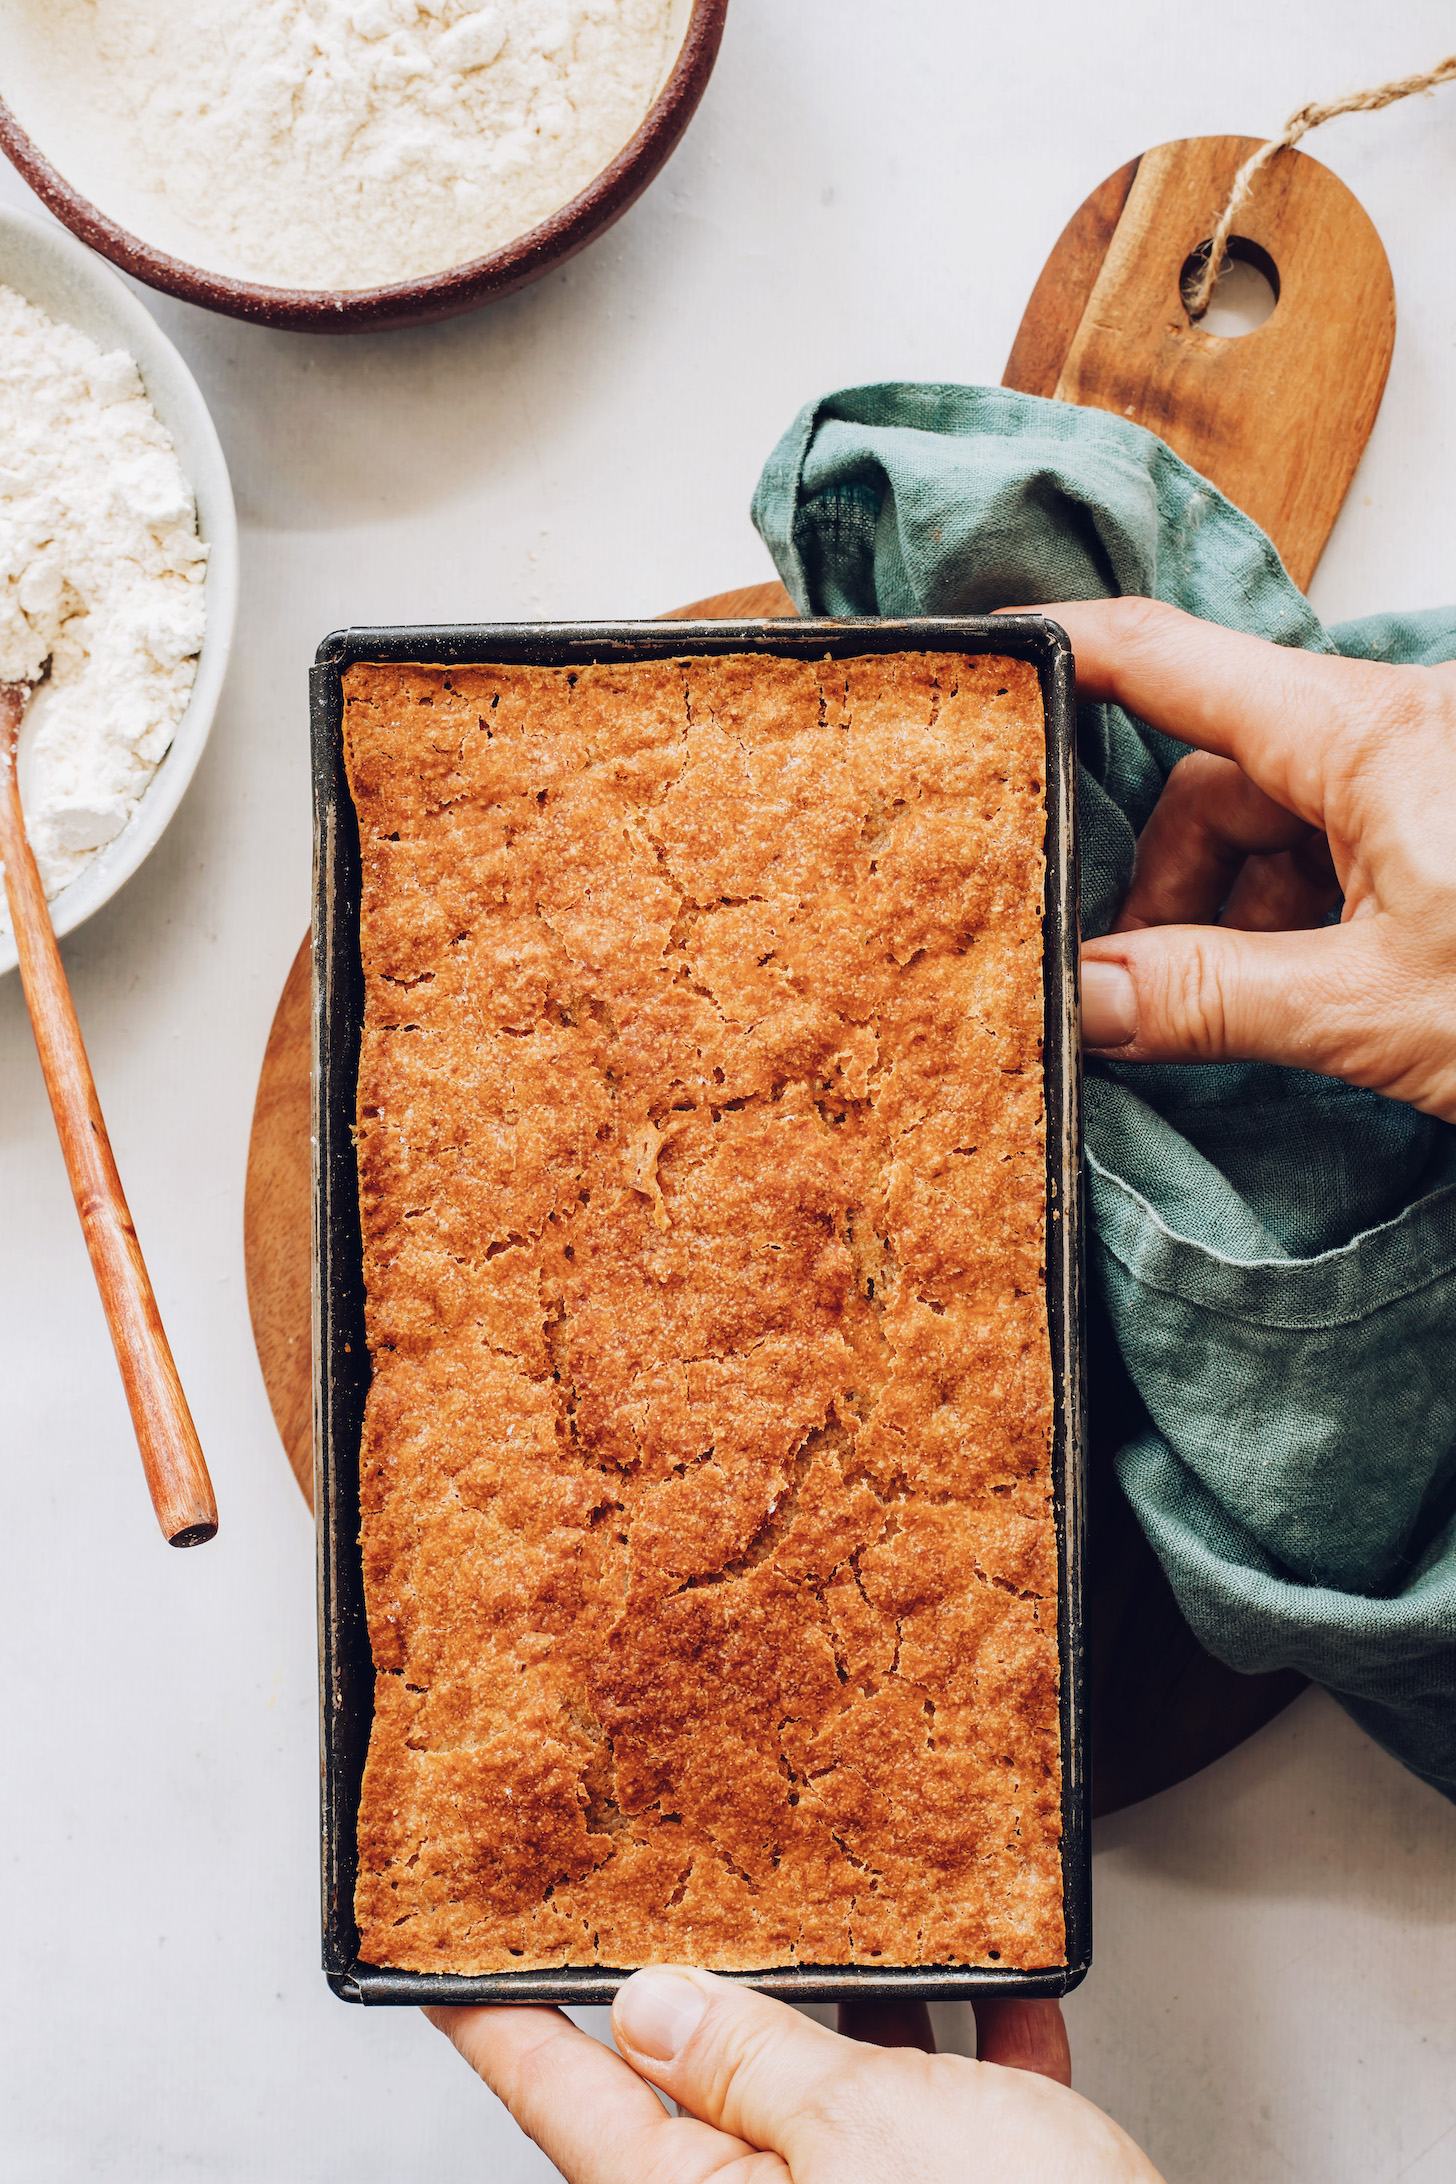
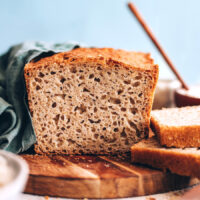
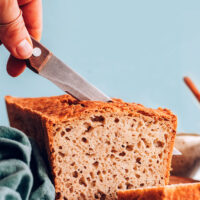
Just look at that golden-brown beauty!
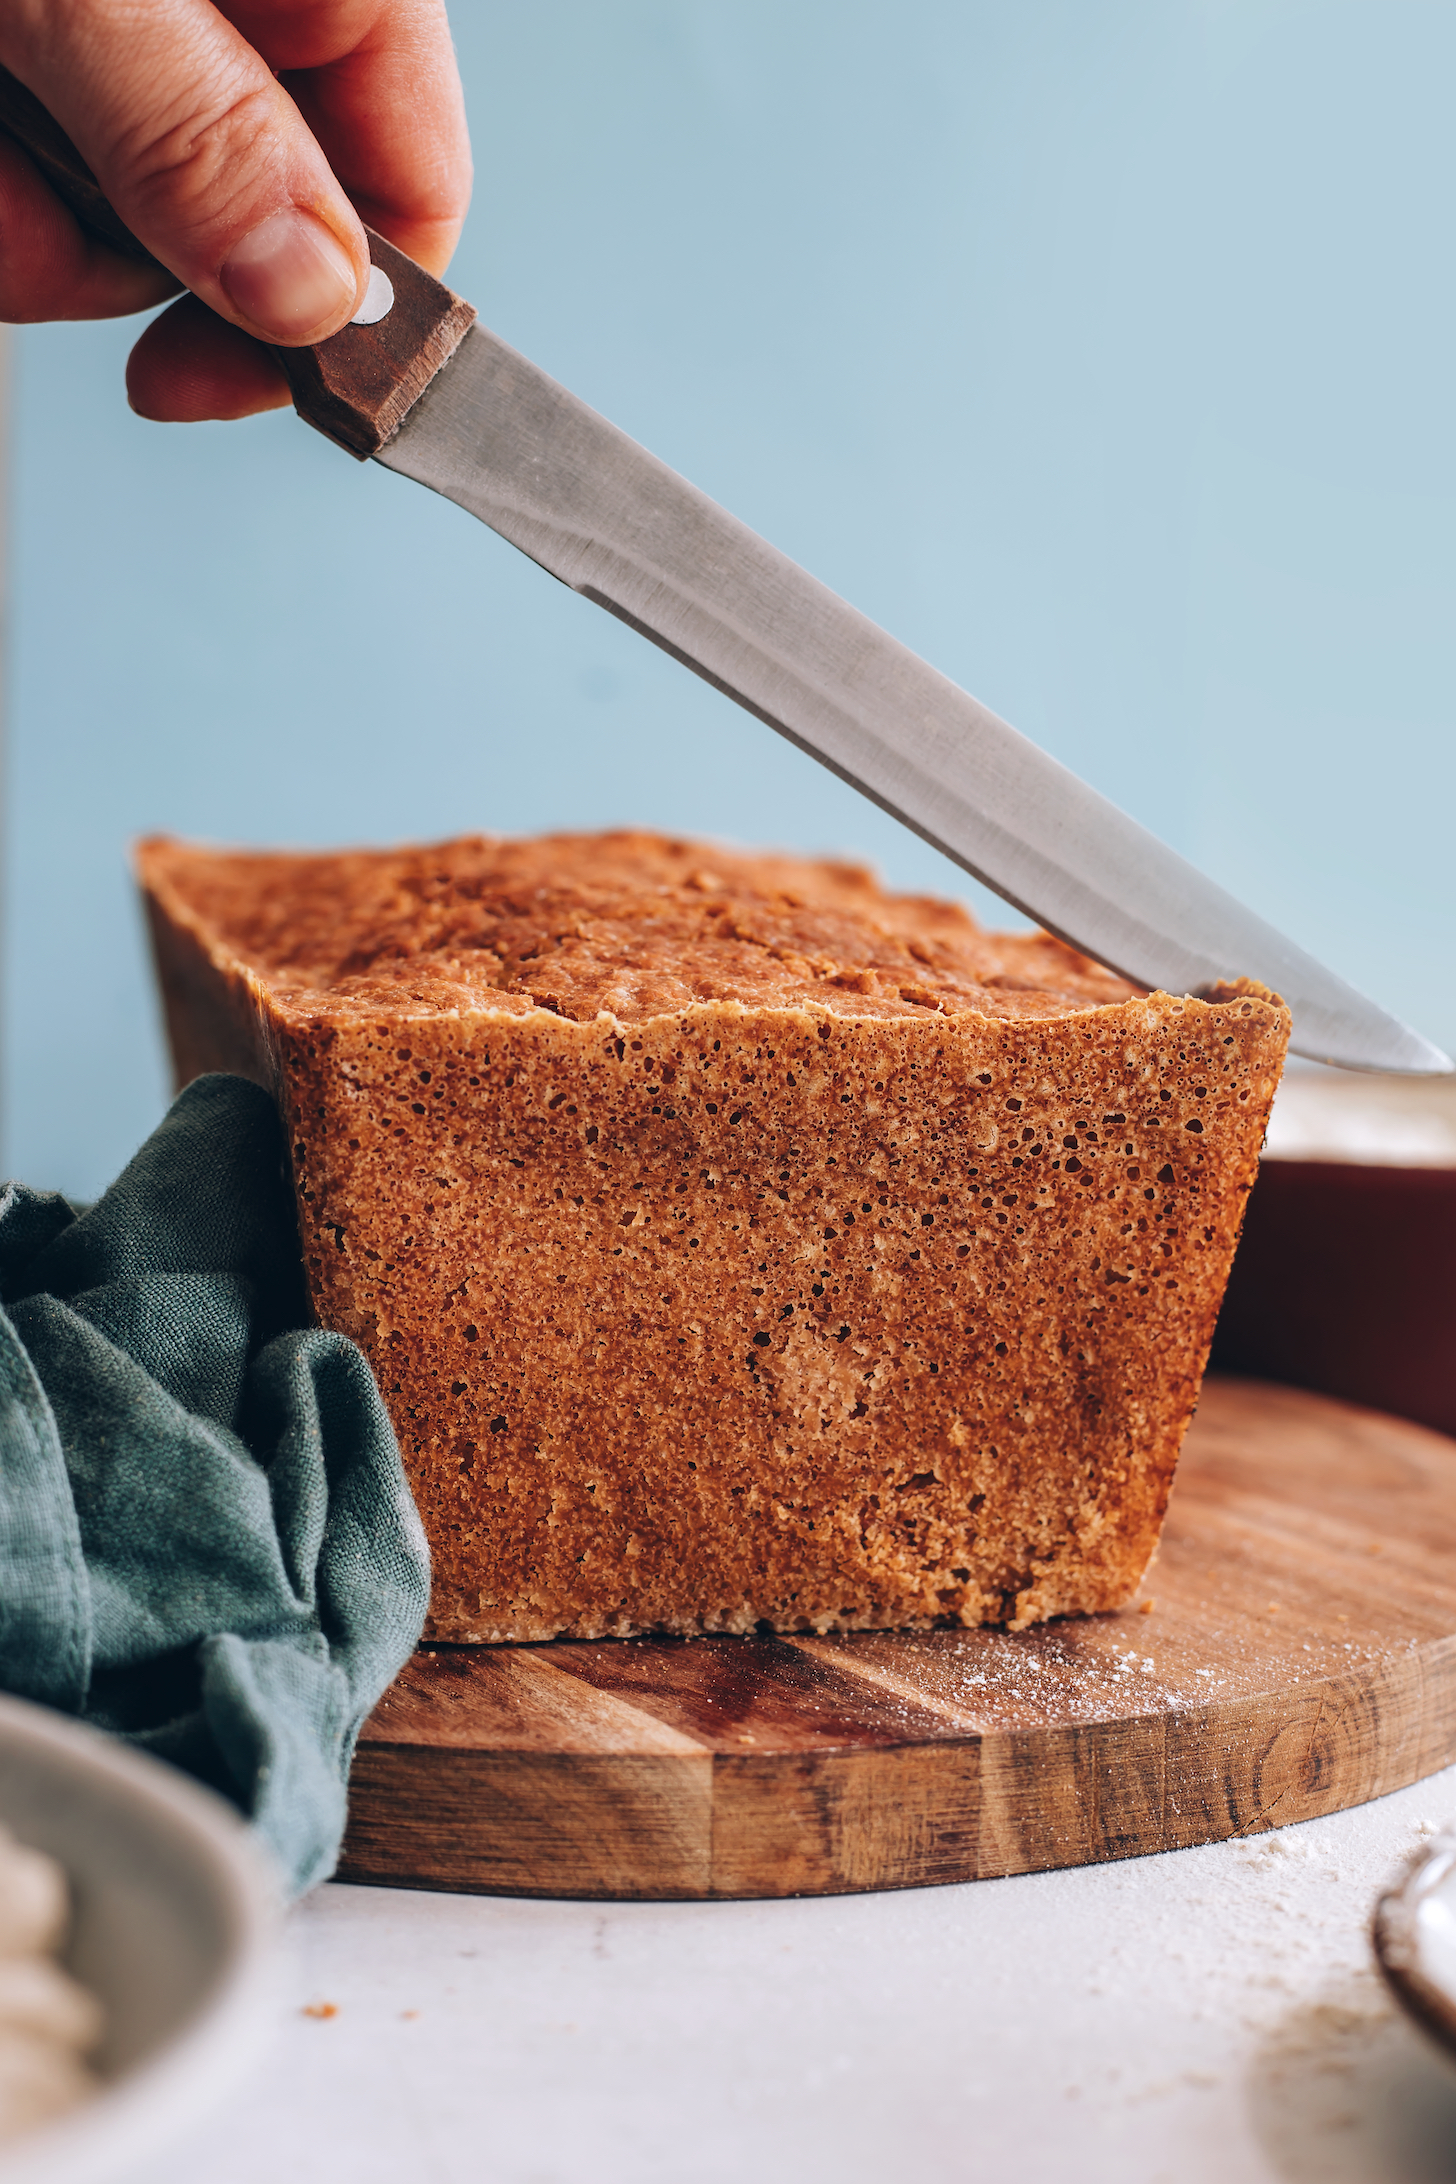
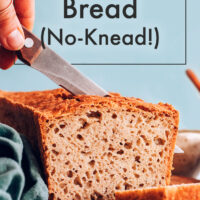
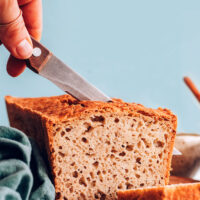
Lastly, for best texture, we let it cool fully before slicing, and it’s ready to enjoy!
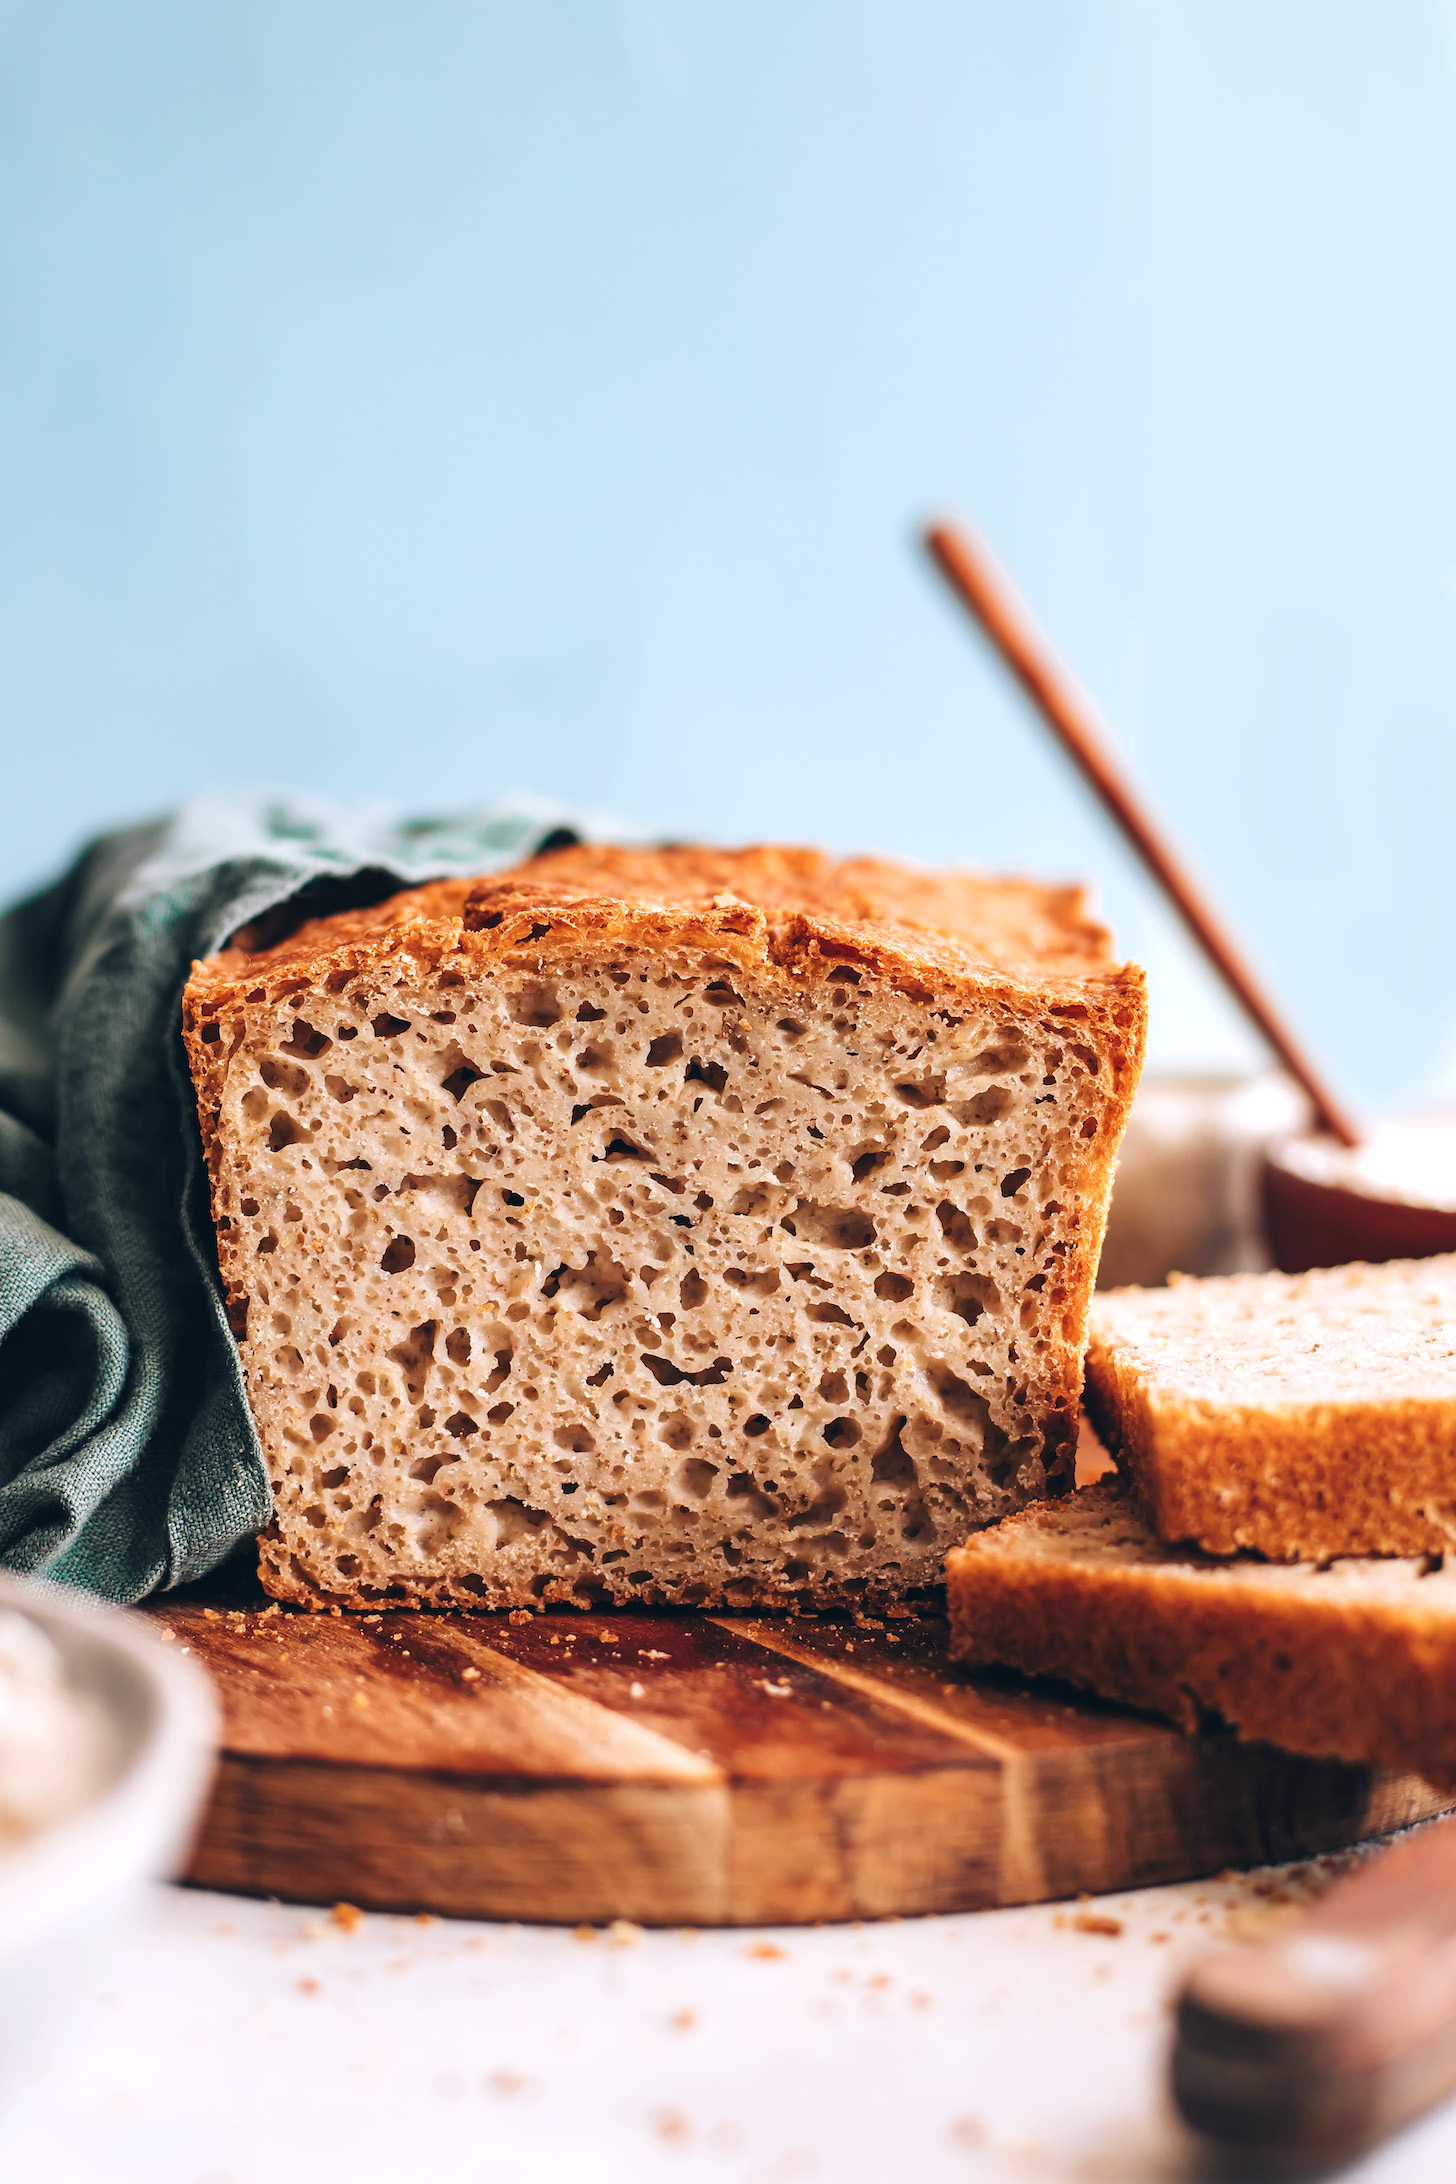
We hope you LOVE this gluten-free bread! It’s:
Crusty on the outside
Spongey on the inside
Light
Flavorful
Versatile
& Easy to prepare!
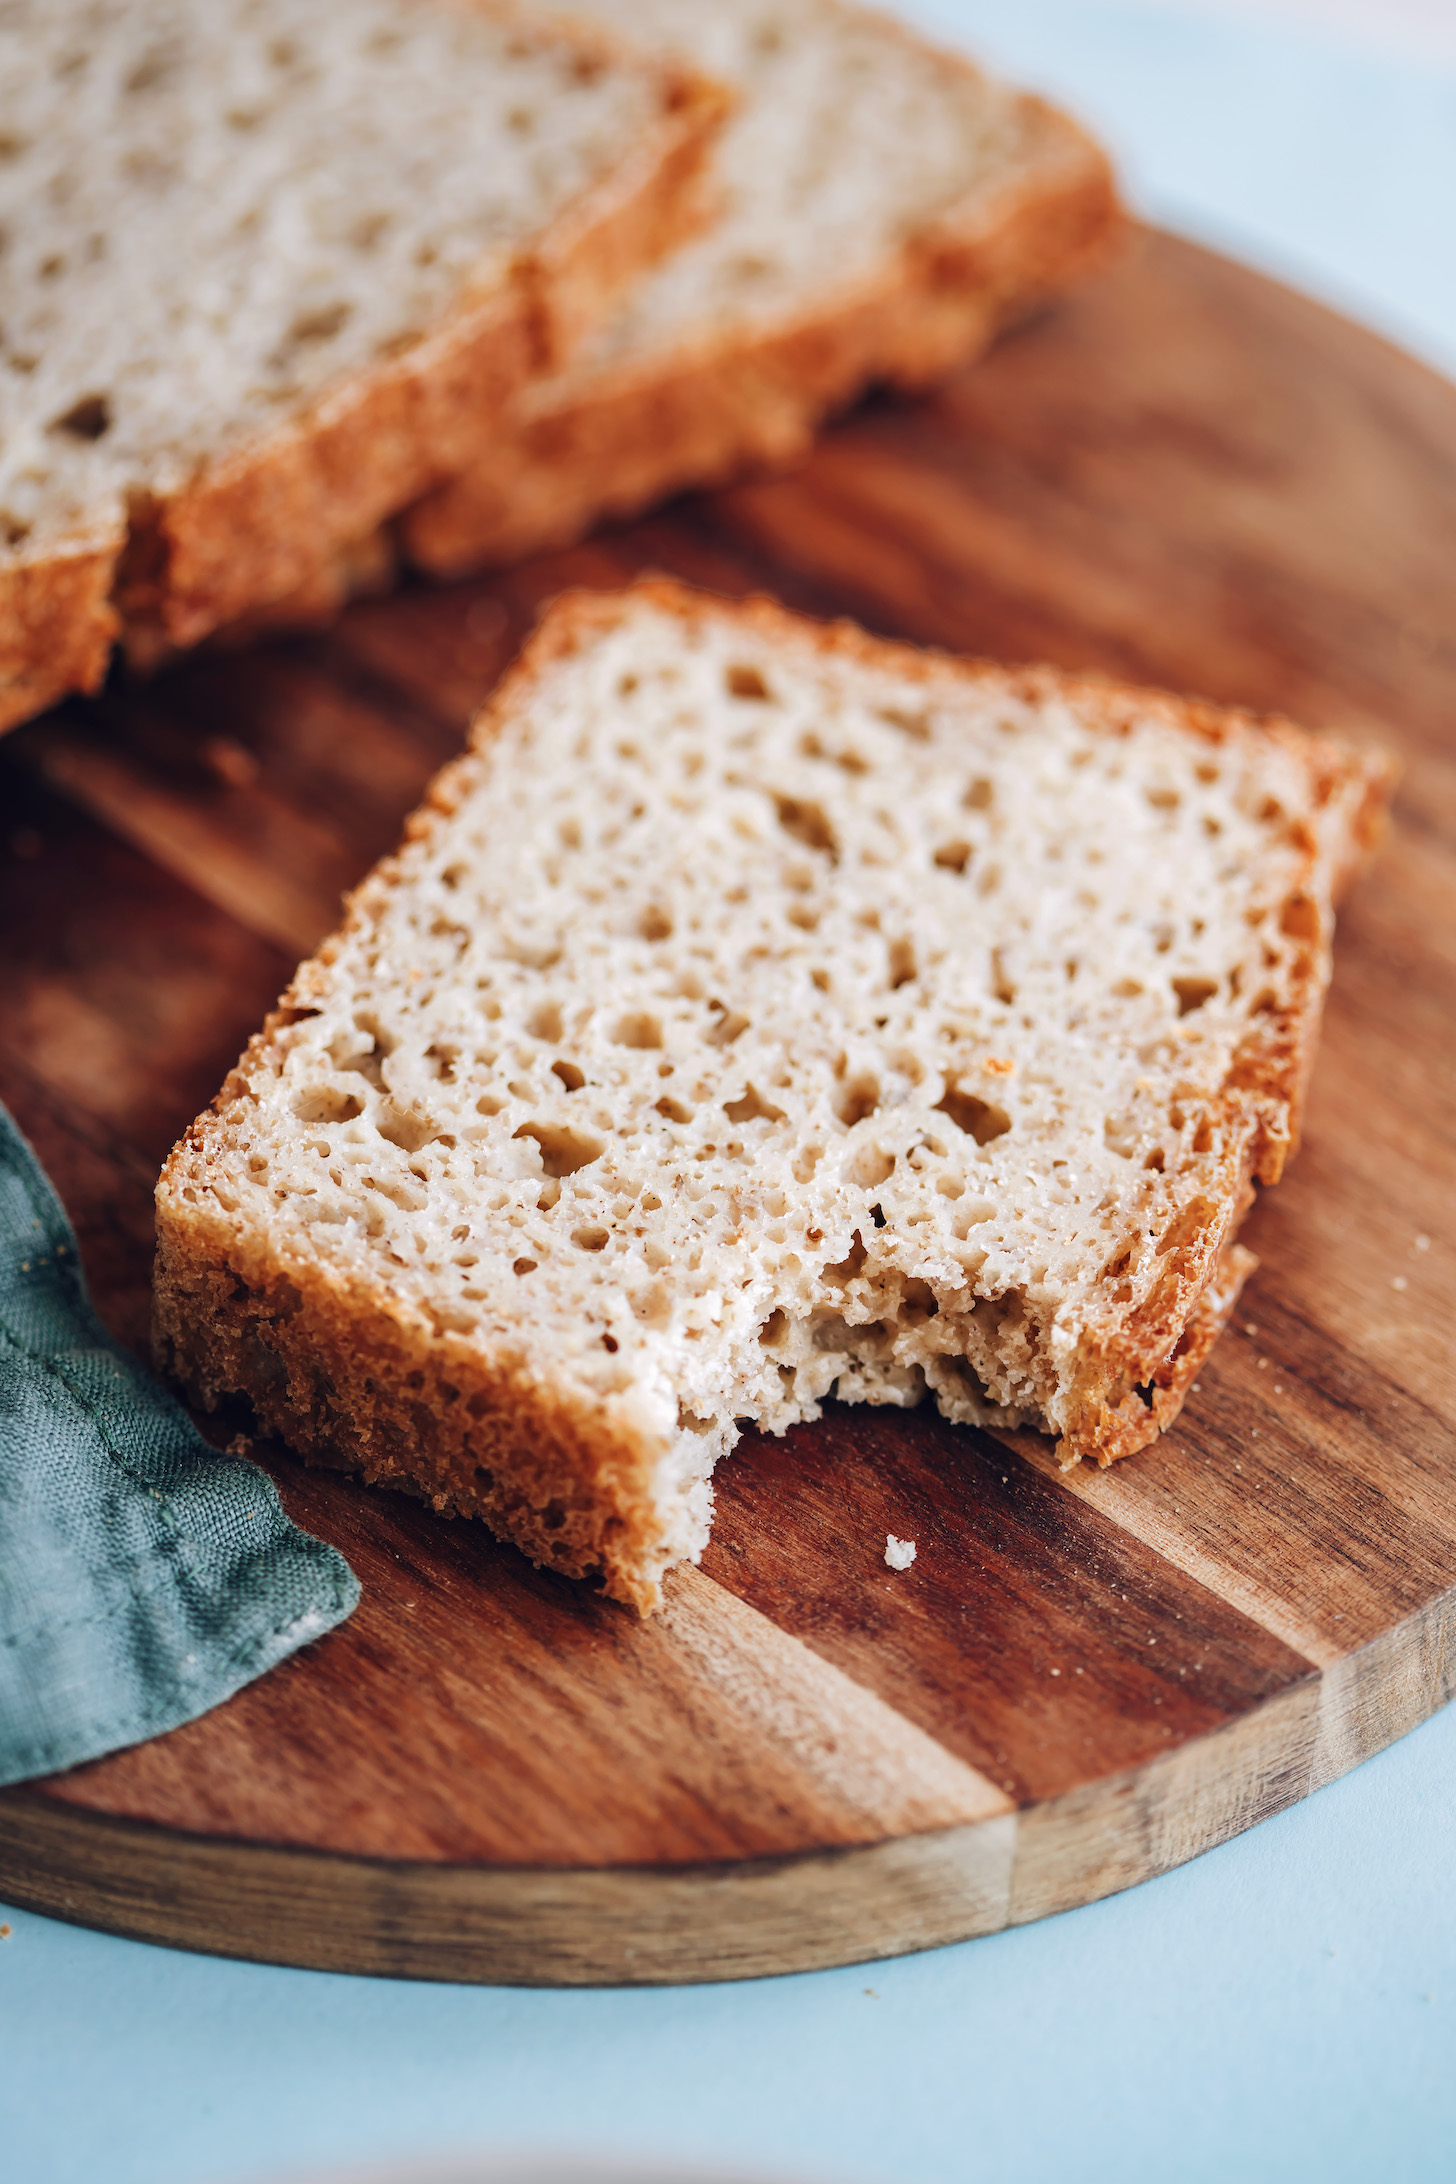
It’s the answer to all your gluten-free sandwich, French toast, garlic bread, bread pudding, and crouton dreams! And it also pairs beautifully with a bowl of soup (like our 1-Pot Everyday Lentil Soup or Easy 1-Pot Tomato Soup) for an easy weeknight meal.
More “Bready” Gluten-Free Things!
- Fluffy Gluten-Free Naan (Yeast-Free, 20 Minutes!)
- Gluten-Free Flatbread (1 Bowl, 20 Minutes!)
- Easy Vegan Gluten-Free Pizza Crust
- Easy Vegan Gluten-Free Biscuits
If you try this recipe, let us know! Leave a comment, rate it, and don’t forget to tag a photo #minimalistbaker on Instagram. Cheers, friends!
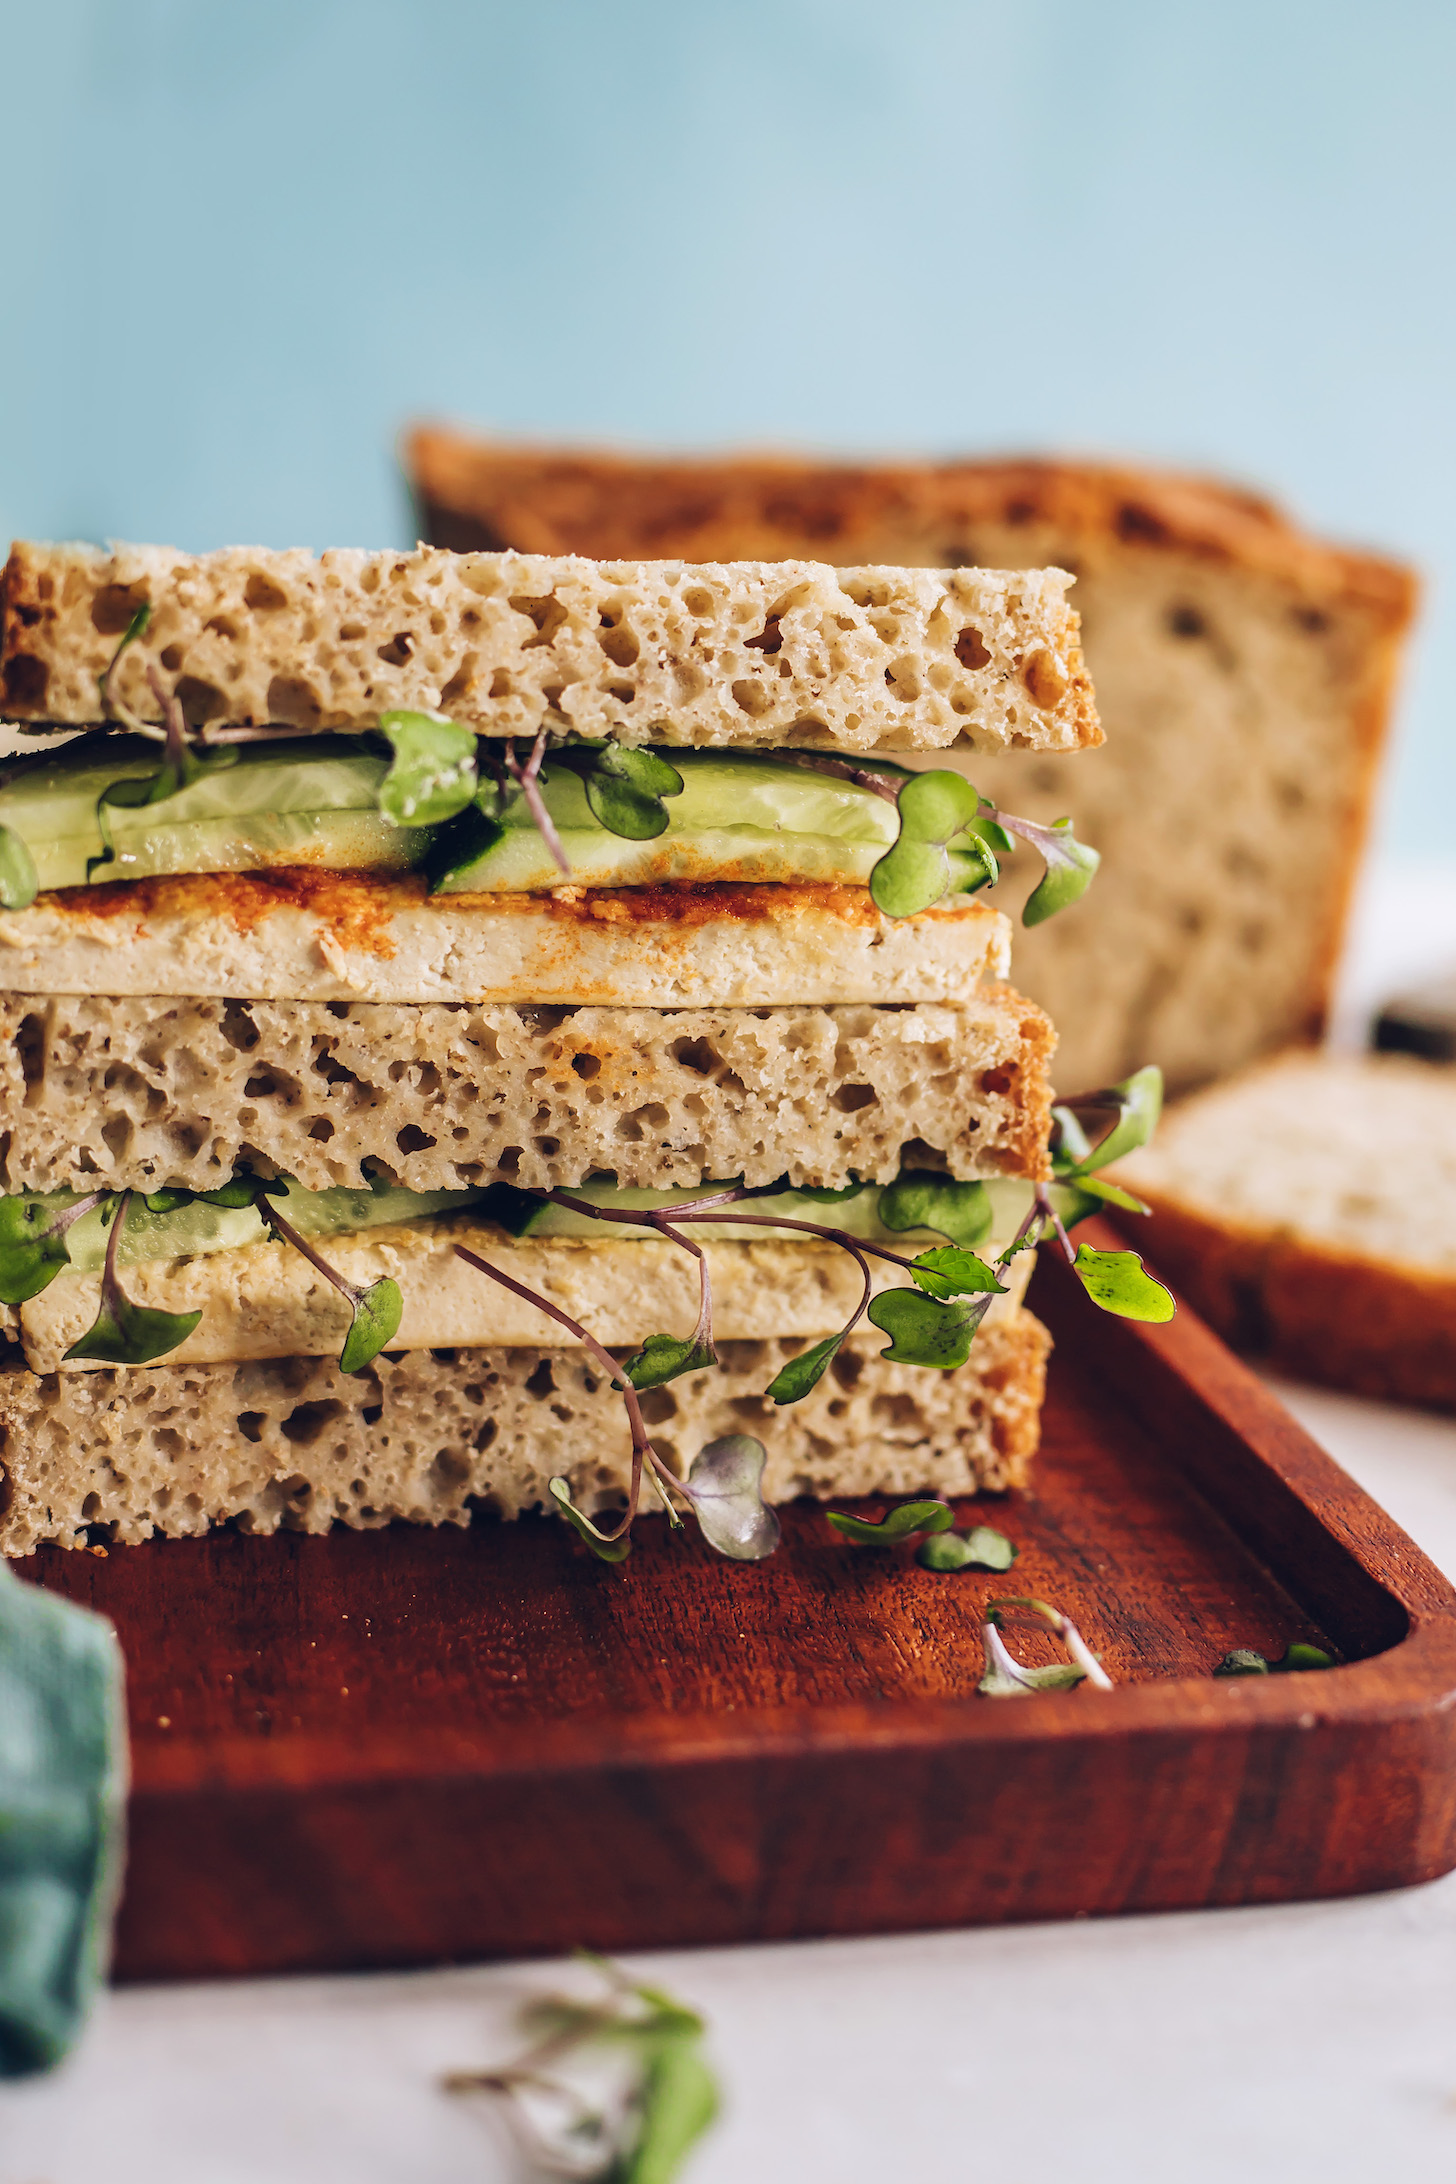
The BEST Gluten-Free Bread (No-Knead!)
Ingredients
- Avocado oil (or other neutral oil // for greasing pan)
- 2 cups warm water
- 2 Tbsp organic cane sugar
- 1 packet active dry yeast (we used Red Star // 1 packet yields ~2 ¼ tsp or 7 g)
- 1/4 cup ground chia seeds
- 1 cup brown rice flour (plus more for flouring pan)
- 3/4 cup oat flour (certified gluten-free as needed // if oat-free, you can try subbing additional sorghum flour)
- 1 cup potato starch
- 3/4 cup sorghum flour
- 2 tsp sea salt
Instructions
- Prepare an 8 x 4-inch (or similar size) loaf pan by greasing it with oil and flouring with brown rice flour.
- In a medium mixing bowl, whisk together the warm water (100-110 degrees F / 38-43 C) and sugar until the sugar is dissolved. Whisk in the packet of yeast and let it bloom on the counter for 10 minutes until frothy. If it doesn’t foam, start over — your water may have been too hot or the packet of yeast was expired.
- Once the yeast has bloomed, whisk in ground chia seeds and let the mixture gel for about 10 minutes.
- Meanwhile, in a large bowl, whisk together brown rice flour, oat flour, potato starch, sorghum flour, and salt.
- Add the wet ingredients to the center of the dry and stir together with a wooden spoon. The mixture will be slightly wet, like a thick sticky batter. Make sure to thoroughly mix in and break up any clumps of chia seeds (a whisk can be helpful).
- Put the batter into your prepared loaf pan and cover it with a clean kitchen towel. Place it in a warm, draft-free area to proof for an hour.
- Once batter has doubled in size, preheat the oven to 425 F (218 C)*. Once preheated, bake at 425 F (218 C) for 45 minutes, then turn the oven down to 375 F (190 C) for 30 minutes. Remove the bread from the oven and let it cool in the pan for 10 minutes. Then transfer to a cooling rack to cool completely before cutting into it.
- Store leftovers in a sealed container at room temperature for up to 3-4 days or in the refrigerator for up to 2 weeks. Bread can also be sliced and frozen for up to 1 month.
Video
Notes
*Prep time includes rising.
*Nutrition information is a rough estimate calculated with 1/2 tsp avocado oil for greasing pan.
*Inspired by the Black Olive, Caraway, and Honey Yeast Bread from the lovely Cannelle et Vanille cookbook by Aran Goyoaga.





Martini says
I will be making this soon. What can I sub the oat flour for? I’m thinking of adding herbs from my garden: parsley, basil, pizza thyme or cilantro. Probably not all but 1 or 2. Thoughts?
Hi Martini, sorghum flour would be the next best option in place of the oat flour. Herbs sound lovely! We think thyme would be your best bet for adding flavor without extra moisture. Or if you have rosemary, that would also be nice. Let us know if you try it out!
Martini says
Thanks. :) How much sorghum in total should I use? I see that this already calls for 3/4 cup.
1 1/2 cups total. Enjoy!