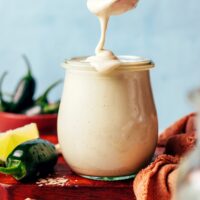
Friends, I made yogurt! Coconut yogurt to be exact.
And if I can make yogurt, you can make yogurt – promise. Let’s do this!
There are no fancy tricks or expensive equipment involved here. Just 2 simple ingredients required!
All you need is coconut milk and probiotic capsules, which (if you’re like me) you probably have in your pantry right now. Score!
This is a 3-step process:
1) Empty coconut milk into a clean glass jar or bowl.
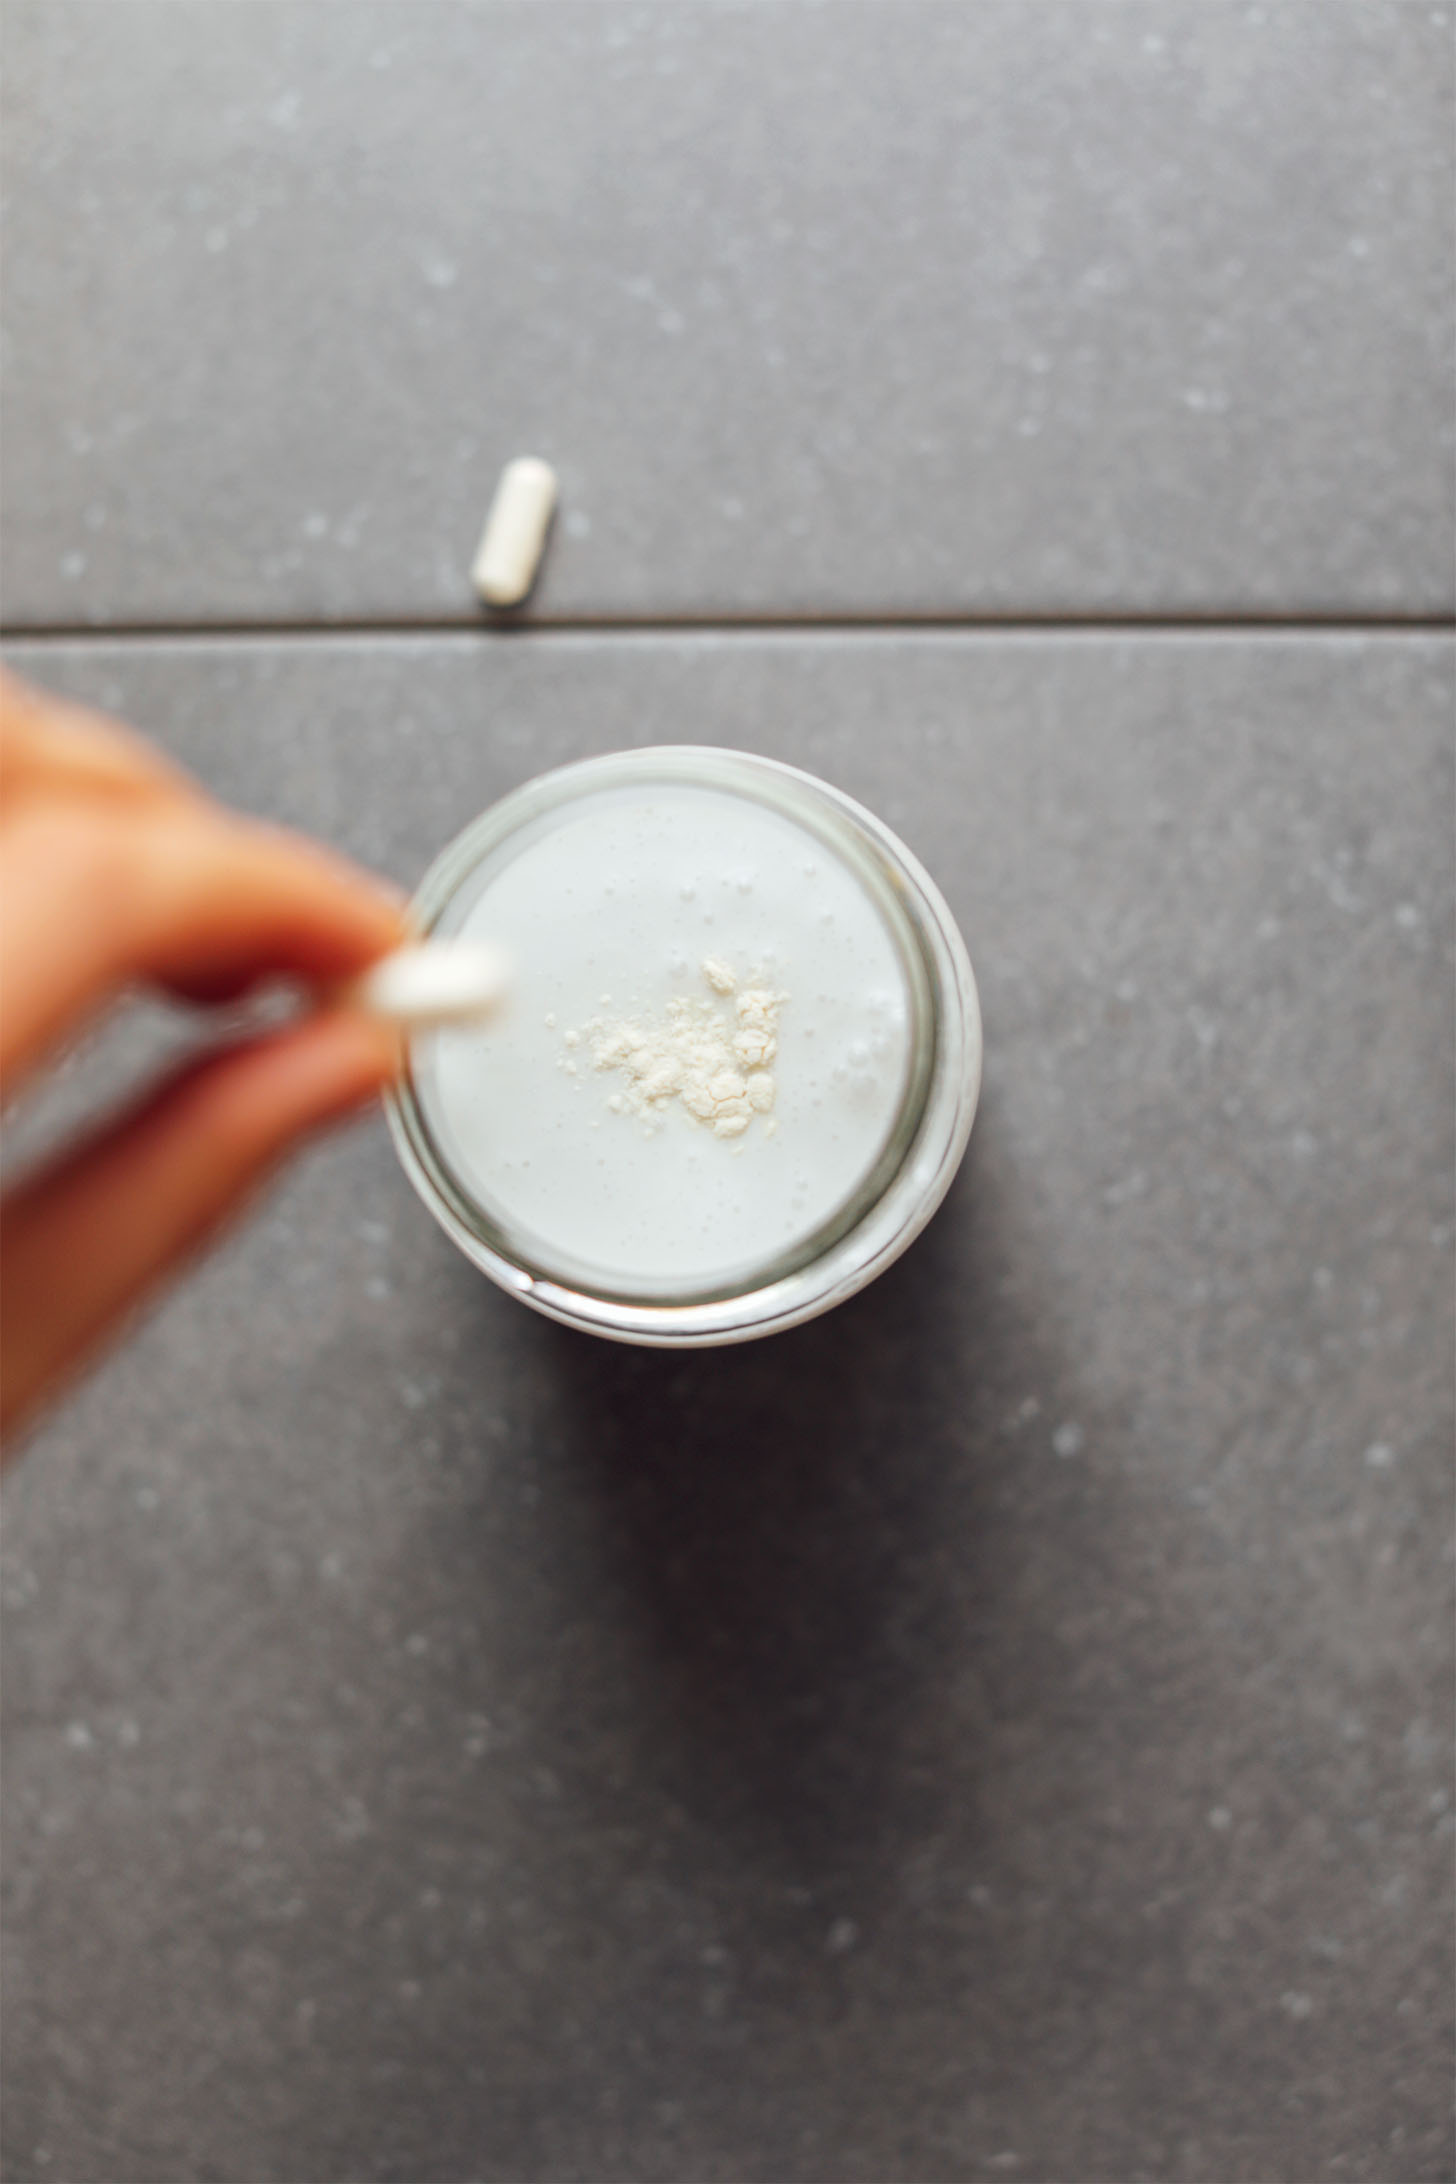
2) Top with probiotic and stir.
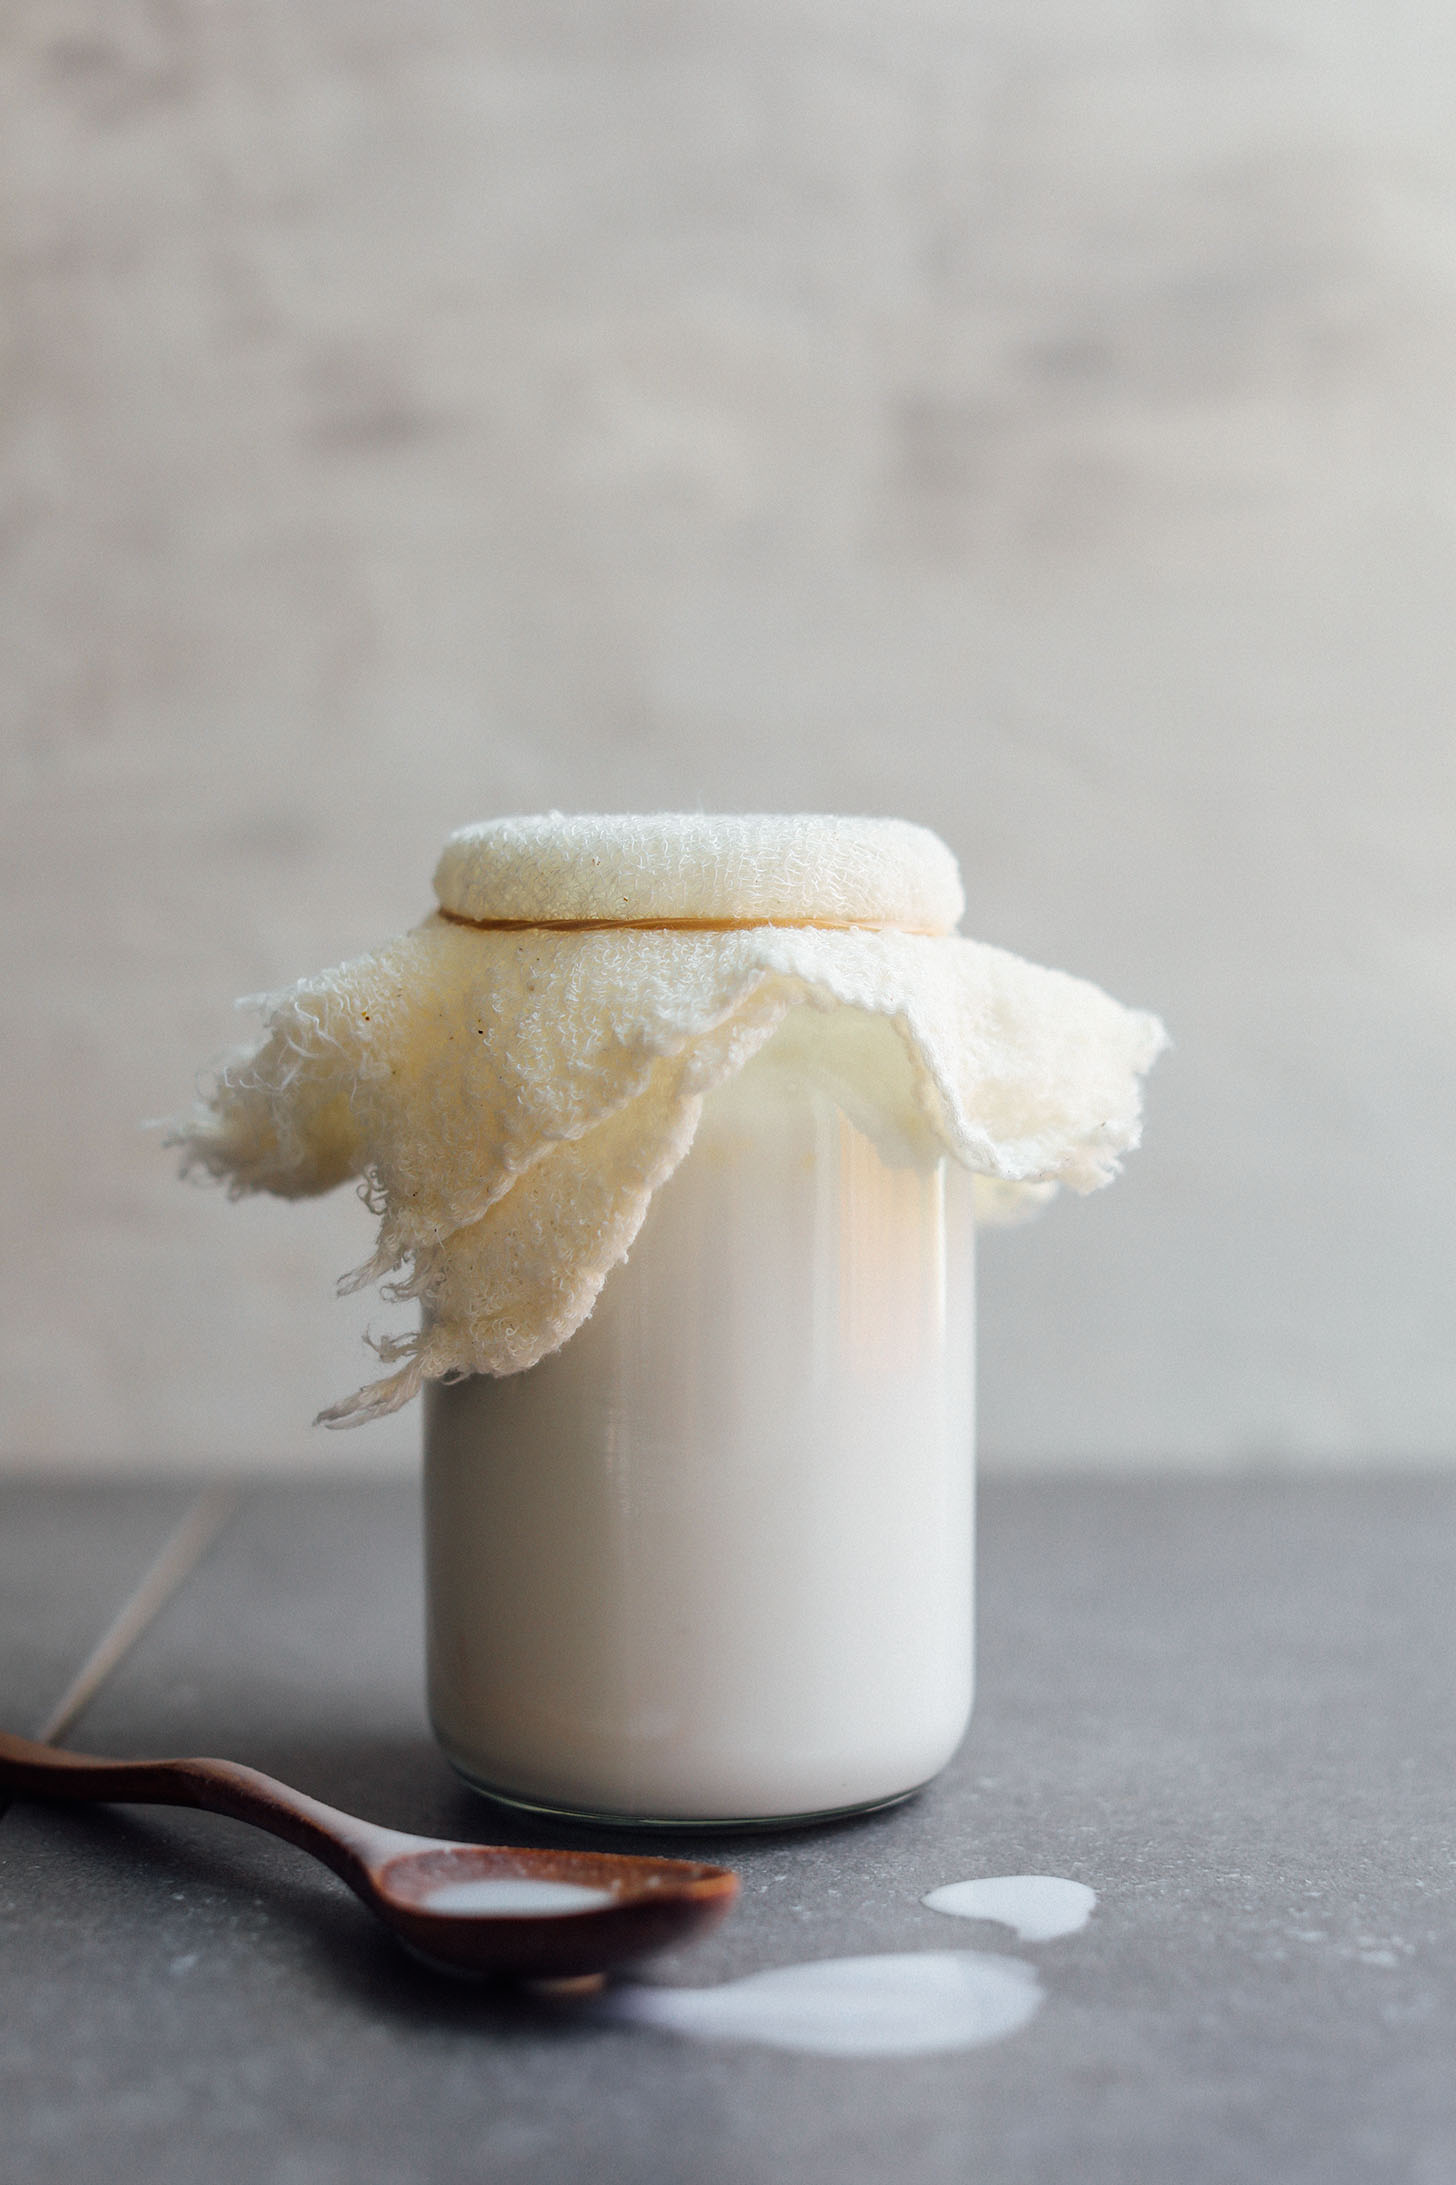
3) Cover with cheesecloth and wait.
That’s it! Seriously – it doesn’t get any easier than this. And the result is phenomenal!
I’m sure you’re thinking, “How good can homemade yogurt be?” Trust me, I’ve tried all the store-bought coconut yogurts and this by far is the best!
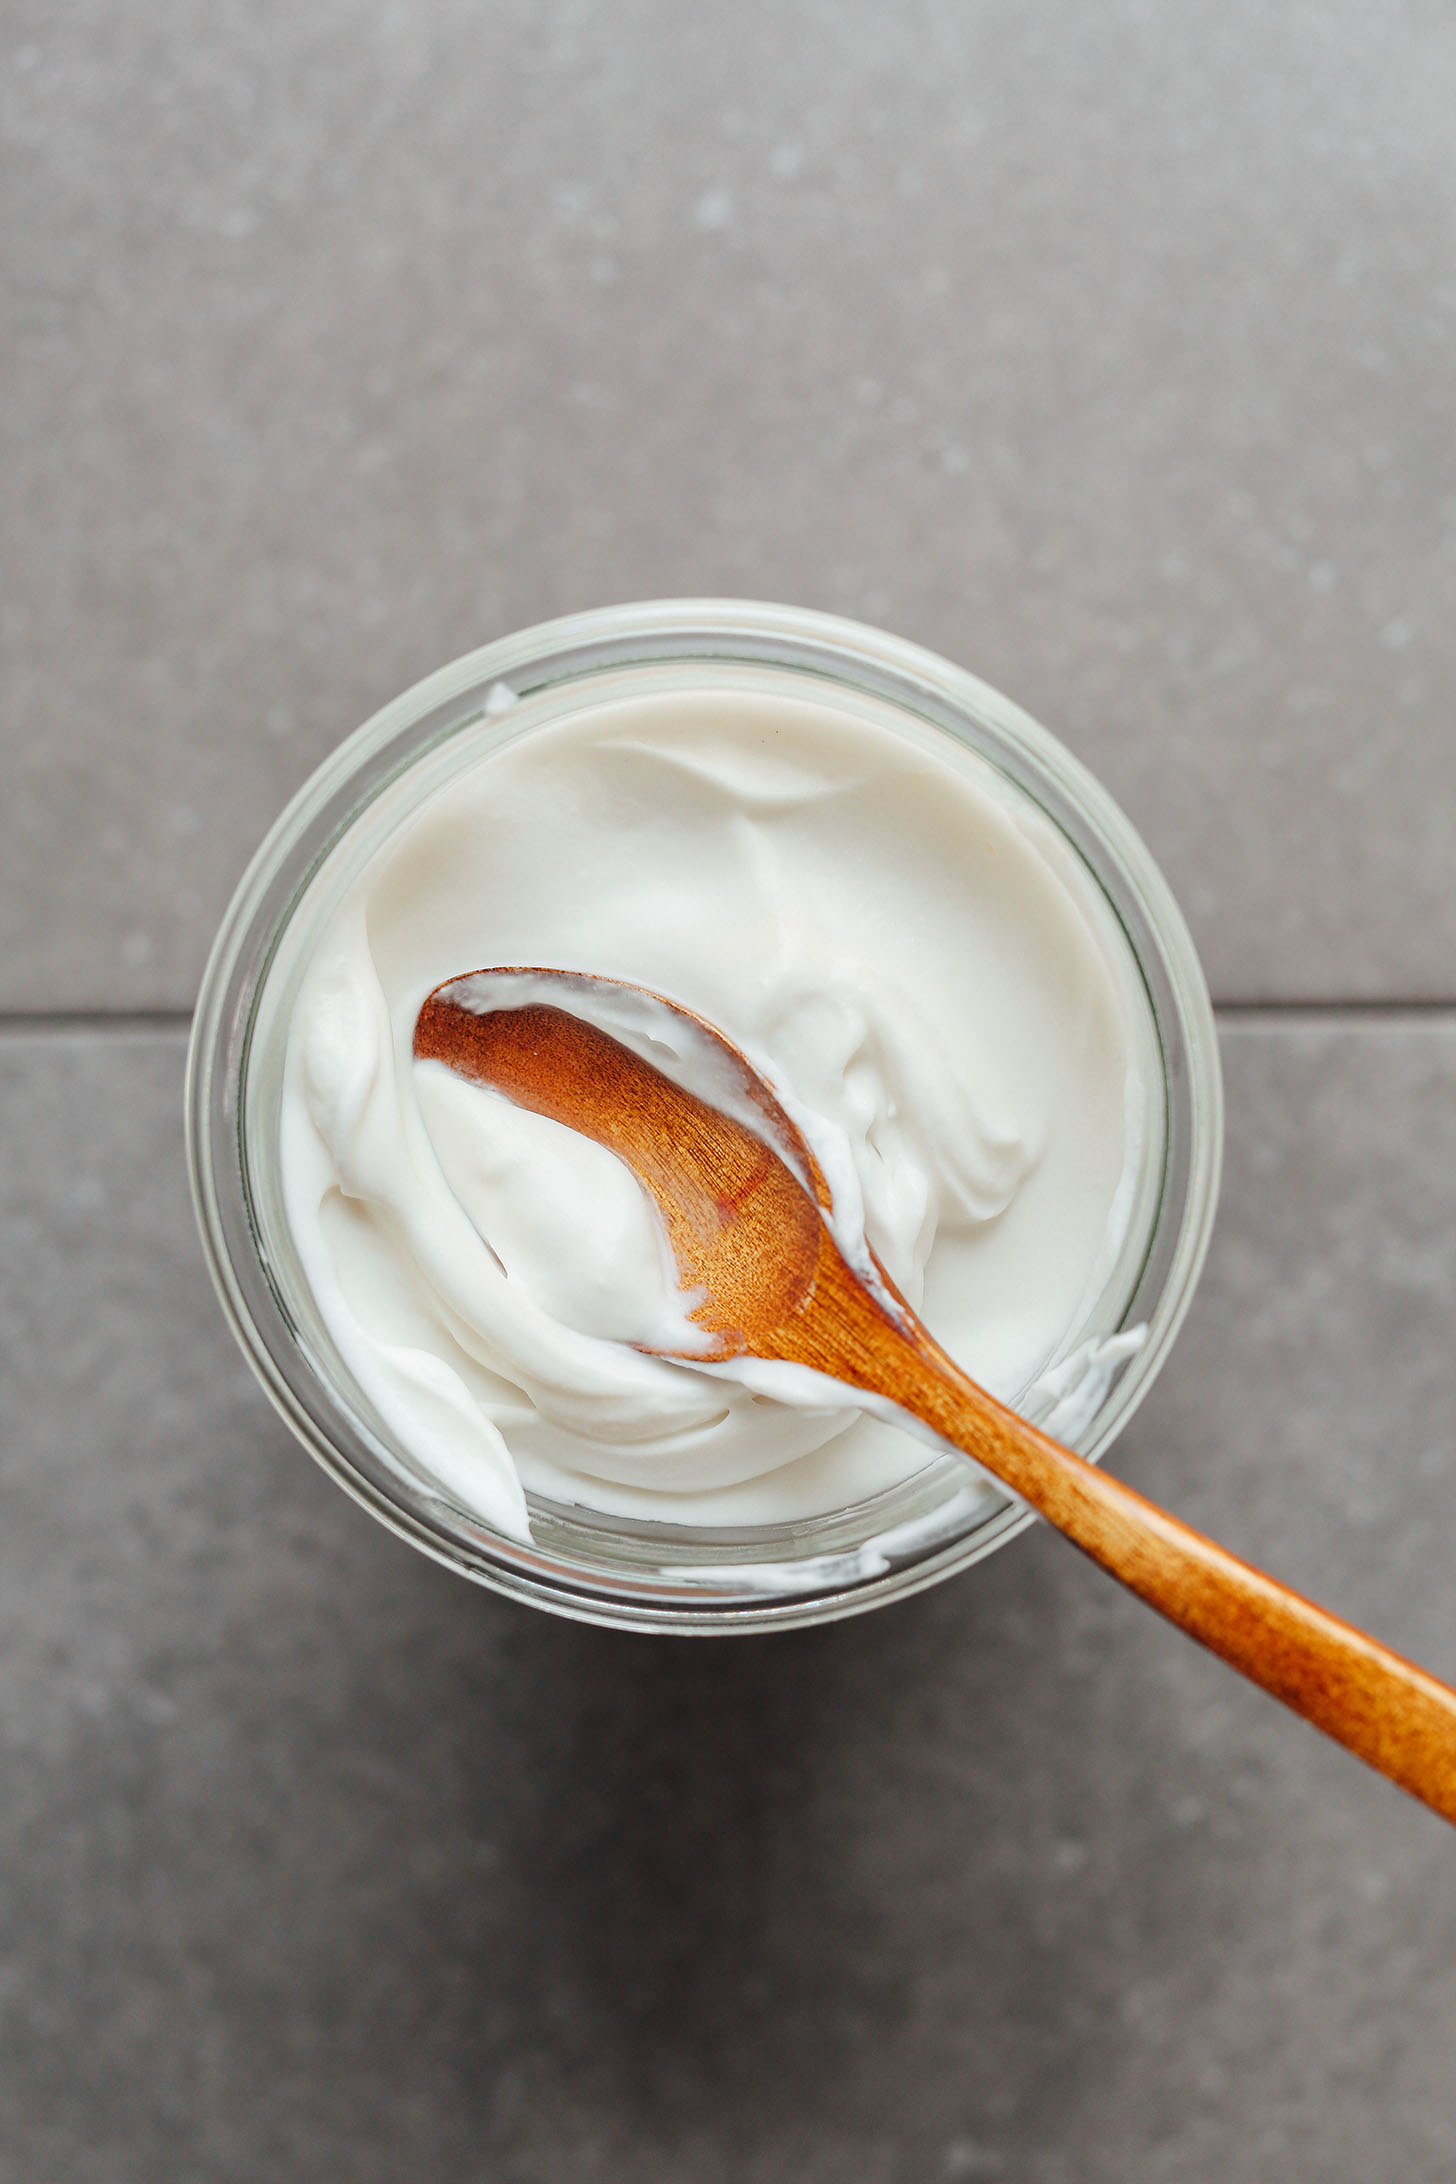
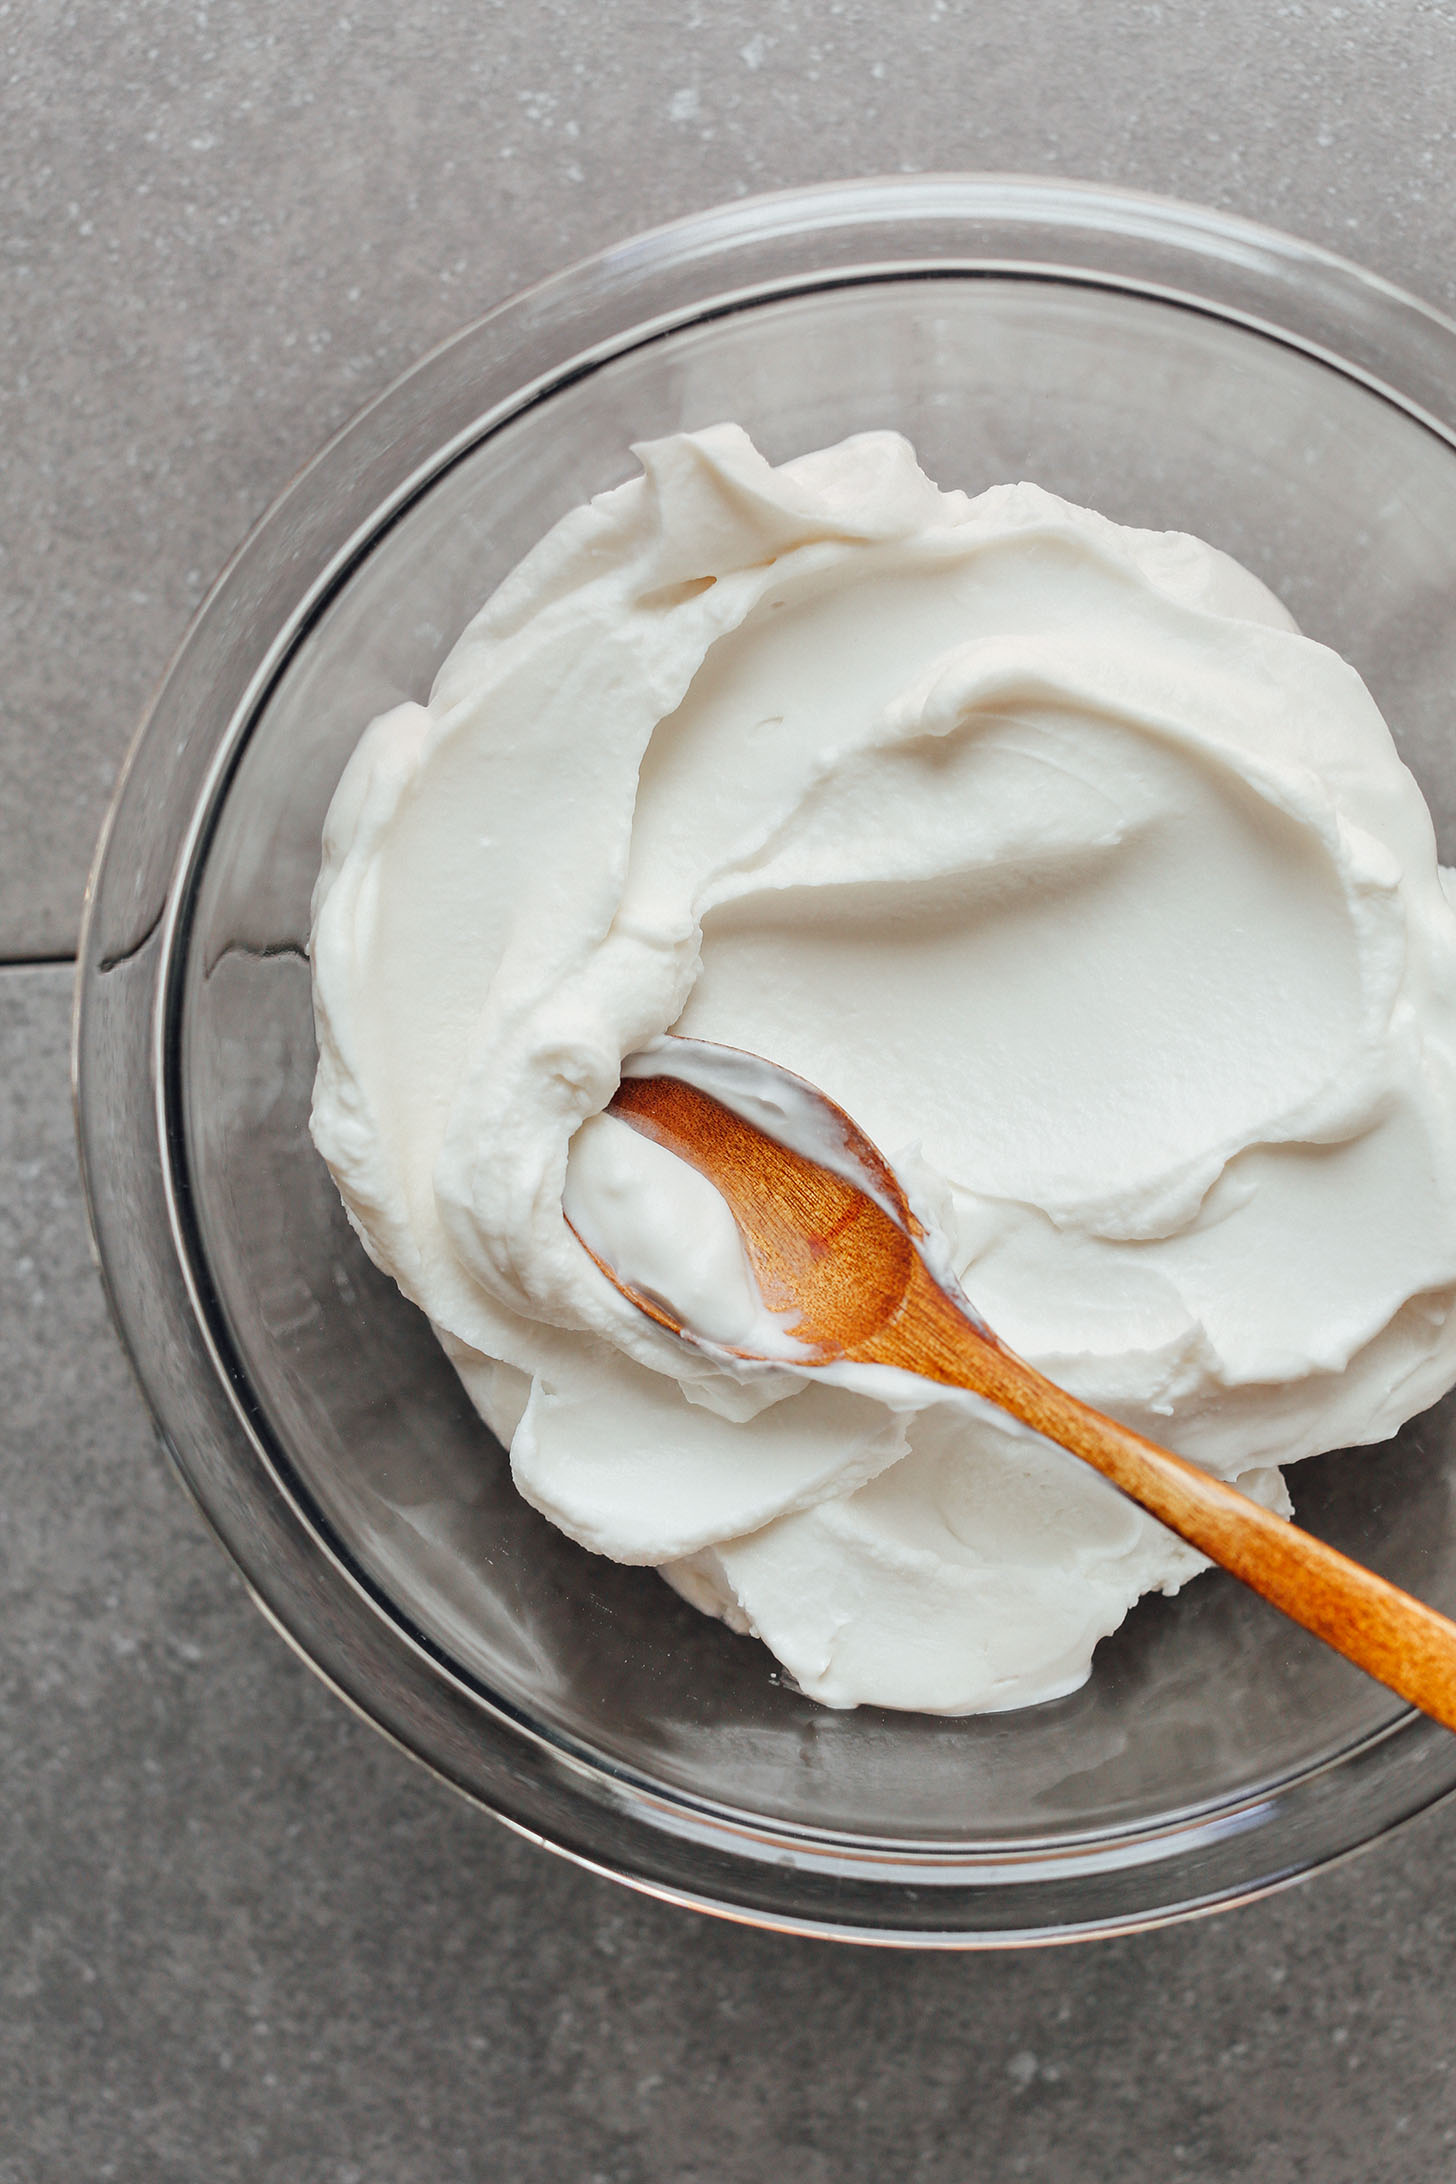
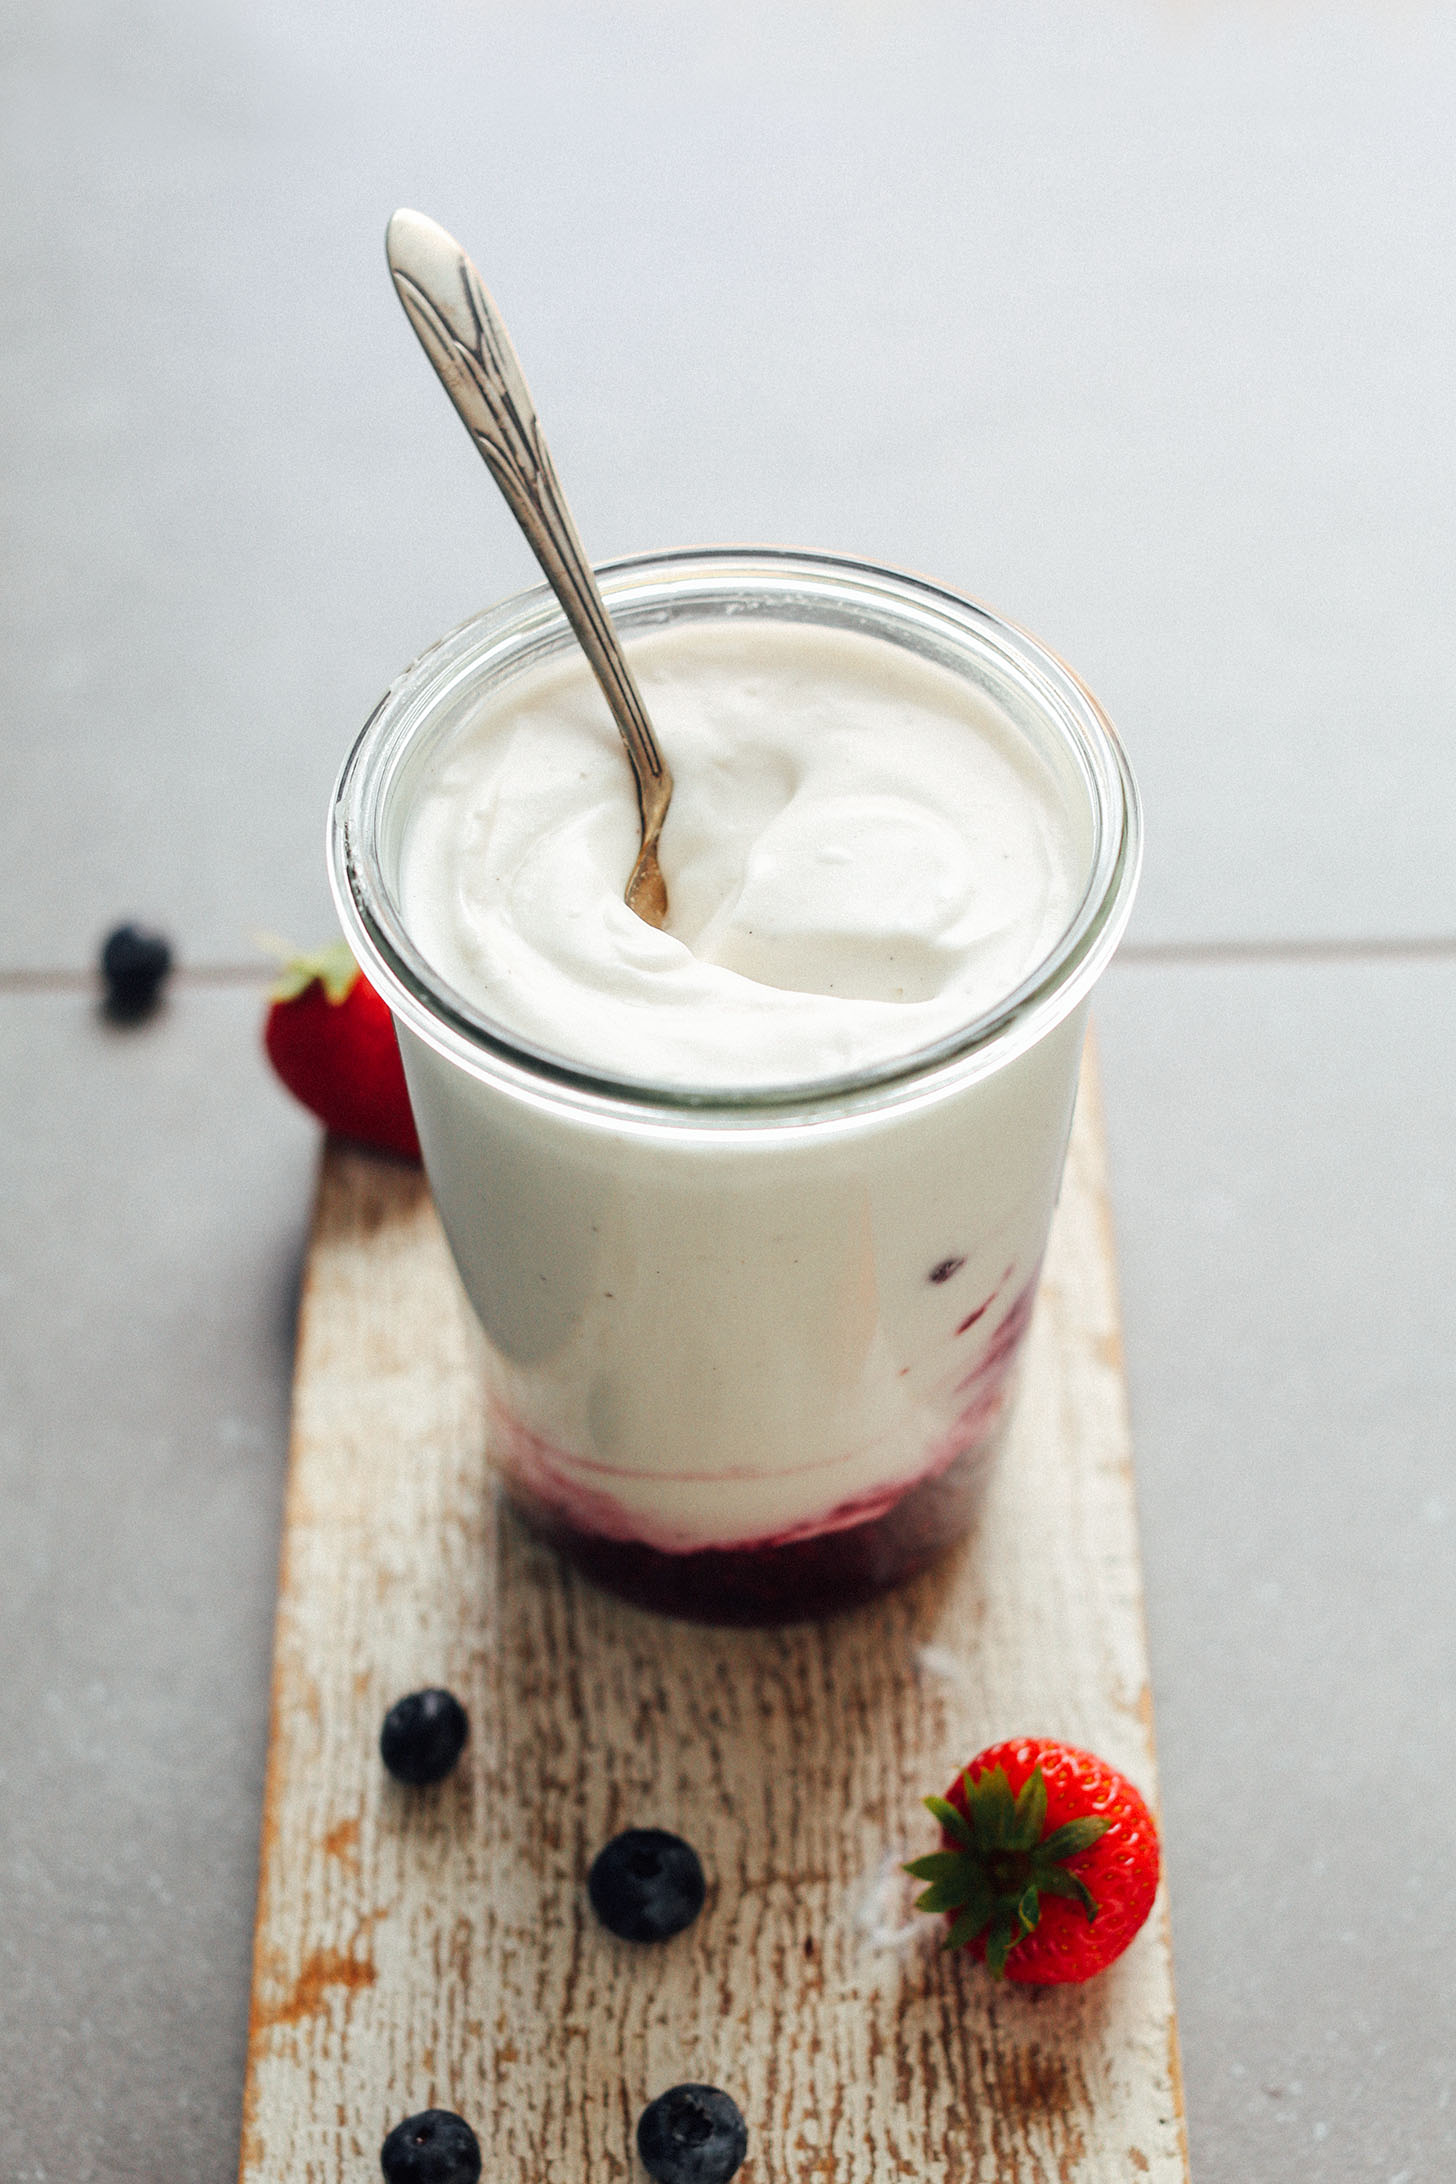
It’s creamy (almost like Greek yogurt!), rich, and tangy – just like the “real” thing.
Once your yogurt has activated (24-48 hours), simply refrigerate to thicken / cool and then enjoy!
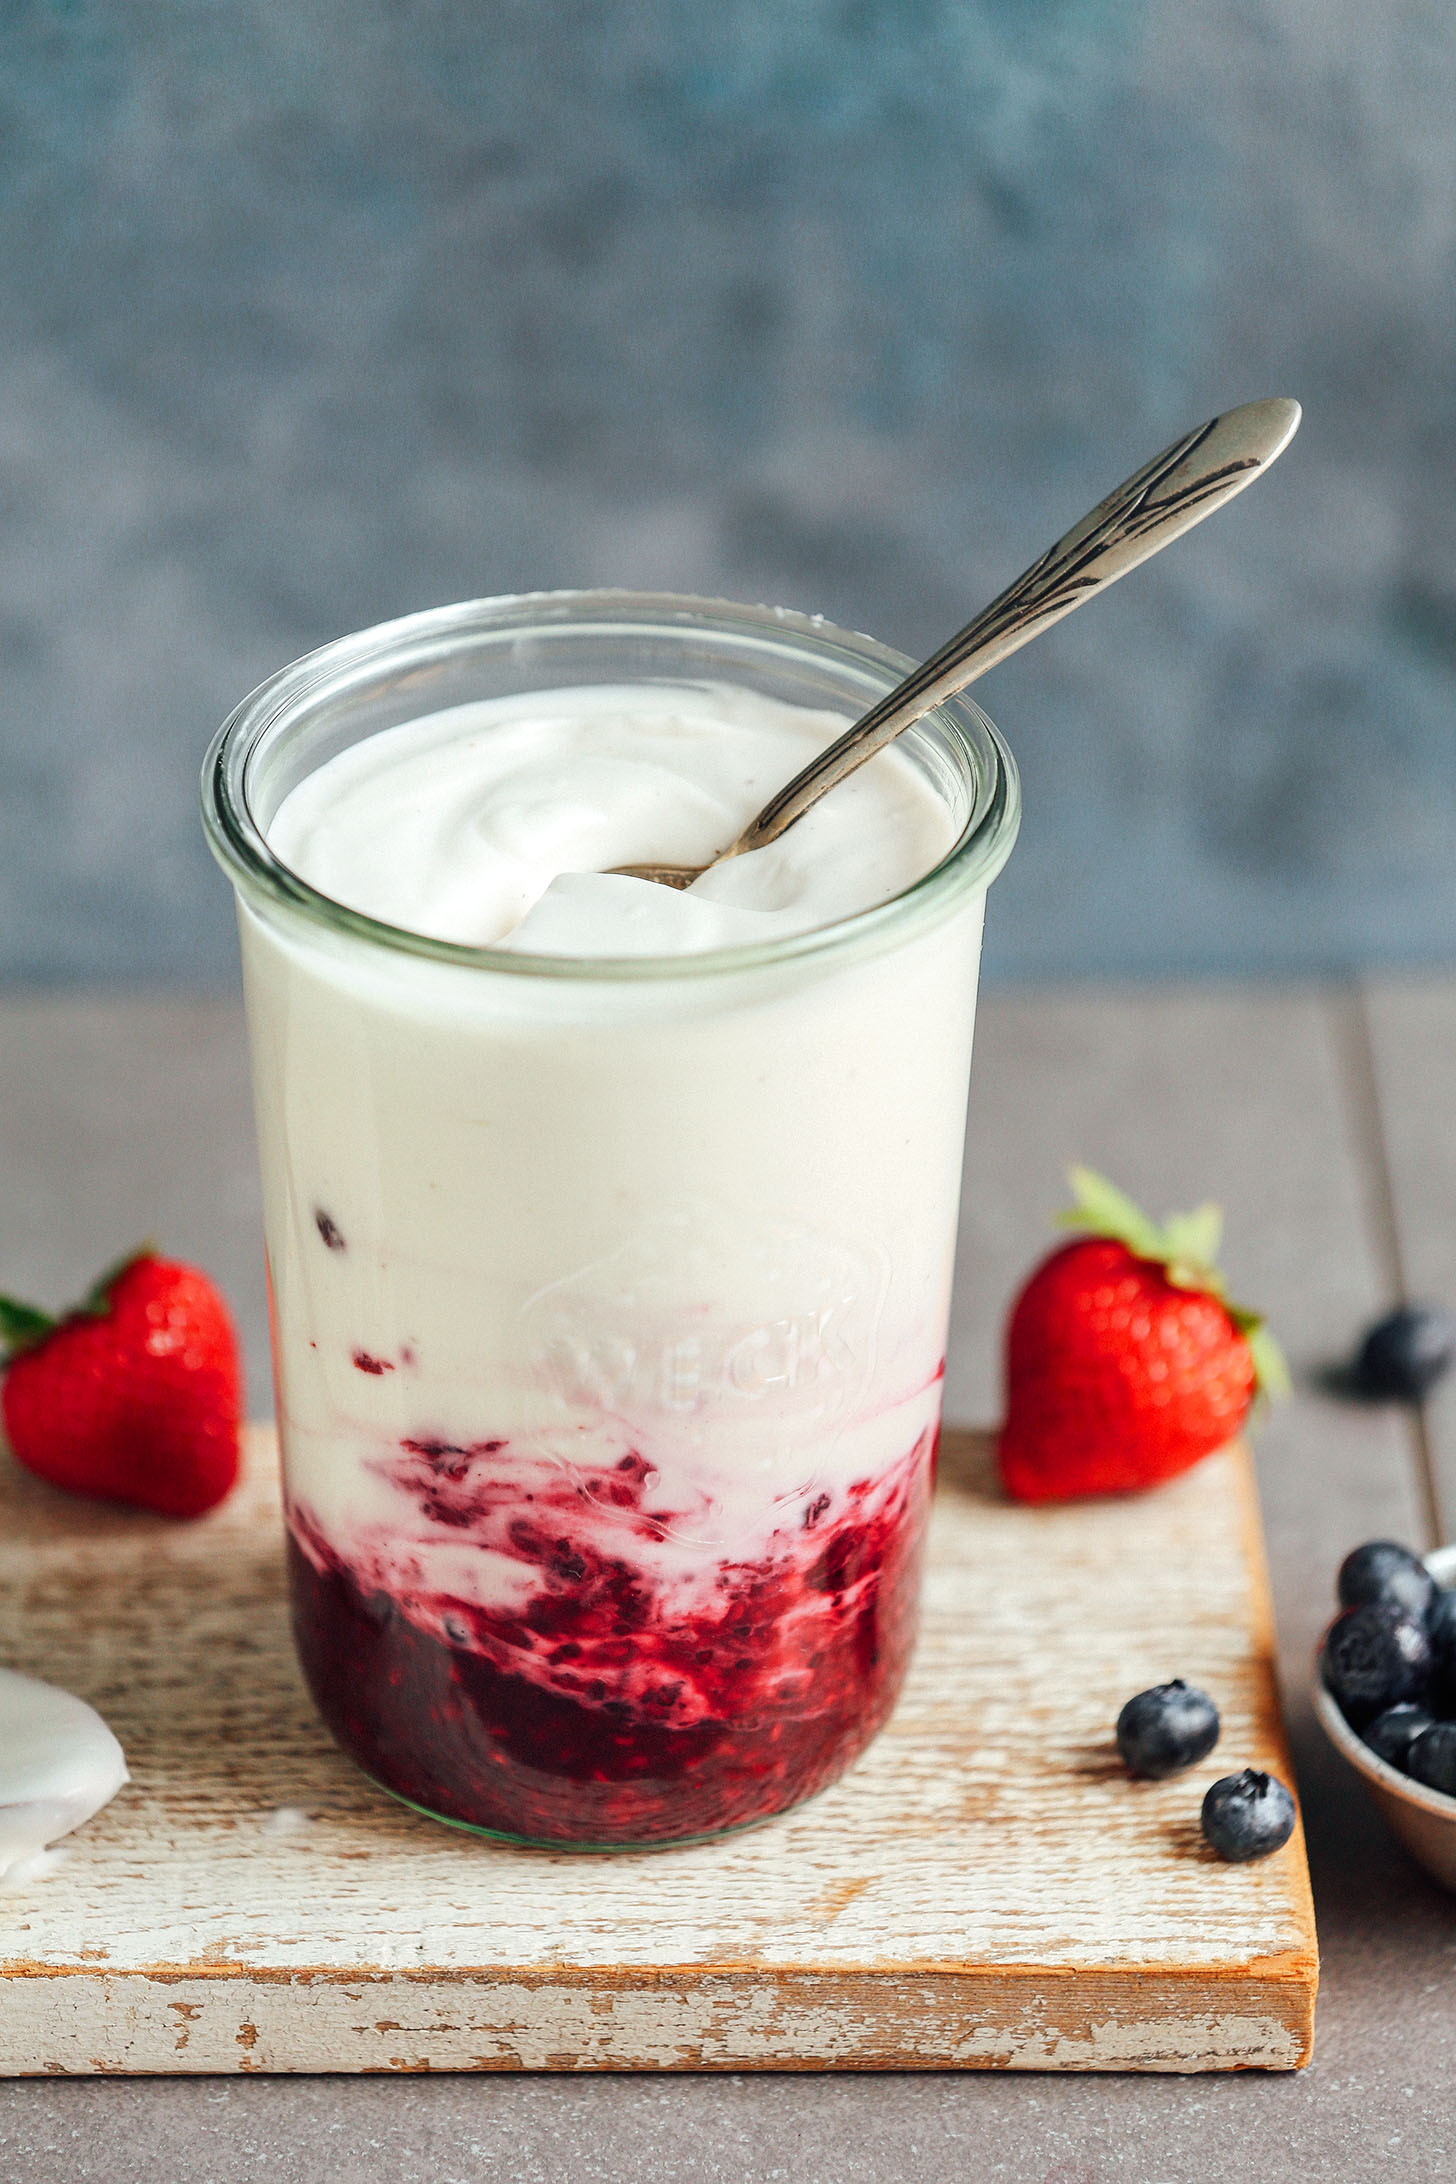
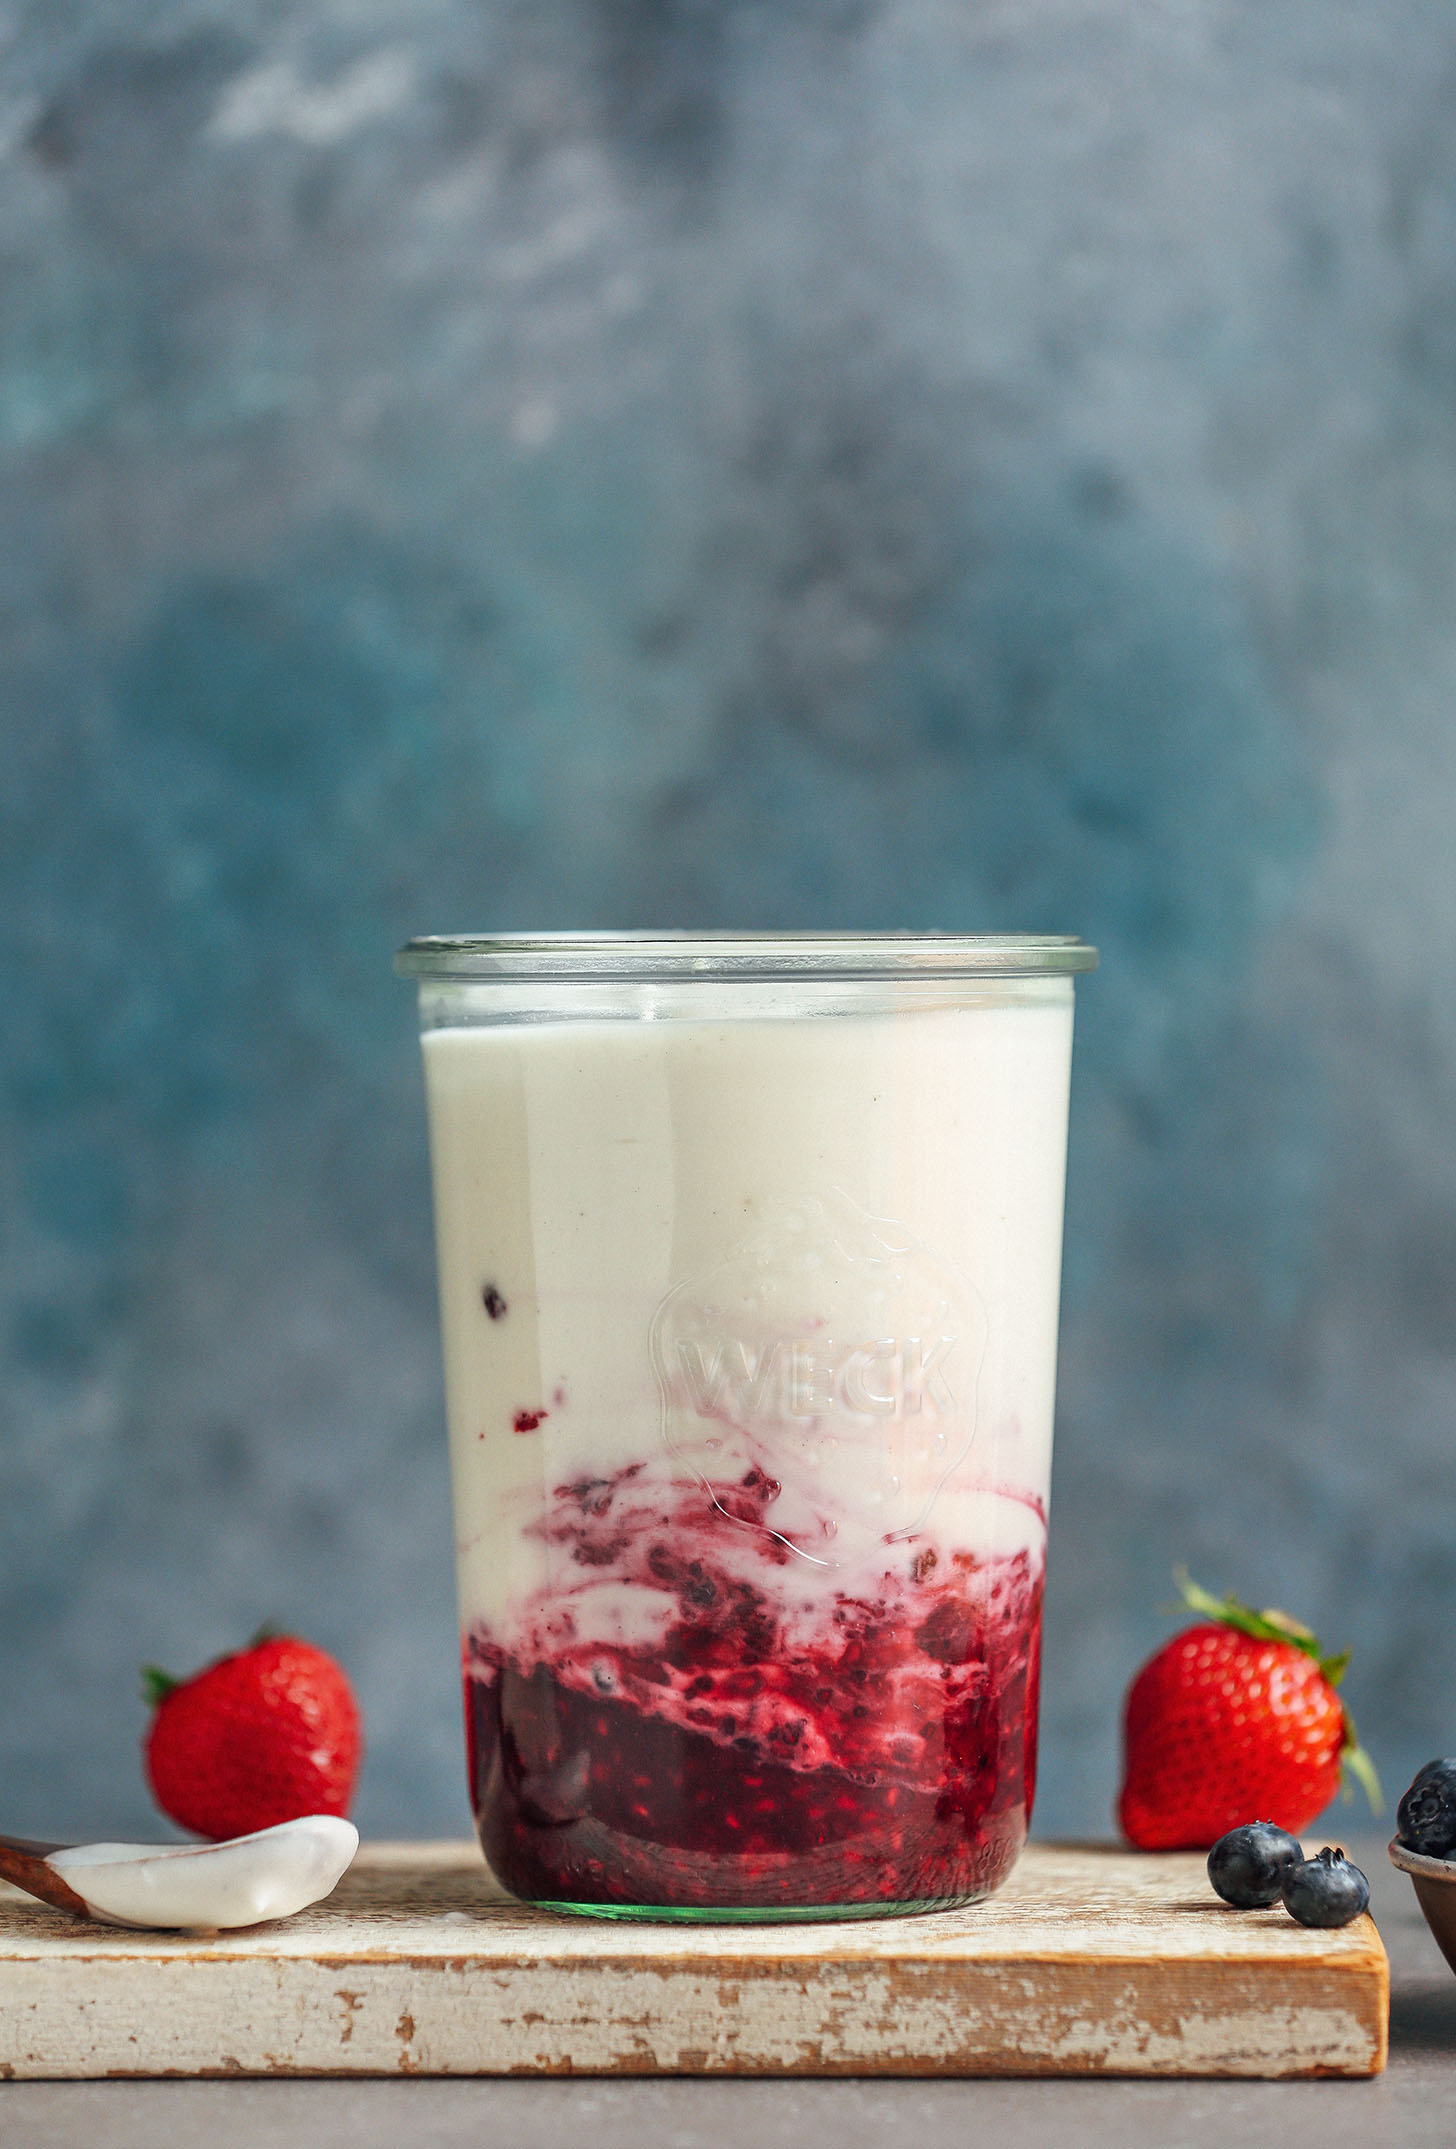
I prefer my yogurt plain, but it is also delicious with maple syrup, lemon, vanilla, or fruit. For serving, I made some of my fruit compote and added some chia seeds to thicken and WOW – it was amazing with the yogurt. Dream big, friends! Just about any flavor combination works here.
I hope you all LOVE this yogurt! It’s:
Thick
Creamy
Coconutty
Probiotic-rich
Gut-healthy
Versatile
Easy to make
& SO delicious!
This would make the perfect satisfying snack or breakfast. I like serving mine with some banana, fresh fruit, and a sprinkle of Classic Granola or Sea Salt Dark Chocolate Granola and hemp seeds for added protein and fiber! Talk about an amazing plant-based treat.
This yogurt would also be delicious on top of things like my Life-Changing Banana Pancakes, Best Vegan GF Waffles, Peanut Butter and Jelly Muffins, 1-Bowl Banana Bread, and more! And I put it to good use in upcoming recipes, so stay tuned!
If you try this recipe, let us know! Leave a comment, rate it, and don’t forget to tag your yogurt creations #minimalistbaker on Instagram so we can see. Cheers, friends!
Recipe updated 7/24/17 to reflect another round of testing and troubleshooting. Switched recommendation of light coconut milk to full fat! Other considerations:
- Please make sure your probiotic is high quality and does not contain PREbiotics.
- The combination I have had the most success with: 1 can 365 Whole Foods Full Fat Coconut Milk + 2 Renew Life 50 billion probiotic capsules.
- I have not tested this recipe in a yogurt maker or with a yogurt starter/culture. So if you try them this way, let me know how it goes in the comments!
- It’s important that you follow the recommendations of coconut milk brands I mention, otherwise I can’t guarantee good results. I believe Whole Foods 365 brand works so well because the flavor and consistency are nearly perfect. It does contain guar gum, which may be why it helps create smooth texture and prevents separation. Brands that do not contain guar gum are more likely to have some separation.
- If you have separation, that’s OK! Either stir it in, or put it in the refrigerator separated, then scoop off the creamy top layer.
- If your yogurt takes on weird colors or odd smells, something has gone wrong. This never happened to me, but it can. If this happens, throw it out! It should taste tangy, but not spoiled.
- If you made this recipe with good results and you tried other brands / methods, please leave a rating and share any tips or tricks that might be useful to other readers!
- I have not tested this recipe with any other non-dairy milks and have no further recommendations besides full-fat coconut milk.
- Lastly, if you want to thicken your yogurt even more, place two layers of cheesecloth over a fine mesh strainer set over a large mixing bowl and carefully pour in your yogurt. Then loosely cover the top (with a lid or plastic wrap), and refrigerate / let drain for several hours (draining liquid as needed) until desired thickness is reached!
Easy 2-Ingredient Coconut Yogurt
Ingredients
YOGURT
- 1 (14-ounce) can full fat coconut milk* (organic when possible, see below for brand recommendations // or sub light for thinner yogurt)
- 2 capsules vegan-friendly probiotic* (they need to be capsules, not pills, which have to be crushed, see below for recommendations // capsules can be easily opened and emptied)
ADD-INS optional
- Maple syrup, stevia, or agave nectar for sweetening
- Vanilla extract or vanilla bean powder
- Fruit or Fruit Compote
Instructions
- SEE NOTES ABOVE FOR MORE TIPS! It’s important to select a coconut milk that’s creamy and smooth (not grainy or clumpy) to ensure that the yogurt is creamy and smooth. Our favorite brands are: Savoy Coconut Cream, Aroy-D Coconut Milk, and Whole Foods 365 full fat (BPA-free). Native Forest Full Fat (BPA-free) isn’t as creamy, but it still makes tasty yogurt. We would not recommend Trader Joe’s (BPA-free), which was recently reformulated and is now chunky/grainy.
- Shake your coconut milk well. Then open and pour into a clean, sterilized, dry glass jar or bowl. You can easily sterilize clean jars by rinsing throughly with boiling water and letting dry completely. Just let them cool back down to room temperature before adding ingredients. For jars, I like this one from Weck. Sometimes the coconut milk is separated, so after adding it to the jar, I stir with a whisk to get it completely smooth.
- Empty your probiotic capsules (see brand recommendations below) into the yogurt and (important:) use a wooden or plastic spoon to stir, not metal, as a metal spoon can react negatively with the probiotics. Stir until creamy and smooth, pushing the probiotic up against the side with your spoon to evenly disperse.
- Cover the mixture with cheesecloth (or a very thin, clean dish towel – something that lets air in but keeps bugs out) and secure with a rubber band.
- Let the yogurt activate for at least 24 hours and up to 48 hours (sometimes longer – 48 hours is my sweet spot for thickness and tang) in a warm place. The longer it rests, the tangier the yogurt will become. In warmer climates and summer it’s easy to make yogurt if your house is warm (75 degrees F / 23 C and above). But in cooler climates or seasons, place the yogurt in the oven with the light on (do not turn on the oven), where it should have the right amount of heat to activate.
- That’s it! Once the yogurt has reached the right amount of tanginess and thickness for your liking (be sure to sample with a wooden spoon), cover securely with a lid and refrigerate until cold. Refrigerating will also thicken the yogurt even more, almost to a Greek yogurt consistency (depending on the brand of coconut milk you used)! For even thicker yogurt, line a fine mesh strainer with two layers of cheesecloth and set over a mixing bowl. Pour in the yogurt, then loosely cover with a lid or plastic wrap and let rest in the refrigerator overnight or for 12+ hours. It should thicken up quite a bit more.
- You have coconut yogurt (!!), which can be enjoyed plain as I prefer it, with fruit, or even with Fruit Compote. You can also add a bit of sweetener or flavor at this point, such as maple syrup and/or vanilla extract.
- Store covered in the refrigerator for several days (mine kept for 7 days). You’ll know it’s gone bad when the smell is off-putting or there is mold.
Video
Notes
*Nutrition information is a rough estimate calculated without add-ins or sweeteners, using full fat coconut milk.
*Method heavily adapted from the amazing Laura Miller.
*Recipe updated 7/24/17 after another round of testing and troubleshooting!
* Recipe makes 1 1/2 cups yogurt.


Paige says
This recipe turns out great with the full fat 365 organic canned coconut milk from Whole Foods. I didn’t have good luck the time I tried it with Thai kitchen, so just get the 365, and you’ll be good. Thanks for this delicious recipe!
We’re so glad you enjoyed it, Paige! Thanks so much for sharing. xo
Jeanne says
I thought this was a good recipe so I tried it and it didn’t live up to your statements. It was not firm even though I fermented in oven with just the light, as I usually do. Four of the six cans of Aroy-D you suggested arrived from Amazon with huge dents, and it says it contains “Polysorbate 60″… not good at all. Quite disappointed and will share this recipe with others.
So sorry to hear you didn’t enjoy it, Jeanne!
Bozo says
Tried this, but didn’t work at all, was just tangy coconut milk.
Strained it, but it ended up producing less than a cup, and I had doubled the recipe.
It sounds like it might have needed a little longer on the counter to thicken!
Nancy Koprowski says
Made this a few days ago. Let itvsit for 48 hours and its wonderfully tangy. So easy to make! No additional thickening ingredients like the grocery store brands add in.
We’re so glad you’re enjoying it, Nancy! Thanks so much for the lovely review!
Diliam Caldwell says
Hi there…
Think it will work if I mix half nut milk and half coconut milk?
Thanks
Hi Diliam, if using boxed/refrigerated nut milk (vs. canned coconut milk), you would need to heat and cool it first before adding the probiotics (for food safety). Additionally, it wouldn’t be as thick unless adding a thickener. Hope that helps!
Judy says
I have never been able to make it that thick and I’ve used the same ingredients and method.
Thank you for sharing your experience, Judy! We’re sorry this one hasn’t been as thick for you. Have you tried straining the yogurt? You can do this by placing two layers of cheesecloth over a fine mesh strainer set over a large mixing bowl and carefully pouring in your yogurt. Then loosely cover the top (with a lid or plastic wrap), and refrigerate / let drain for several hours (draining liquid as needed) until desired thickness is reached. We hope that helps!
Linda Moore says
My refrigerated probiotic capsules are opening up just fine, but the contents are not powdery and it was difficult to empty it into my coconut milk. Have you had this happen before?
Hmm, we haven’t experienced that! Is it possible they got contaminated with some moisture/humidity, causing the content in the capsules to clump up?
Jackie says
Hi I am making this – super excited to try the recipe. But after culturing in the oven for about 36 hr, there’s a very slight oniony smell. Is that bad? I washed and sterilized the jar, wooden sooon and whisk. But I added 3 capsules of the Jarrow probiotic – can it be that was too much? It’s in the fridge now…we’ll see.
PS Inised the Aroy-D coconut milk
Hi Jackie, hmm, it’s tough to say, but that does sound like something might have gone awry. It shouldn’t smell unpleasant. We don’t think the additional probiotic capsule would cause that. Which Jarrow probiotic were you using?
Heather says
Super bummed. I tried this in Australia using full fat coconut milk and good probiotics and after 24hrs could tell it was fermenting but still liquidy but then left it another 24 hours and then checked and it was still liquid but smelled off.. :( super sad because we find it hard to get coconut yogurt here and I had high hopes.. I’ll try one more time..
Bummer! We’re so sorry it didn’t work well this time, Heather. We hope you have better success on the next round! Would you mind sharing the brand of coconut milk and probiotics you used?
Christine says
I make this regularly, so when I set up my yogurt jars, I put 1 teaspoon of flax seed or chia seed in them. I then stir it up. The seeds help to coagulate the yogurt so it isn’t runny.
Laura Wheeler says
Can this be made using previously made yogurt if some is held back. Probiotics are expensive it would be nice to be able to not have to keep purchasing
Hi Laura, We tested using the previous batch as a starter (using 2 Tbsp of coconut yogurt) and found it wasn’t as tangy and didn’t really thicken. But it’s possible using more would work (maybe 1/4 cup). Hope that helps!
patti says
I used Native Forest successfully, but it was too thin after 48 hours culturing plus 48 hours in the fridge. Straining it made it wonderfully thick and creamy, very yummy. However, the yield was only 6 oz from a 13 and 1/2 oz can of milk, which cost $4. I can buy a 24 oz container of organic plant-based yogurt for $6 to $7. So making my own is quite a bit more expensive, so I won’t be doing this again!
Thank you for sharing your honest experience, Patti! Sorry to hear it isn’t worth making again.
Kelly Cheek says
I have made this yogurt twice in the warmer months and it was wonderful. Making it in October I have had to resort to my oven with the light on for warmth. My oven is currently at 95 degrees – is there a maximum temperature I should allow?
Hi Kelly, the oven light typically keeps it around 80-100 F. It will be fine up to at least 110 F.
Aimee says
Is the recipe best with coconut cream or coconut milk? Thanks!
Hi Aimee, it depends if you prefer a thicker/richer yogurt or a little lighter. We like coconut milk for a little lighter texture, but in some cases (such as serving with desserts), we like to use coconut cream.
Brittany Wynthein says
I’m curious if you have ever tried this with Applcider vinegar with the mother in it?
We haven’t!