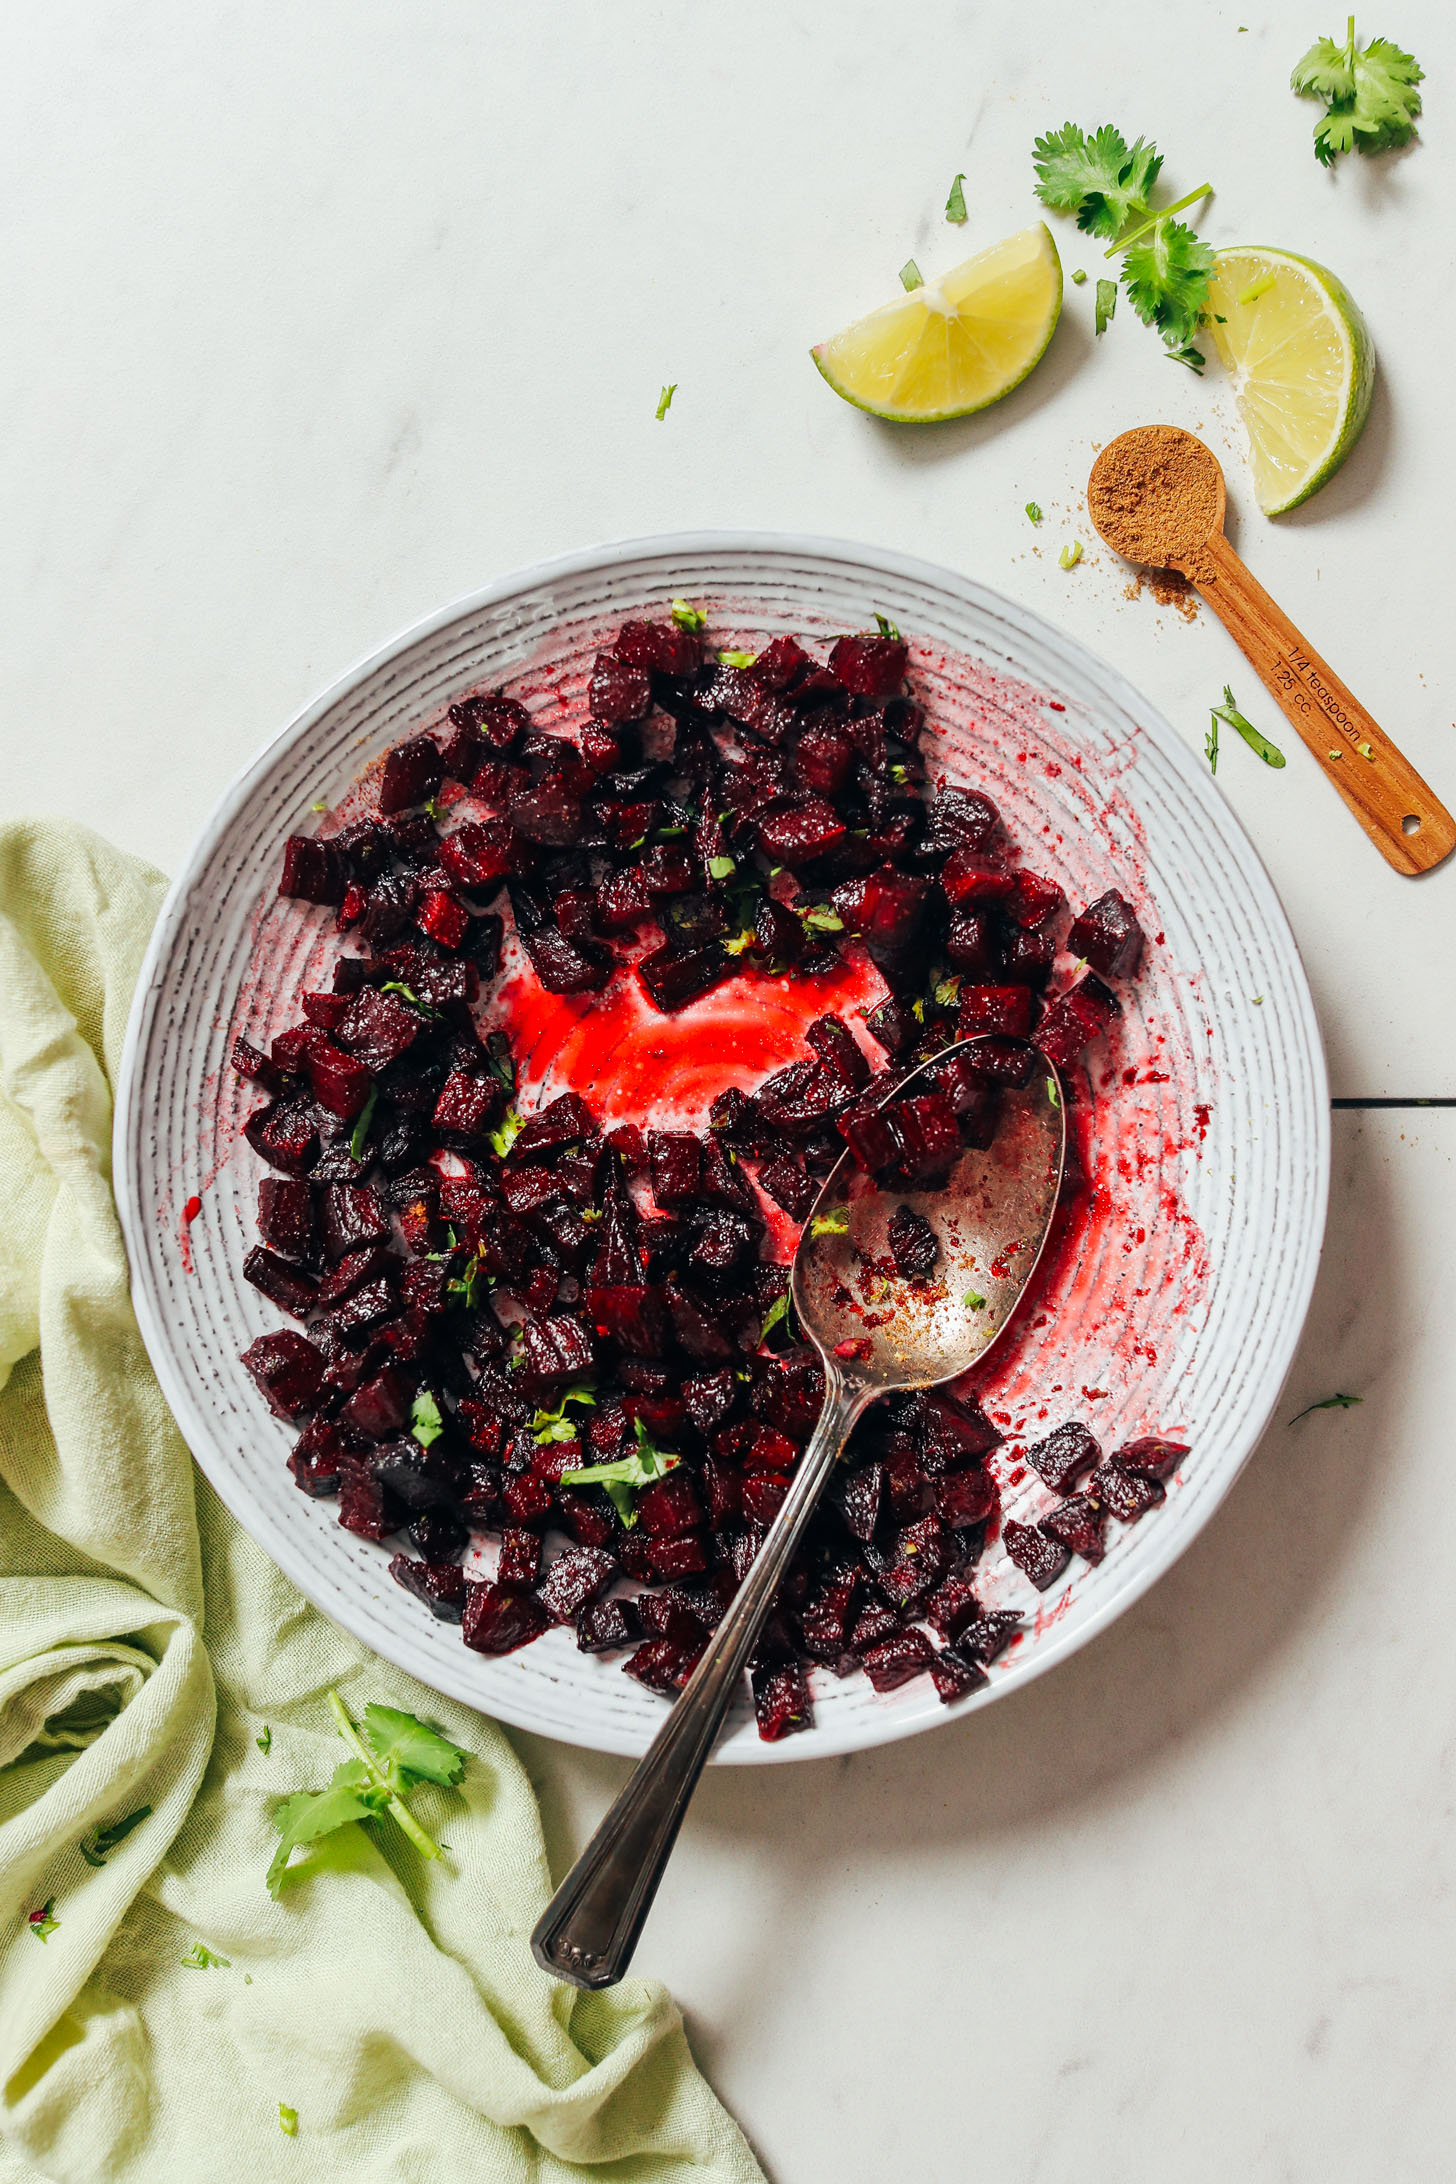
This simple, citrusy relish is inspired by the Vegan Bowl at Teote — a Latin restaurant we love in Portland, Oregon. In fact, I already shared my take on the bowl itself here. But there was something missing: The mysteriously delicious and addictive beet relish.
I don’t know how exactly they make it at Teote, but my taste buds tell me I did a pretty good job at deconstructing it here for you all. And it requires just 6 simple ingredients! Let us show you how it’s done!
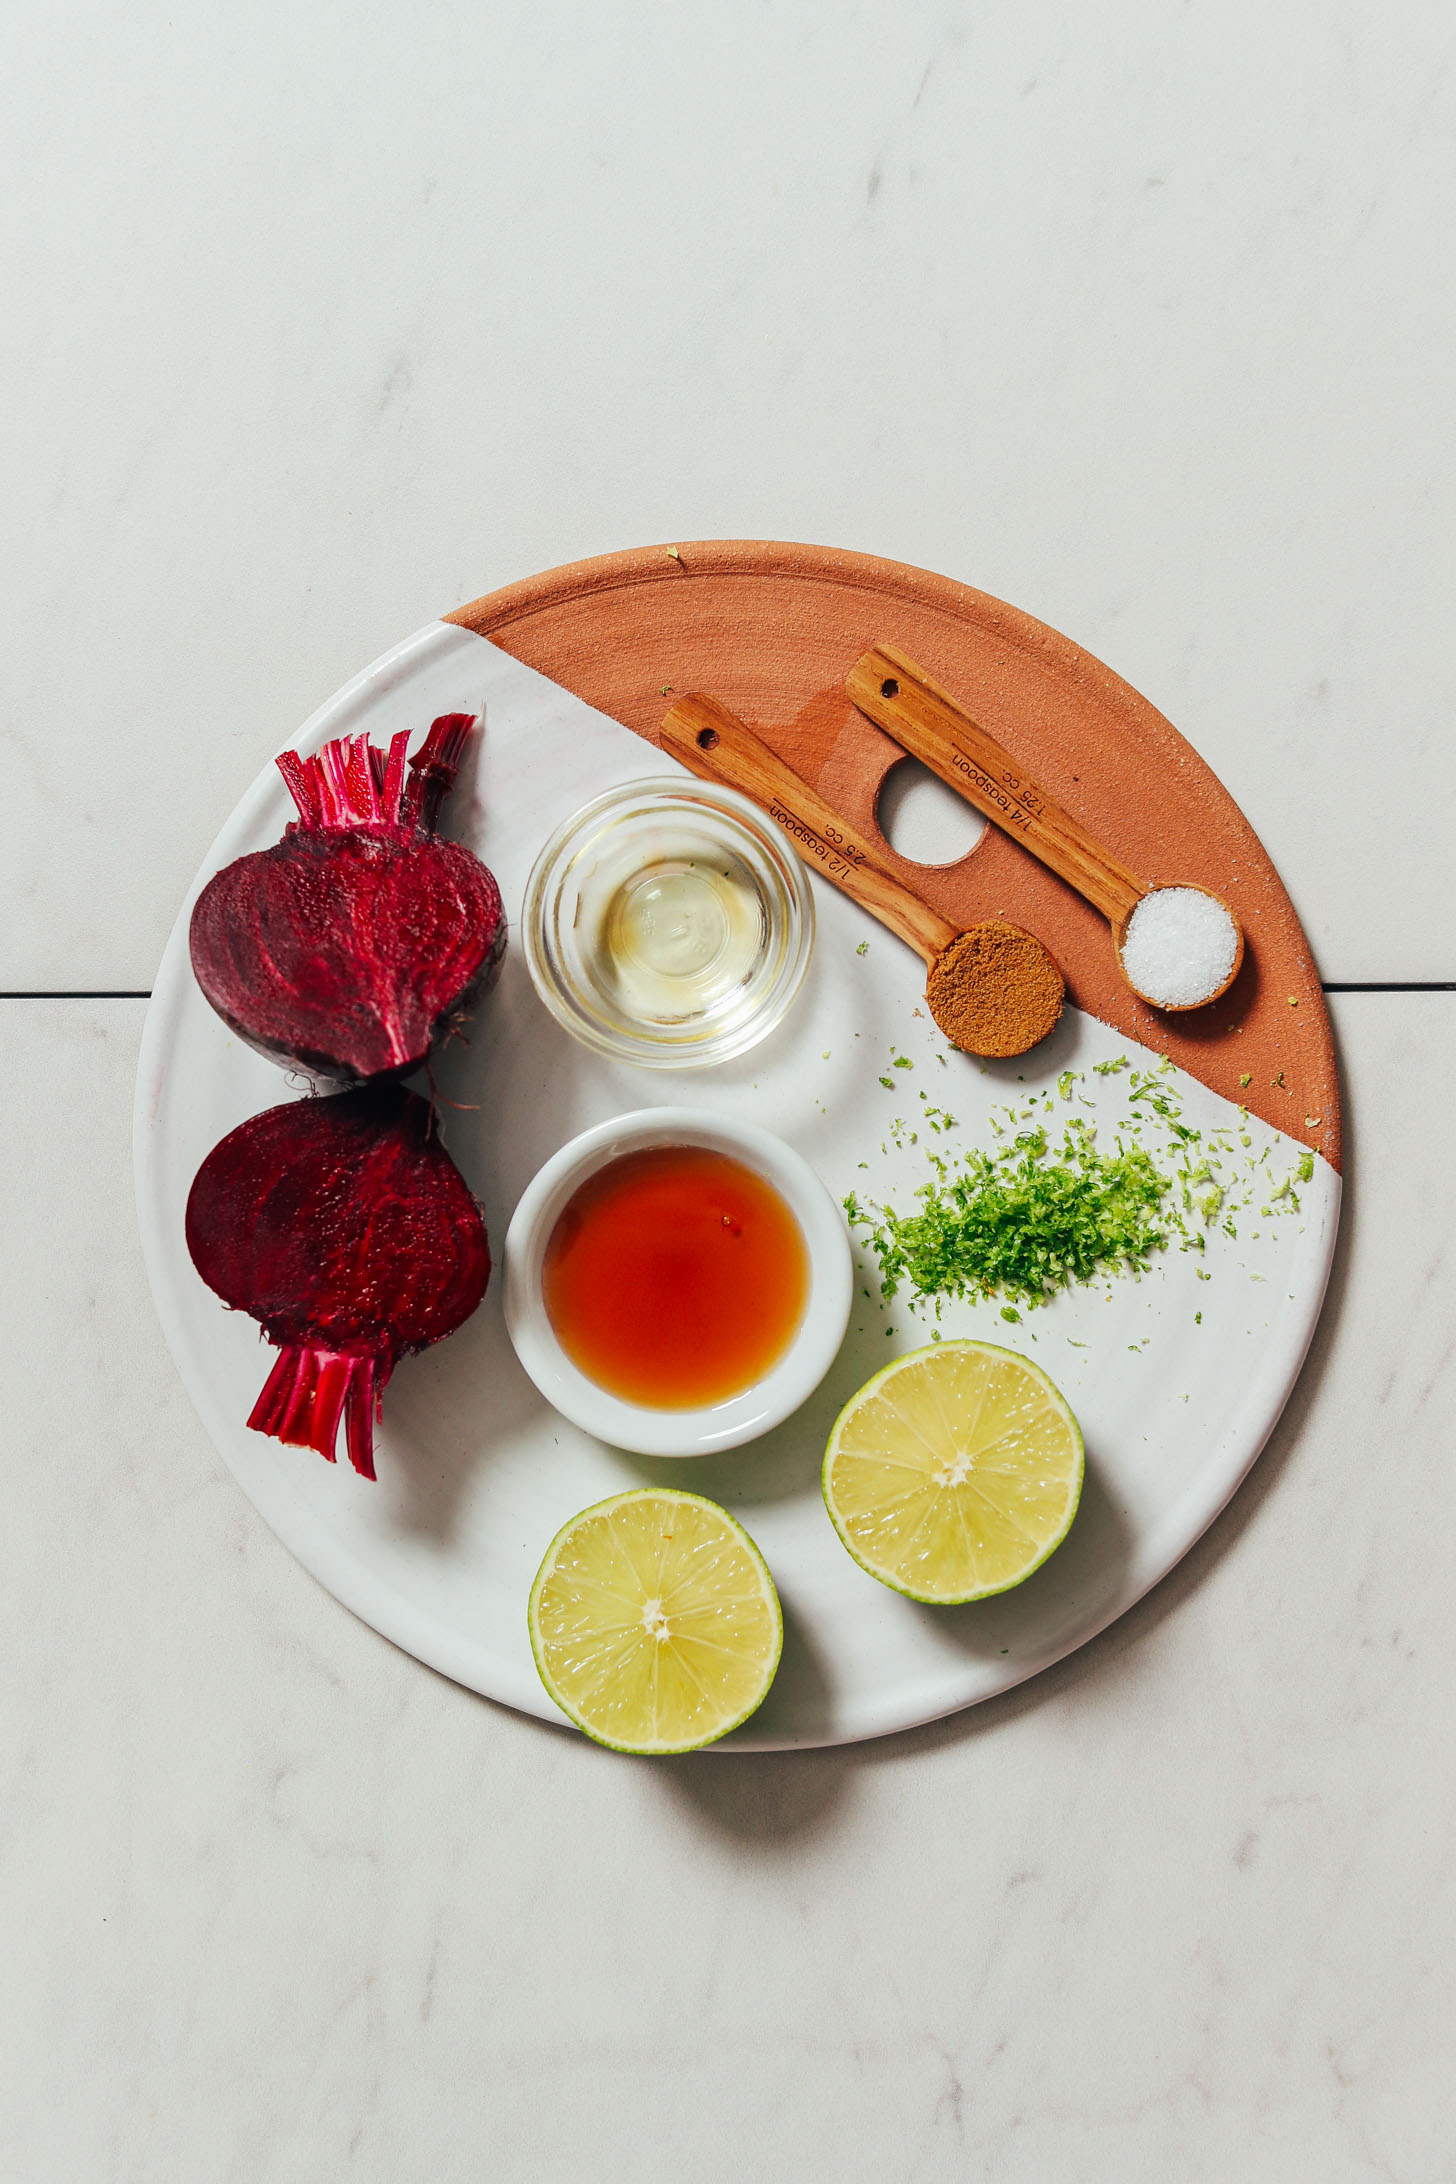
How to Make Beet Relish
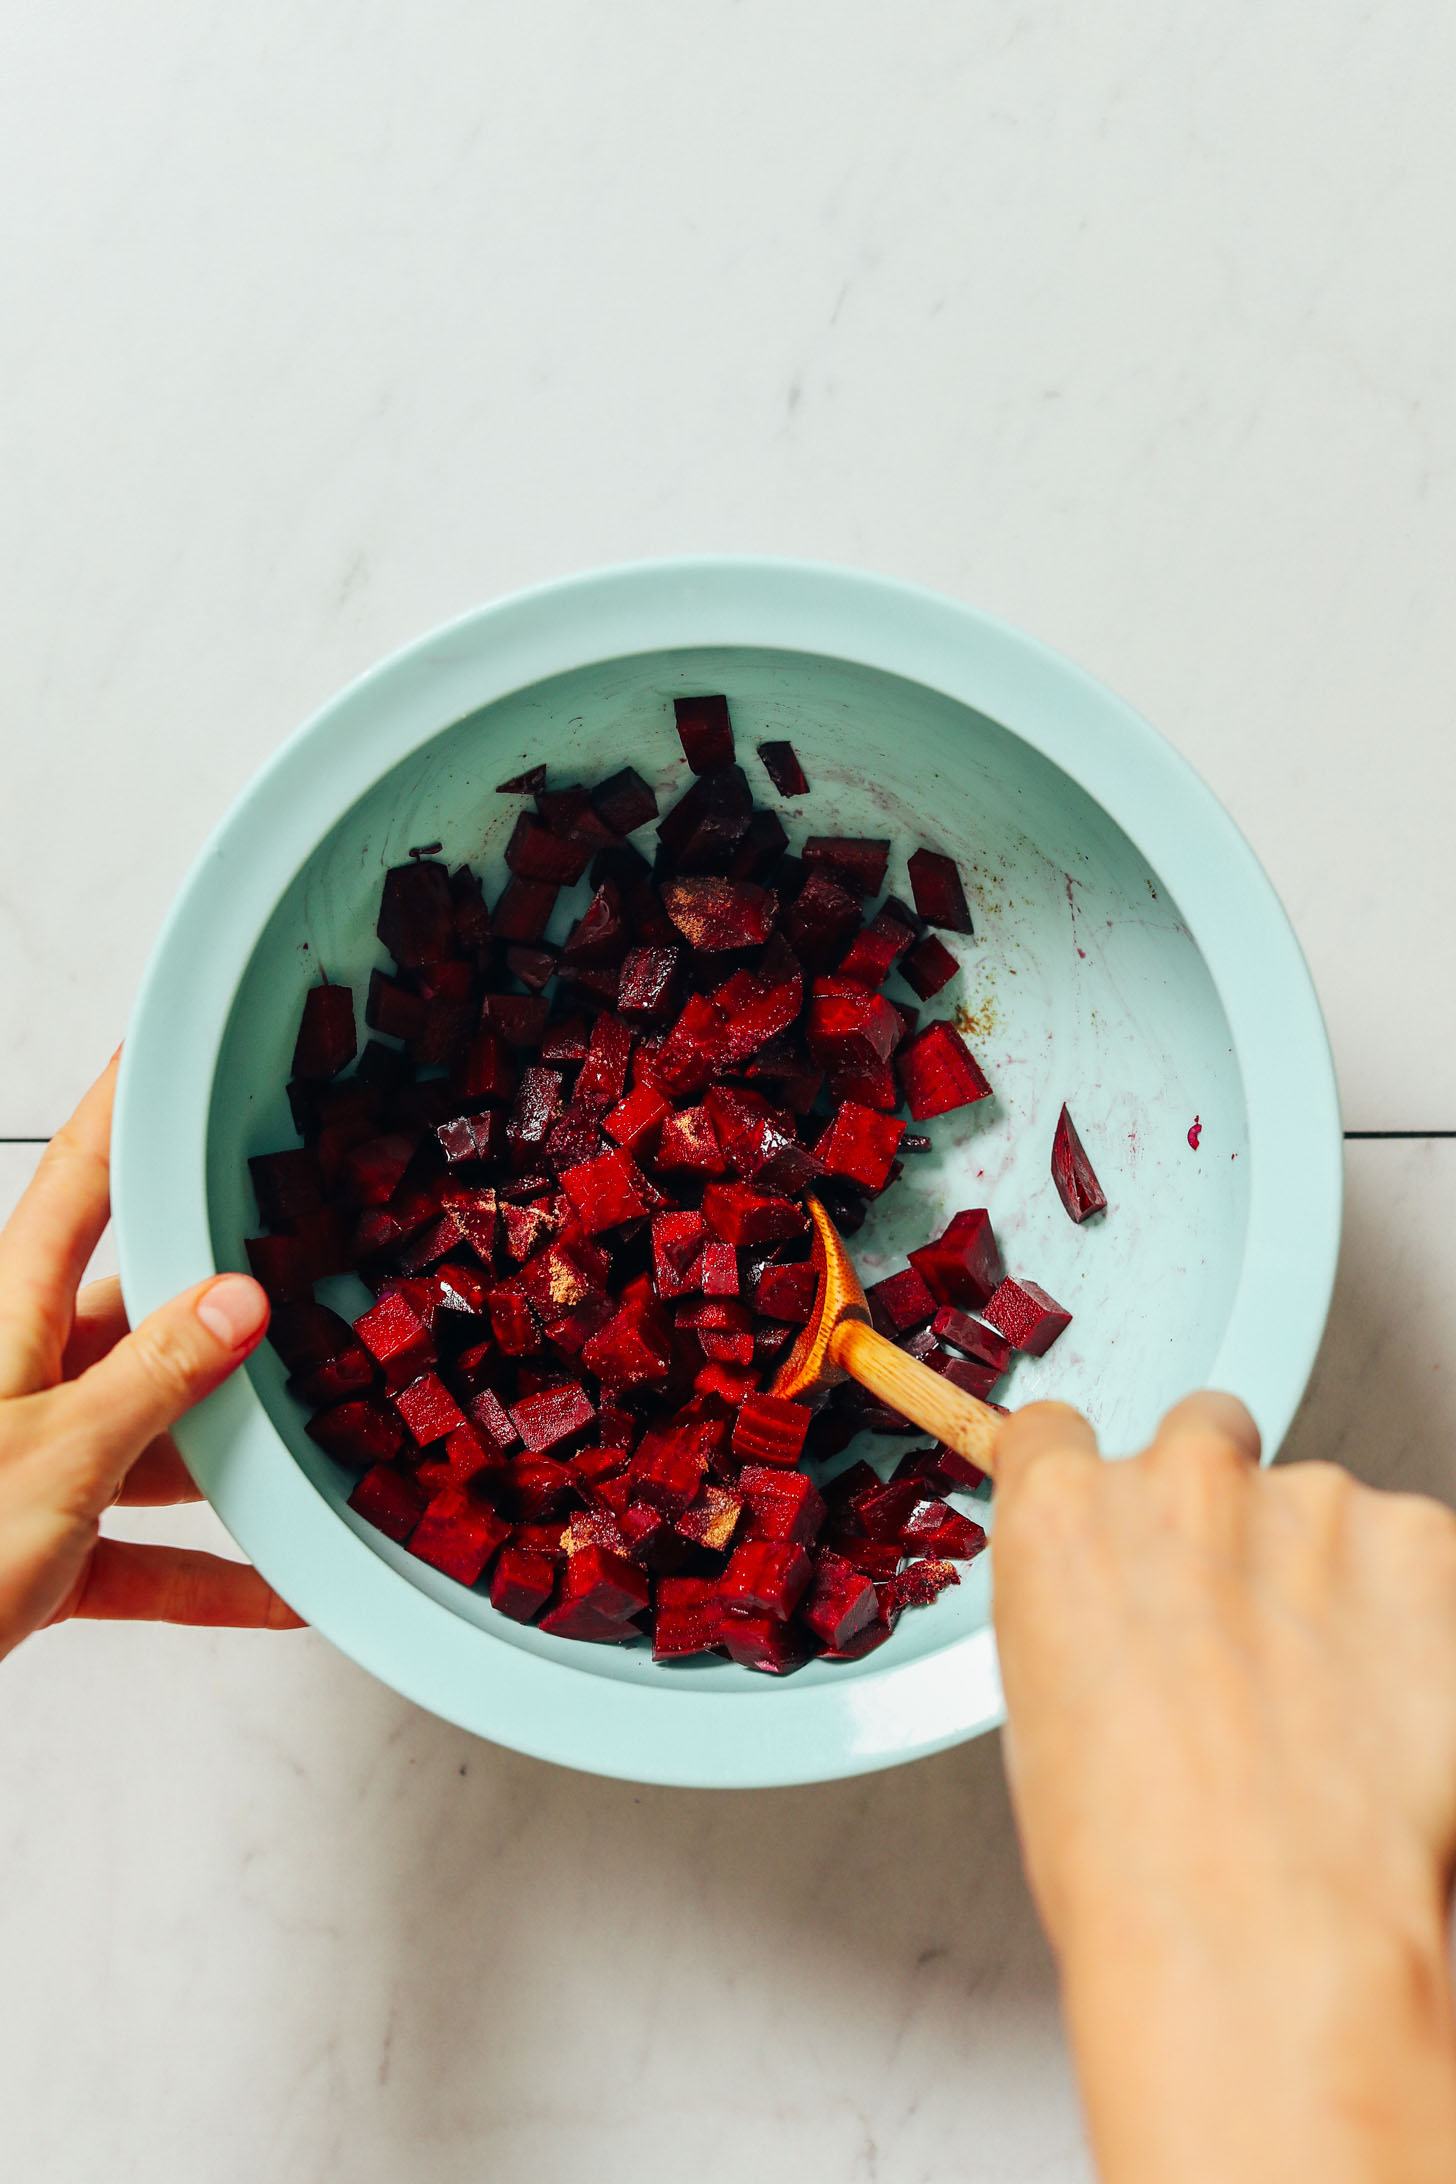
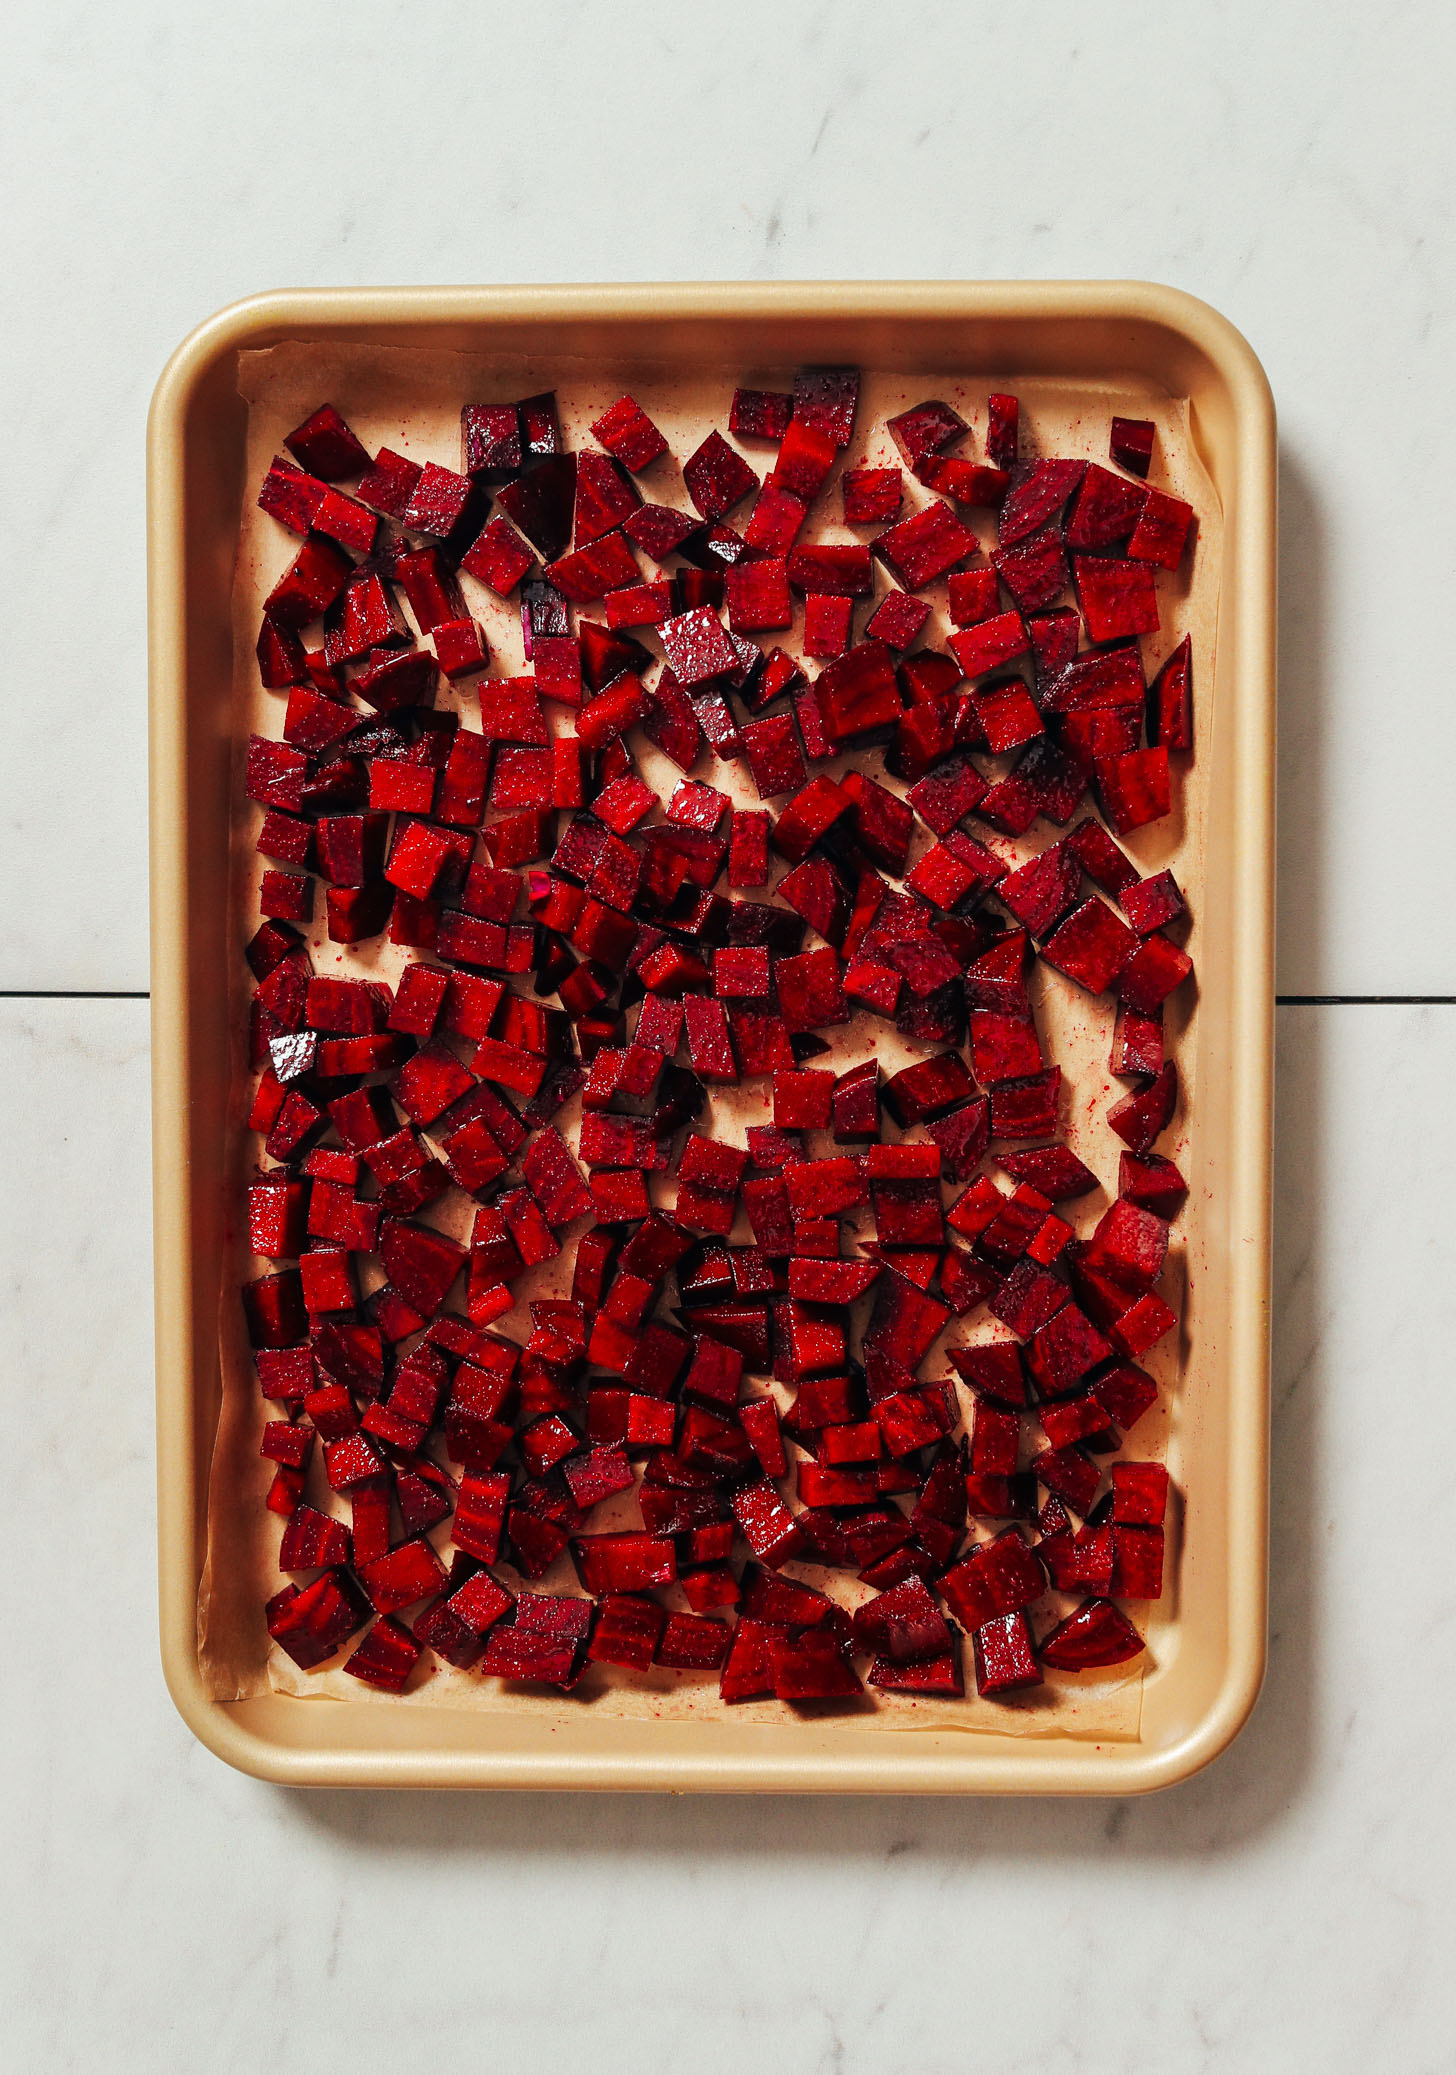
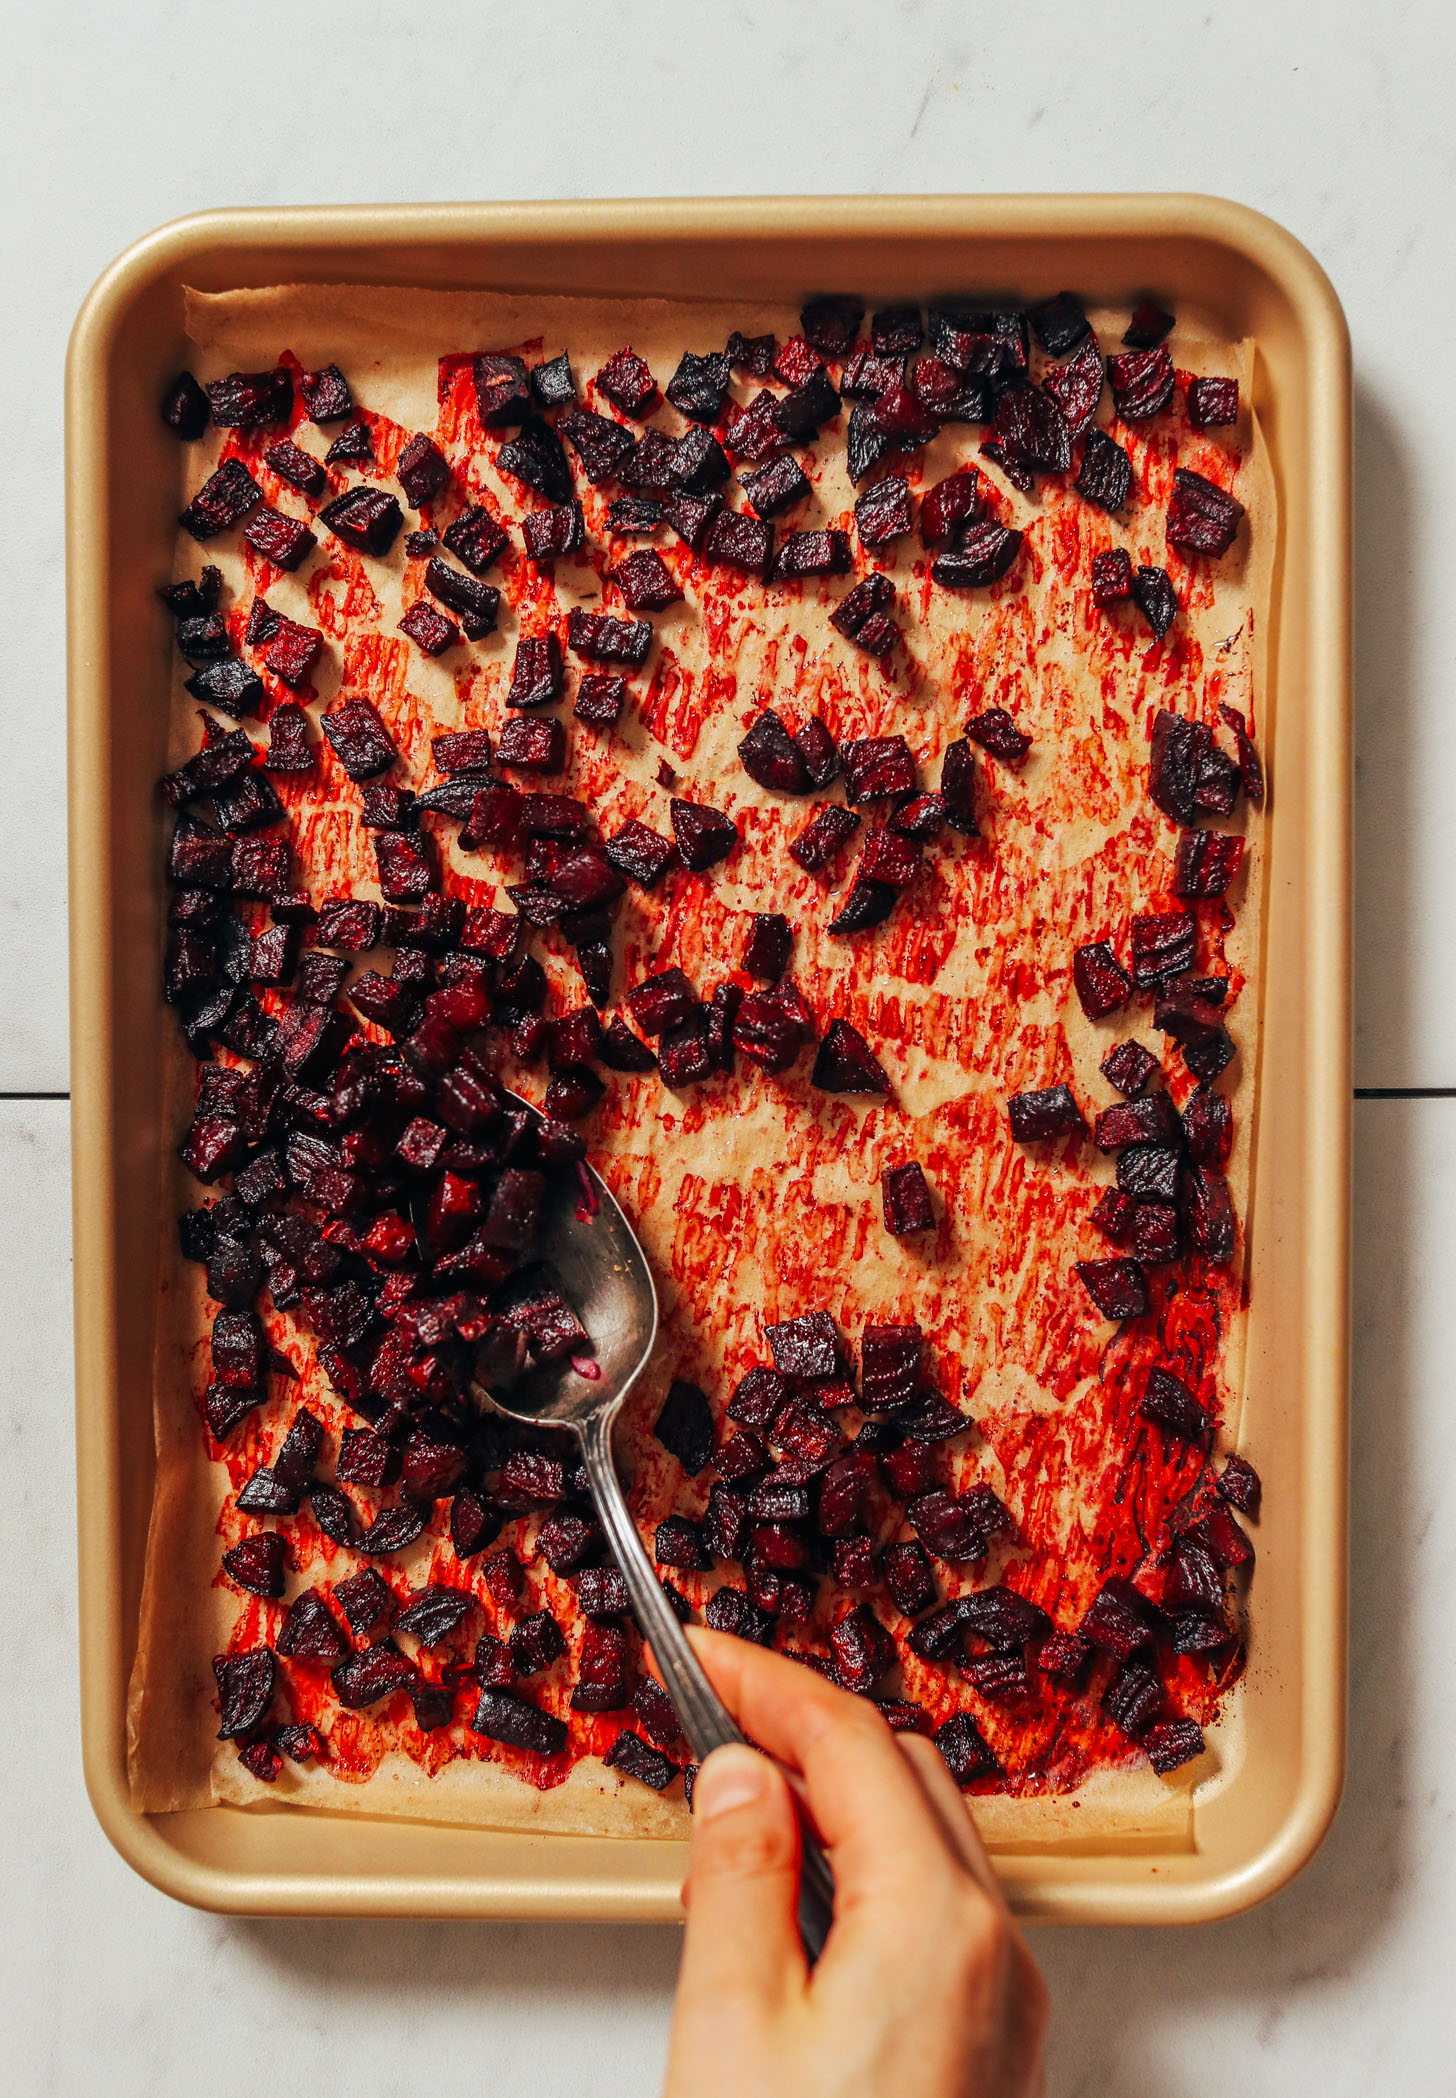
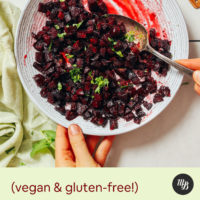
The concept is simple: Cubed beets are tossed in salt and smoky cumin, then roasted until tender and slightly caramelized, which makes them sweet and tones down some of the earthiness.
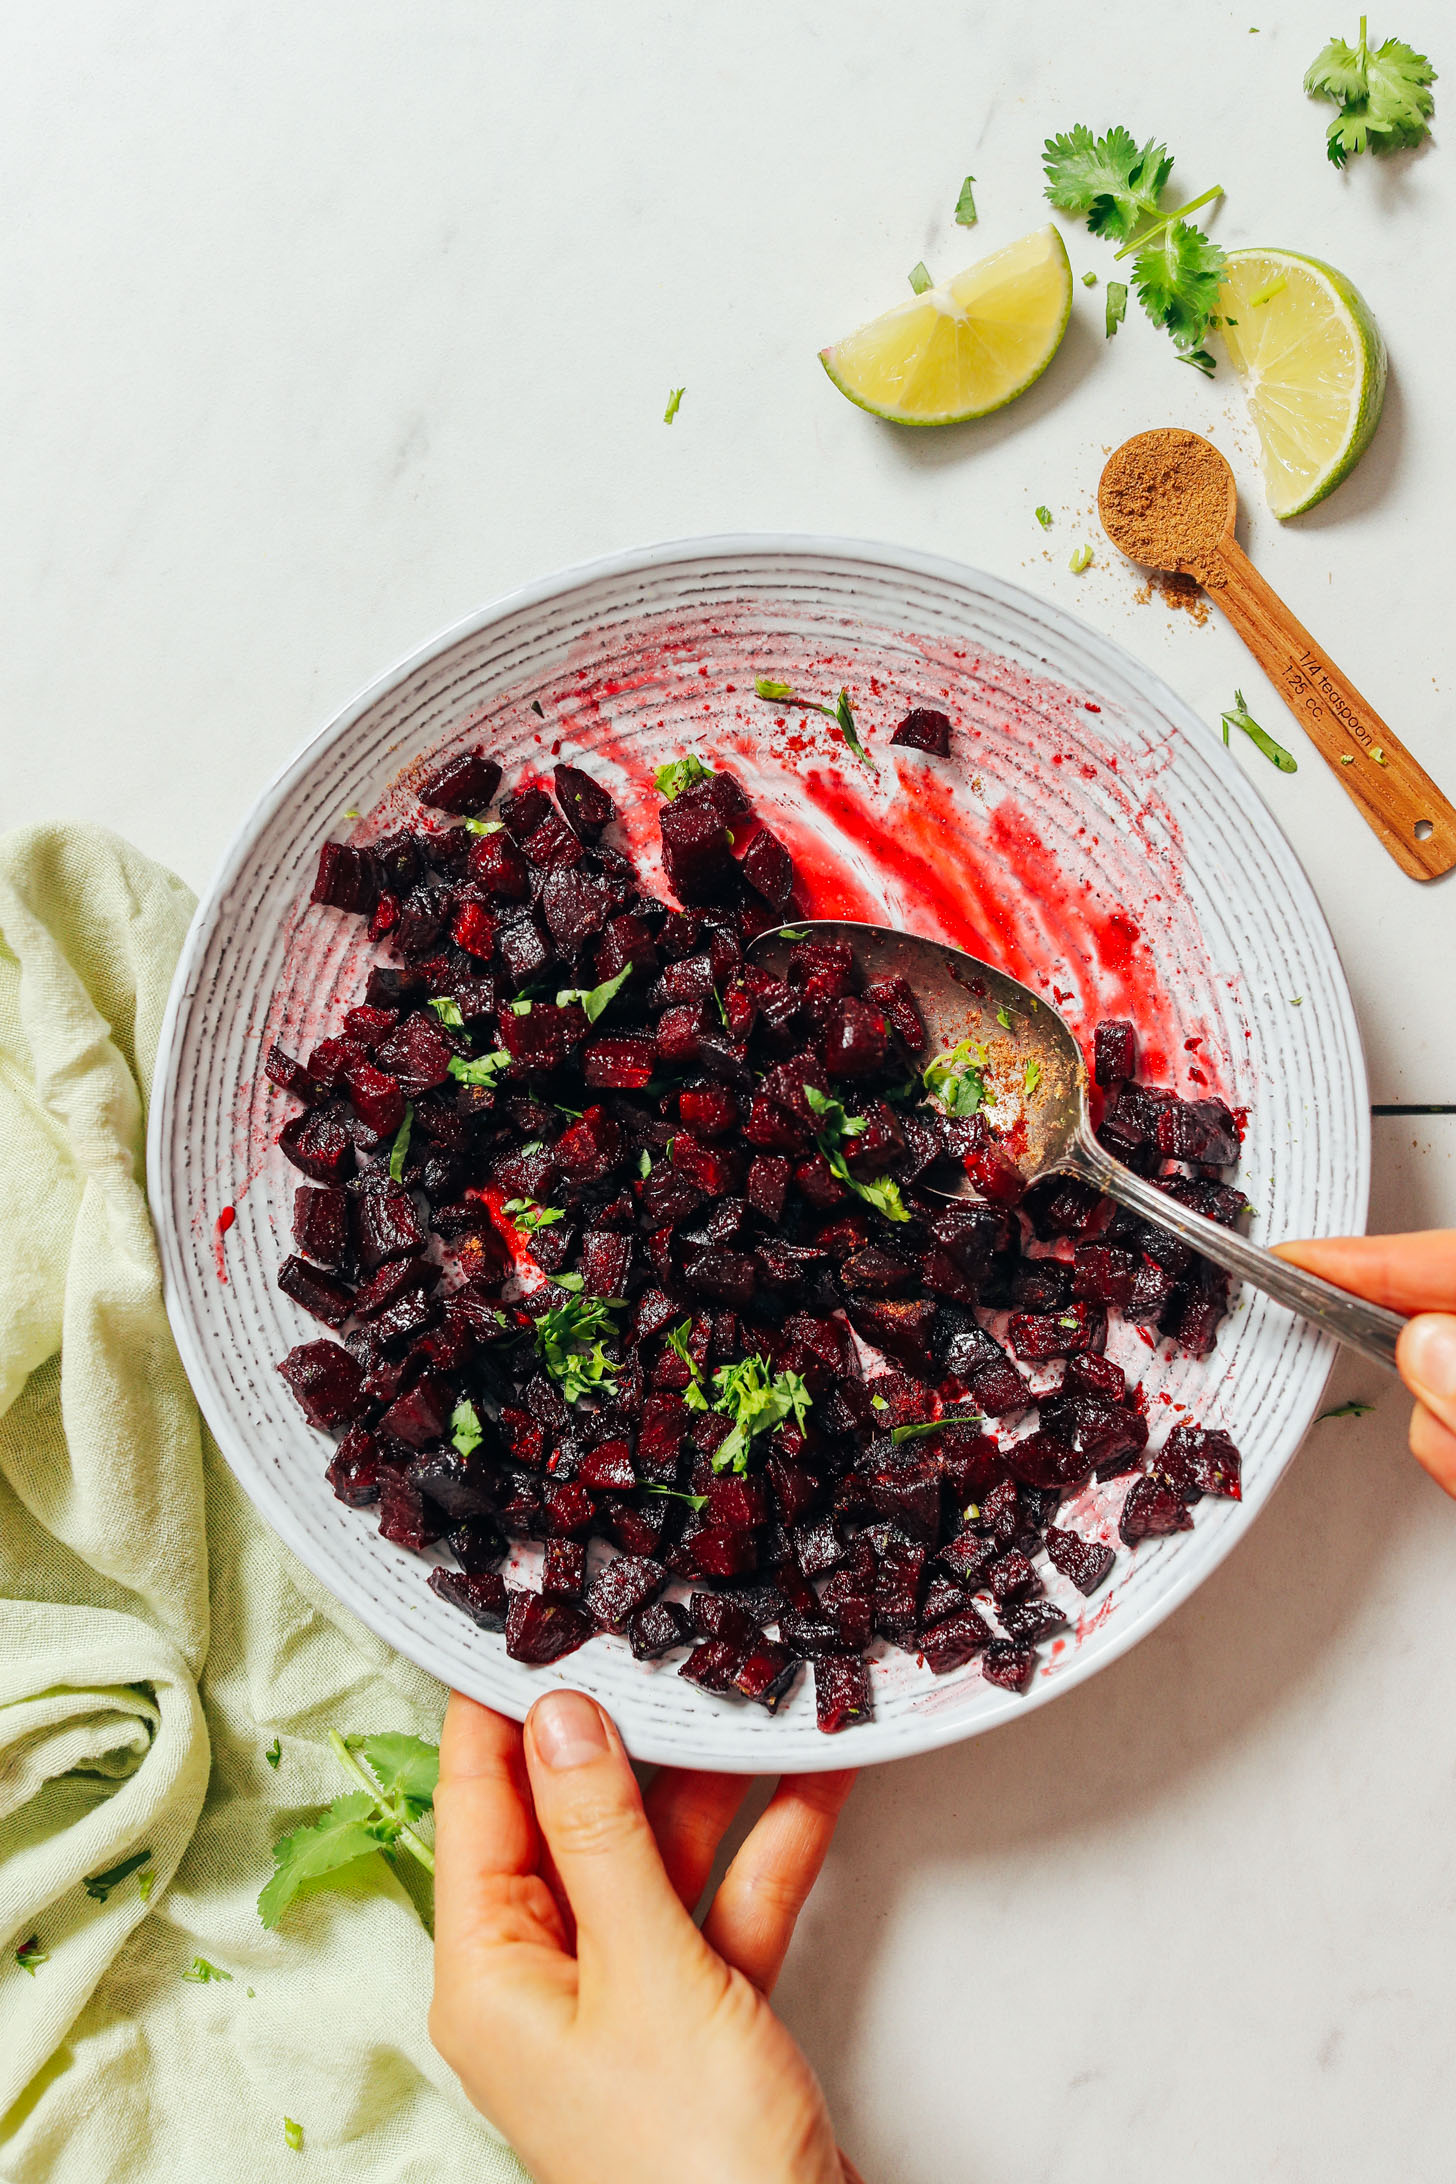
Then, we add a bit of lime zest and juice for acidity and brightness, and a touch of maple syrup to enhance the beets’ natural sweetness. Toss to combine, and you have a delicious relish on your hands.
Health Benefits of Beets
Ever wondered what gives beets their vibrant red color? It comes from plant pigments called betalains. And not only do betalains make beets beautiful, but they are also a powerful source of antioxidants and have anti-inflammatory properties (source).
Research also provides evidence that beets:
- Are rich in vitamin C, vitamin A precursors, and antioxidants
- Support healthy blood pressure
- Promote nitric oxide production, which supports cardiovascular health
- Protect against DNA damage
- Support a healthy inflammatory response
- & much more!
Origins of Relish
When many people in the US think of relish, they think of a chunky pickled condiment that’s commonly served on hot dogs.
But it’s thought that relish was invented long before that version came around. It was likely inspired by the condiment chutney, which originated in India. Other versions were later created, including chow-chow and piccalilli.
Our version is used similarly — as a condiment for adding flavor. But it’s made with fresh ingredients instead of pickled and highlights Latin American flavors.
We hope you LOVE this beet relish! It’s:
Smoky
Savory
Sweet
Earthy
Citrusy
& Delicious!
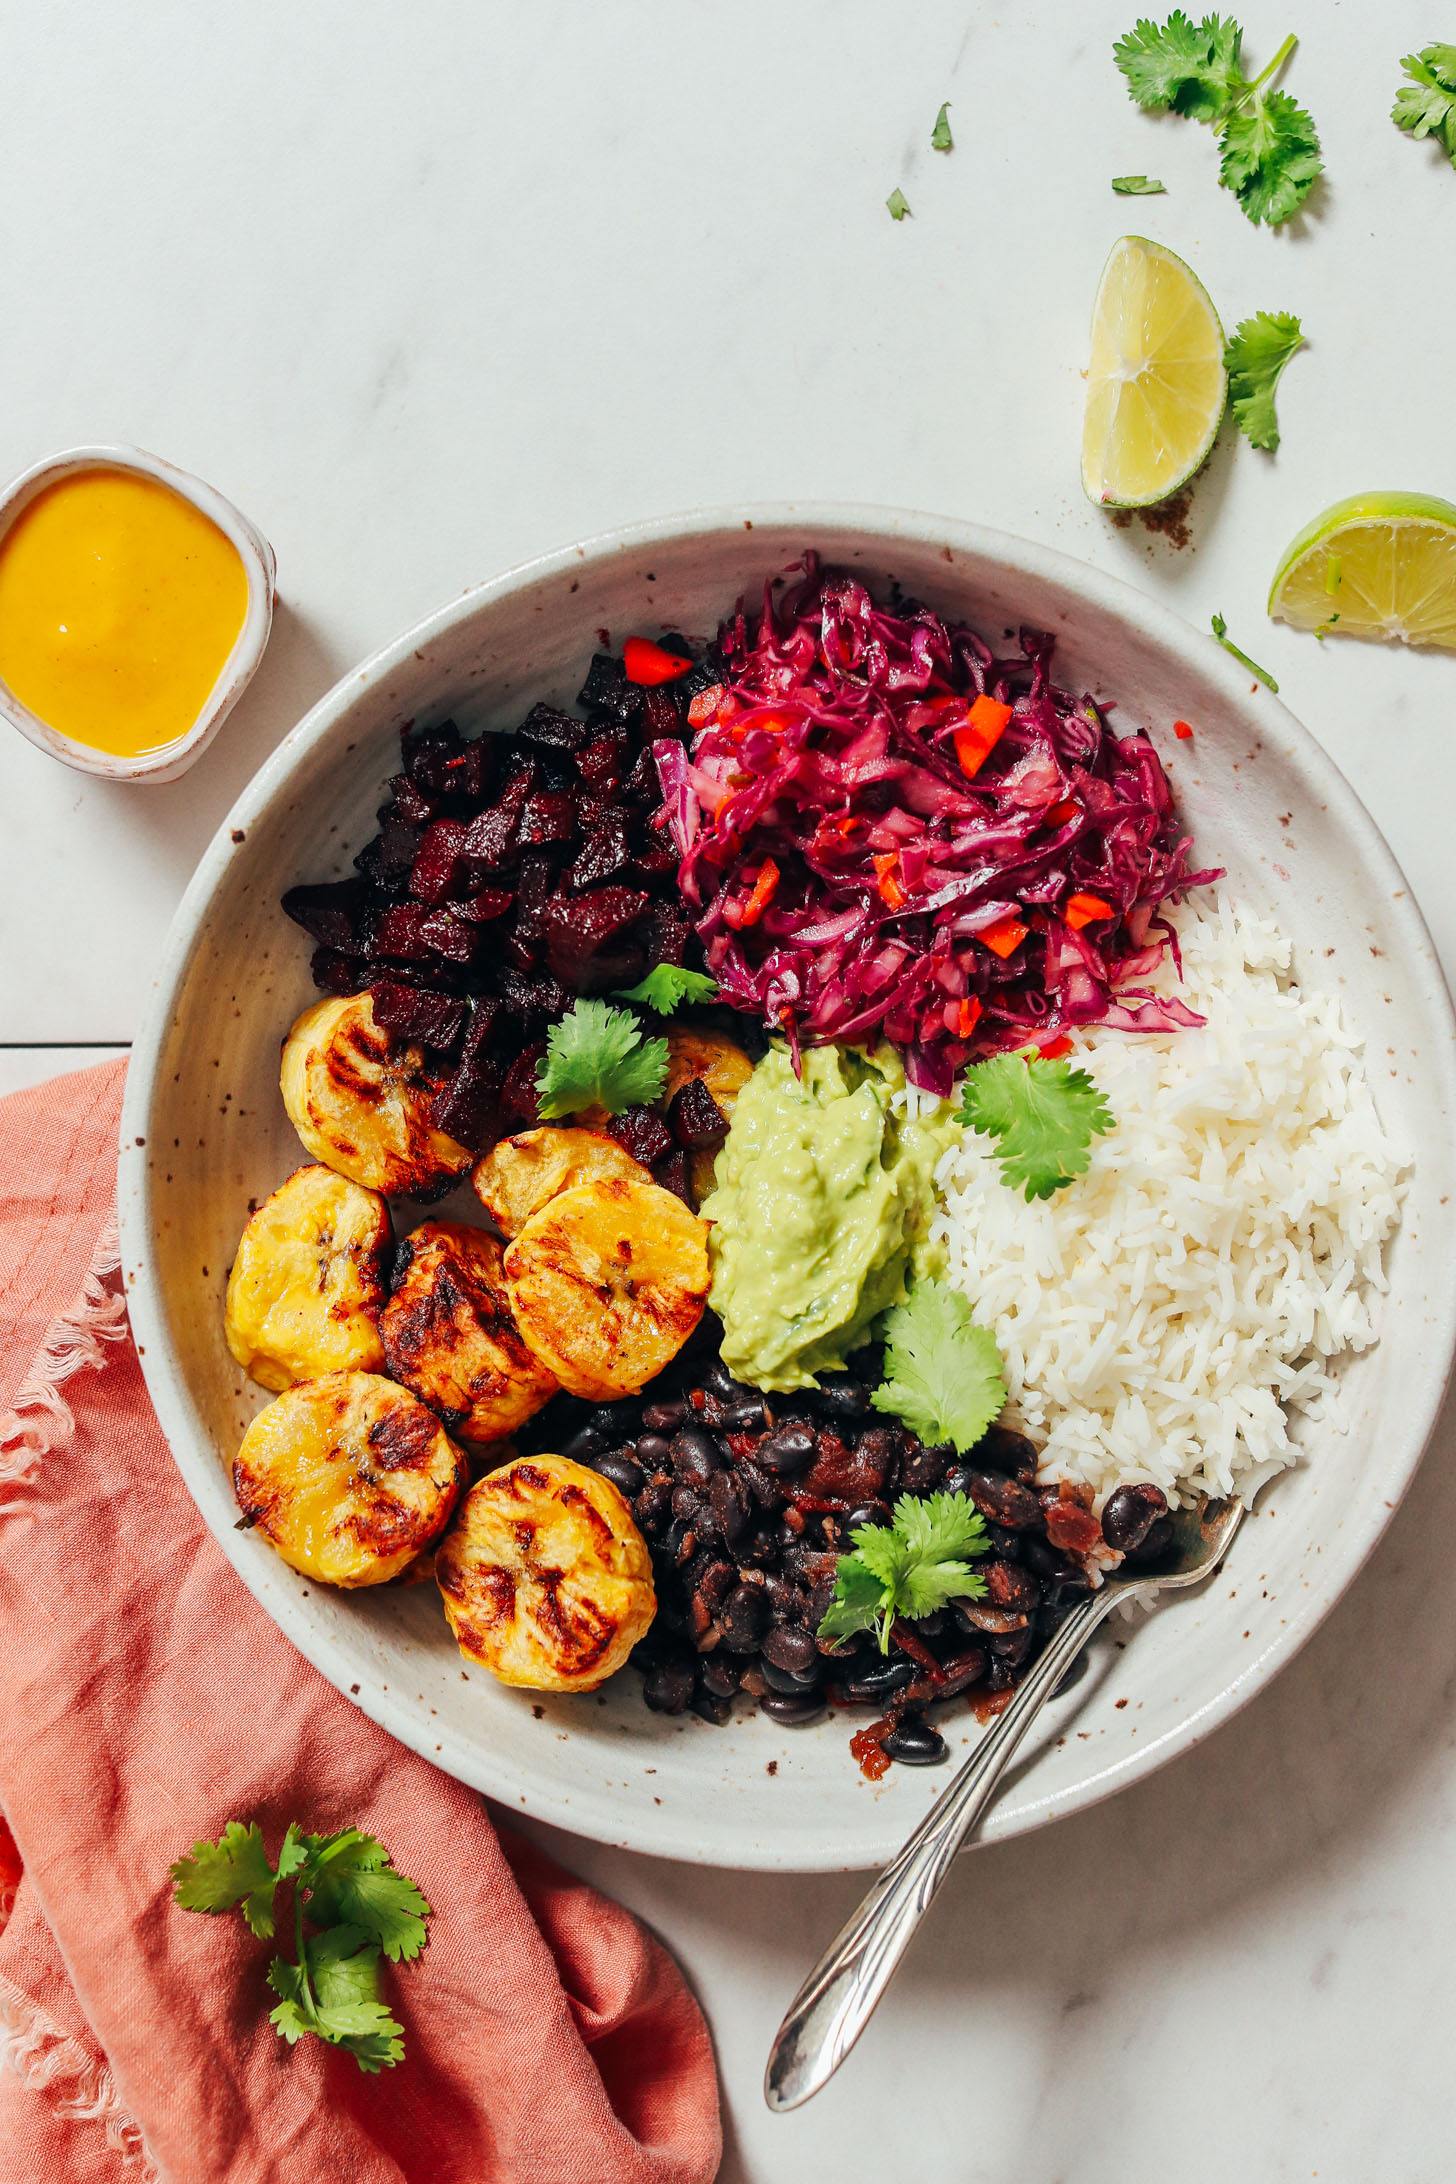
The beauty of this dish is its versatility. We highly recommend serving it on our Roasted Plantain Black Bean Bowls. But it could also be added to just about any salad, sandwich, or bowl meal to add a boost of plant-based nutrition, gorgeous color, and vibrant flavor!
More Beet Recipes
- Red Velvet Cake Smoothie
- Curried Beet Soup with Tandoori Chickpeas
- Smoky Black Bean Beet Burgers
- Baked Rosemary Beet Chips
If you try this recipe, let us know! Leave a comment, rate it, and don’t forget to tag a photo #minimalistbaker on Instagram. Cheers, friends!
Simple Roasted Beet Relish
Ingredients
- 3 cups cubed, peeled beets (~2 large or 3 small beets, as original recipe is written)
- 2 tsp avocado oil (see notes for oil-free option)
- 1/4 tsp sea salt
- 1/2 tsp ground cumin, plus more for garnishing
- 1-2 tsp maple syrup
- 1/2 tsp lime zest
- 1-2 Tbsp lime juice
FOR SERVING optional
- Fresh cilantro
Instructions
- Heat oven to 375 degrees F (190 C) and line a baking sheet with parchment paper.
- Add peeled, cubed beets to a medium mixing bowl along with avocado oil (see notes for oil-free option), salt, and cumin.
- Roast beets for 35-40 minutes, or until fork tender and slightly golden brown / caramelized, tossing once at the 20-minute mark to ensure even baking. The longer they bake, the more tender and caramelized they become, but be careful not to overcook / burn, or they can become crispy and tough.
- Once roasted, add back to the mixing bowl from earlier and season with maple syrup, lime zest, and lime juice, and mix. Taste and adjust flavor as needed, adding more lime juice for acidity, lime zest for citrus flavor, cumin for smokiness, salt to taste, or maple syrup for sweetness. Garnish with fresh cilantro, if desired.
- Use immediately (on our Roasted Plantain Black Bean Bowl!), or cover and store in the refrigerator for up to 4-5 days. If the beets get dry in the fridge, add a bit more lime juice or a dash of water or olive oil before serving to make them saucier. Not freezer friendly.
Video
Notes
*If oil-free, I’d recommend wrapping whole, unpeeled beets in foil and roasting on a baking sheet at 400 degrees F (204 C) for ~1 hour, or until tender and a knife slides through easily. Cool to the touch and the skin should peel away easily. Then cube and season with salt, cumin, maple syrup, lime zest, and lime juice.
*Nutrition information is a rough estimate calculated without optional ingredients.
*Inspired by the vegan bowl at Teote in Portland, OR.


Ann says
Could I can this?
Hi Ann, we don’t have much experience with canning, but we think the amount of salt/lime is unlikely to be enough. It would be best to use a recipe specific for canning to ensure a safe result!
Gail says
I’ve made this so many times. We love it on salads, with hummus, and as part of a Middle Eastern food feast. I sub agave for the maple syrup, otherwise follow the recipe exactly. Thanks for such a simple and excellent beet recipe!
We’re so glad you’re enjoying it, Gail. Thanks so much for the lovely review! xo
DARINA SHUSTER says
First time roasting beets and I loved it! Definitely making this again. Was never a big beet fan but now I am :)
Yay! Thanks for the lovely review, Darina! xo
Carol says
I’d love to know how you prepared the purple cabbage (& carrots?) in the image of the plantain black bean bowl shown above.
Look forward to preparing both recipes soon.
You can find the recipe for the cabbage slaw here. Enjoy =)
Anneliesse says
Would olive oil be ok to use instead of avocado oil? Or coconut oil?
Olive oil would work!
Barbara Smith says
I have been trying to get my husband to eat beets to help lower his blood pressure. I made this recipe, and we added it to our nightly salad. He even put some on a sandwich. Imagine my surprise when I asked him if he wanted anything from the store and he asked me to make the “beet thing” again!!! Success!
Hazel & Harry says
Yum! Tried it in your Fluffy gluten free Naan and it was delicious!
I took a reviewers advice Ella, and froze my extra, and I also used parsley because my husband doesn’t like Cilantro (He’s Crazy!).
I just wanted to say when you freeze it after it thaws it does become a little watery, but it’s still good.
Thanks so much for sharing!
Ella says
Delicious! Made it for your Roasted Plantain black bean bowl, and both were awesome! I also used parsley instead of cilantro, and it was just as good.
Thank you!
Ella ♥
Love it! Thanks for sharing, Ella! We’re making the plantain bowl tomorrow! Love it so much.
Anastasha | All Too Yummy says
Love beets! going to try this recipe tomorrow! 😋
Payal says
Do you think it’d taste a good with golden beets? 😍
I think so!
Eva says
Looks tasty! Do you peel the beets with a vegetable peeler? Usually, I peel the beets after roasting whole and the skins slip right off, so I haven’t tried to peel the skin on raw ones.
Yes, I generally peel the beets before roasting when I cube them as pictured. But I also tried this recipe with whole roasted beets which I peeled (as you also do) after they were cooked, then I cubed them and added the remaining ingredients. It works both ways, but I have to say I much prefer the beets roasted because they’re less mushy, more crispy, and caramelized. Let us know how it goes, Eva!
France says
Looks delicious, I have a lot of beets do you think the relish can be frozen?
I haven’t tried that but I would guess so? Let us know if you try!
Ella says
I Froze my extra Relish, and then let is thaw for about 30 to 45 minutes before I used it and It tastes fine.
♥️ Ella ♥️
Yay! Thanks, Ella!
Augustus says
Thank you Ella!
Was did you strain it or anything after it thawed for excess water or was it good? I want to make it tomorrow.
Eva says
Thanks!! I tried this recipe this weekend and it was easy and delicious!
We’re so glad you enjoyed it! Thanks for sharing, Eva!