If you’ve never tried roasted garlic, you’re in for a treat!
While raw garlic can quickly become overwhelming, roasted garlic has a sweeter, more mild, and slightly caramelized flavor.
Using roasted garlic is a simple trick for adding more flavor (and less garlic breath) to your kitchen!
How to Roast Garlic
We like to make roasted garlic using two different methods, depending on the situation.
Method 1 involves roasting the whole head of garlic and is perfect for when you are roasting other dishes at the same time or when you aren’t in a hurry.
Method 2 roasts the garlic cloves quickly, but requires watching more carefully to avoid burning.
Method 1- Head of Garlic
For this method, slice off the very top of the head of garlic, drizzle with oil and salt, and wrap in foil.
Then add directly onto the oven rack and bake for 45 minutes to 1 hour at 400 degrees Fahrenheit.
Method 2- Garlic Cloves
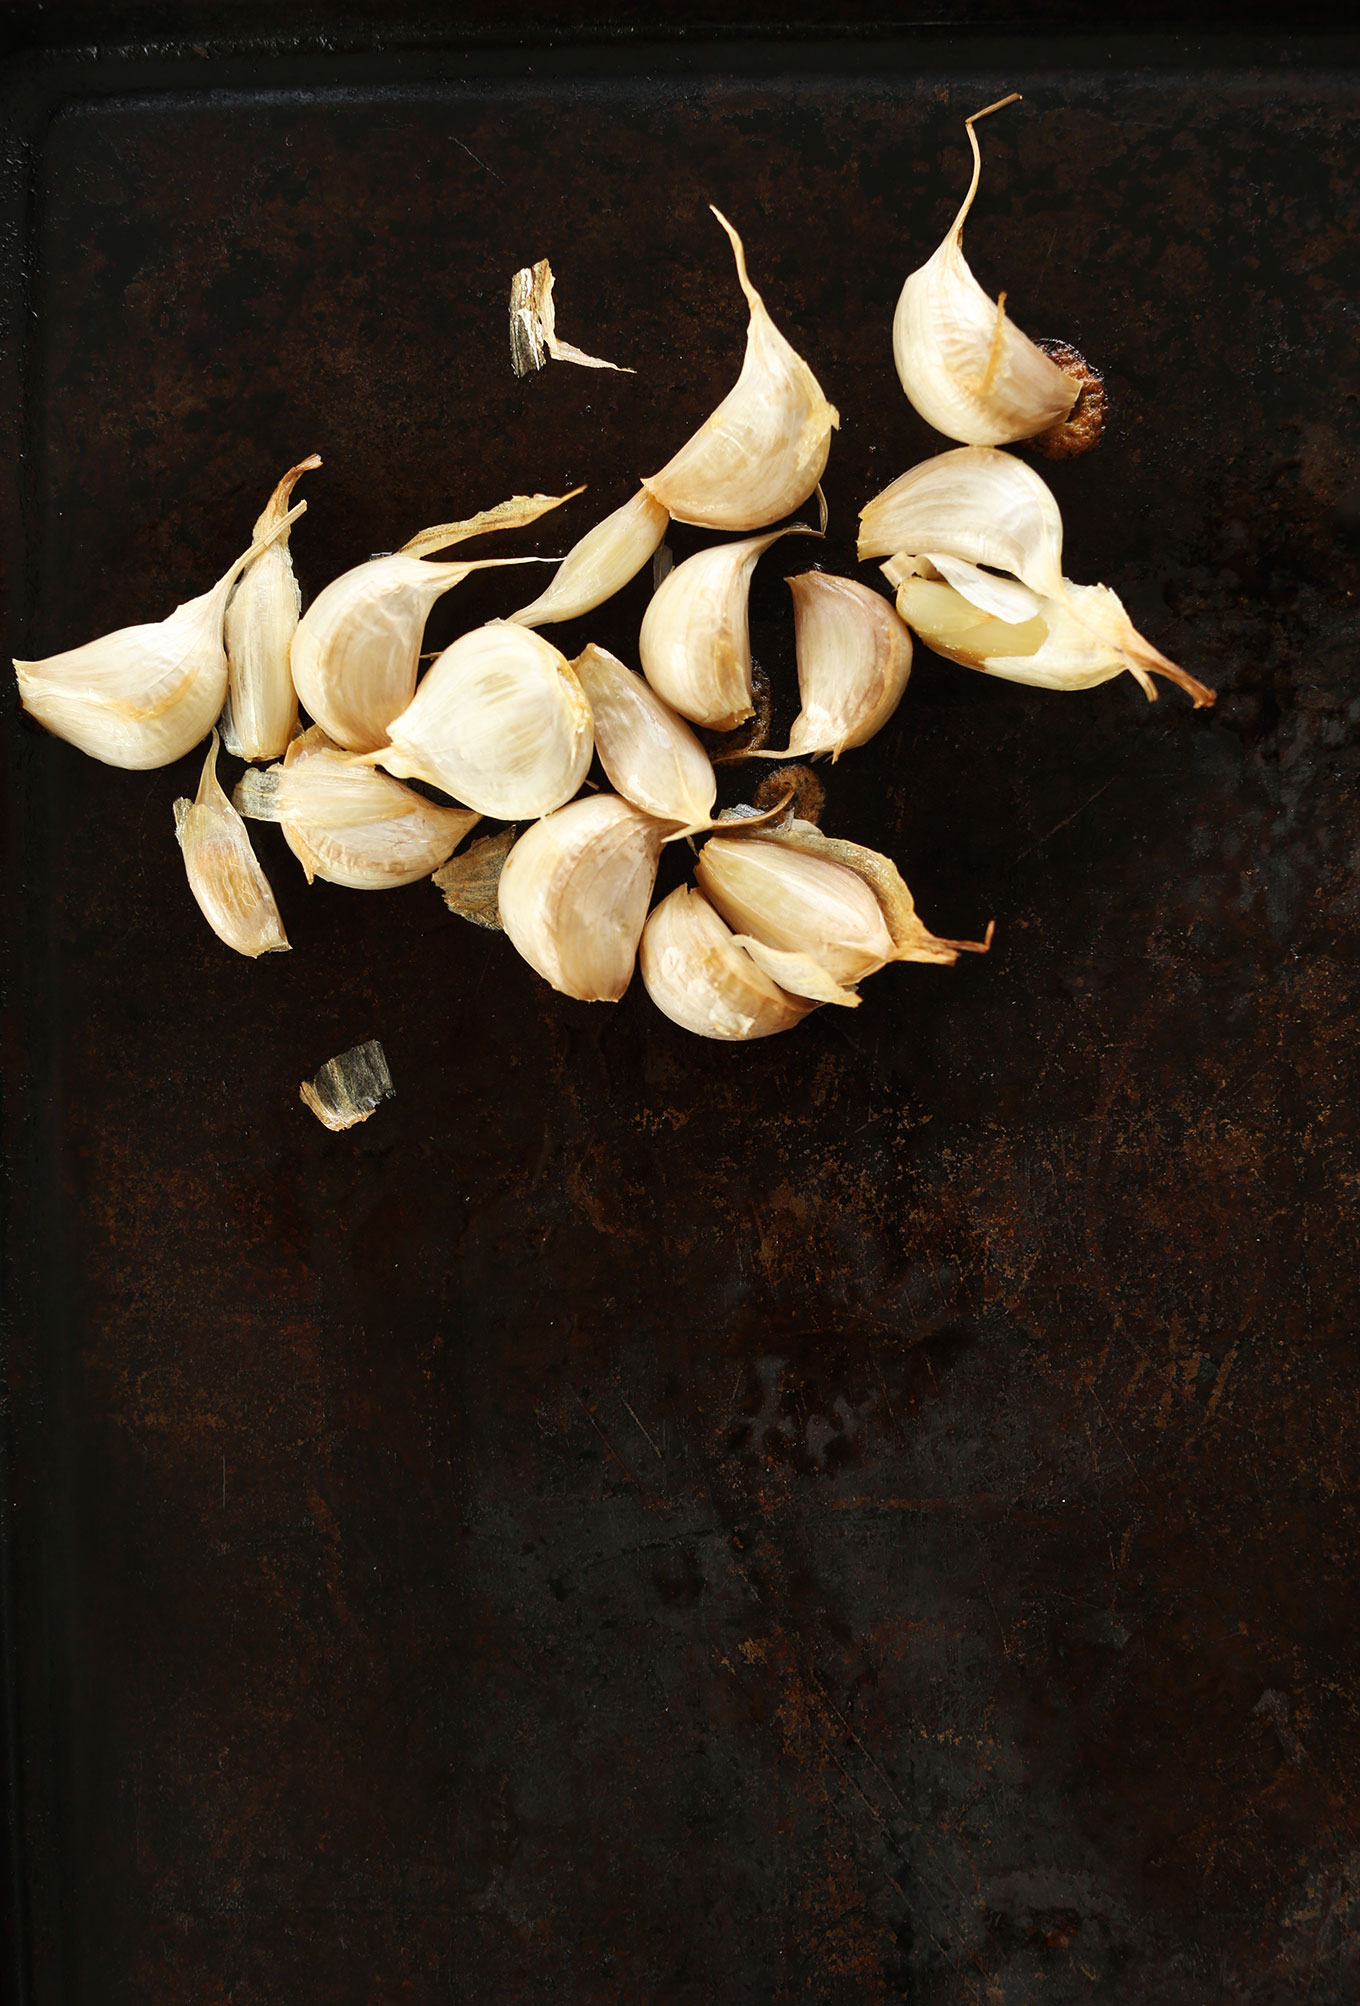
For this method, separate the garlic cloves and place them on a baking sheet.
Drizzle them with a little oil and bake at 400 degrees Fahrenheit for 15-25 minutes, depending on the size of the cloves.
How to Store Roasted Garlic
We recommend storing roasted garlic in a small, sealed container in the fridge for up to 2 weeks. Or store in the freezer for up to 1 month.
If you want the garlic cloves to remain whole, carefully peel off and discard the skins. Otherwise, for a mashed texture, squeeze roasted garlic out of the skins.
Another way to store roasted garlic is to make an infused oil. Add peeled roasted garlic to a small jar, cover with olive oil, and store in the fridge rather than at room temperature to help protect against botulism toxin.
What to Do with Roasted Garlic
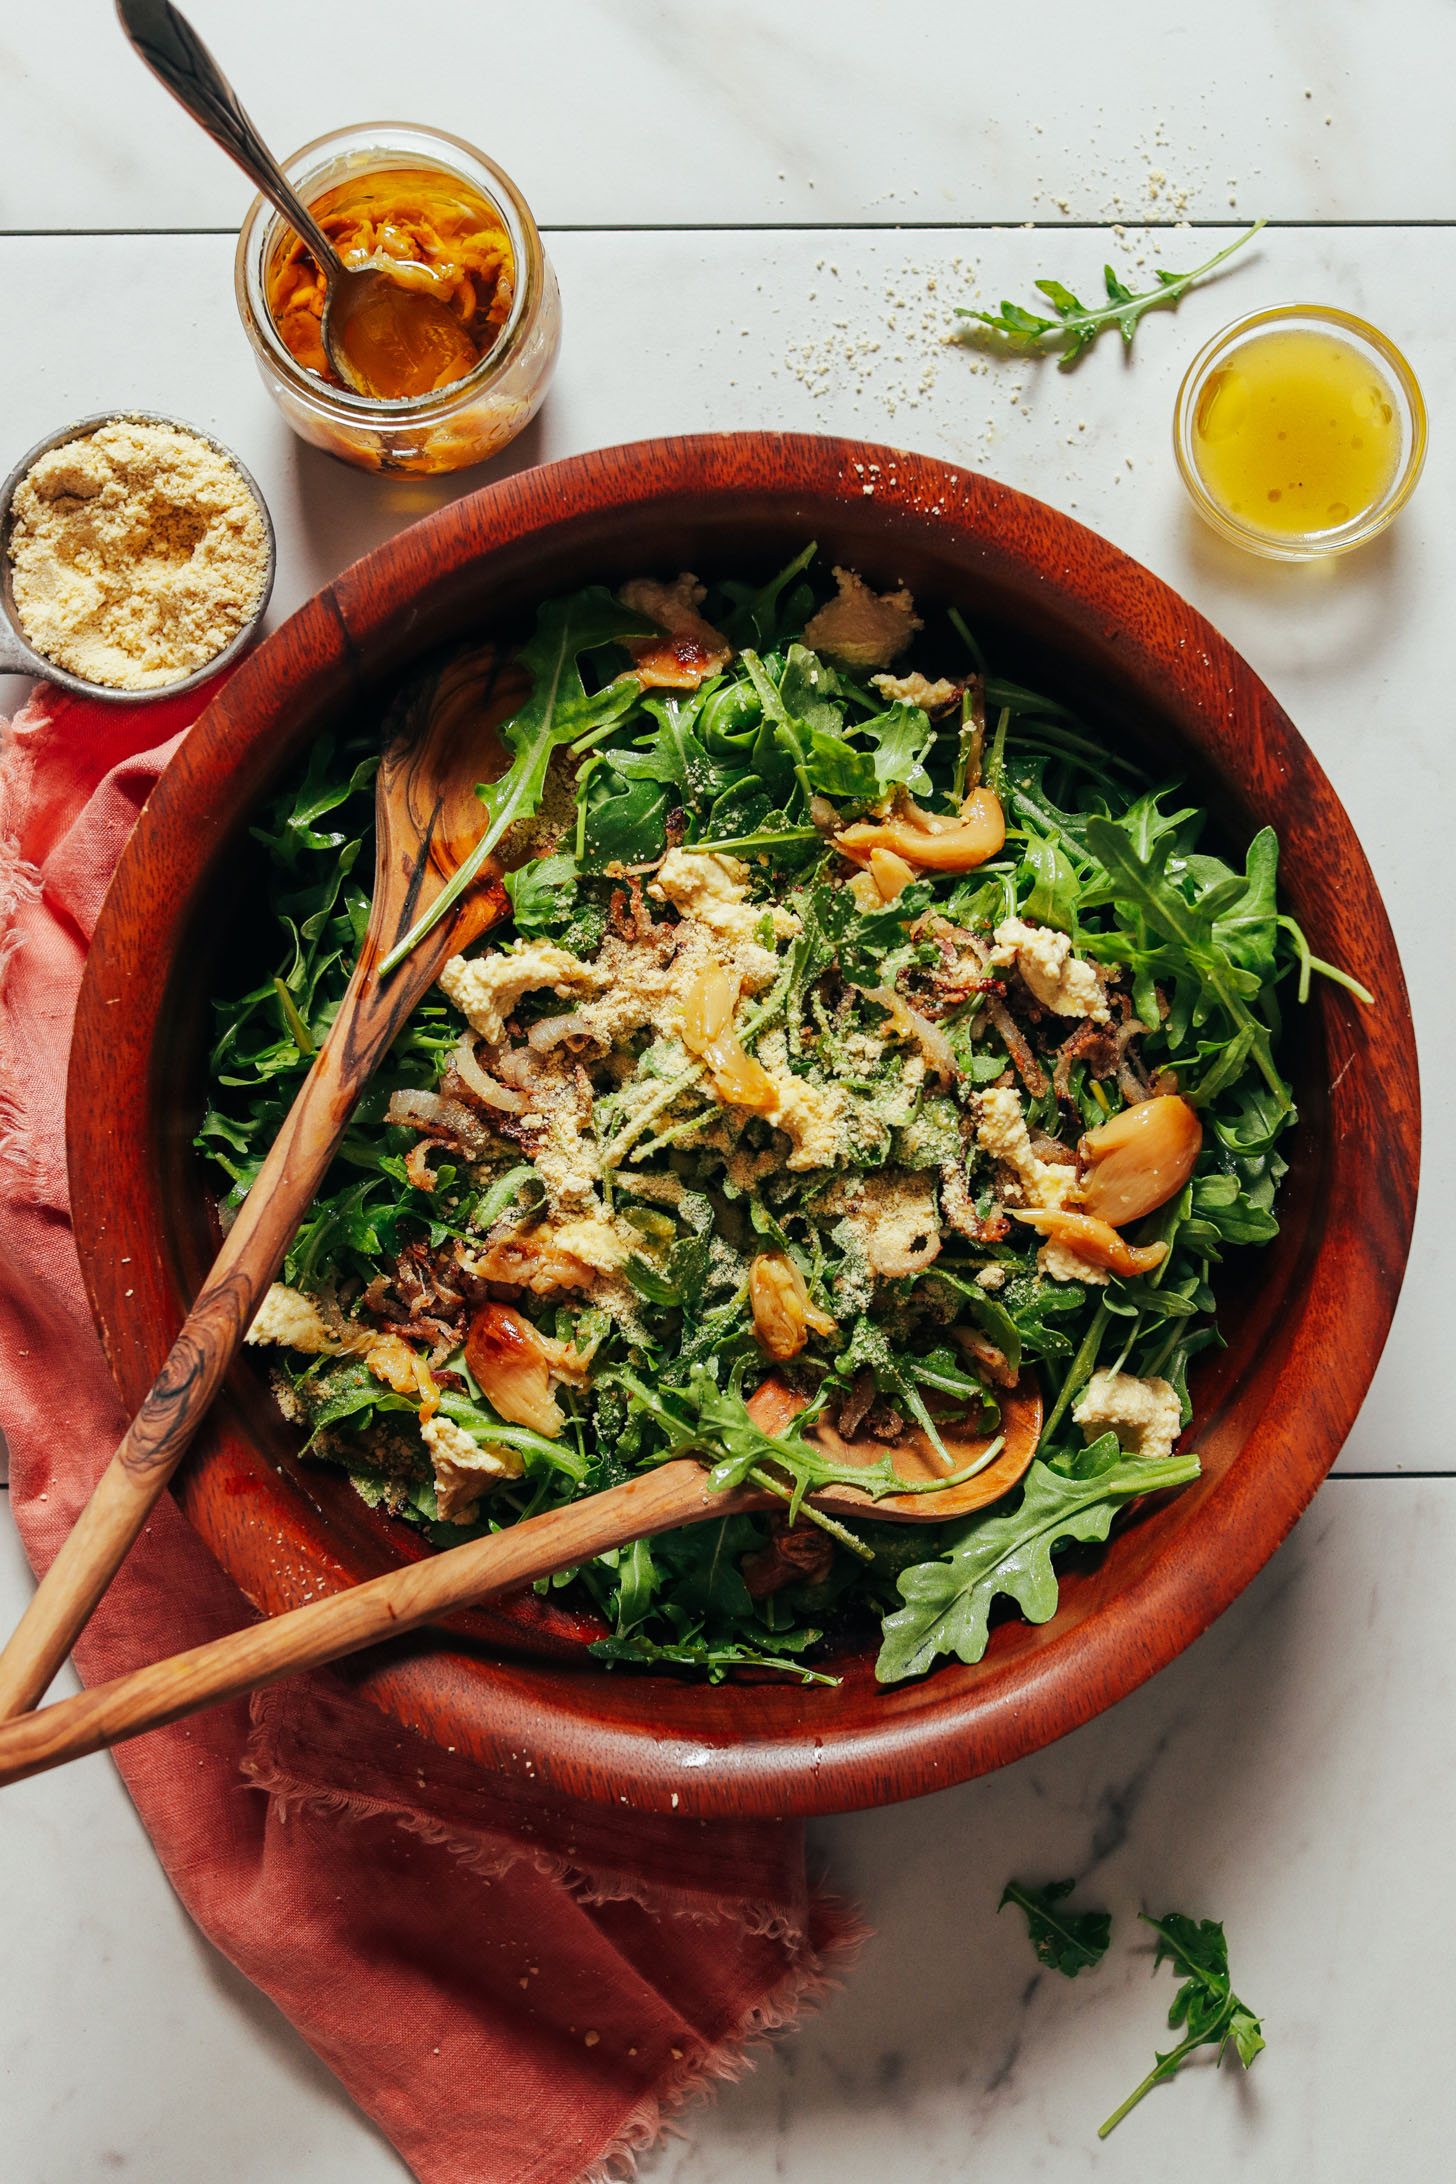
We enjoy roasted garlic in our Lemony Arugula Salad and Vegan Gluten-Free Mac ‘N’ Cheese. It’s also a delicious spread on toast- hellooo garlic bread! Or even enjoy on its own for an immune system boost!
It can be used in recipes that call for raw garlic if you are hoping to have a more gentle flavor. Try it in hummus, garlicky guacamole, Caesar dressing, mashed cauliflower, or dips.
If you try this recipe, let us know! Leave a comment, rate it, and don’t forget to tag a photo #minimalistbaker on Instagram. Cheers, friends!

How to Roast Garlic
Ingredients
- 1 head garlic
- 1 Tbsp olive (or avocado) oil (plus more for storing)
- 1 pinch sea salt
Instructions
METHOD 1
- Heat oven to 400 degrees F (204C).
- Slice the very top of the head of garlic off and drizzle with oil and a little salt. Wrap loosely in foil and set directly on the oven rack.
- Roast 45 minutes – 1 hour or until fragrant, golden brown on top, and tender when squeezed. Remove from oven, unwrap, and let cool 10 minutes.
- To extract roasted garlic cloves, squeeze from the bottom of the clove up and the soft clove should come right out. Use immediately in sauces, dressings, as a spread, and more!
- To store, transfer cooled cloves to a small glass jar or Tupperware container and top with olive oil to cover. Cover with a secure lid and store in the refrigerator up to 2 weeks. Scoop out and use as needed.
METHOD 2
- Heat oven to 400 degrees F (204C).
- Take the head of garlic and separate into cloves but leave the skin on – discard any remaining skins that shed. Place cloves on a baking sheet.
- Drizzle cloves with a little oil and toss to coat. Then bake for 15-25 minutes, or until slightly golden brown and fragrant – be careful not to burn.
- Remove from oven and let cool 10 minutes. Then peel off skin and use immediately in sauces, dressings, as a spread, and more! To store, transfer cooled cloves to a small glass jar or Tupperware container and top with olive oil to cover. Cover with a secure lid and store in the refrigerator up to 2 weeks. Scoop out and use as needed.


Jill says
Can you use the oil used to store the garlic? Seems like this would have some nice infused flavor.
Hi Jill, that should work! Let us know if you try it!
Julie Neese says
Method 2 worked great for me. I was looking for a way to roast the garlic cloves without the hassle of peeling each one.
I cut off the very bottom of the paper of each clove. That solves any risk of exploding. When the cloves are done according to the recipe, pinch the tip of each clove and the roasted clove slips out the bottom of the paper. Easy peasy.
We’re so glad it worked well, Julie! Thanks so much for sharing!
Kendra says
Would it be possible to do this in a toaster oven? My toaster oven easily reaches 400 Degrees, and has it’s own baking tray. So I should be able to do the individual clove method using it, correct?
We haven’t tried that, but it sounds like it would work. Let us know how it goes!
Julie Neese says
Yes. I cut the bottom off the clove off first to prevent exploding (or you can just puncture the paper skin with a knife). Set the toaster oven to bake to 400. I pinch the tip when they’re done and the roasted clove slips out the bottom.
Sharon says
I roasted 4 heads for our Christmas eve celebration. Everyone loved them, vegans and carnivores alike! Should’ve made 8!!
xoxo!
Caylin Smith says
I would LOVE a decent vegan thanksgiving roast recipe on here! There aren’t many online and I really want to make one this year instead of buying one!
What about this?
Jill says
So I just tried method 2 and the garlic cloves literally exploded inside my oven. What a mess. I think it’s crucial to wrap them in foil to avoid this.
Hi, Jill. We’ve never had that experience. Did you change anything else about the method or ingredients?
Jill says
No I did it exactly. I think the tight seal of the garlic skins got too hot inside. I would recommend cutting the tops a little to let steam escape — the same reason you cut the top of a whole head of garlic before roasting, I think the same rule should apply.
Hmm, we haven’t had any trouble with leaving them whole, but perhaps that could help. Were your garlic cloves on the smaller side? Perhaps they needed less time.
Peter says
Just curious, is there any downside to roasting individual cloves (method #2) as opposed to the cut-top bulb (#1)? It always seems so tedious when I do a bunch via method #1.
Also, I’ve read about botulism risks of storing roasted garlic in oil. Any concerns about freezing compound butters with roasted garlic? Thanks!
Peter – you can store these in oil IN the fridge! Should be fresh for up to 2 weeks. Either roasting method will work!
Alex says
If salted, would it keep longer?
Maybe slightly. But probably doesn’t make a huge difference unless you add a lot of salt- in which case the saltiness might be overpowering.
Chris says
Hey, could you please post a recipe that uses the stored roasted garlic in oil? Thanks!!
Hi Chris, we have a couple recipes that might interest you: Lemony Arugula Salad and Vegan Gluten-Free Mac ‘N’ Cheese. You can also throw it in any recipe that calls for raw garlic that you are hoping to have a more gentle flavor- such as in hummus. Hope that helps!
Jenna says
Is it possible to roast garlic without oil? I recently tried to roast a few cloves but they were still raw. Did I not leave them in long enough? Can I only do it by cutting the head of garlic off? Thank you in advance.
Hi Jenna, you do not have to use oil, but it does help it get a little more caramelized. We recommend cutting the top off the head of garlic and wrapping the remainder in foil. Our best guess for why your cloves were still raw would be that they didn’t cook long enough. Hope that helps!
Mel says
Similar to another commenter above, I used method two and they exploded all over my oven. Very messy. Did not change time or temp, and was using very large cloves. Wouldn’t recommend trying method two unless you’re up for a good oven clean.
How interesting – I’ve never had that happen. We’ll look at the method again for improvements!