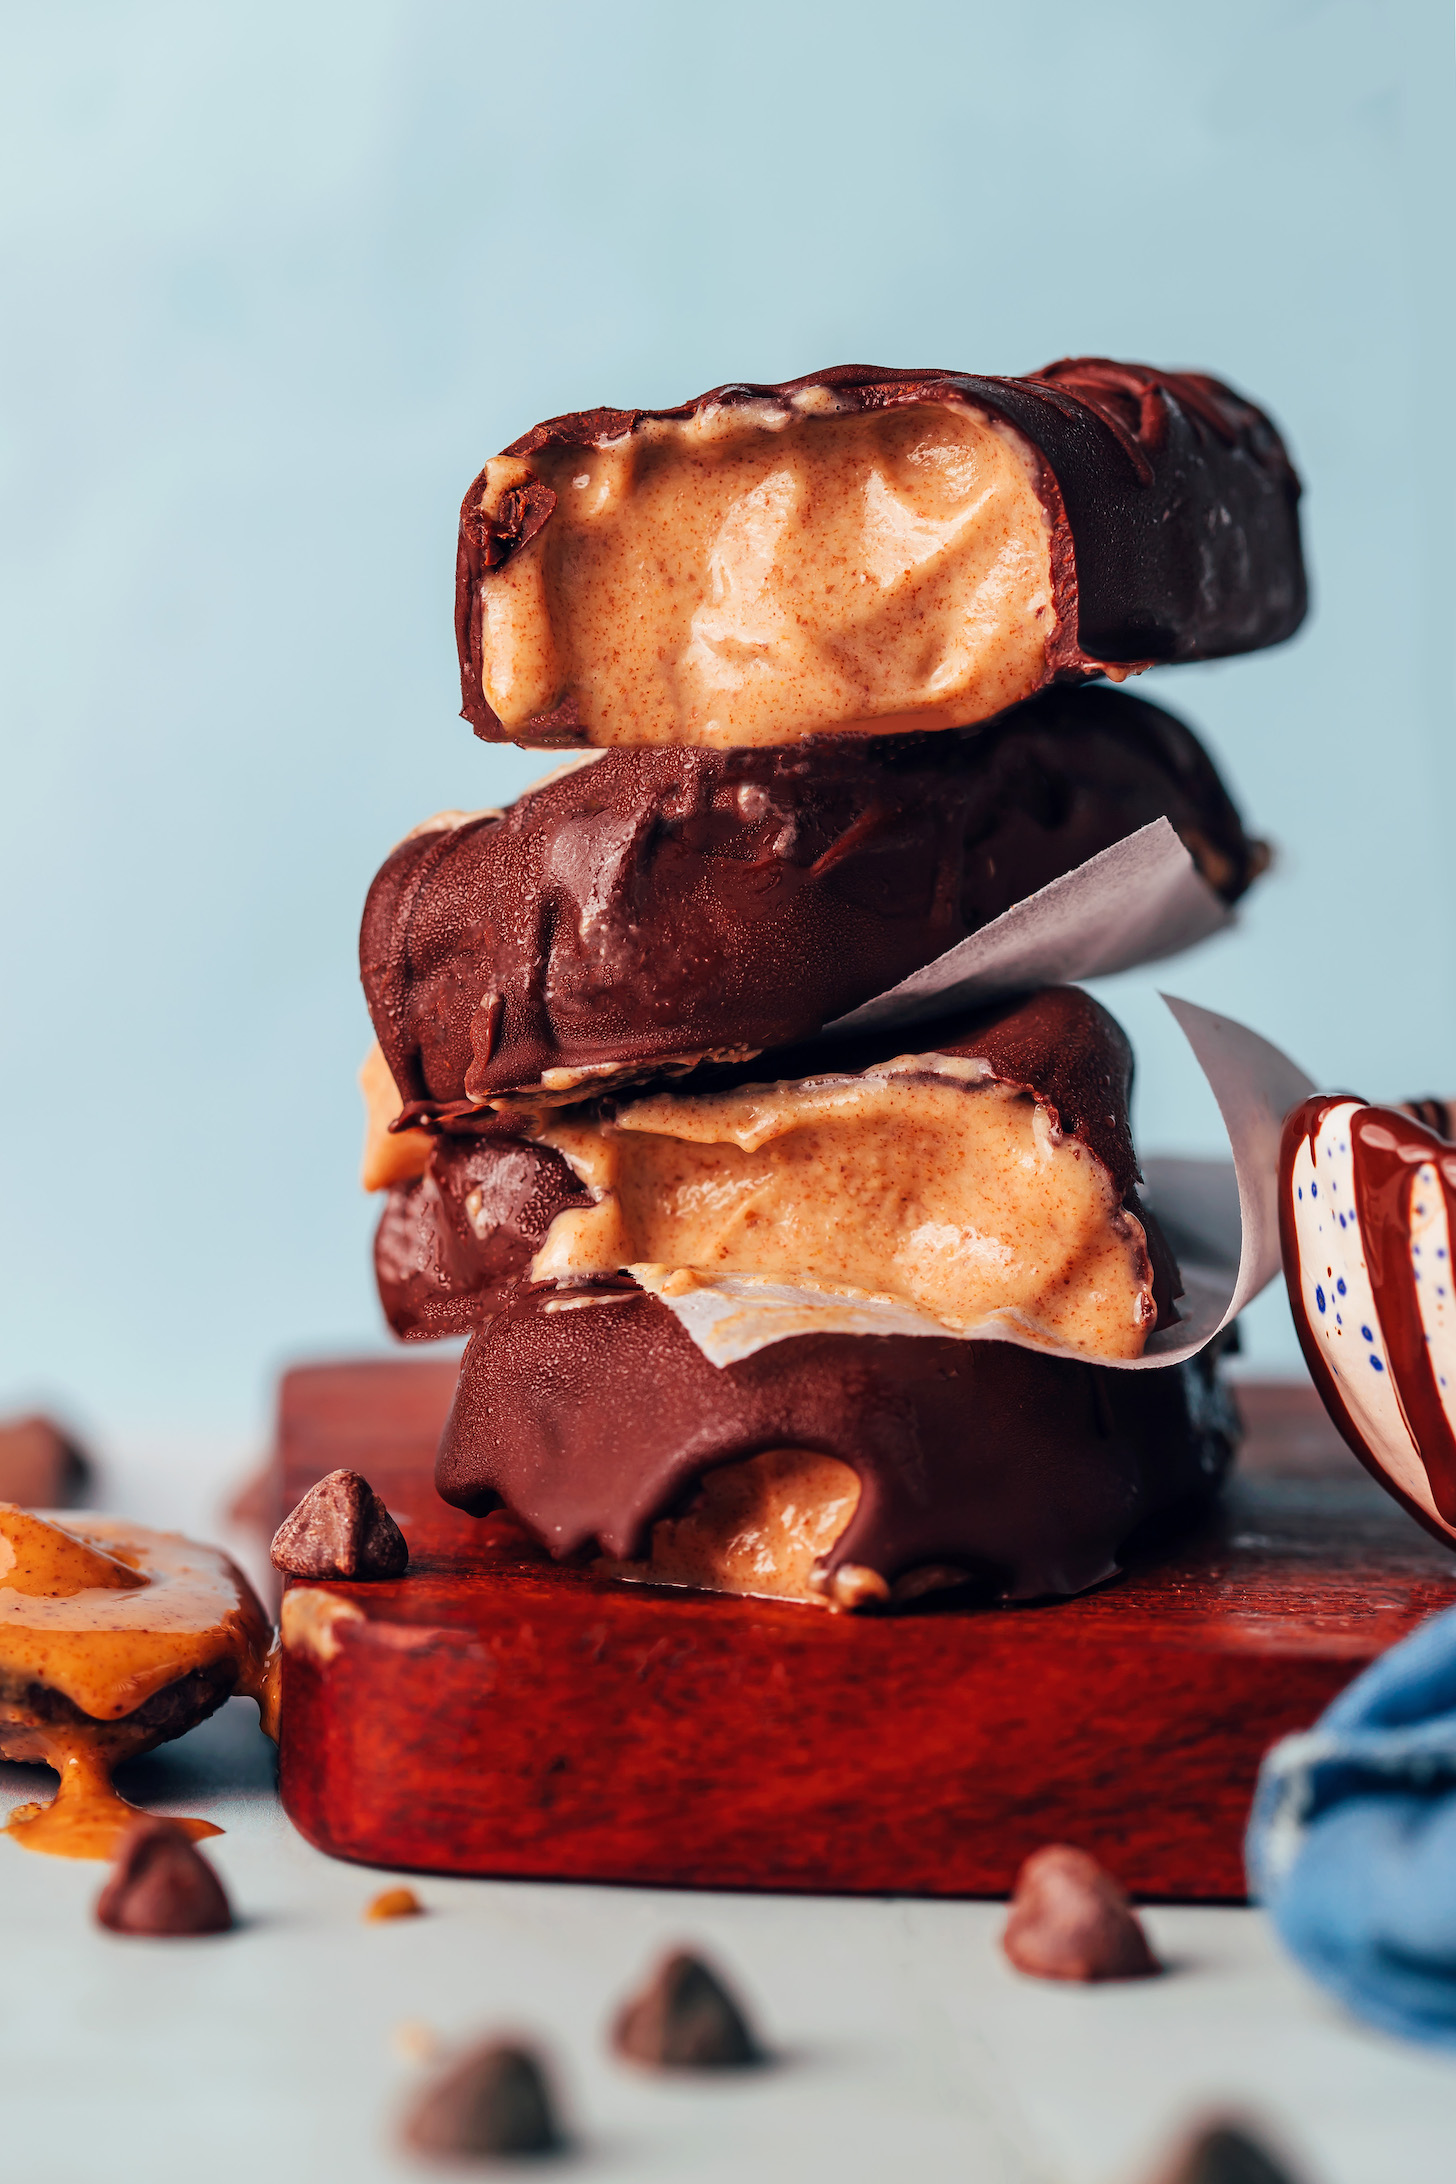
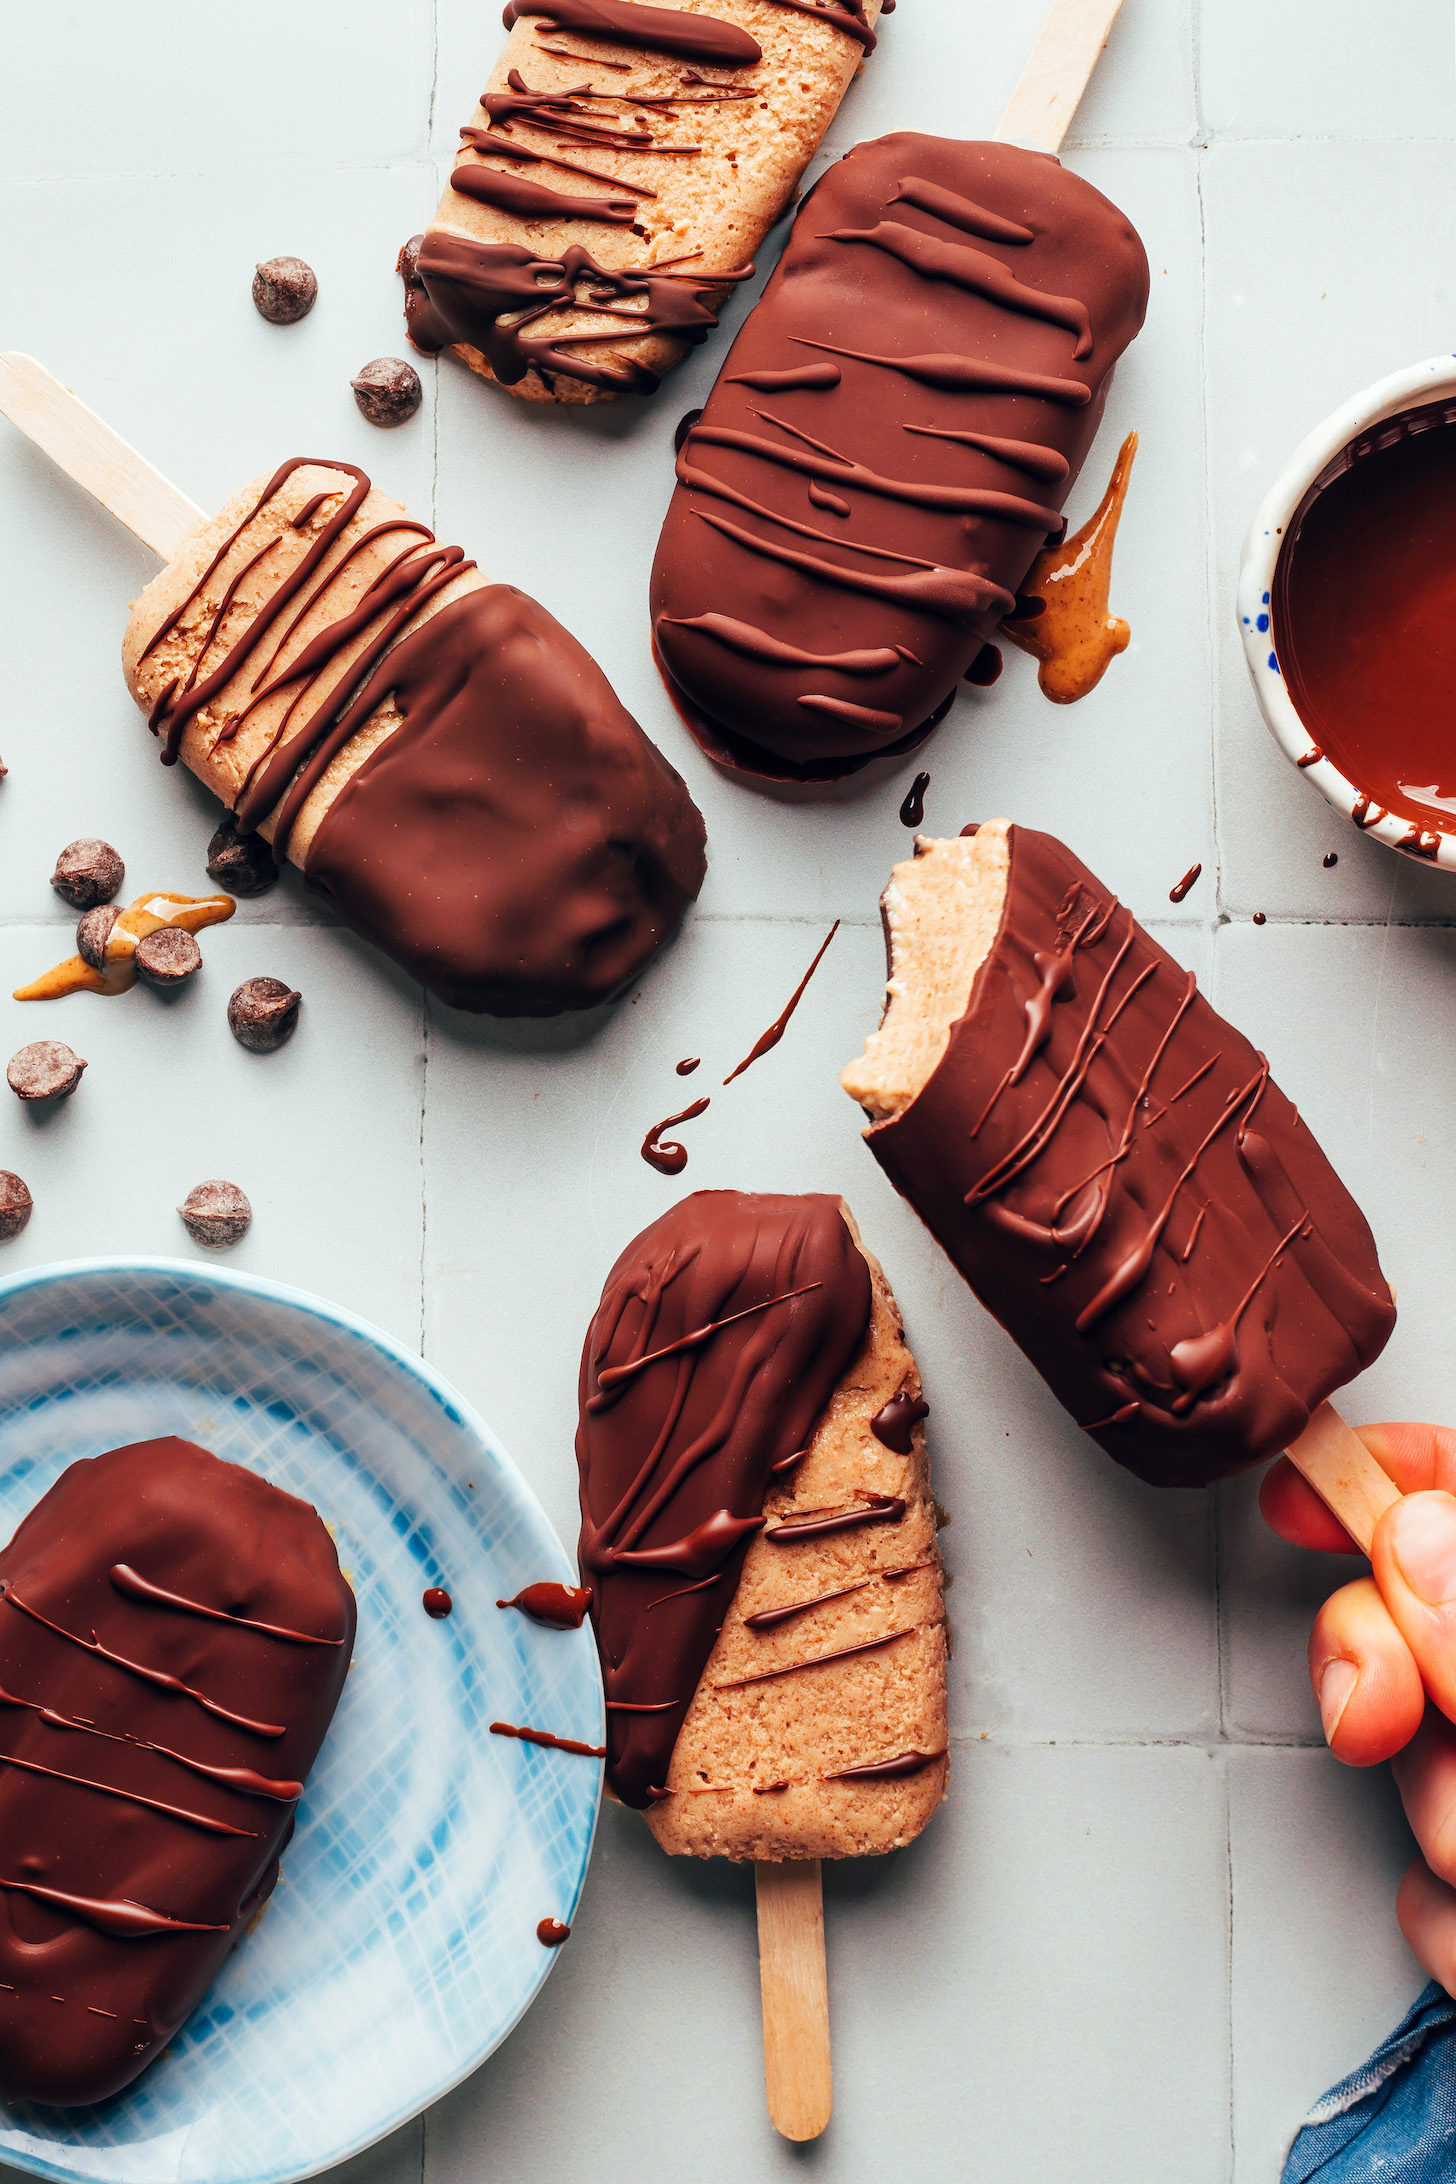
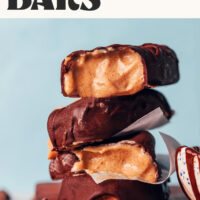
Welcome back, friends! We’ve returned to the magical land of chocolate + peanut butter (one of our favorite places). This timeless combo has won the day YET again, this time in the form of creamy, decadent, salty-sweet vegan ice cream bars!
They’re truly better than we ever could’ve imagined, and they just might replace your favorite store-bought bars. Just 7 pantry staple ingredients required. Let us show you how it’s done!

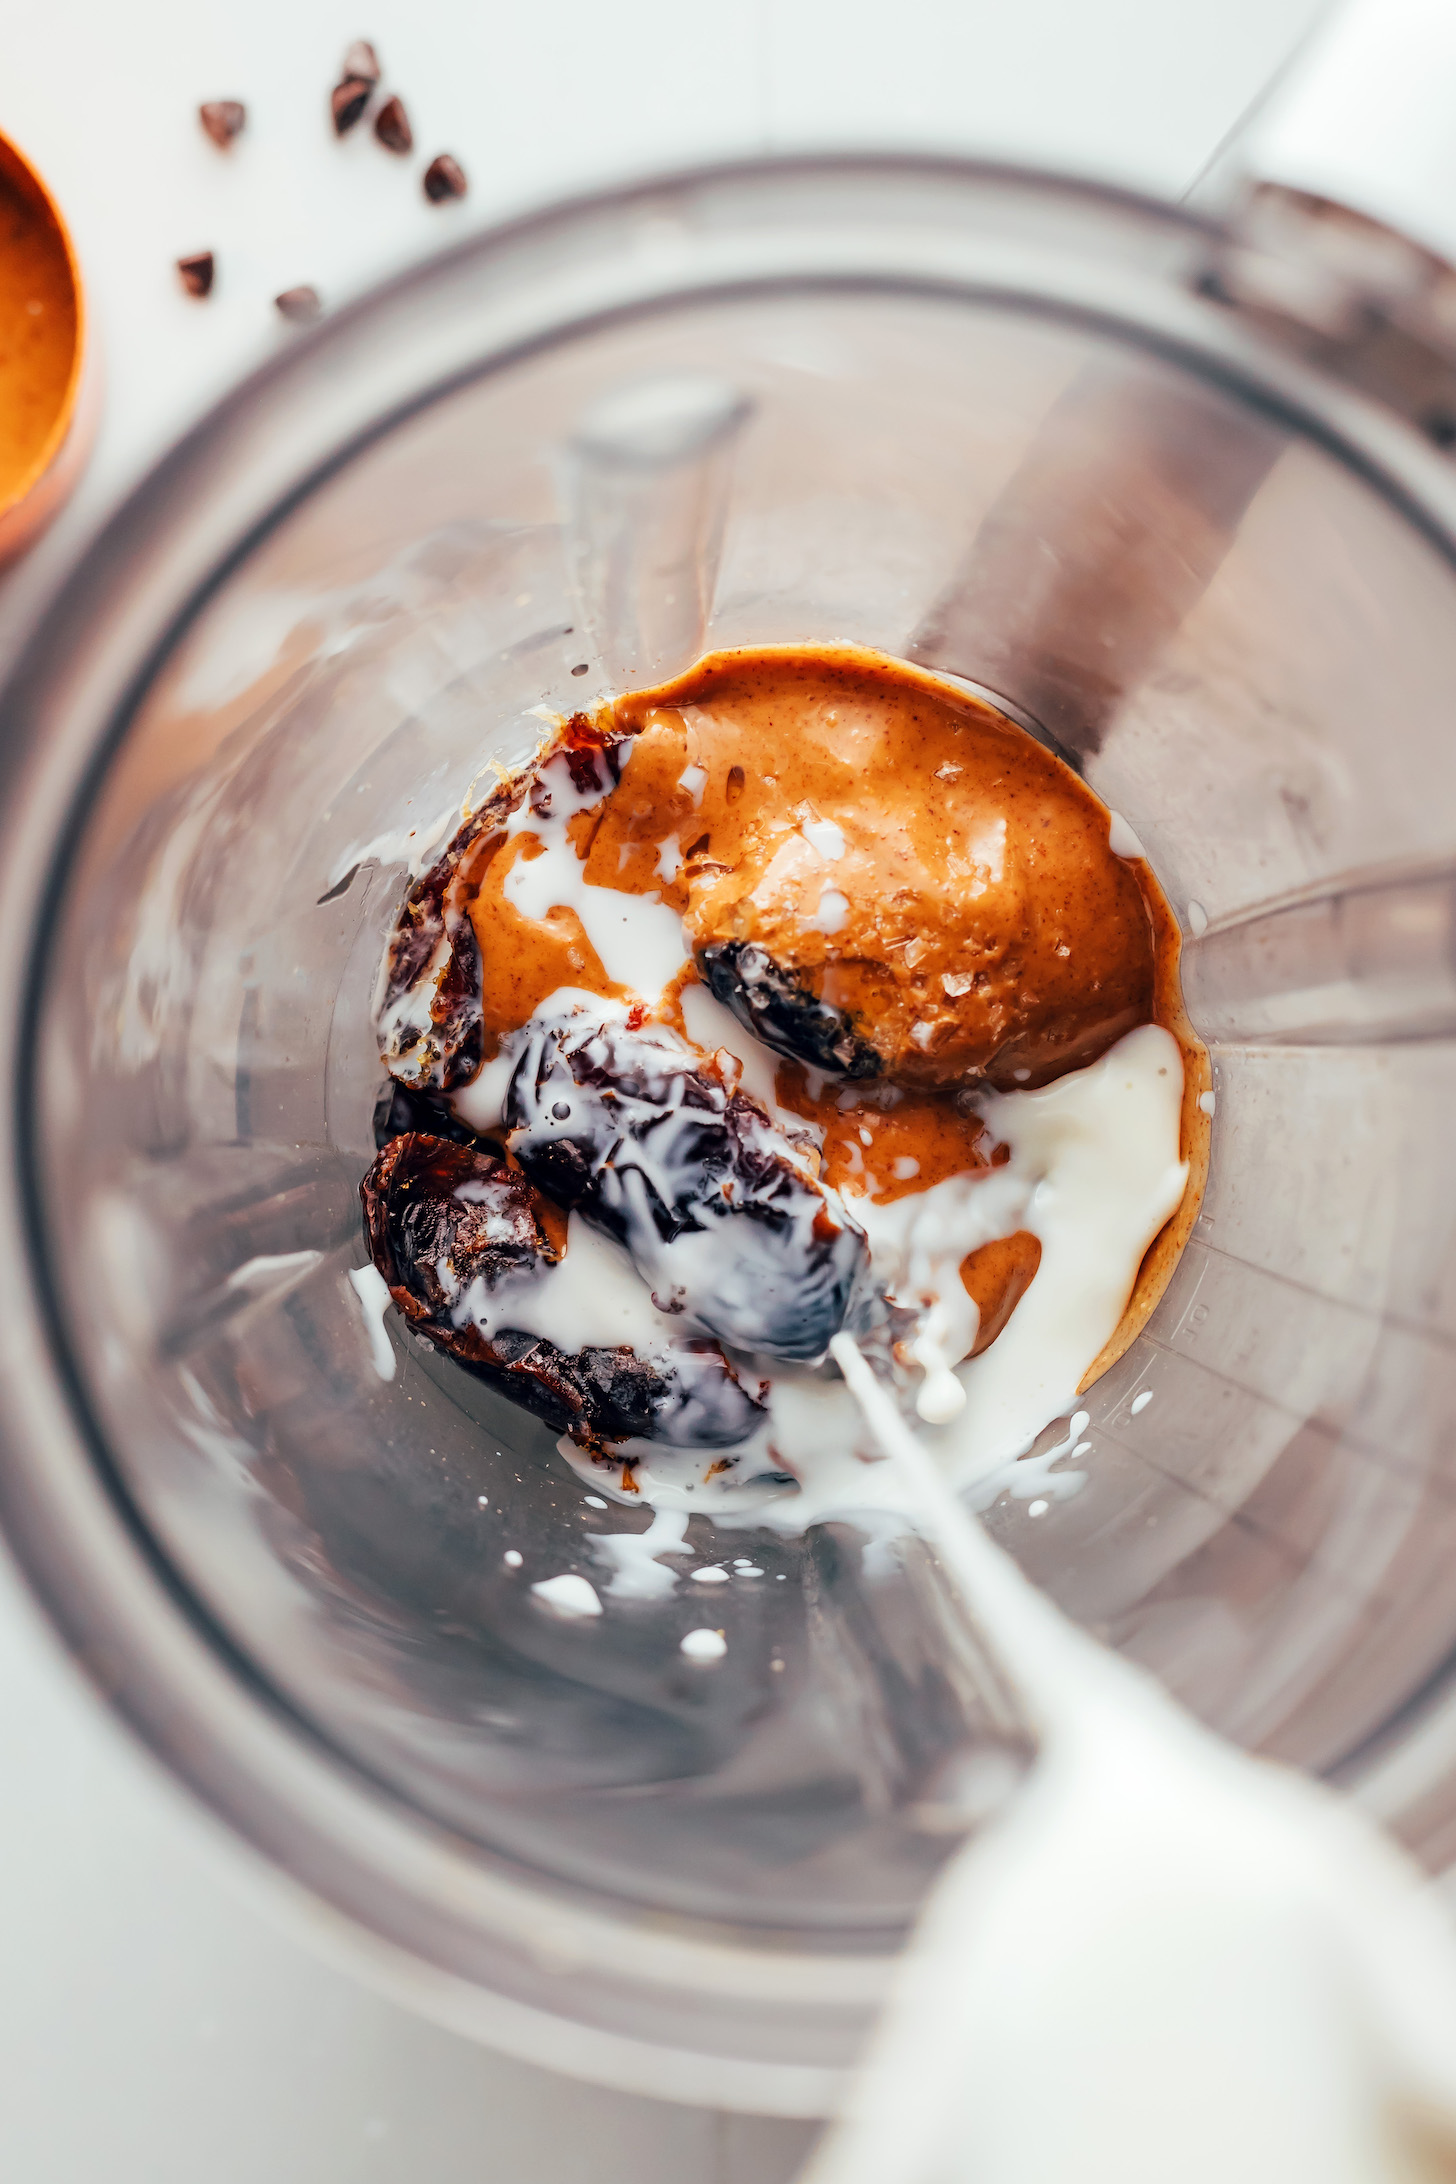
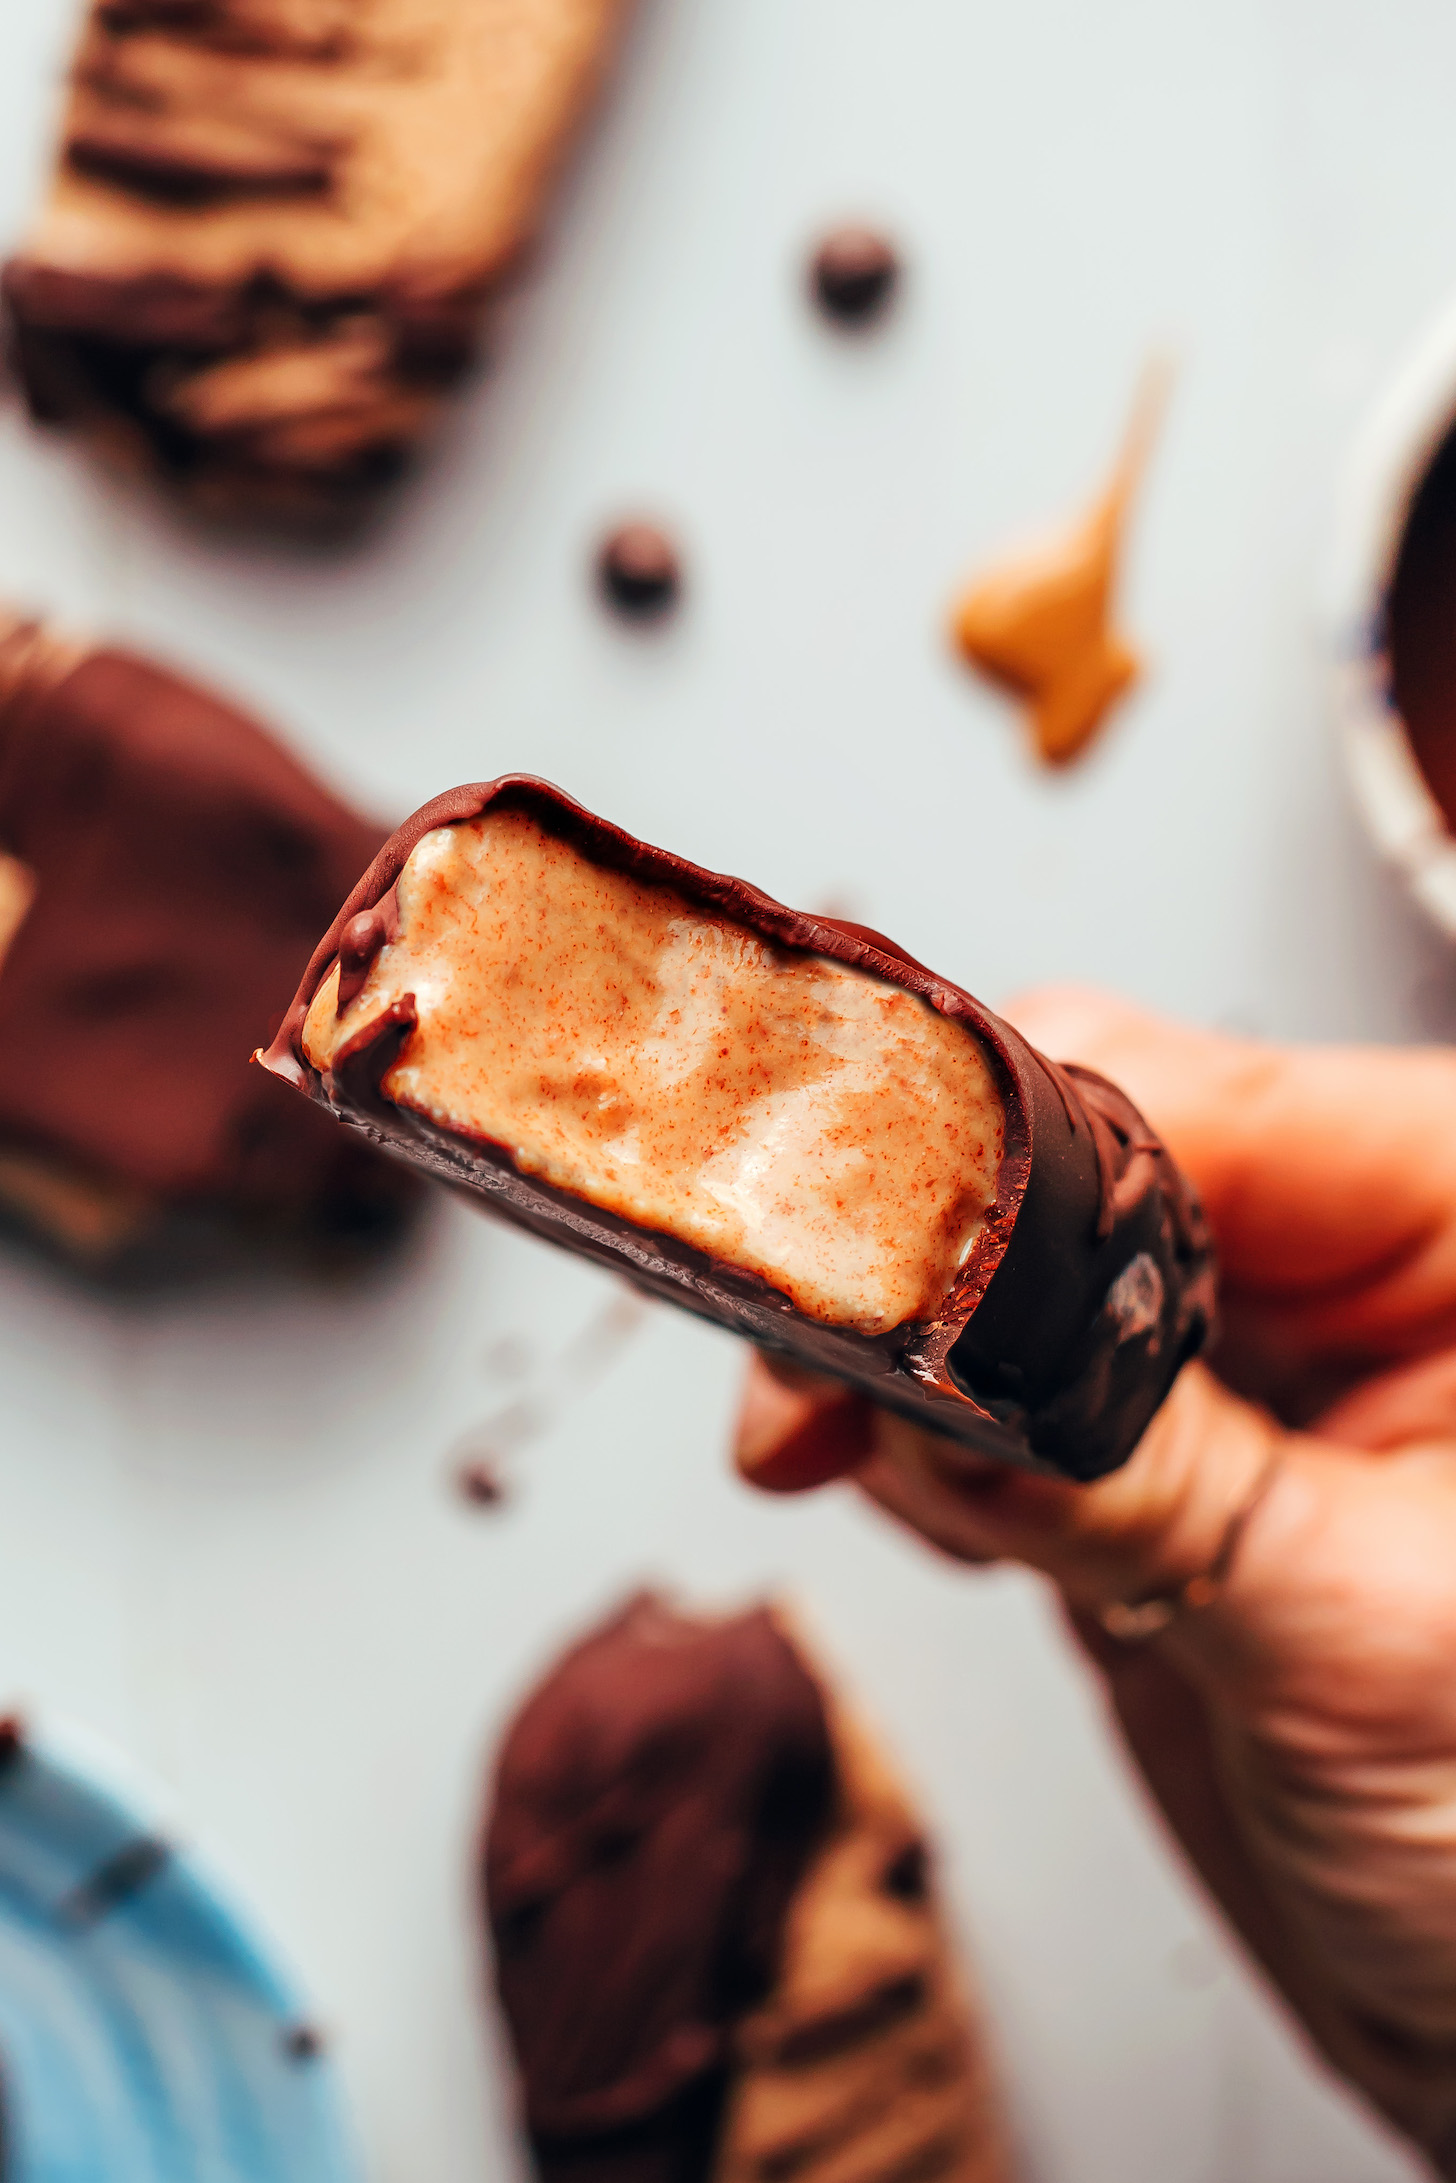
These AMAZING homemade ice cream bars have a creamy vegan peanut butter center made with dairy-free milk (we used almond), dates, peanut butter, vanilla, and salt.
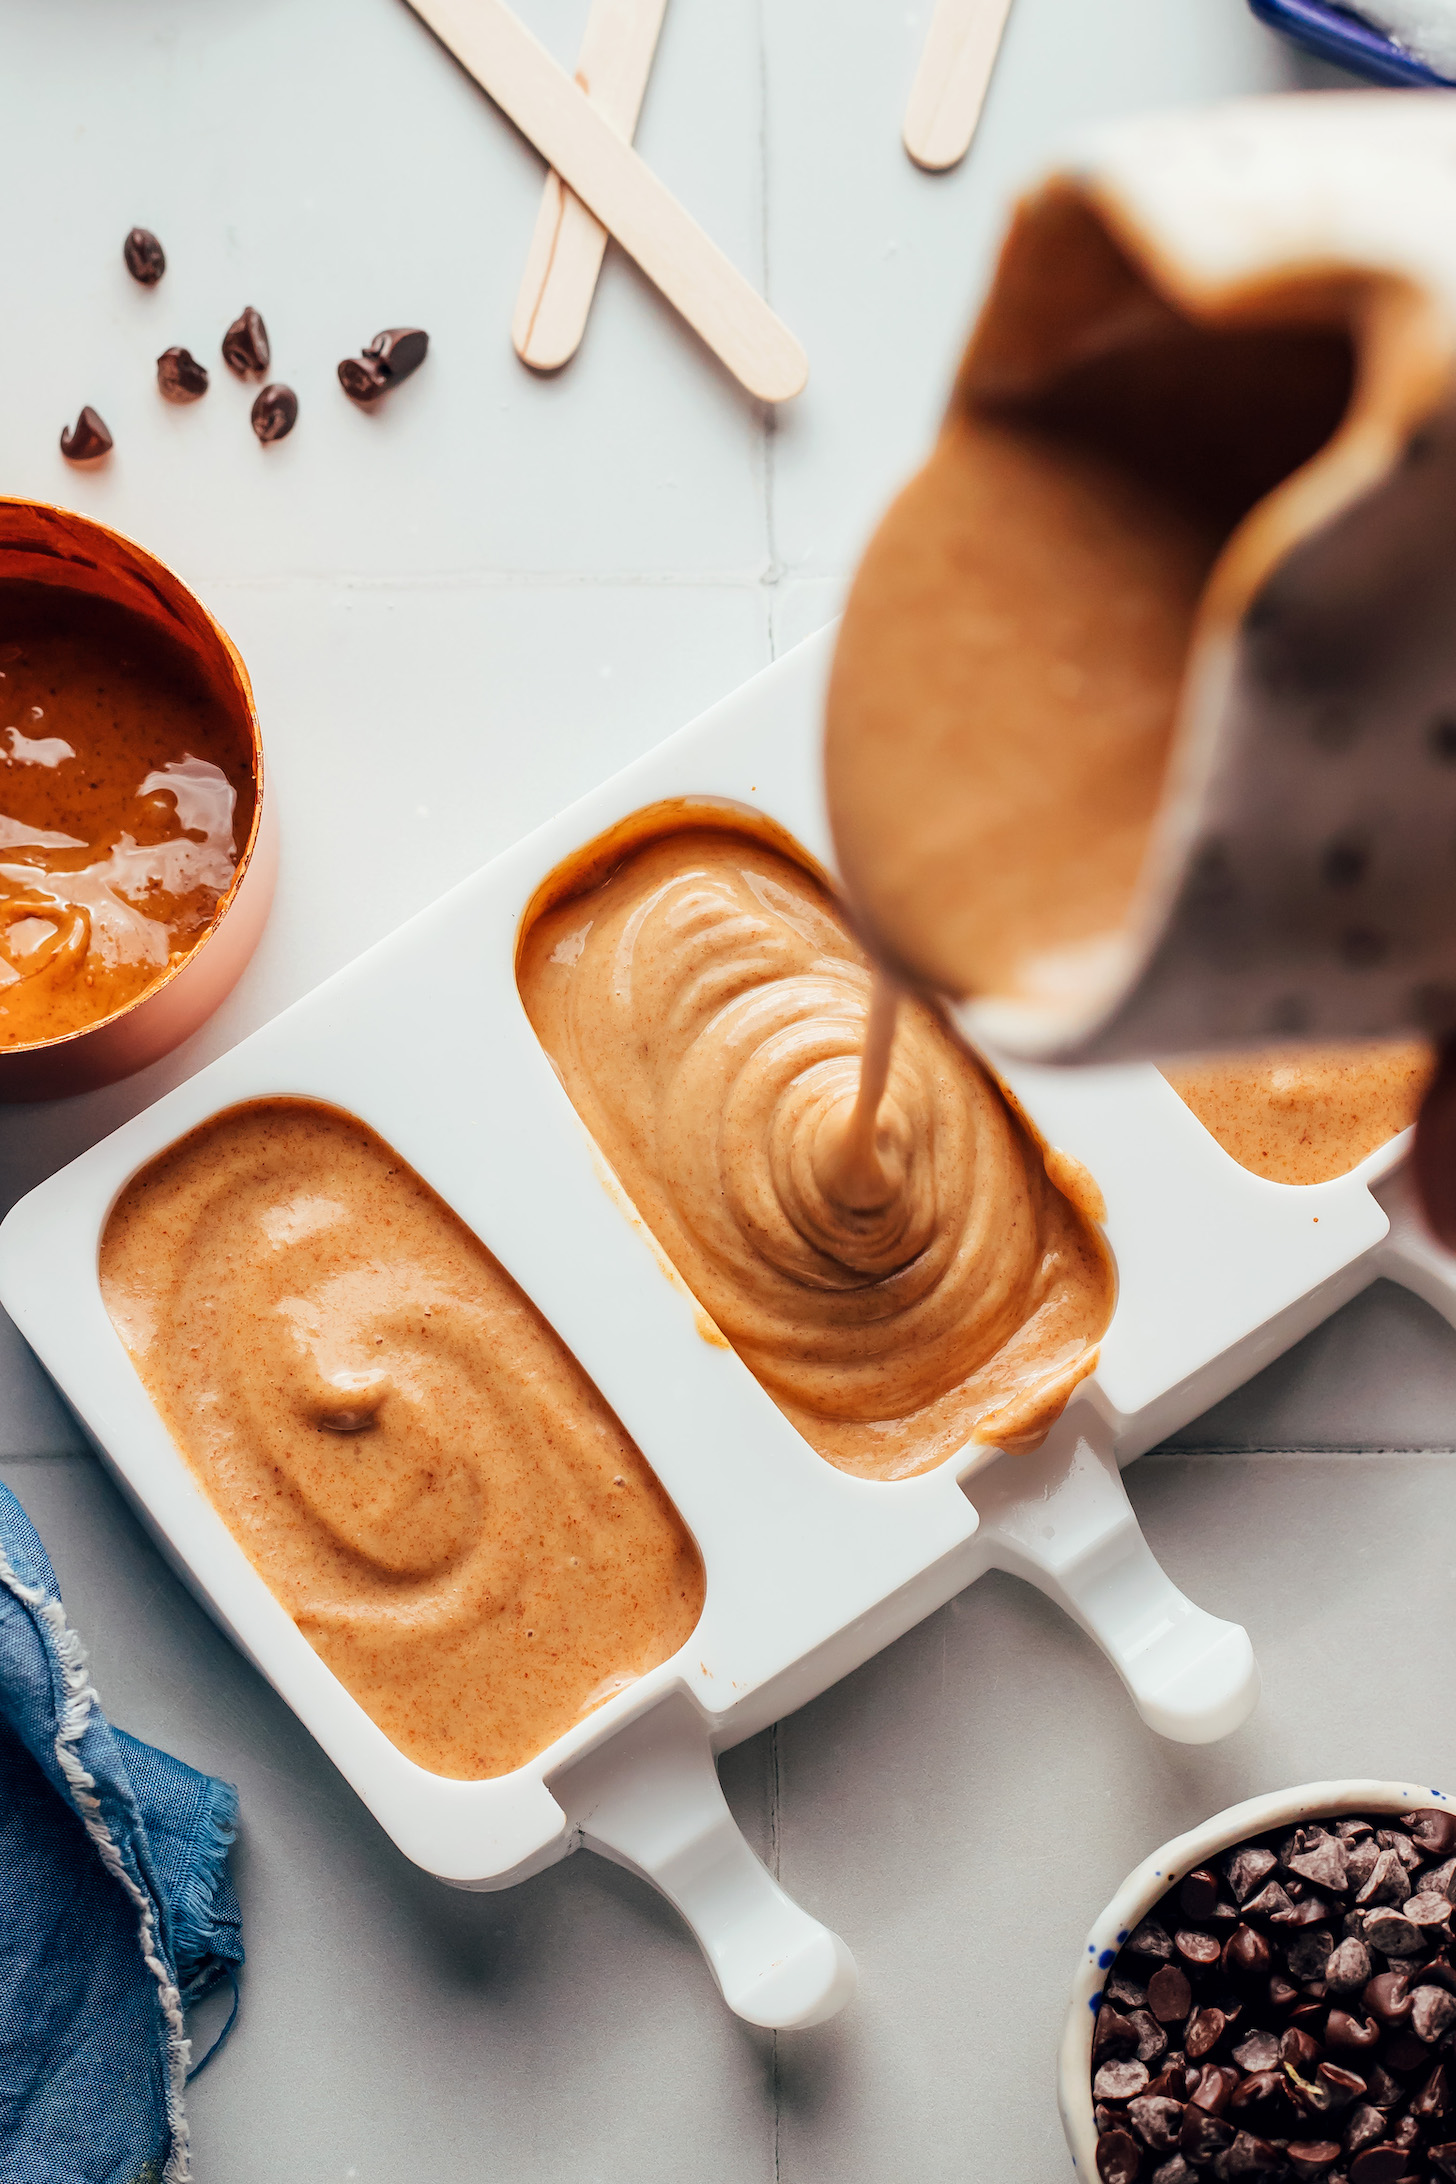
After blending up the ingredients and adjusting the sweetness to your personal taste, the mixture is ready to pour into popsicle molds and head into the freezer.
After about 6 hours, they will be frozen and looking like ice cream bars. We know..the waiting game is hard. But these bars are SO WORTH IT!
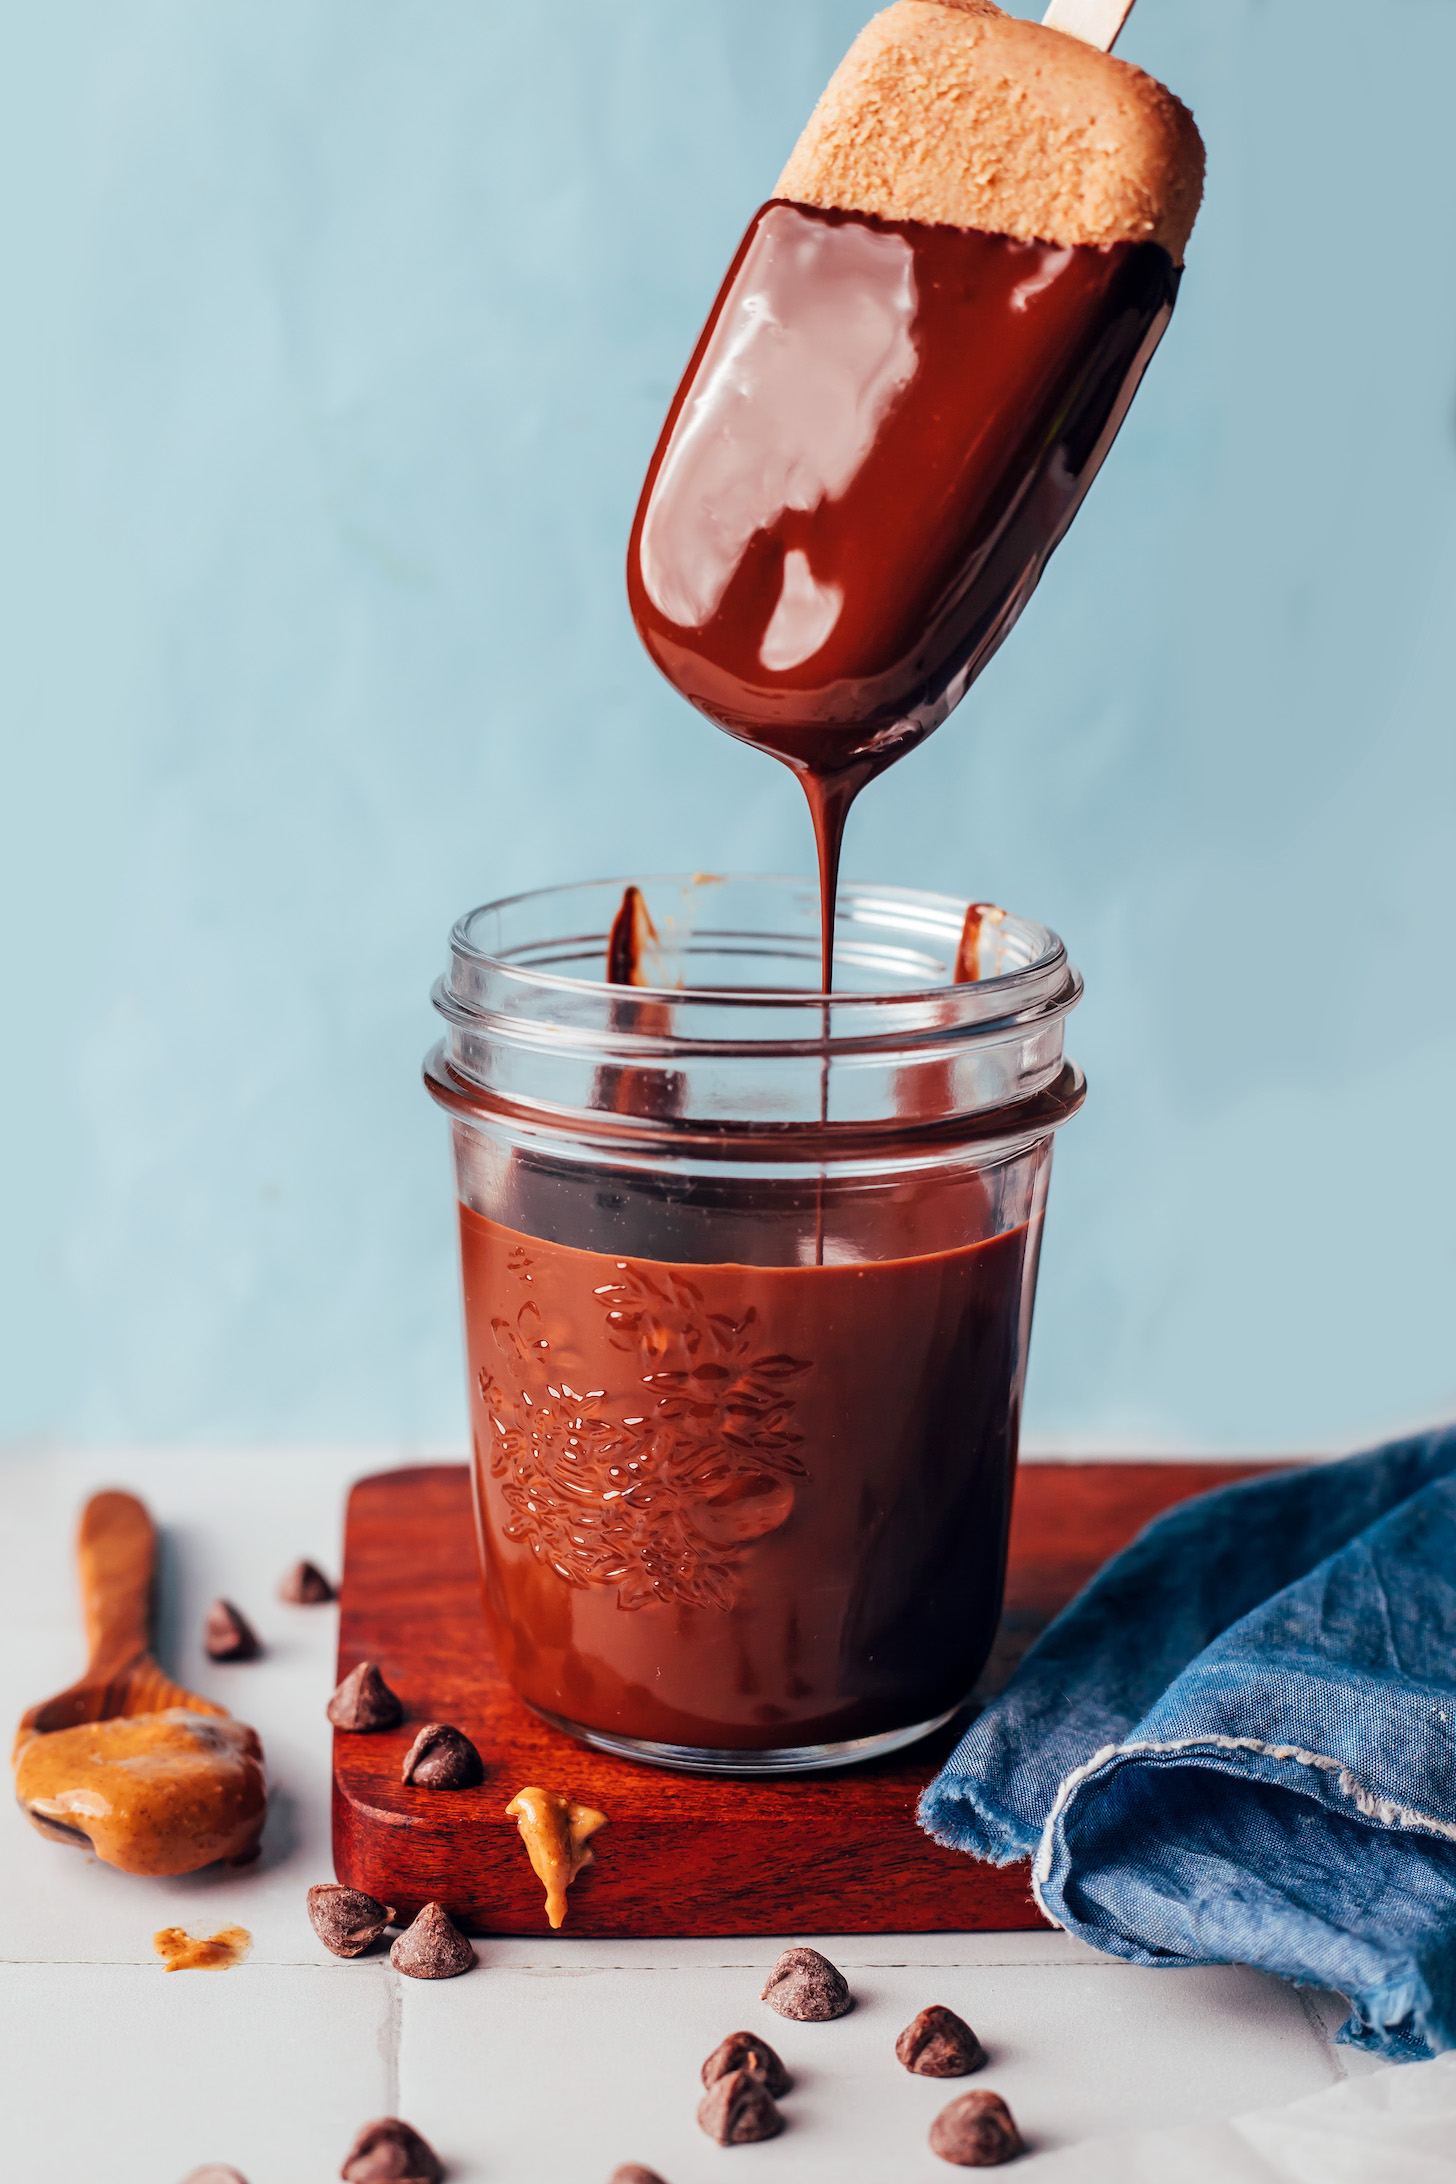
The final step is making the chocolate shell. Melt some chocolate chips and add a little coconut oil (to make the chocolate layer a little melty — YUM!). Then dip the peanut butter bars in the chocolate and freeze again. Don’t worry…this time ice cream bars are just 15-30 minutes away!
We can’t wait for you to try these ice cream bars! They’re:
Creamy
Chocolaty
Peanut buttery
Salty-sweet
Decadent
Refreshing
& Classic!
Make a batch now and you’ll be thanking yourself all summer long!
More Homemade Ice Cream Bars & Popsicles
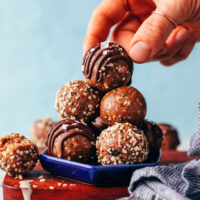
- 5-Ingredient Vegan Ice Cream Snickers
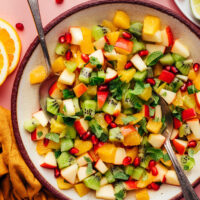
- Tropical Fruit Popsicles (No Added Sugar)
- Creamy Dulce de Leche Pops
- Mango Green Tea Popsicles
If you try this recipe, let us know! Leave a comment, rate it, and don’t forget to tag a photo @minimalistbaker on Instagram. Cheers, friends!
Chocolate Peanut Butter Ice Cream Bars (Vegan)

Ingredients
- 1 ¼ cup dairy-free milk (plain, unsweetened // we used almond)
- 10 medjool dates (10 dates yield ~1 cup packed or 200 g), pitted
- 1/2 cup peanut butter (natural)
- 1 tsp vanilla extract
- 1/4 tsp sea salt
- 1-2 Tbsp maple syrup (optional, for added sweetness)
CHOCOLATE SHELL
- 1 cup semi-sweet chocolate chips (ensure vegan/dairy-free as needed)
- 2 Tbsp coconut oil
Instructions
- If your dates are very firm/dry, add to a bowl and soak in boiling water for ~5 minutes. Drain before using.
- In a high-speed blender, combine the dairy-free milk, dates, peanut butter, vanilla, and salt. Blend on high until smooth and only small flecks of dates remain. Taste and adjust, adding maple syrup for additional sweetness (we added 1 Tbsp) or more salt for a more salty-sweet balance.
- Divide mixture between popsicle molds (we used these) and freeze for ~6 hours, or overnight. When you’re ready to add the chocolate shell, line a plate or baking sheet with parchment or wax paper and make sure there is room for it to fit in the freezer. Let the popsicles thaw slightly at room temperature while you prepare your chocolate shell.
- Add chocolate chips and coconut oil to a pint-sized glass jar (or small heat-proof mixing bowl) and microwave in 30-second increments until fully melted and creamy, stirring occasionally to aid in the melting process. Alternatively, melt over a double boiler on the stovetop. We melted the chocolate in a jar for easy dipping/coating!
- Carefully remove the popsicles from the mold one at a time, running the mold(s) under warm water if needed to help loosen the popsicles. Working quickly, dip the popsicle in the jar of melted chocolate, tilting and rotating the jar as needed to evenly coat the popsicle. Lift the popsicle and let excess chocolate drip off before placing the popsicle onto the prepared plate/baking sheet. Repeat with remaining popsicles. You can also drizzle/pour the melted chocolate over the popsicle if not using a jar.
- Return the bars to the freezer for 15-30 minutes to refreeze slightly, then enjoy! Leftover bars will keep for up to 1 month in the freezer. We recommend storing them in a container with parchment paper in between bars to prevent sticking.


Ellie says
These were absolutely delicious! I halved the recipe because my molds were really small (100g each, perfect guilt-free size). I used only half of the dates because the mixture seemed sweet enough, 100g precisely. Thank you for sharing the recipe for such a delicious treat.
We’re so glad you enjoyed them, Ellie! Thanks so much for sharing. xo
Leona says
Thank you for your recipes MB! I am a big fan of you.
For this recipe I measured 10 dates and it was only 70 grams, so I doubled it to about 150 grams. For me this was extremely sweet. I even left the maple syrup out. I will try it next time with bananas maybe it will be less sweet.
We’re so sorry it was too sweet for you, Leona! Is it possible your dates were especially dry? They could weigh less if especially dry, which could mean that yours ended up having too many dates. If you’re up for giving it another try, we’d suggest sticking with 10 dates and only adding more if you taste the mixture and it’s not sweet enough.
Alyssa says
This was seriously super easy/simple to make and a very enjoyable dessert that’s a lot healthier than a lot of other peanut butter chocolate bars out there! Seriously very low effort to just blend the ingredients and pour into molds. I used coconut milk and think it was a great choice. It was pretty easy to make the chocolate coating as well. I crushed up some chocolate puff cereal to add onto the coating as it hardened, plus a dash of salt. I will definitely be making this again!
Your additions sound amazing, Alyssa! We’re so glad you enjoyed the ice cream bars. Thank you for sharing! xo
Nicole says
Do you need to add salt to the peanut butter ice cream mixture if you’re using salted peanut butter?
We’d recommend doing half the amount, or adjusting to taste!
Jenn says
Amazingly delicious!!!
xoxo!
Alexandra says
I’ve made these 3 times now, always delicious. I use neglect dates just bc they are cheaper!
Whoop! We’re so glad you’re enjoying the recipe, Alexandra. Thank you for sharing! xo
Lindusia Campbell says
When do you put the stick into the mold? Before it’s poured or after?
Thanks!
Hi Lindusia, you pour the mixture into the popsicle mold, then add the popsicle sticks, and place in the freezer. Enjoy!
Dana C. says
We bought a pop cycle tray when some family visited, and then I saw this recipe and thought “why not?!” It was a hit! We’ll be making them often.
Yay! We’re so glad the bars were a hit! Thank you for sharing, Dana! xo
Rachel says
These were easy and great! Will definitely make again. I was really impressed with the texture (smooth like ice cream, not grainy like sorbet). I used oat milk and didn’t end up needing to add maple syrup.
I didn’t have popsicle molds, so I used a silicone jumbo ice cube tray and toothpicks. The ice cube tray worked well and I liked having a smaller treat than a full popsicle, but next time I will buy popsicle sticks.
Yay! We’re so glad you enjoy the ice cream bars, Rachel. Thank you for sharing! xo
Kat says
Wow, these are unbelievable! So easy to make with minimal ingredients and super delicious. Thank you for the recipe, it’s absolutely my favorite now !
Whoop! We’re so glad to hear it, Kat. Thank you for the lovely review! xo
Amanda says
This was the first time I ever made popsicles before and I was extremely impressed with the taste and texture of these bars! Minimalist Baker recipes never disappoint!
Whoop! Thank you for making the recipe and taking the time to leave a review, Amanda! xoxo
Margaret says
Are these pretty soft even after being in the freezer for a bit (before taking them out of the molds)? I tried taking them out and they are still soft. I may need to just wait longer, but I am curious if they harden quite a bit. (I was excited to try taking them out sooner than you suggested!) Thank you!
Hi Margaret, They’ll be a little soft, but should firm up enough that they come out of the molds without trouble. Let us know how they turn out for you! xo
Jill says
Can’t wait to try these! I don’t tolerate dates well so thinking of swapping out for banana. Do you think that would work or do you have other suggestions? Thanks so much!
Hi Jill, another reader mentioned subbing banana with success, though the banana flavor was noticeable. Another option would be to add more maple syrup, to taste. Let us know if you try it!
Ricky Bobby says
I am making these now. I weighed 10 dates and they come to 70g, not 200g (as stated in the recipe). Not sure which is correct but I’m going to stick with 70g and hope for the best.
Hi Ricky, the size of dates can vary. 200 grams is what we recommend for this one, but it will likely be okay (just less sweet) with 70 grams. Let us know how it turned out!
Ricky Bobby says
They turned out pretty well. I added a banana in addition to the 10 dates and we were happy with the sweetness of the ice cream. I forgot to add the coconut oil to the chocolate, so we ended up with the chocolate being too thick. A pretty good first effort though.
Thank you for sharing, Ricky!
Jane River says
These look AMAZING! I cant wait to make them! What can I substitute for the peanut butter? A couple of people in my family are intolerant, and its a shame for them to miss out.
Aw, bummer! You could sub another nut butter such as almond or cashew, but the flavor will differ. Hope that helps!
Ipps says
Sooo yummy! I replaced the dates with a super sweet banana, so didn’t add maple. I threw in a few strawberries as well & 1 T cocoa. Used coconut milk 10%(Costco). I sprinkled them with chopped candied walnuts. They did have a banana taste since that’s a stronger flavour than the peanut butter but it was super delicious.
Your modified version sounds amazing! Thanks so much for sharing! xo
Christina says
Can I make the chocolate shell with cacao powder and sugar?
Yes! You could make something similar to our 5-Ingredient Vegan Chocolate Bars, replacing the maple syrup with cane sugar and skipping the cacao nibs. Hope that helps!
Angela Siegler says
So excited to try these! I need to get popsicle molds. Which do you recommend?
Hi Angela, we used these ones for this recipe. We’ve also used these in the past and they’re pretty, but can be a little finicky to get the sticks to stay straight. Hope that helps!
Joyce says
Where are the popsicle moulds from?
Hi Joyce, They’re from Amazon. Enjoy!
Elaine says
This looks delish and I can’t wait to try it. Do you have an ice pop mold you recommend??
Hi Elaine, Here is the popsicle mold we used for this recipe. We’re excited for you to try the ice cream bars! Let us know how you like them! xo