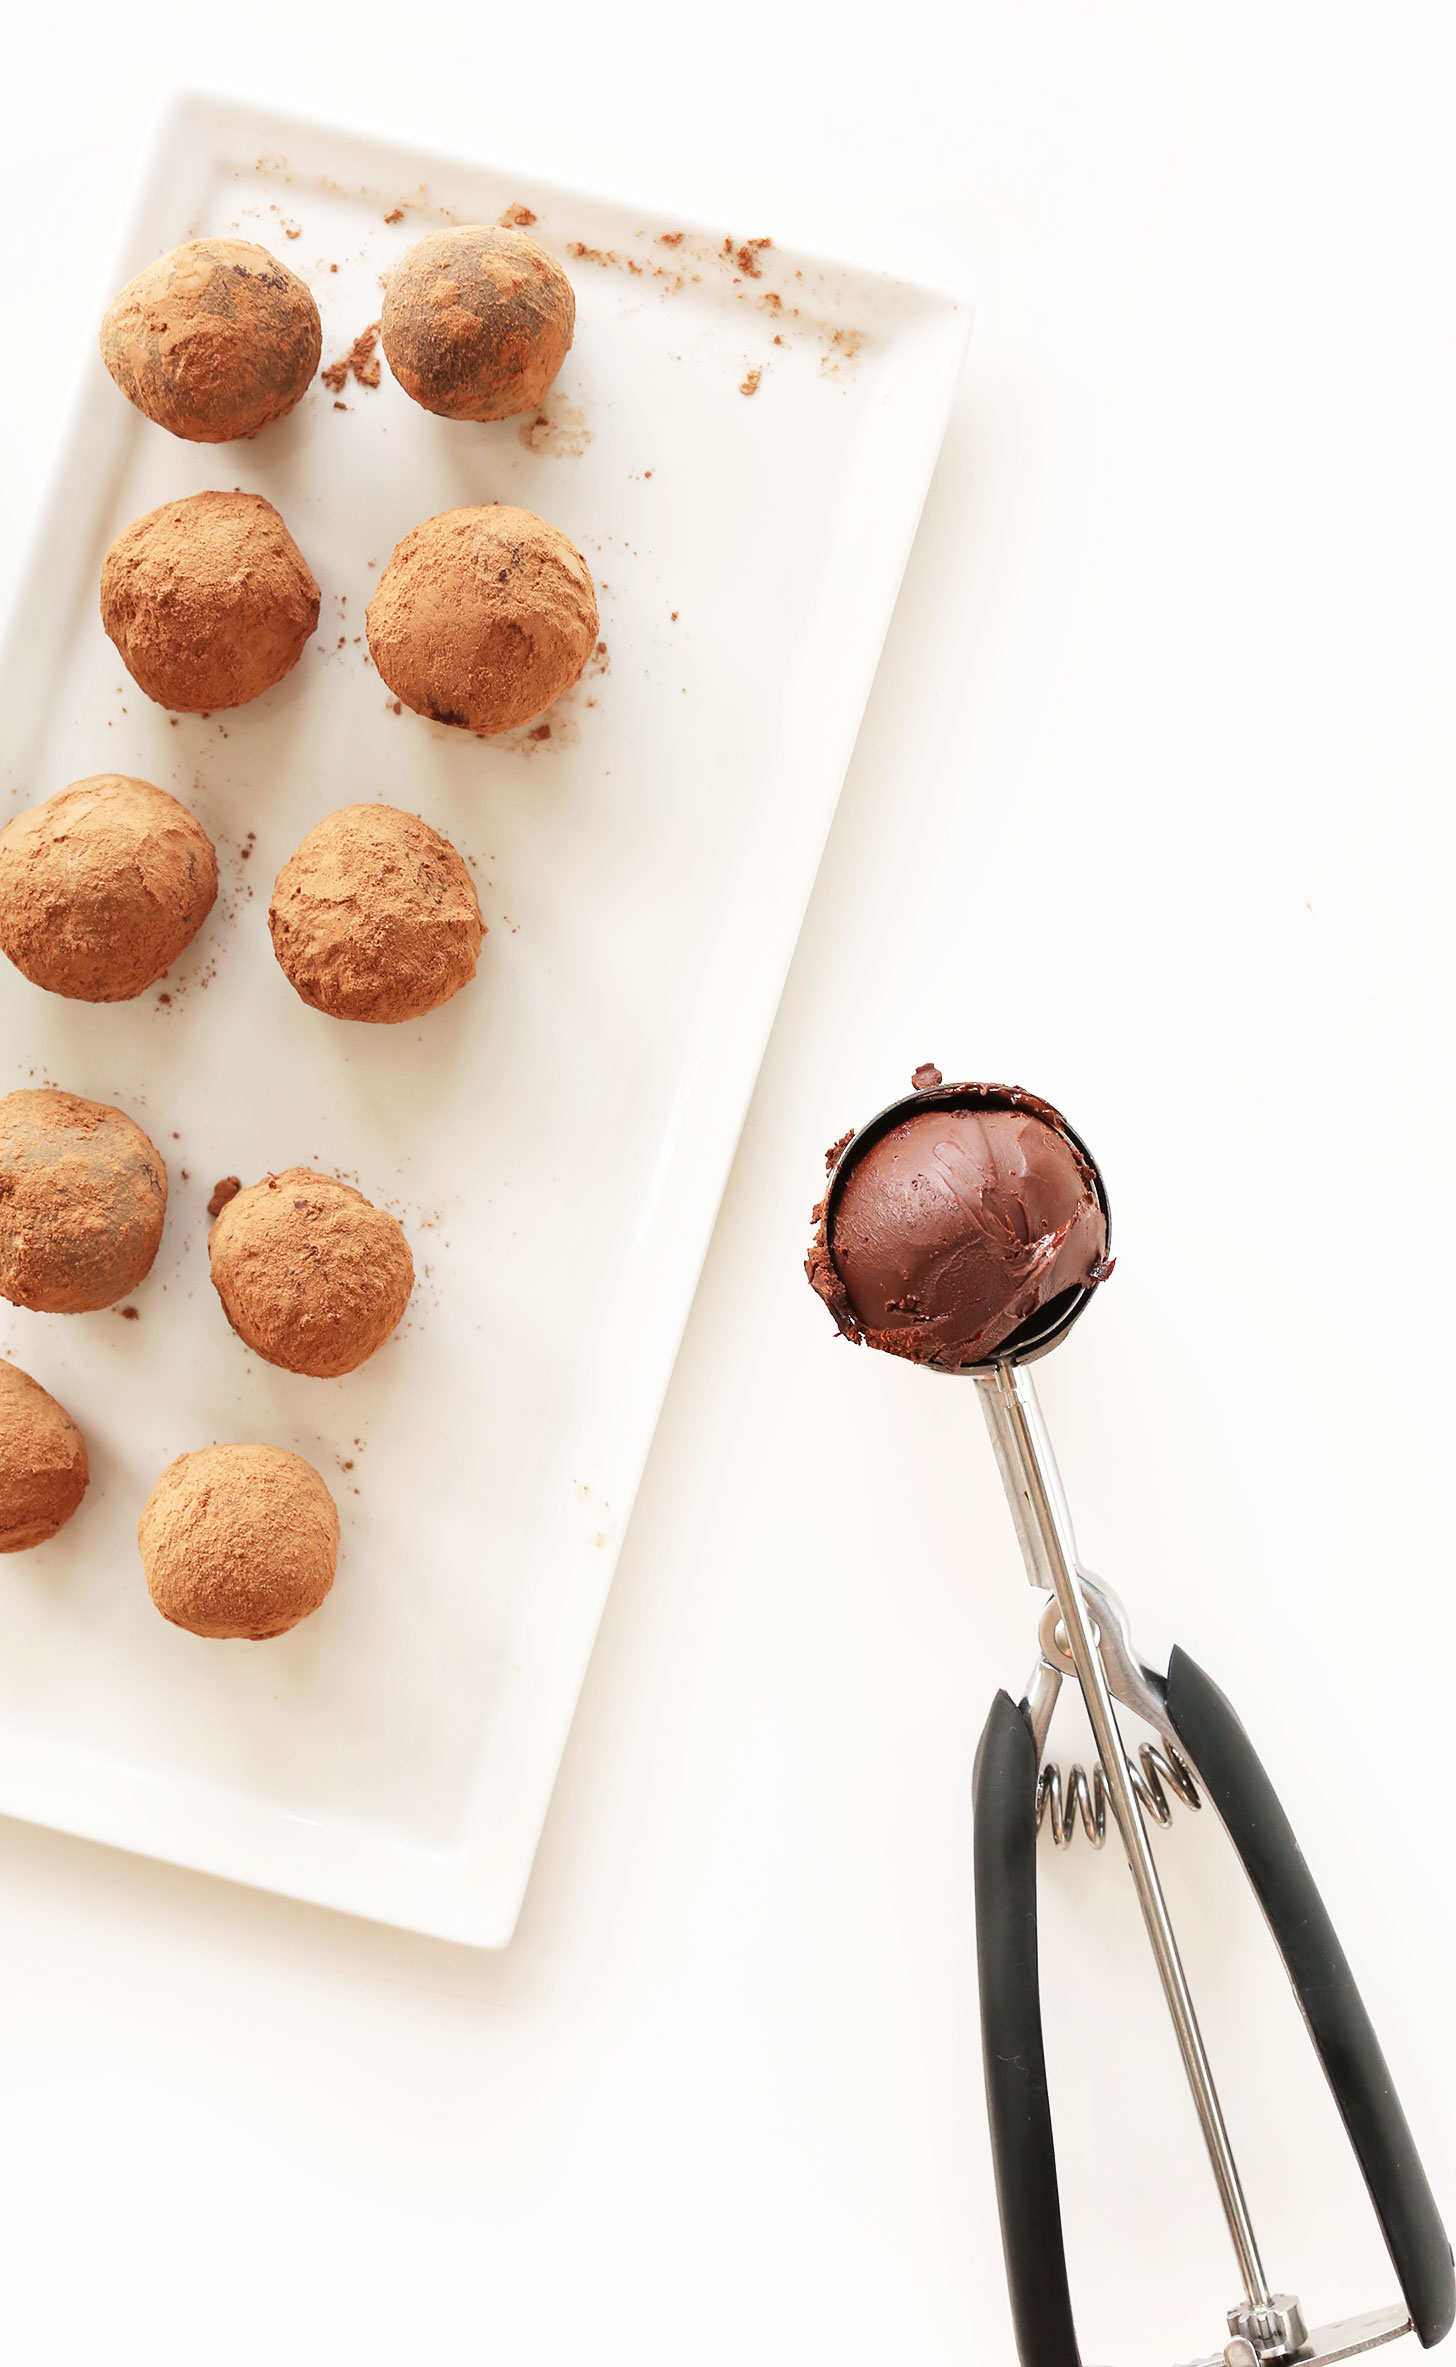
Prepare to lose all self-control and stuff 14 truffles into your face in one sitting.
Let’s party!
Truffles are one of those desserts I can’t resist. In college I had a habit of stopping into our university bookstore between classes to pick up a bag of roasted almonds and a dark chocolate truffle. I also had a thing for individually wrapped bubble gum, but that’s another story.
These days my indulgence of choice is a square of dark chocolate, but any time truffles are around you know I’m enjoying at least two (or twelve).
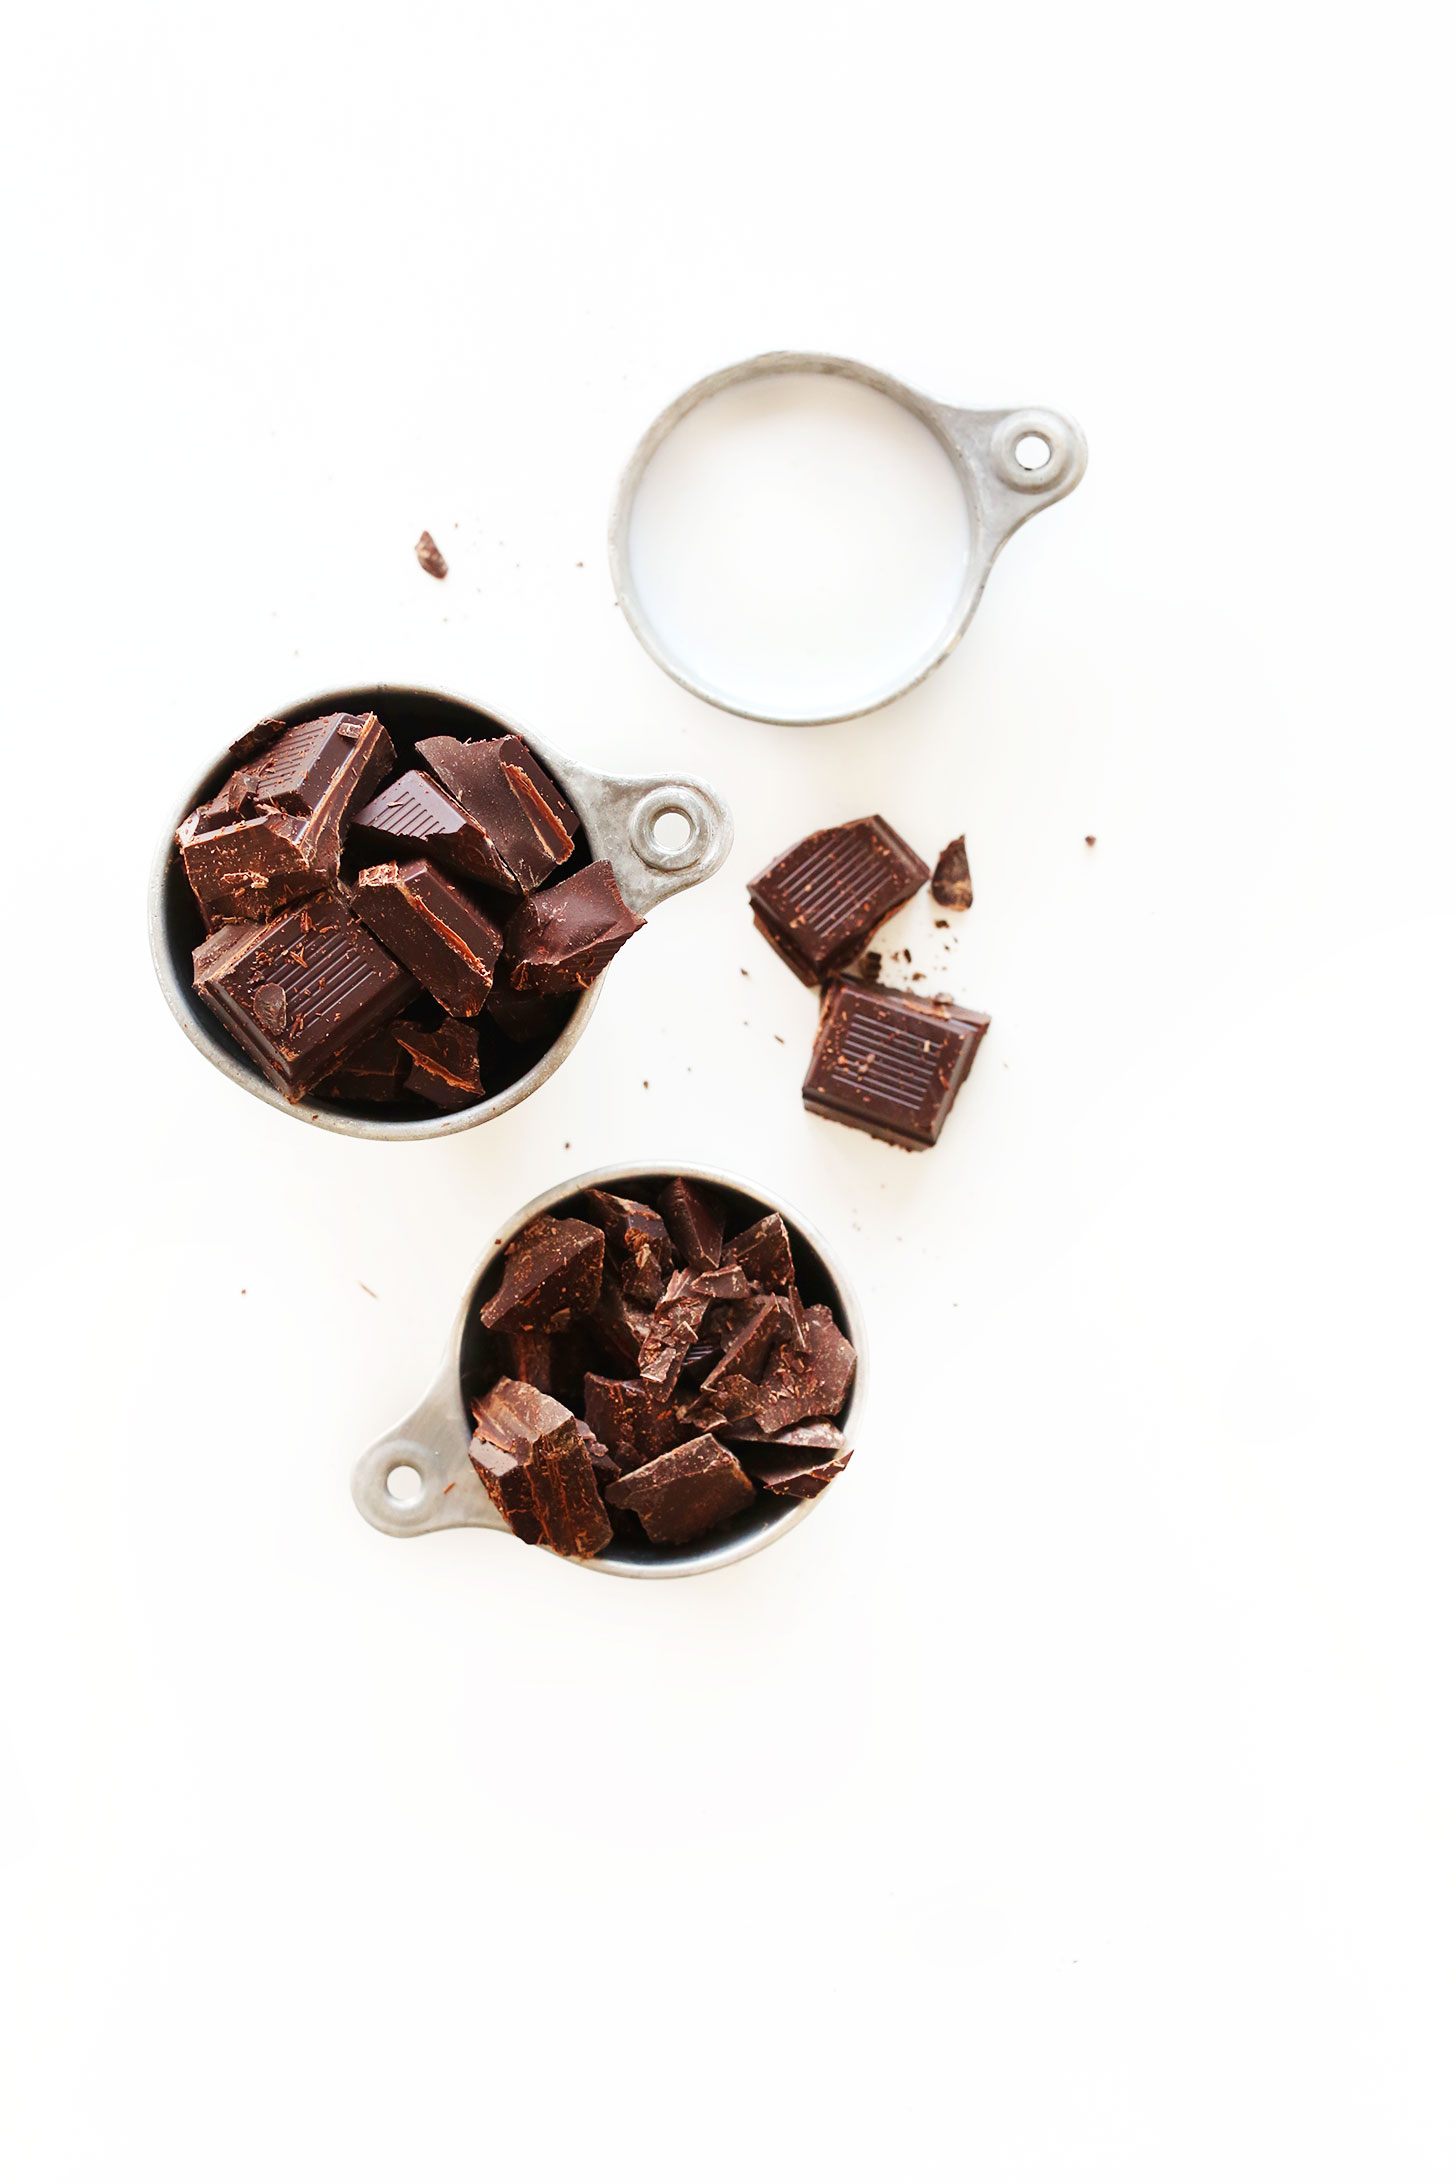
These truffles truly are simple, requiring simple methods, 2 ingredients, and no fancy equipment!
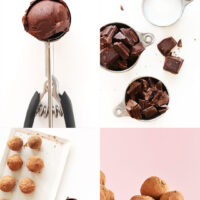
Simply chop chocolate
Heat coconut milk
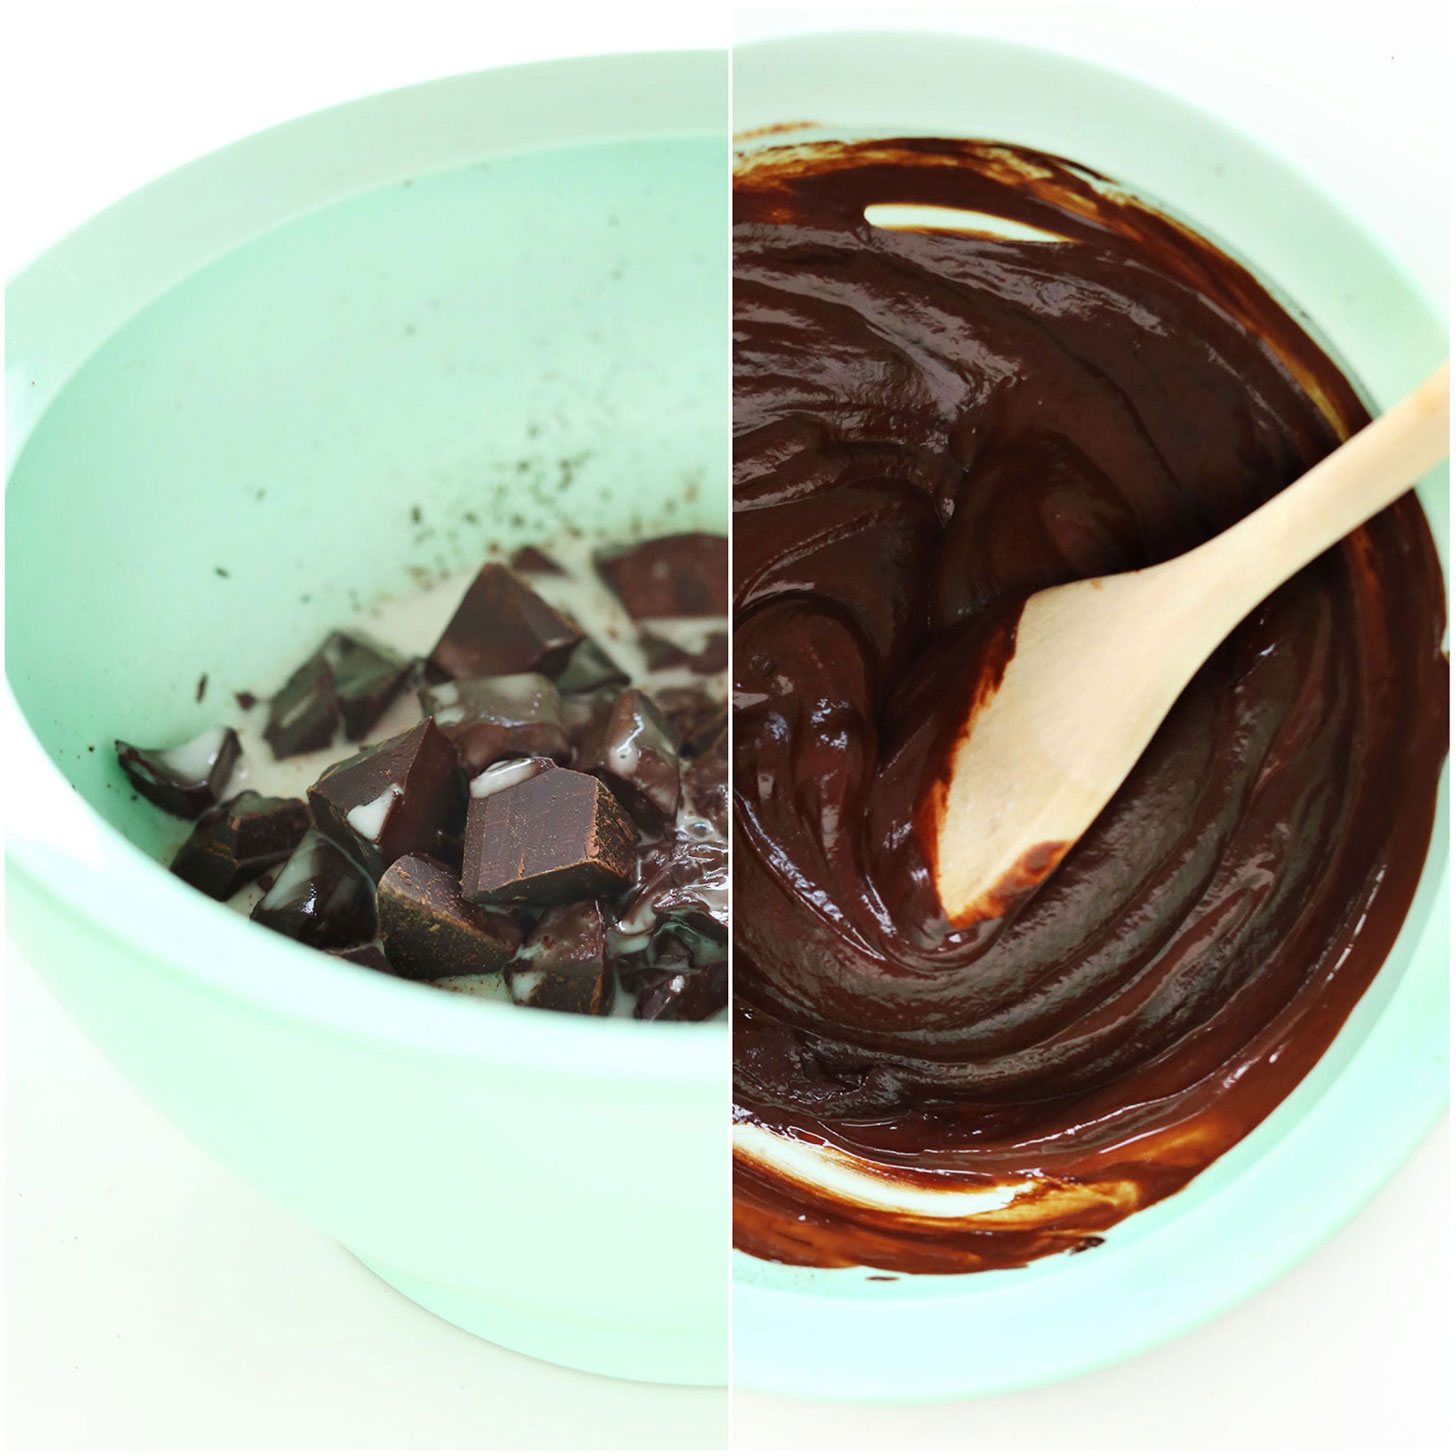
Pour over chocolate
Melt
Stir
Chill
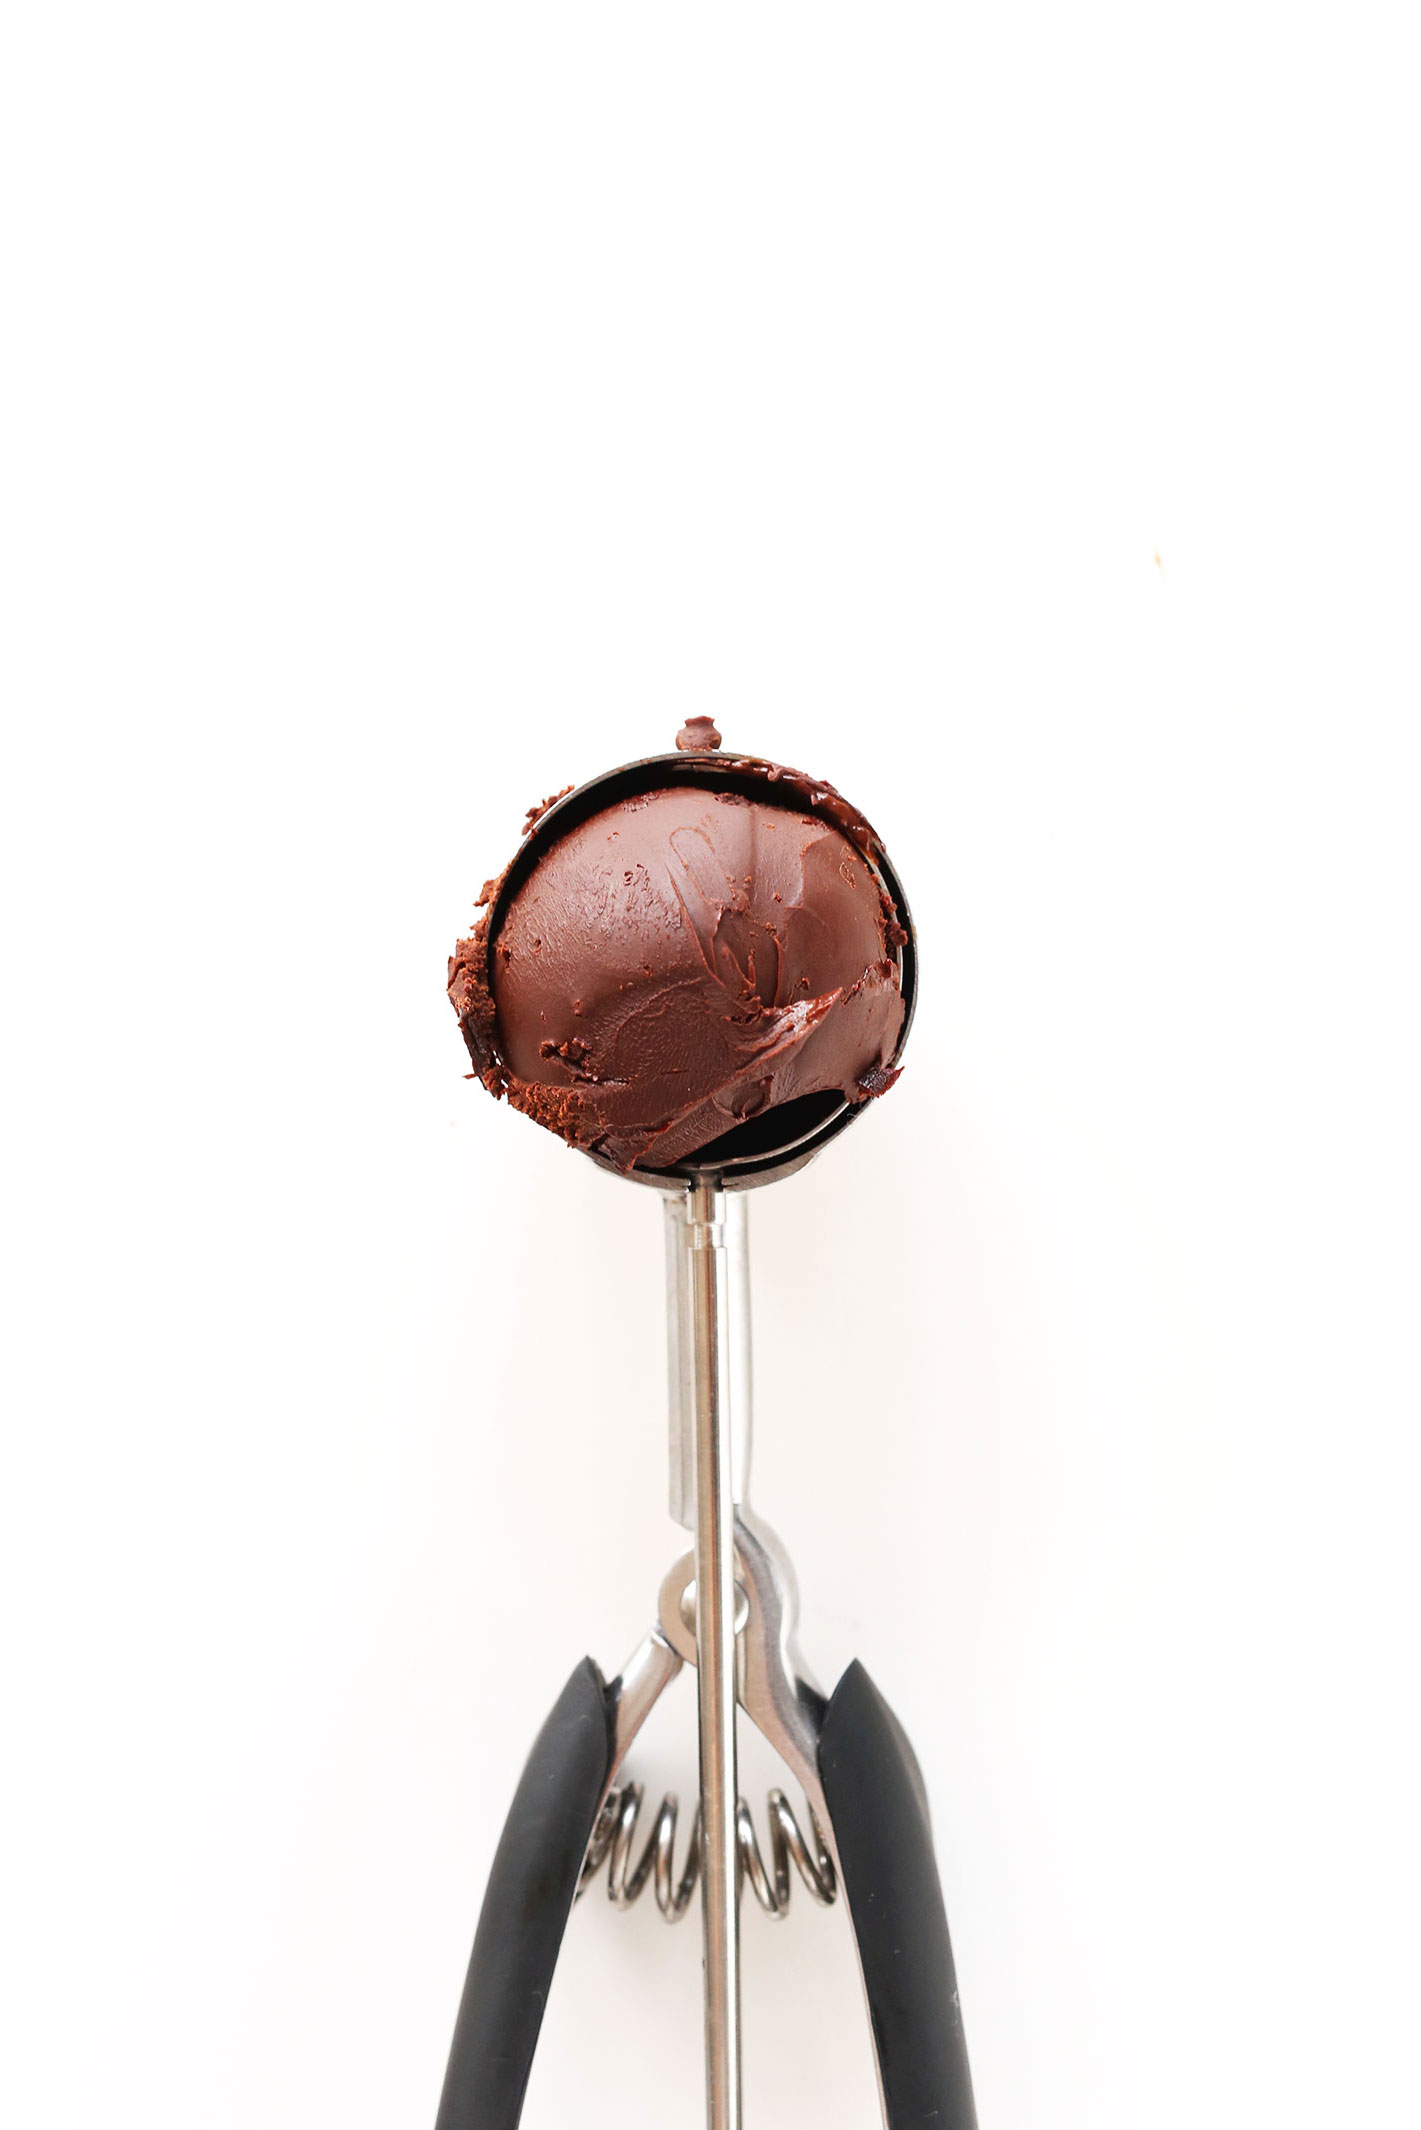
& Scoop!
It’s as easy as that.
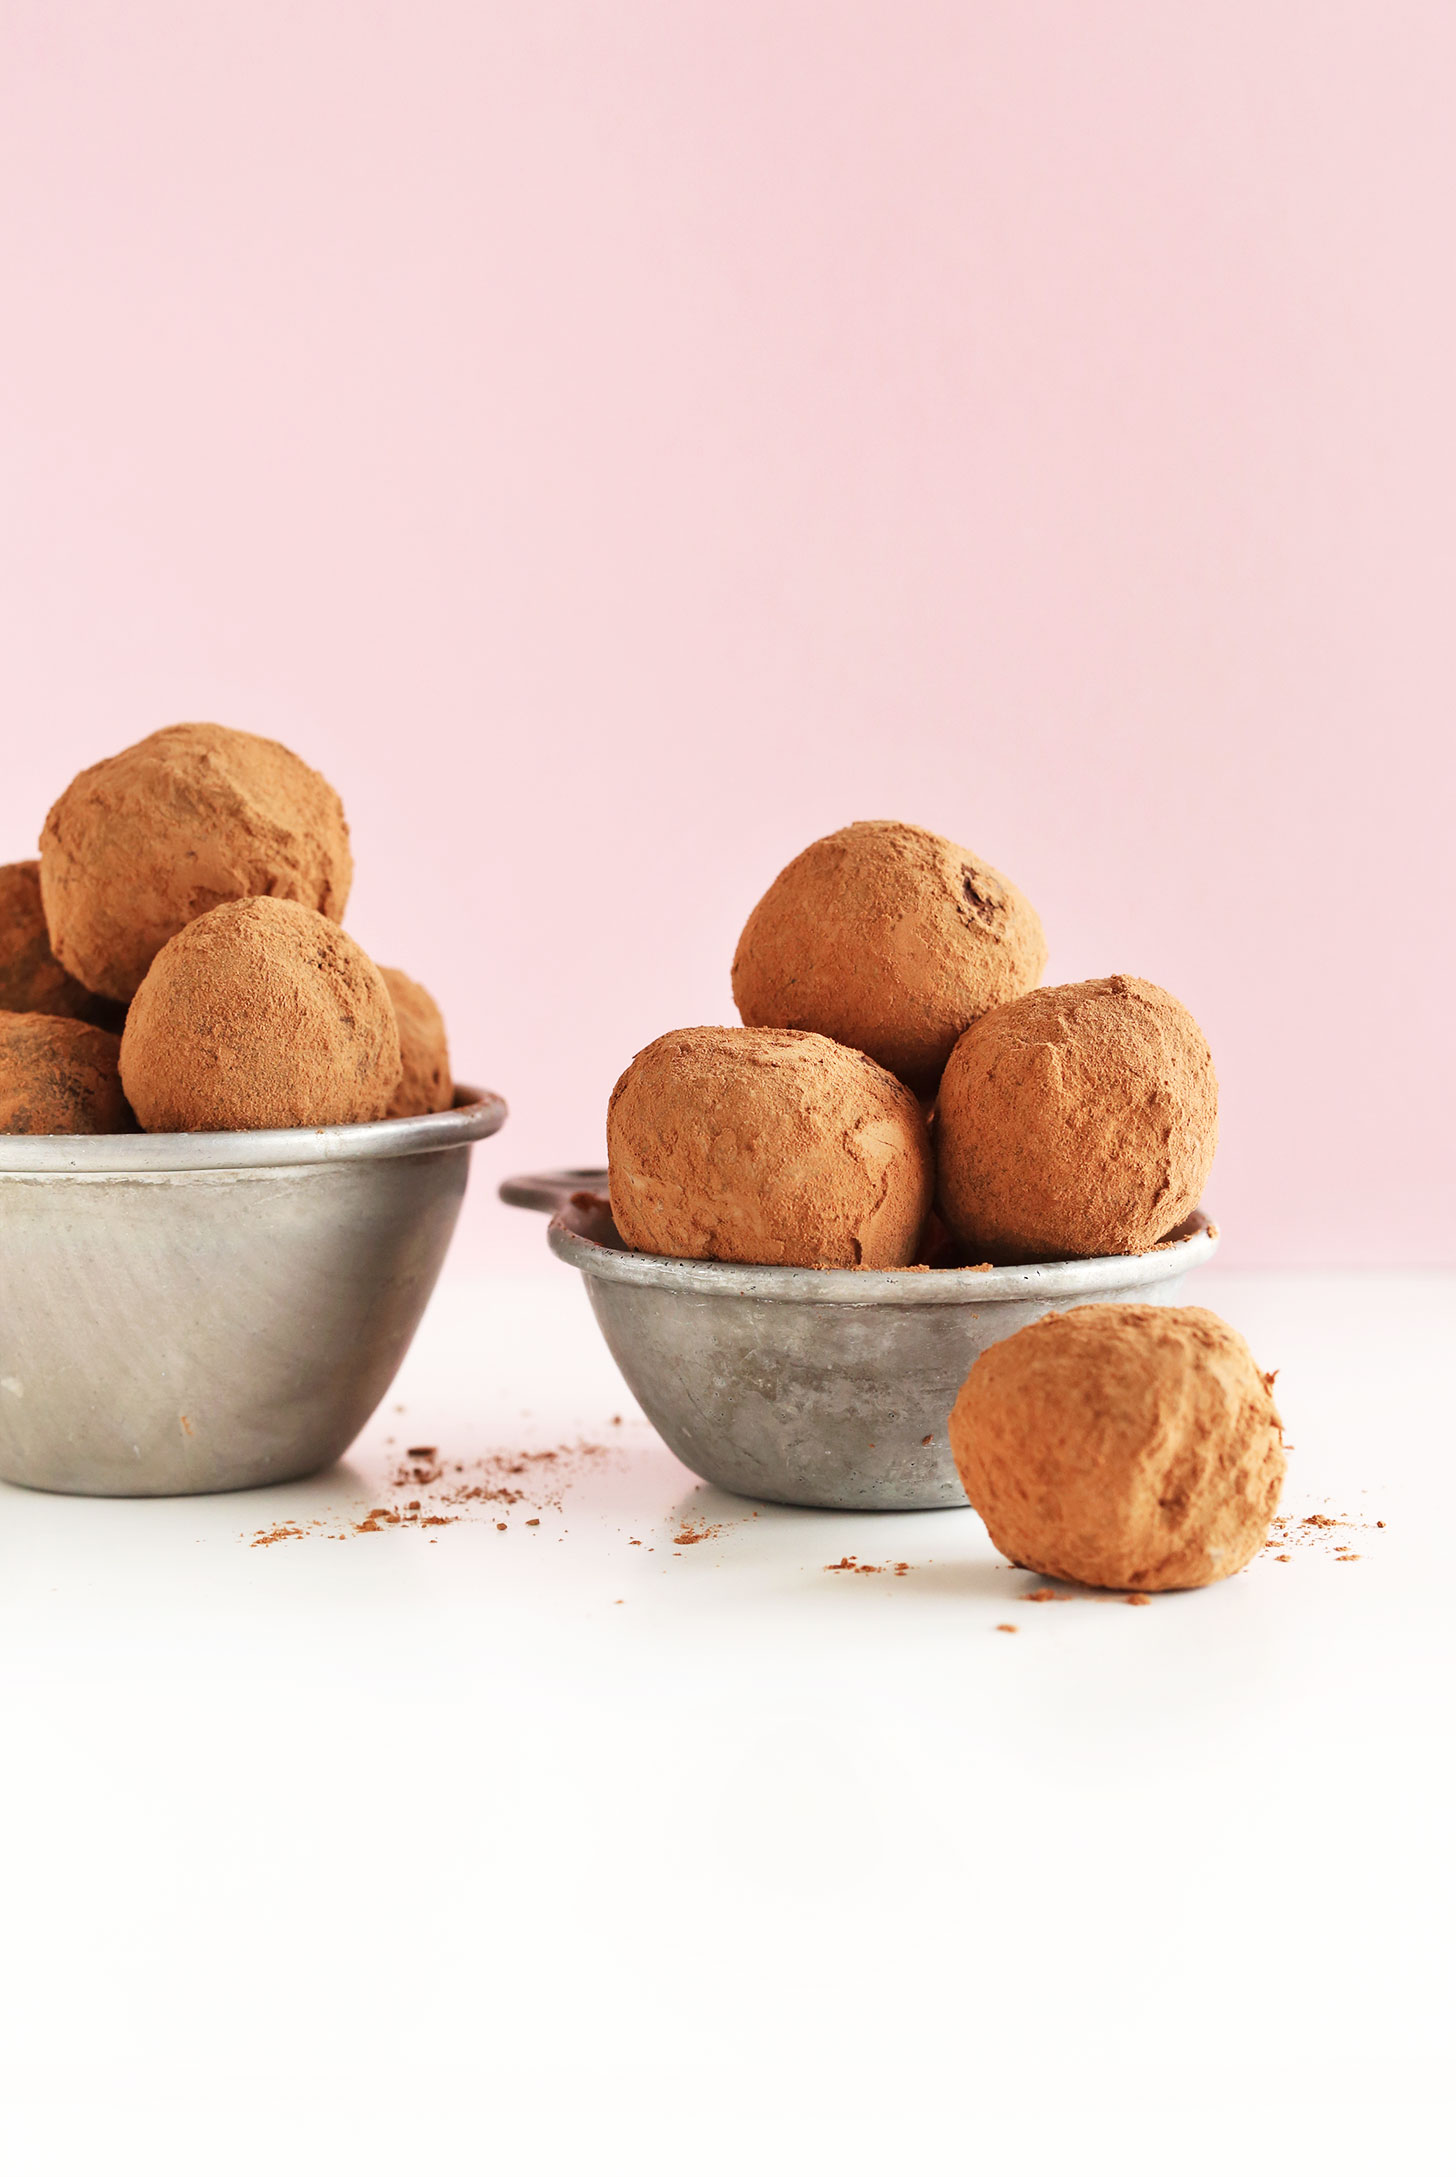
As far as coatings, you can either leave them plain or roll them in cocoa or cacao powder. I also think ground hazelnuts would be amazing for more of a Nutella spin!
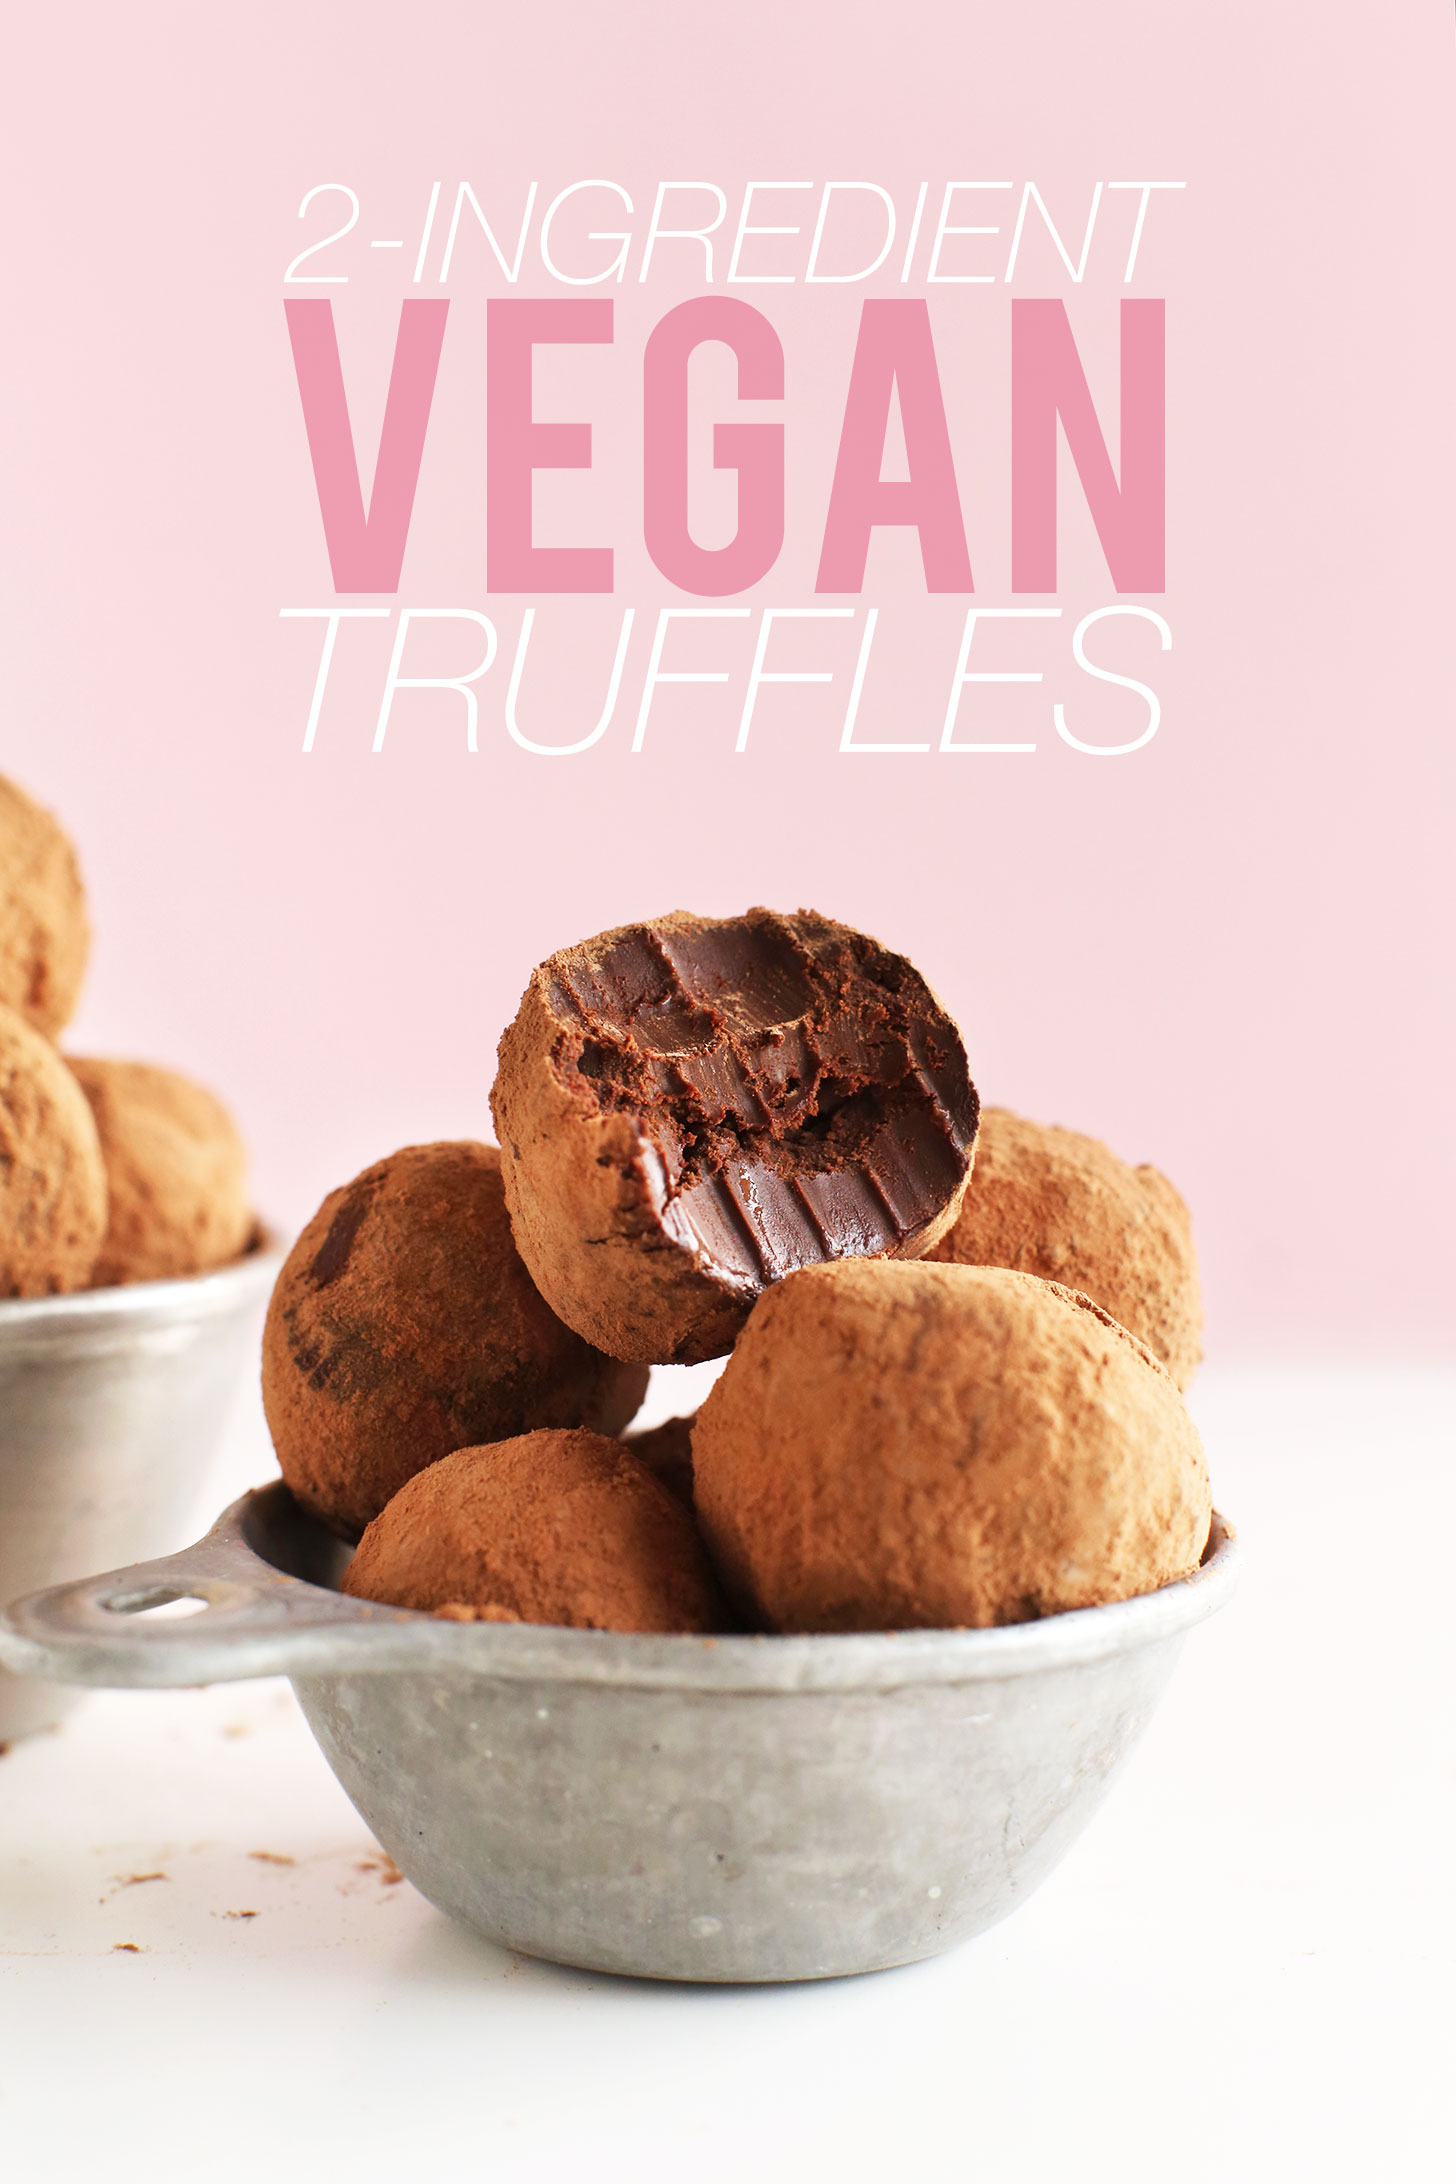
I think you guys are going to LOVE these truffles. They’re:
Rich
Creamy
Chocolate-y
Perfectly sweet
Simple
& Indulgent
These would make the perfect dessert to snack on during the week or to take along to parties. They’d also make a gorgeous gift! Now that I’ve made my own truffles and know how simple and delicious they are, I don’t know that I’ll ever buy them again (especially considering dairy-free ones are to hard to come by).
If you give this recipe a try, let us know what you think! Leave a comment and rate it – it’s super helpful for us. And don’t forget to take a picture and tag it #minimalistbaker on Instagram! We love seeing what you come up with. Cheers!
Note: recipe updated 12/15/2023 to add troubleshooting tips and notes.
2-Ingredient Dark Chocolate Truffles
Ingredients
- 9 ounces vegan dark chocolate* (very finely chopped // 65-72% cacao // 9 ounces is equal to ~1 1/2 cups chopped)
- 2/3 cup canned full-fat coconut milk (smooth & creamy* // well shaken/whisked if clumpy)
- 1/2 tsp vanilla extract (optional)
- 1/4 cup unsweetened cocoa or cacao powder, or finely ground hazelnuts (optional // for coating)
Instructions
- Place very finely chopped chocolate (it should resemble small shreds) in a medium-sized mixing bowl. The finer the chocolate is chopped, the easier it will melt and the quicker the truffle-making process will go.
- In a separate small mixing bowl, add coconut milk and microwave until very warm but not boiling – about 25 seconds (alternatively, heat in a small saucepan over medium heat until just starting to simmer).
- Immediately add coconut milk to chocolate (drizzling evenly for even melting) and loosely cover with a cooking lid or plate to trap the heat in. Do not touch for 5 minutes. Then lift cover and use a mixing spoon to gently stir, trying not to incorporate air. Continue stirring until completely melted, creamy, and smooth.
- NOTE: If you have unmelted pieces left (usually due to the chocolate not being finely chopped enough), you can microwave the mixture in 5-10-second increments until completely smooth (just be very careful not to overcook or it can affect the integrity of the chocolate, causing separation, oiliness, or graininess).
- Add vanilla (optional) at this time and stir.
- Set the mixture in the refrigerator to chill uncovered for 1-3 hours*, or until almost completely solid. A good test is dipping a knife into the middle of the bowl to see if any chocolate sticks. If it comes out mostly clean, it’s ready to scoop. If there’s still wet chocolate in the center, continue refrigerating.
- Once chilled and firm, prepare a small dish of cocoa or cacao powder (or finely ground hazelnuts) for rolling (optional).
- Use a Tablespoon-sized scoop (such as this one from Amazon) or a Tablespoon to scoop out small balls (see photo), then use your hands to gently but quickly roll/form the chocolate into balls. If the mixture has become too firm (crumbles when you try to roll it), let sit at room temperature for 5-10 minutes before trying again.
- Toss in cocoa or cacao powder (or finely ground hazelnuts) to coat and shake off excess (or leave bare), then set on a parchment-lined serving dish. Continue until all chocolate is scooped. There should be about 16 truffles (amount as original recipe is written // adjust if altering batch size), depending on the size of your scoop.
- If any of the chocolate near the center of the bowl was too soft to form, refrigerate that portion for a bit longer before proceeding.
- Enjoy truffles immediately, or refrigerate for 1-2 hours or overnight. This allows them to set and firm up.
- Store truffles covered in the refrigerator for best freshness. To serve, let come to room temperature for 10-15 minutes before serving for optimum creaminess.
Video
Notes
*The higher the percentage of cacao, the richer and more chocolaty the truffles will be. The lower the percentage of cacao, the more sweet the truffles will be. We tested with Enjoy Life Semi-Sweet Mega Chunks (52-55% cacao) and they were delicious, but the texture was too soft and the truffles didn’t set up properly (due to the lower % cacao/fat content).
*Some brands of coconut milk are smooth and creamy, while others are chunky or oily. We highly recommend using a brand that’s smooth and creamy for this recipe.
*If adjusting the number of servings up or down, the mixture will take more or less time to chill. When making a 1/3 batch, it only took ~45 minutes to solidify (a hack for satisfying the truffle craving faster!).
*Using less coconut milk will create a more firm truffle. Using more coconut milk will create a softer, creamier truffle.
*If you have any issues with the mixture splitting, it’s usually due to overheating the chocolate. Learn more about that here.
*Recipe loosely adapted from Oh, Ladycakes.
*Nutrition information is a rough estimate.


Niki says
They look delish but How is this 2 ingredients?
Hey Niki! The vanilla and cocoa powder are optional!
Alex says
Hi do you think coconut cream would work here vs milk? Have a lot to use up and would rather than buy a new one
Hi Alex, Coconut cream would likely give the truffles a more pronounced coconut flavor and the texture may change, but you could try it!
Rebecca says
Can you substitute the coconut milk for full fat cows milk?
Hi Rebecca, we don’t think full fat cow’s milk will be thick enough, but perhaps heavy cream?
Chris says
2/3 of the can = how many cups?
Hi Chris, for this recipe, use 2/3 cup, not 2/3 of the can! But 2/3 of the can would be about 1 cup.