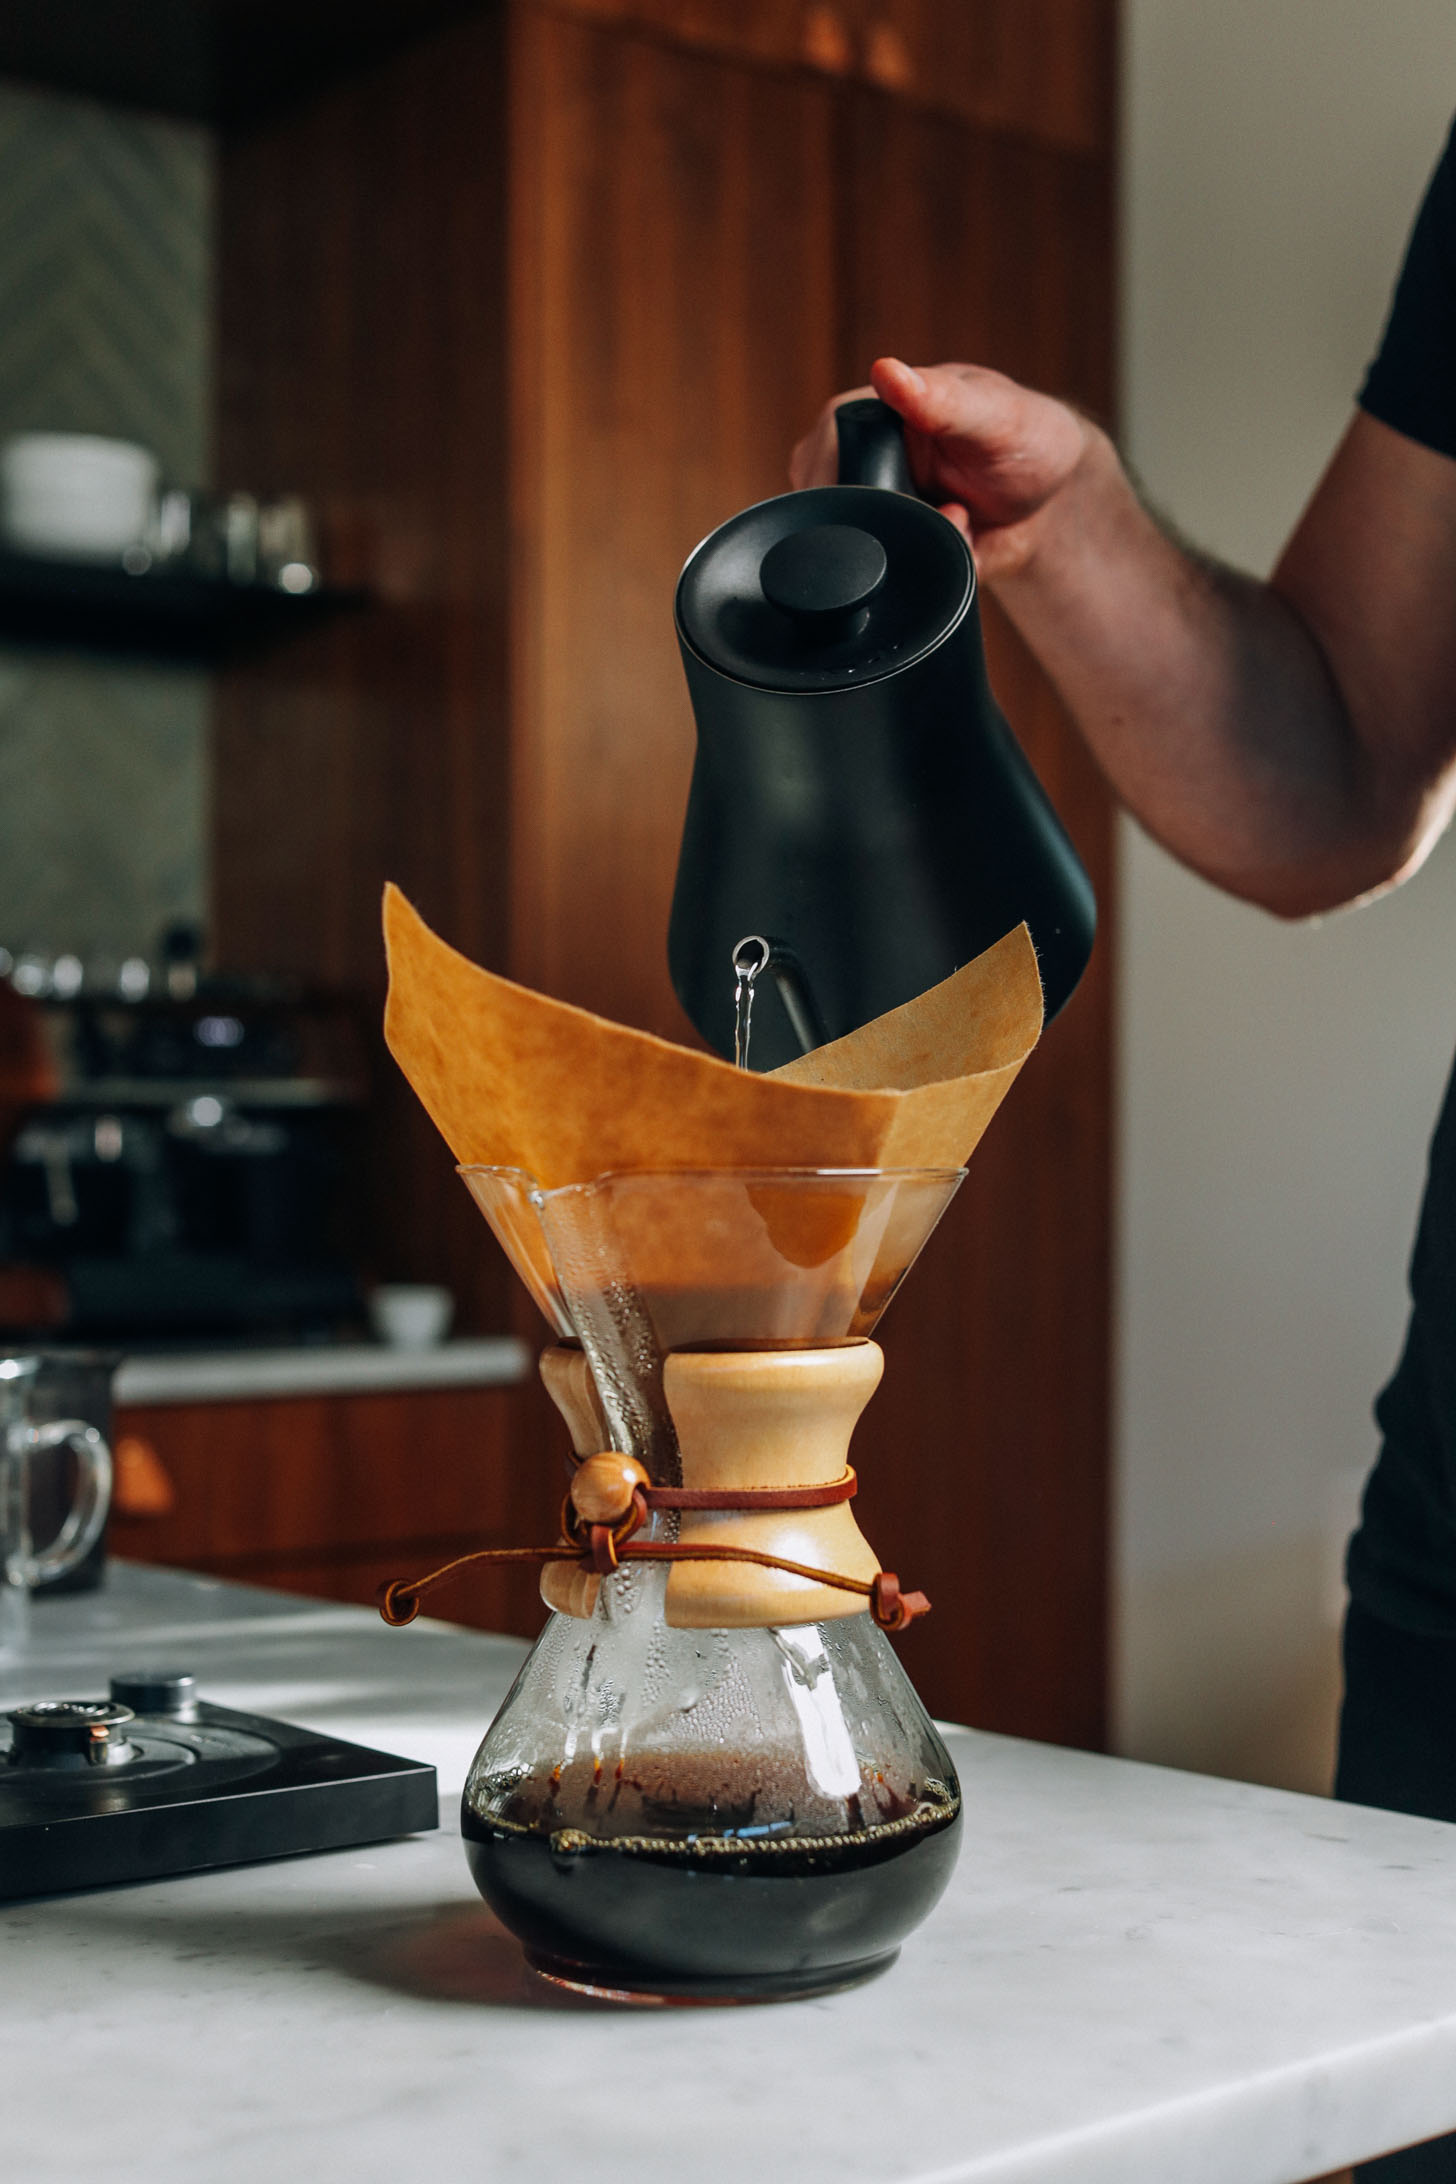
When making pour-over coffee, the two biggest factors are:
- Coffee bean quality
- Purity of water
However, every detail matters. Getting a consistent grind coarseness, using proper measurements, and having the right temperature water will also improve how your cup of joe tastes.
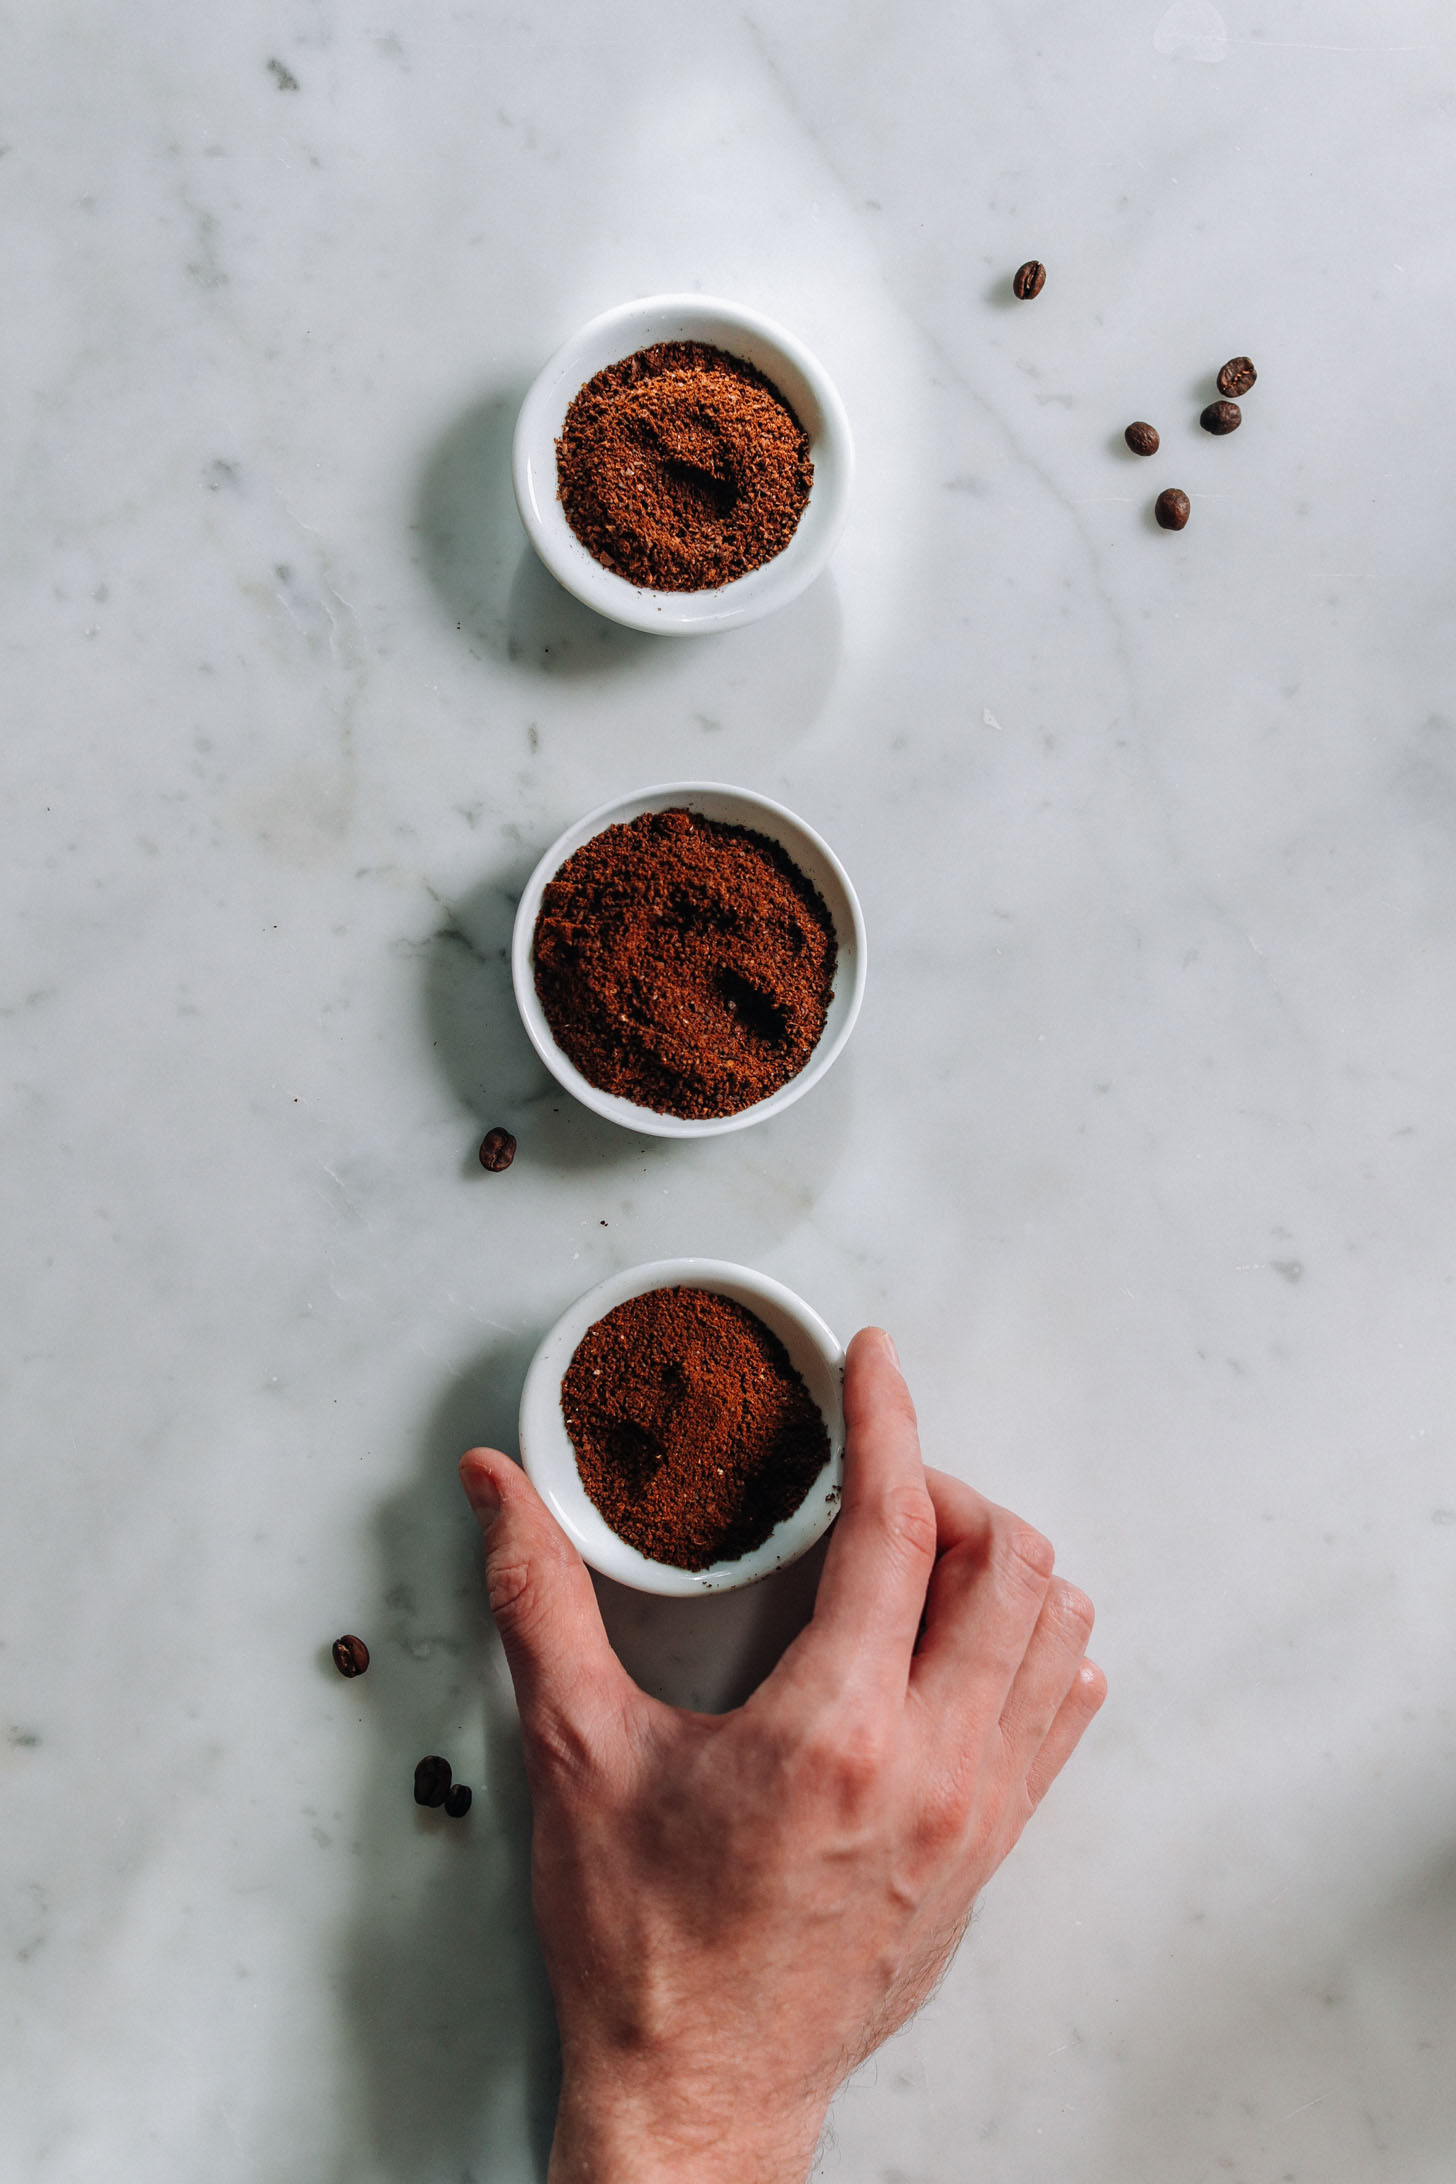
What you’ll need:
- Quality, fresh coffee beans (we gravitate toward beans from Guatemala and Ethiopia)
- Chemex coffeemaker
- Filtered water (we love this Berkey Water filter)
- Water kettle (something with a gooseneck spout is best for pouring)
- Paper filters
- Coffee grinder (the better the grind, the better the coffee. However, quality beans and filtered water trump grind, so just get what you can!)
- Scale (ensures accuracy)
Now, on to preparation. If you dig around enough, you’ll find varying recommendations on the ratio of coffee to water.
I’ve worked this recipe for a number of years and end up using 1g of coffee to 16ml of water.
So for a pot of coffee that yields about 2 big cups (250ml each), you’d use 32g of coffee + ~500ml water.
This assumes you’re using a high-quality coffee bean and filtered water. Sometimes coffee is made unnecessarily strong to hide bean or water imperfections.
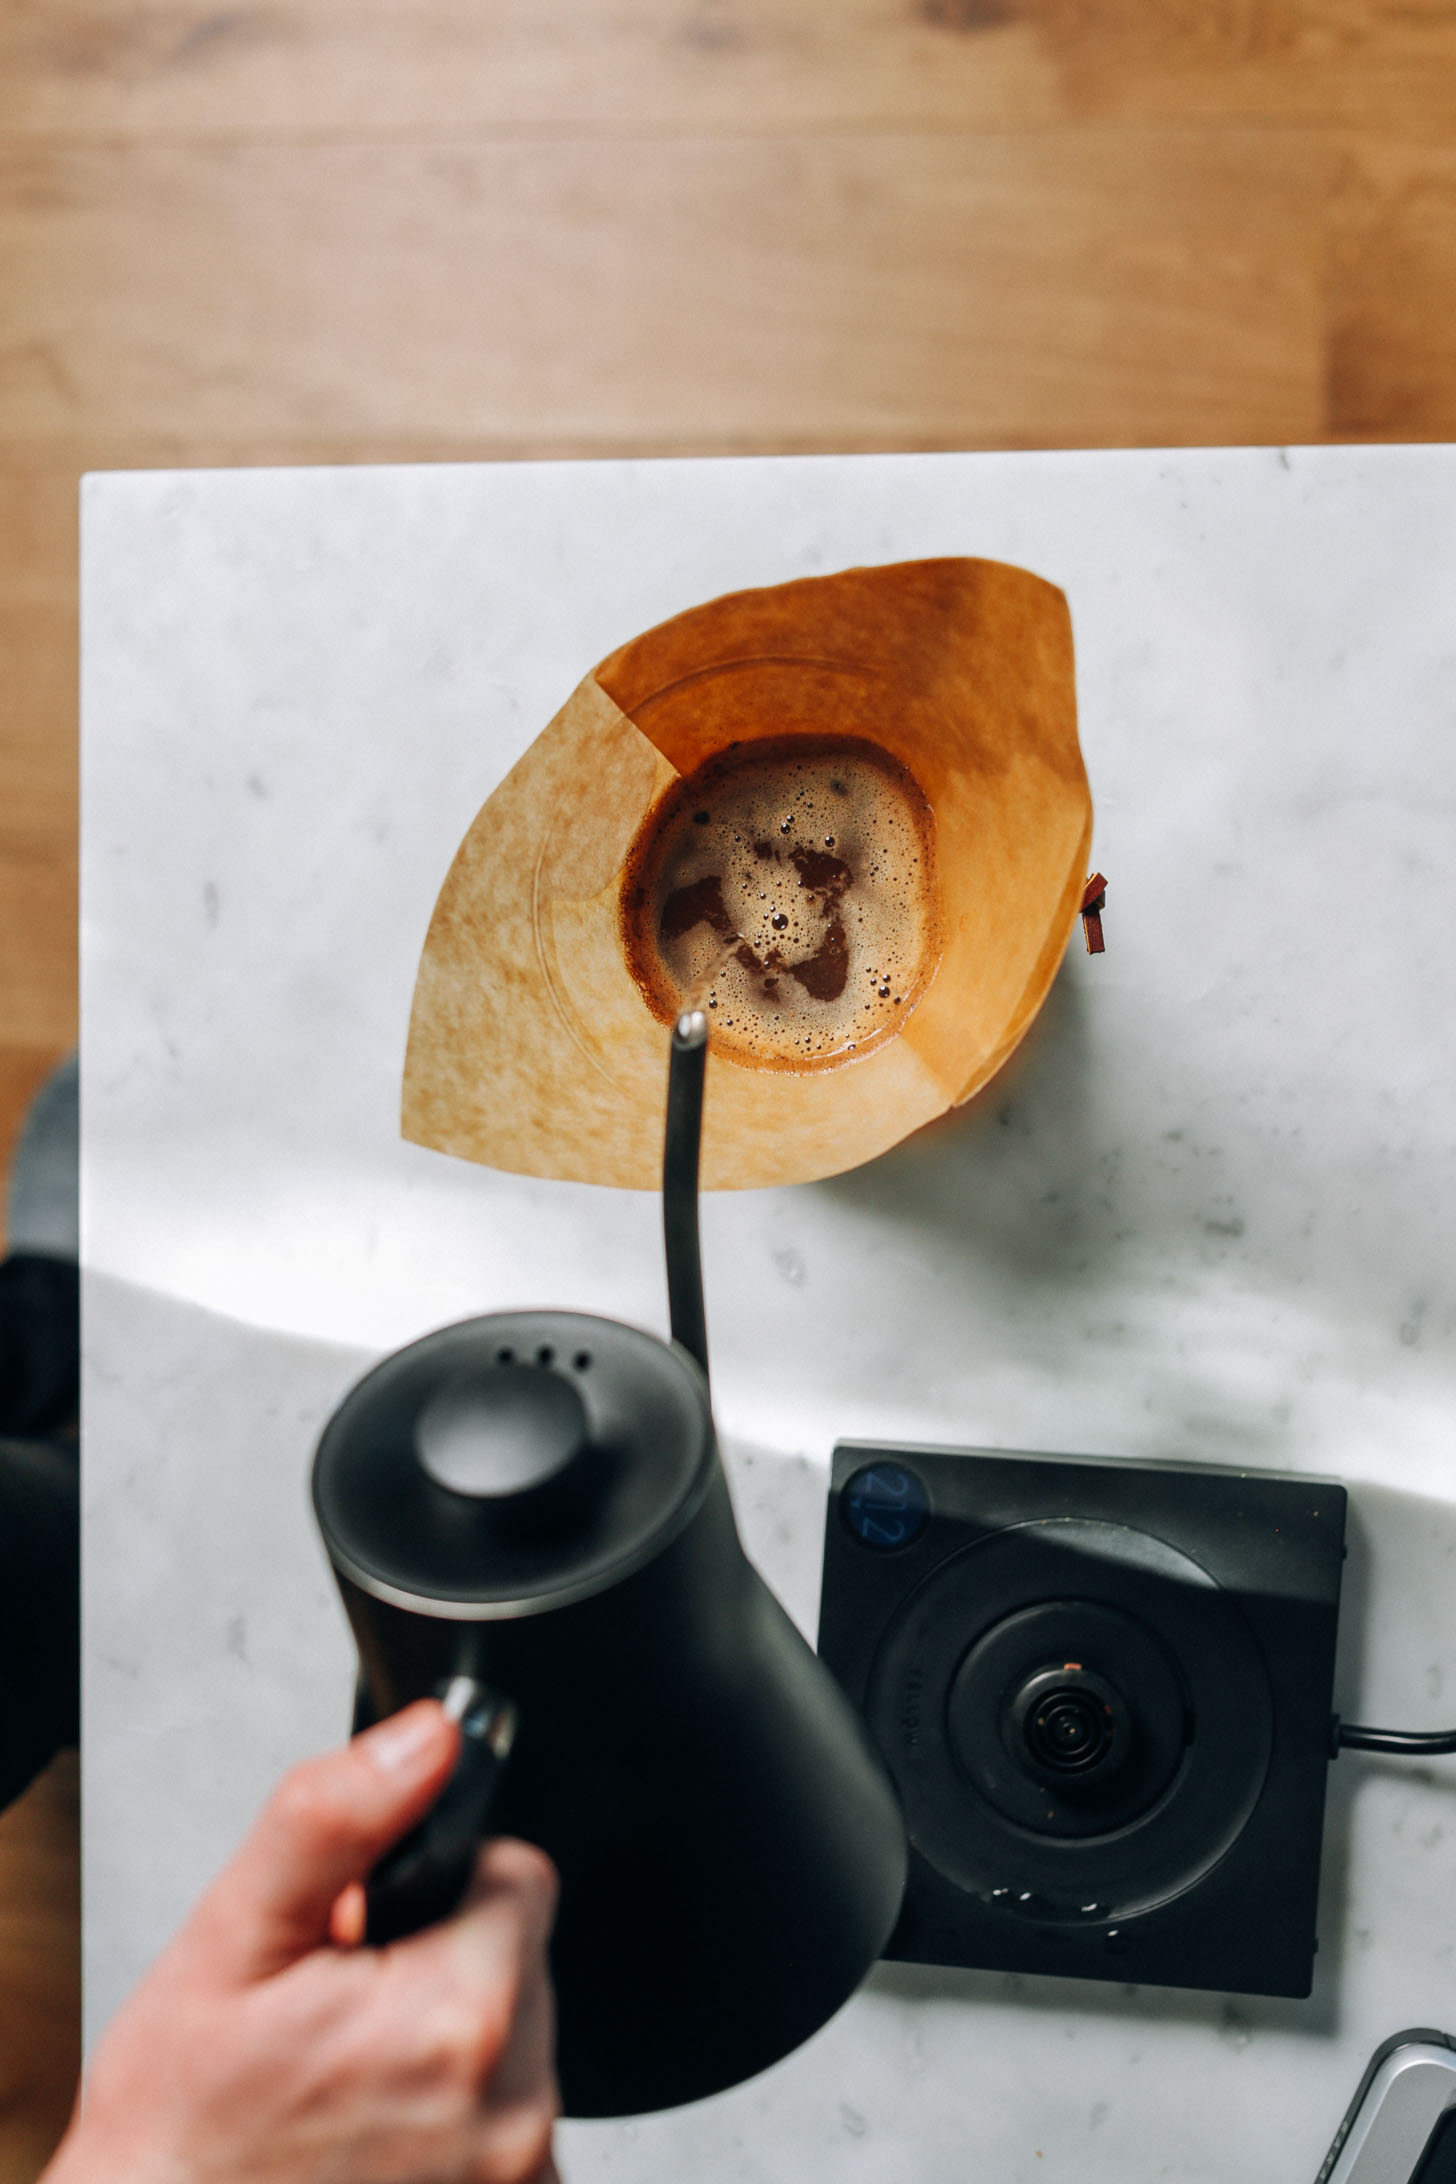
I also tend to grind my coffee just a smidge finer (to the consistency of table salt) than what’s usually recommended (rough sea salt), which seems to balance well with a little bit more water to make a beautiful cup of coffee.
That said, don’t be fooled. This is going to be a bold cup of coffee! I make adjustments when using a different bean or system, but this process has held up well for me for years (and we drink coffee pretty much every day).
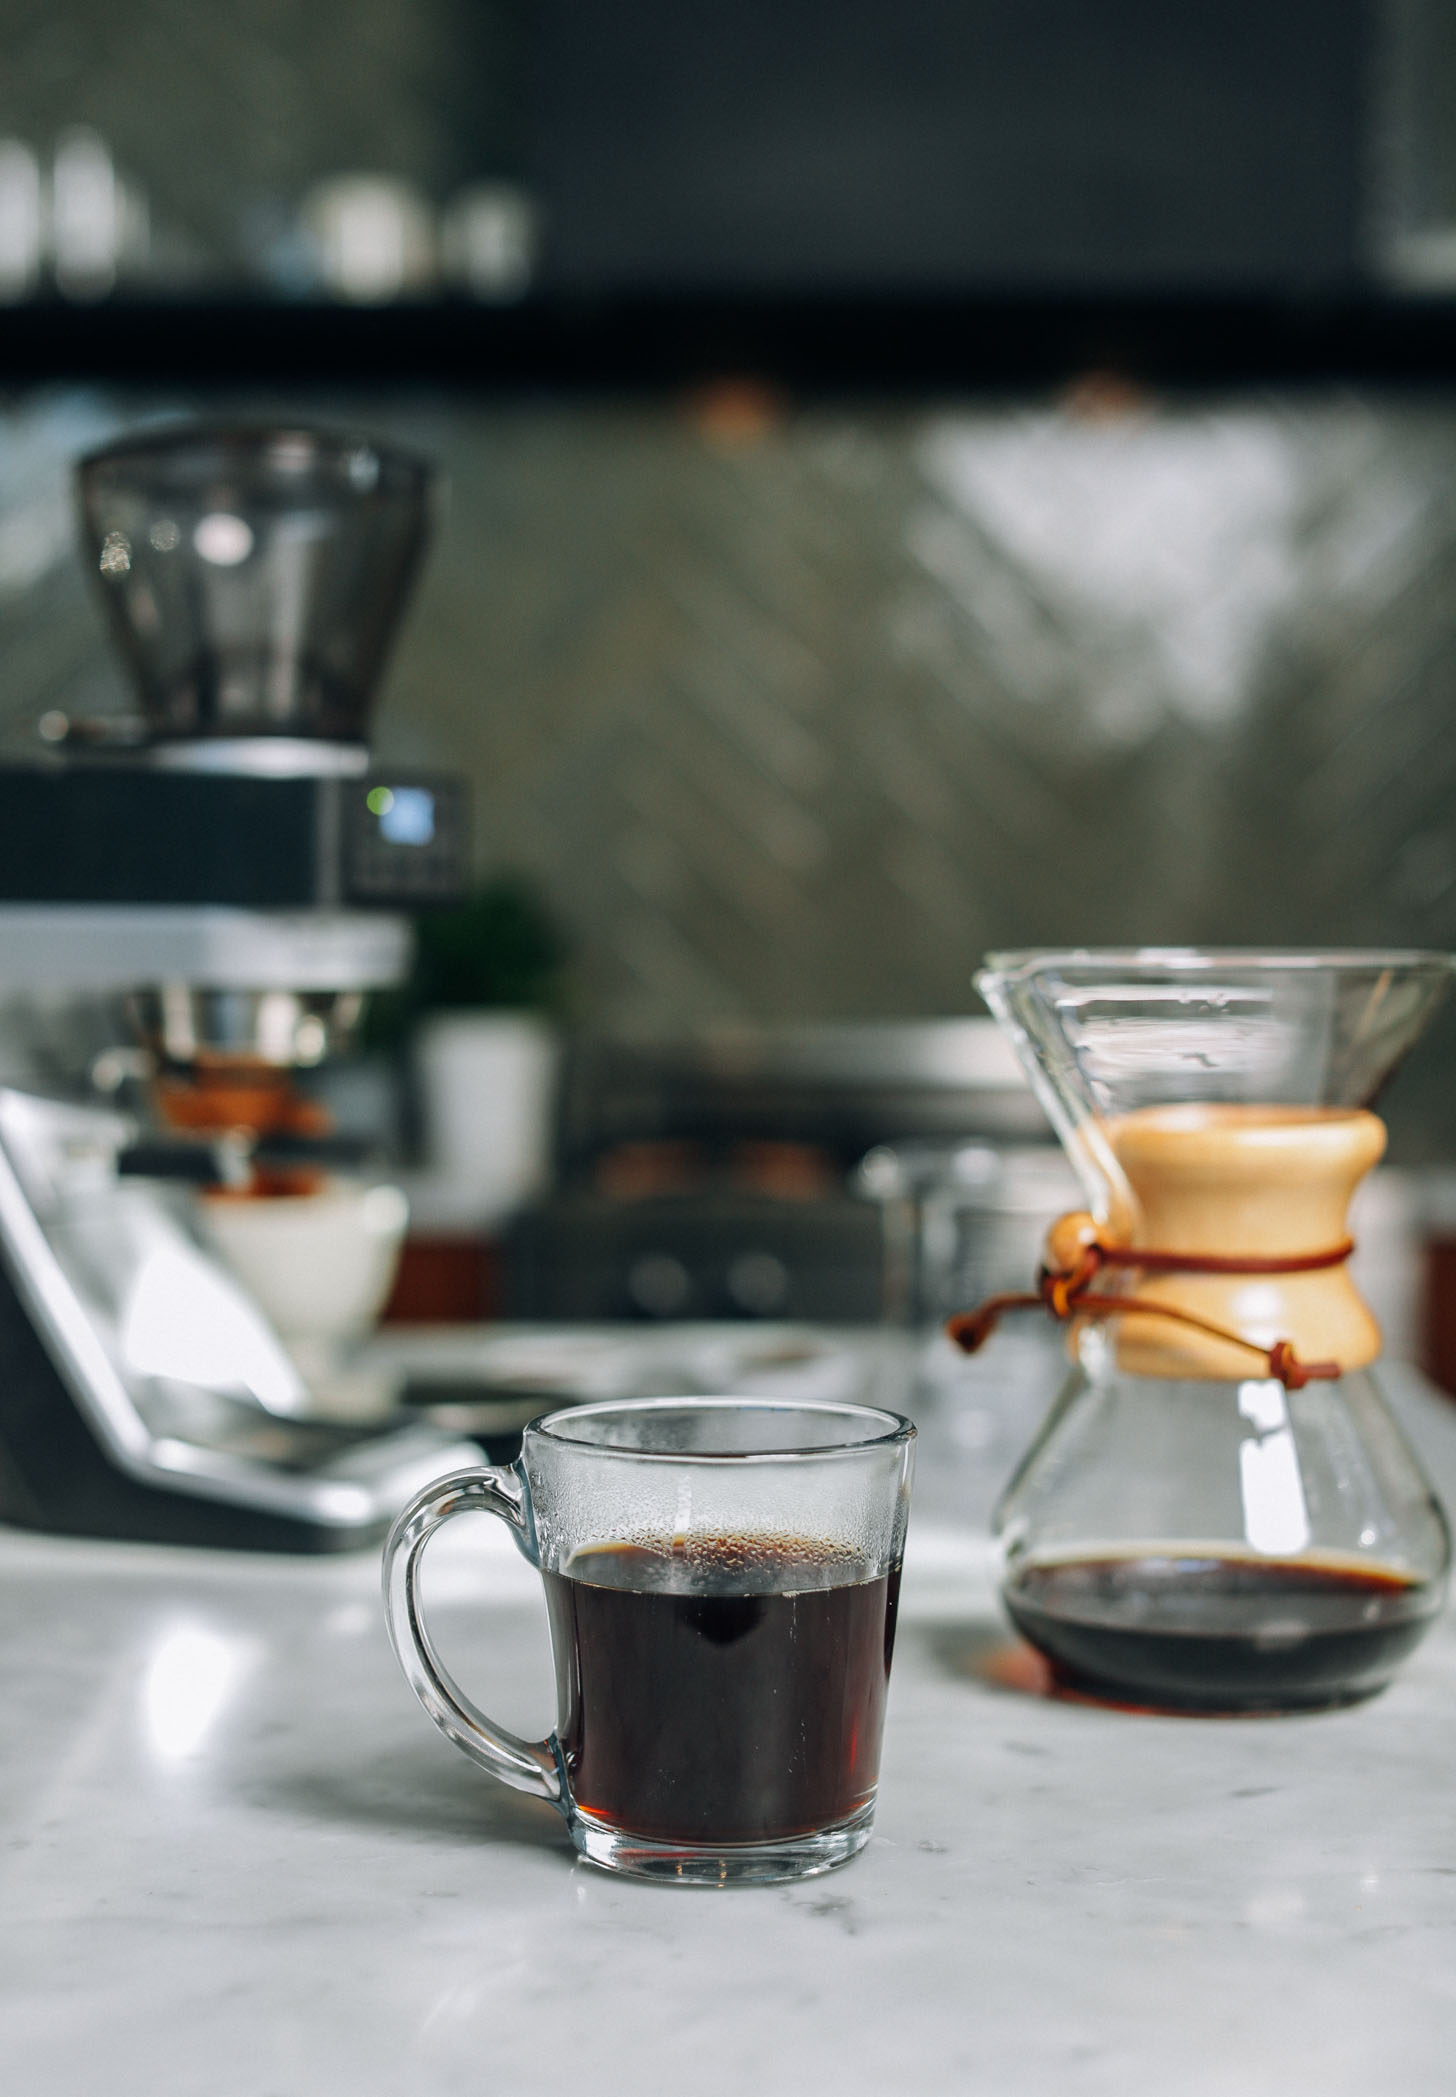
We hope you LOVE this coffee brewing method. It’s:
Tried and tested
Easy to master
Consistent
& Delicious every time
Enjoy your perfect cup of coffee as is, or use as a base in beverages like our Mushroom Latte 2 Ways! It can also be used in recipes like our Coconut Coffee Ice Cream, Cold Brew Caramel Frappuccino (just cool your coffee first), Vegan Chocolate Coffee Ice Cream Sandwiches, and 3-Ingredient Vegan Mocha Milkshake.
If you try this coffee brewing method, let us know! Leave a comment, rate it, and don’t forget to tag a photo #minimalistbaker on Instagram. Cheers, friends!
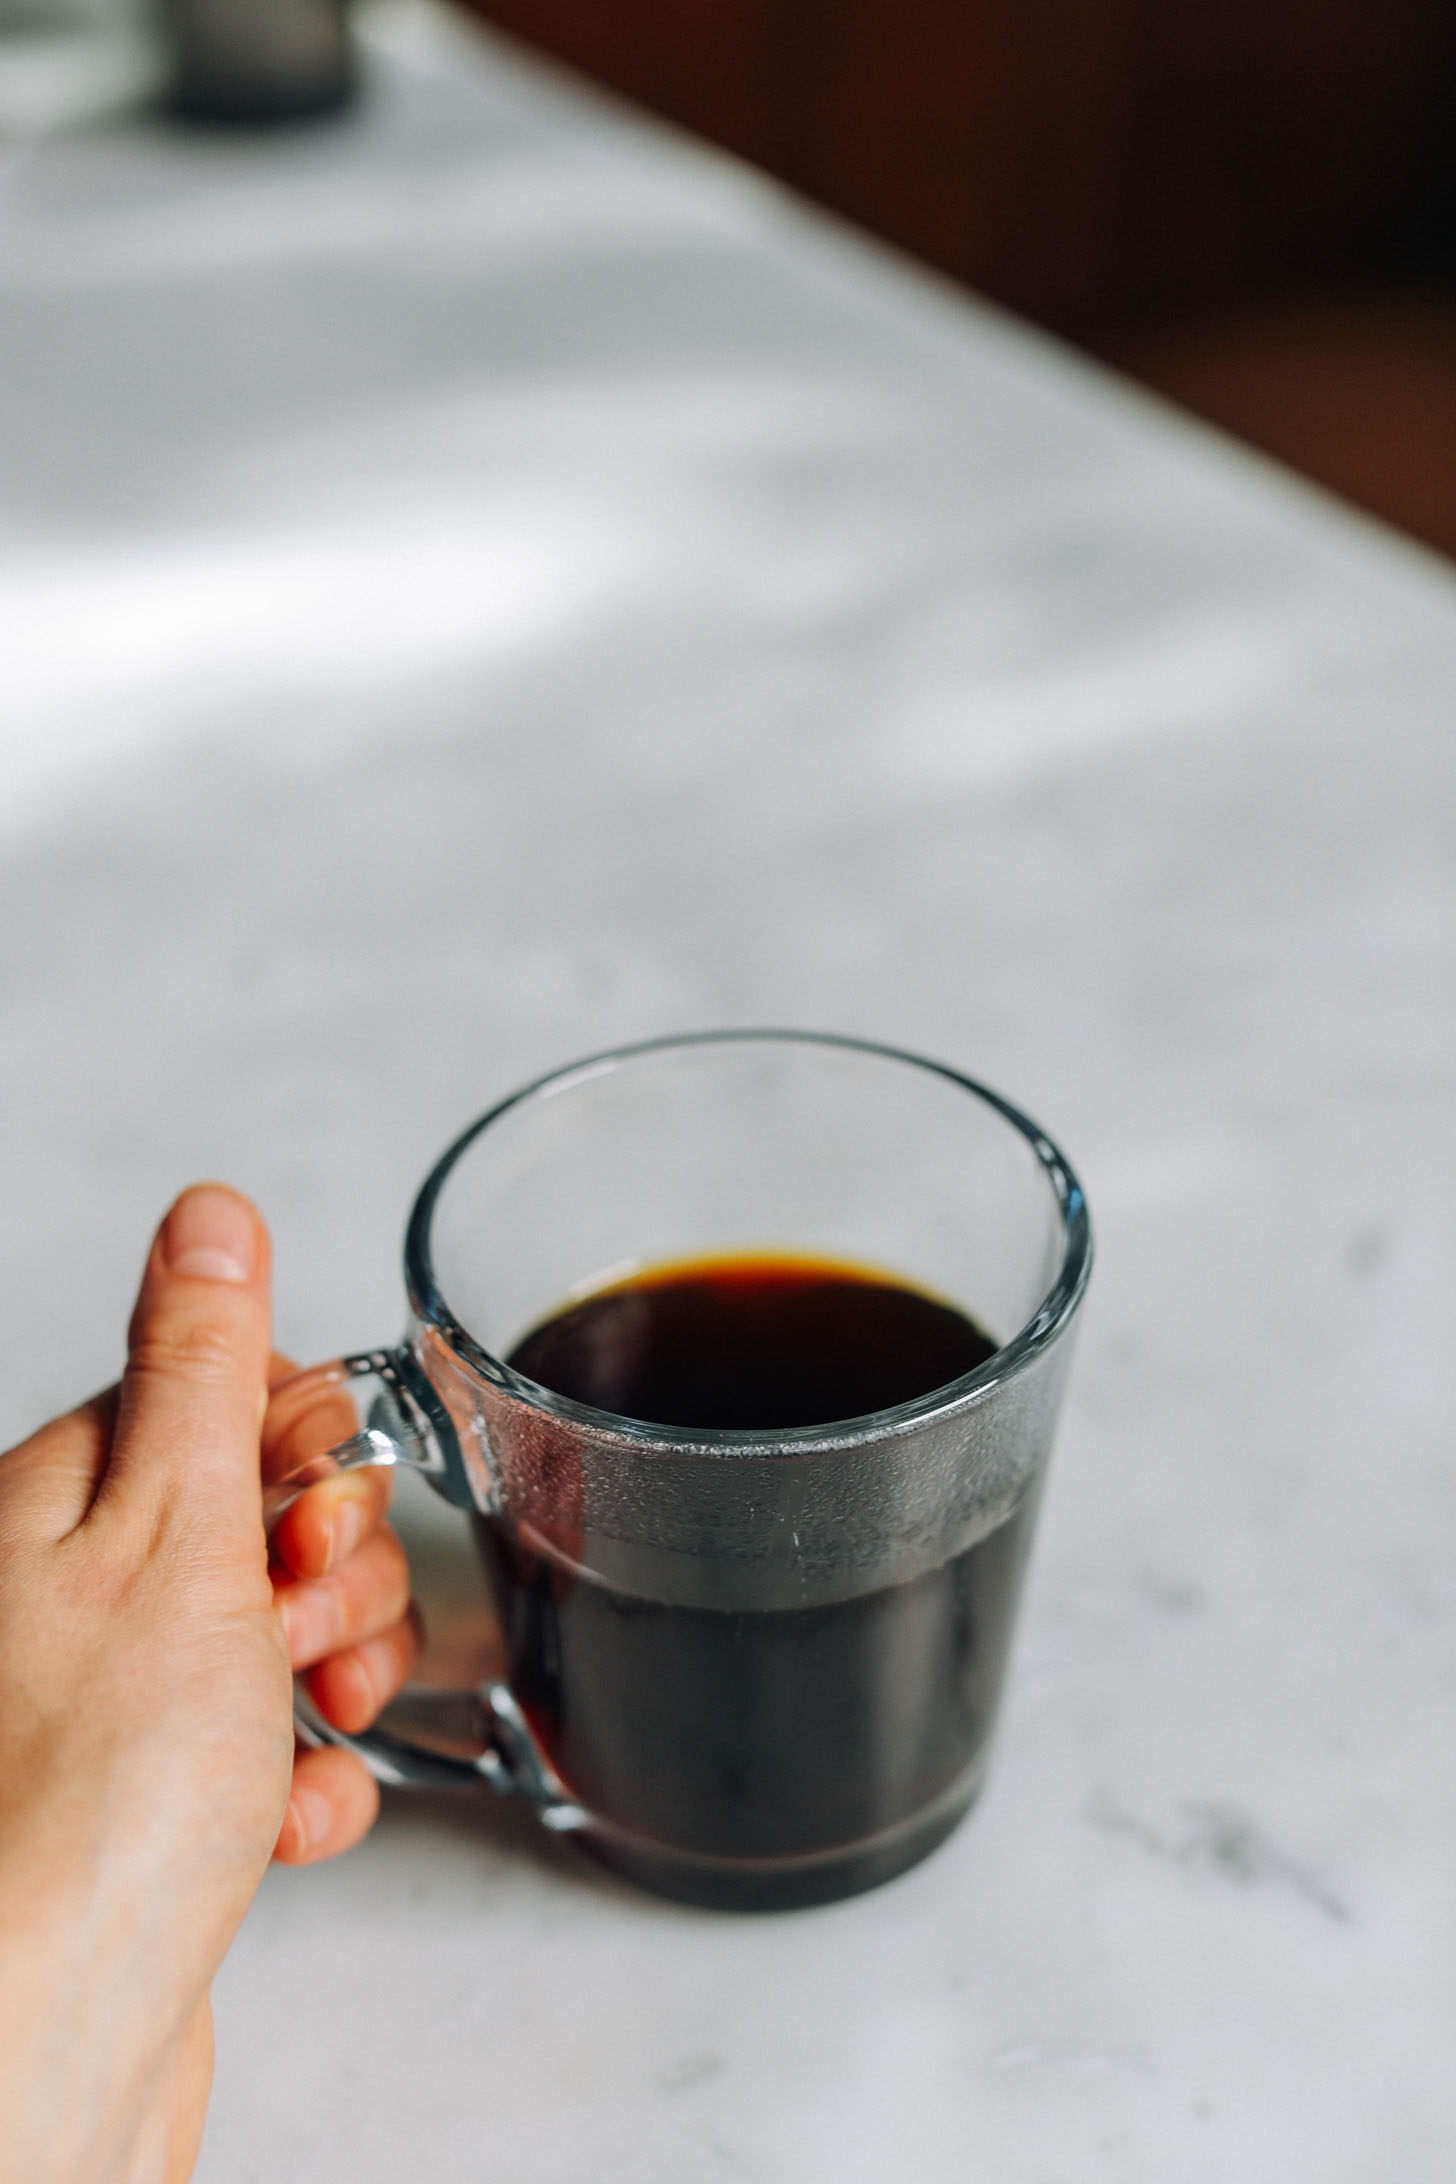
How to Make Pour-Over Coffee
Ingredients
- 32 g whole coffee beans (as fresh as possible — we love Yirgacheffe)
- 500 ml filtered water
Instructions
- Measure out roughly 1g of coffee per 16ml of water. For a 500ml / 2 cup pot of coffee, you’ll use 32g of coffee and 500ml water.
- Grind beans to the consistency of fine sea salt or table salt and set aside. Also bring your filtered water to a boil (add slightly more water to the pot (~600 ml) as you’ll need a little extra to wet your filter — see next step).
- Unfold your paper filter by separating it with 3 folds on one side and one fold on the other (see video for visual). Then insert the filter into the top of your Chemex, placing the side with three folds toward the spout.
- Wet the paper filter with just enough hot water to saturate it. This reduces any potential for a “paper taste” in your coffee. Then pour the excess water out through the spout.
- Add coffee grounds to the filter and shake gently to settle.
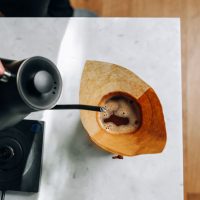
- Add just enough water to cover the coffee grounds (~66ml) so the coffee can “bloom.” Then wait 45 seconds. This is a step that lets gas escape from the coffee to help improve the overall flavor.
- After the bloom, start pouring the remaining hot water over the coffee in small circles. Focus your pouring mostly in the inner circle, pouring near the edges occasionally to consistently wet the grounds. For the first round, pour about 200ml water.
- If you pour slowly enough, you can maintain a constant pour and let it filter at the same rate (which is ideal for optimal flavor). Or you can pour in ~200ml batches at a time. However, try to never let the grounds go completely dry. Total pour time should take 3.5 minutes.
- Once brewed, remove filter and enjoy coffee. Bonus tip: Before pouring coffee, warm your cup using any leftover hot water. Just be sure to dump the excess water before enjoying your coffee. Enjoy fresh, or cover and refrigerate up to 24 hours.
Video
Nutrition (1 of 2 servings)
FAQs
Why do you “bloom” coffee?
In short, before being brewed, coffee contains gasses produced during the roasting process. Blooming the coffee releases some of those gasses so your final cup has a cleaner taste. Plus, it helps level the coffee grounds to make pouring easier.
Do you have to use a Chemex for pour-over?
No! But it is one of the best options for making multiple cups of coffee. For single servings, I use a Beehouse or this slick travel coffee maker.
What are the best beans for coffee?
Most high-end local coffee shops will offer good beans. Small-batch single-origin (or specialty blends) are best. If you aren’t near a big city, looking for coffee beans from Portland or Seattle will usually set you straight. Or you can look into roasting your own at home!
Should I buy ground or whole coffee beans? What are the best beans?
Either will be fine if you get them to the right consistency. Most grinders at stores or coffee shops will have a pour-over setting you can try. Ultimately, you’re going for a consistency similar to table salt. If you have your own grinder, buy whole beans and grind right before you brew.
Does good coffee require filtered water?
Yes! This makes a remarkable difference in coffee quality. Strong brewing, great beans, or other tricks won’t make up for funky water.
What’s the best grind for a Chemex?
Table salt consistency. If your coffee ends up tasting dry or bitter, you probably need to use a coarser grind.
What’s the best grinder for a Chemex?
If bean and water quality are the two most important things in brewing a pour-over, the grind consistency would be #3. A burr grinder is the best for consistency and not changing the flavor (blade grinders can heat up the beans, causing quality issues). For the money, the Baratza Encore is a great value for getting the perfect pour-over grind. For travel, a hand grinder like this one is great. But be warned — it’ll take 5-10 minutes of grinding for a full pot of coffee!
What’s the best kettle for a Chemex?
Okay, now we’re getting fancy! Any kettle with a gooseneck will be preferred over a standard tea kettle as it gives you more control when pouring. I use an electric kettle and have been very happy with this one.






Kathy says
I know different people like different things but this was not good. I have equal exchange organic coffee and use filtered water. This recipe called for 2 cups of water and 1/2 cup of ground coffee. I measured it on my food scale like it said to. It was so strong I couldn’t hardly drink it.
Hi Kathy, so sorry to hear you didn’t enjoy this recipe! We call for 32 grams of whole coffee beans and 500 ml of water. 2 cups of water is 480 ml, and 1/2 a cup of whole bean coffee (~5 g per Tbsp) would be more like 40 g of coffee. If you used a bit less water and bit more coffee it would certainly make the final result stronger. The type of coffee will also make a big difference in the taste of your final cup, so choosing a lighter roast might make it more tasty. Thanks for your honest feedback!
Kaitlyn Friesen says
I love this recipe. following it exactly makes delicious coffee. perfect generous amount for 2 people… ♡
Yay! Thanks for the great review, Kaitlyn!
Anthony says
I have this kettle also, a pretty grey version with wood handles. Love it. Do you find that the chemex paper filters you have pictured here leave your coffee with a faintly licorice-y taste? I typically use reusable hemp filters for the sustainability aspect but from time to time I use the paper ones you have here and I’m always put off by the taste I described. And that’s after rinsing them off first before brewing. Interested to hear your thoughts.
Hi Anthony, We’ve never had a licorice taste, but if we don’t rinse them they do add a paper taste. Might be worth testing from different water sources, but it’s hard to say where that’s coming from! You could try the white filters, but those are typically bleached. Those hemp filters are good and there are also lots of places that sell stainless steel reusable filters. They are good, but do let more sediment through (similar to a french press). Hope that helps!
The Vegan Goddess says
So far, I’m still experimenting but enjoying the process. I have more questions.
1. What is the optimum temperature that you reach? Lower than boiling, which is 212 F?
2. If you want to make 4 cups instead of 2, then the total brewing time would jump to 7 minutes from 3.5 minutes, right? If so, then if you want to make 8 cups, it would take even more time.
3. Do you use the timer on the Stagg’s heating element to track the time and a scale to measure 200 ml. of water at a time (if you do this)? There are so many elements to this.
Gracious!
Hi, great questions!
1) We typically aim for 205 F. The optimal is 190-205, but it cools slightly as you’re doing everything.
2) It’s not quite that long since the blooming doesn’t take any longer. The time is an estimate, but the key is that you want to do a slow pour so that you’re keeping water on the grounds at all times.
3) We don’t use the timer, but do use the scale when pouring.
The Vegan Goddess says
Thank you! : )
This is a fun learning process.
The Vegan Goddess says
I made my first Chemex coffee brew this morning. For some reason, I am unable to change the measurements on here to US standards (fl. oz. and cups) from ml. So, I looked up the conversions and wrote them into my printed instructions and will share my notes for anyone who might find it helpful:
500 ml = 16.9 oz. or 2.11 cups
600 ml = 20.29 oz. or 2.54 cups
66 ml = 2.23 oz. or .28 cups
200 ml = 6.76 oz or .85 cups
My scale can weigh grams and ounces but for anyone that needs to convert grams to ounces:
32 g = 1.3 oz.
I won’t rate my experience because I’m still learning. The result was not bitter. It was okay, not exceptional or great. I will keep experimenting with different beans, etc. until I find a favorite.
I weighed 32 g. of coffee beans (an older bag so not fresh) and ground it with my Mr. Coffee burr mill grinder. With so few beans in the coffee grind (32 g.), it would not let me move it to a Course (French Press) setting. I was only able to select between a Fine (Expresso) setting to a Medium (Drip) setting. I chose the setting close to the Drip setting and the grinds were about the size of sea salt. I guess I chose the right setting and size.
Thank you for sharing your experience! For reference, the recipe is written in grams and milliliters because that is the standard for brewing coffee with this method – but thanks so much for sharing your conversions! Can’t wait to hear more when you get your perfected cup!
The Vegan Goddess says
I invested in a Chemex and am waiting for the kettle to arrive before I can experiment with this method for the first time. I am thrilled to find your tutorial on how to do this.
I would like to try your vegan coffee creamer for this.
What do you use to sweeten this coffee? Have you ever tried pure maple syrup in coffee?
We have used maple syrup and enjoy it. Can’t wait to hear what you think of the coffee & creamer combo!
The Vegan Goddess says
I have two more newbie questions.
1. Doesn’t the coffee become tepid after the slow brewing process is completed? Do you keep the mug on a hot stovetop or an electric burner/hot plate to keep it warm? I saw your tip to keep hot water in the mug and pour it out before pouring in the coffee so perhaps that is sufficient.
2. What kind of water do you pour into the Berkey filter? I’ve been wanting to get this filter for a long time since it’s superior to others on the market. It makes sense that the more pure the water input, the more pure the water output from the Berkey.
Hi, 1) the total pour time is only about 3 1/2 minutes, so it doesn’t cool down much. 2) we pour tap water into the Berkey. Hope that helps!
Jeremy says
I’ve been making and drinking pour-over (filter) coffee every day for more than 40 years, in Canada and the U.S., and it’s still my favourite brew. My equipment is a Melitta 8-cup glass carafe, with the No. 6 size paper filter and cone. A Breville burr grinder for the beans, and a 30 year old electric kettle to heat the water. I follow the same method recommended above, with (usually) another gram or two of grounds per cup.
I don’t think that filtered/purified water is as critical as the author says for THIS method of coffee brewing: the paper filter captures any impurities. Heavily-chlorinated water destroys any brewed coffee, regardless of method, so I reason that if I can drink and enjoy water from the tap, it’s good enough for my coffee.
Interesting! Thanks so much for sharing your experience, Jeremy!
Sheryl says
Your explanation how to make a superb cup of coffee, plus the coffee-to-water ratio is amazingly helpful! Thank you so much for this detailed posting!
Glad you found it helpful, Sheryl! Thanks for the 5 stars!
Richard says
Hi – I’m wondering what setting do you use on your Baratza Encore to get the right size grind?
Hi Richard, We typically have it between 15-20, but it will vary depending on the bean you have. Aim for a consistency similar to fine sea salt or table salt. Hope that helps!
Alex says
I’ve been using a Chemex for about a year and never measuring my coffee/water 😬 what a difference it makes! Anyone have an opinion on a paper filter vs a reusable one? I have a metal one that I like because it creates less waste but does that mean I’m missing something from not using paper?
Paper filters mean ZERO sediment for a smoother cup. But it isn’t zero waste (though they are compostable).
Edward says
I put my chemix filters grounds and all in the compost
Jaime says
I first had pour over coffee many years ago at a friends house and when my electric coffee maker finally kicked the bucket I ran out and got a pour over. My results were… Not good.
I’ve had my pour over for about two weeks now and watched/read many methods and none of them have been quite right for my taste. In the beginning I ground my beans to a table salt instead of a sea salt and watching this video and reading the article provided me with some new insights.
It’s been a few days now since I watched this and with these tips I finally feel like my pour over is worth it and at the quality that inspired me to start pour over in the mornings.
Don’t give up!
Jaime says
PS I don’t have any expensive devices. I have a food scale because I cook of course. I boiled my water in a pot, transferred it to a 2 cup Pyrex. My pour over I got at walmart. My coffee is starbucks which is unfortunately the best thing in this rural area.
We’re glad you found it helpful, Jaime! Thanks for sharing!
Lisa says
I would never follow this recipe I don’t have all those fiddley and expensive gadgets to make coffee. It’s like a science project. What’s minimalist about it?This was almost enough to make me drop my subscription.
Erin says
If you are one for quality coffee, this is a great recipe! You can make it super simple without all the devices, like I just used my regular pour over, but now I know how to grind it properly and how to pour properly. I had coffee envy as I would go to a friends house and just wish my coffee would be as good as hers, so using this recipe’s basics really helped!
Amy Gerber says
Is this the 8 cup chemex that you have?
We used the 6 cup. Hope that helps!
Dave says
I have about 35 different brewing devices, from Durobor press pots to dripolators to moka pots to percolators to several different pour overs (including a Chemex), so I know a little about brewing joe.
I’ve been using a cup-top cone for several years (I recently made a nice stand from scrap wood, though). I use a $10 SONA 4-cup tea kettle and a 50-year-old Zassenhaus grinder. Makes a cup that rivals what I brew in my 15-year-old Braun KF-12 4-cup machine (and a gold mesh filter). Like shaving (I also collect old razors), it’s not the tools but the technique that gets results.
Troy says
Thanks – I’m just now trying to learn about pour over or whatever makes the best cup….like your comments and envious of your results but also inspiring. I’m usually racing out the door and using the Kuerig (sad actually) and the same with the shave – I’ve bought a few more pricey razors but ultimately end up with the quick Gillette shave….
Mam says
In Australia and Scandinavia and even Japan, we call it filter coffee. We all love our own beans but once you have found the ones you love, I find it superior to a press, giving a clear and clean flavour. Sometimes using water just off the boil, helps reduce any bitterness as do lighter lighter roasts. Don’t use a “dark” roast, and if you are after an espresso style, you won’t get it here. I also make a stronger drop. It just shows there are many tastes and styles. This is minimalist coffee making and delicious for home but I still buy a coffee occasionally that is espresso and I love that too.
Paul Curtis says
Dana,
I’m a Master Roaster, Master Barista and a Master Q-Grader, the Holy Trinity of coffee. I’ve been teaching brewing methods for 12 years now and teach 5 brewing methods for the class and then blind taste them. I have the students order their favorite to least favorite and record the results.
Brewing Methods: Press | Vacuum Pot | Pour Over | Yama Ice Drip | Cold Toddy
Pour Over has taken last place all but once in 12 years.
The main reason is that when brewing with heat, there is nothing you can do to prevent heat loss, the heat simply escapes stright up. I use a stainless steel filter, you your pics your using either paper of cotton. Both are hydrophilic and absorb the coffee oils (flavor) as well as remove all sediment. Sediment is crucial for mouthfeel or body, without it coffee feels thin and opagque. Have you ever poured a Merlot through a paper filter? No, that would be silly – same with coffee.
Try a Press, you’ll be delighted…
Dave says
Hm. No mention of a dripolator, my favorite being the Corning 4-cup. Try *it*, you’ll be pleased.
Jessica says
It’s somewhat disappointing to see someone who touts themselves as a minimalist using all this specialty equipment. I’m just a broke girl with a broke coffee pot trying to find a way to get my morning fix without having to go to Starbucks… I chose your post out of all the Google results because of your name. :/
Rob says
You need to look around the site more before you judge. Dana has a TON of amazing 5 or 7 ingredient meals that are made from natural ingredients. It is actually very minimalist. It’s hard to make gourmet quality food that is mostly vegan with just a few ingredients.
Clement says
A big difference in the flavor comes also from freshly ground coffee. After 15 minutes, ground coffee loses about 60% of its aroma. So make sure you buy quality whole coffee beans and grind them right before you brew :)
Also contamination and CO2 depletion is a big factor as well.
Jackie says
Thank you so much for breaking this down! I’ve always been too intimidated to make my own pour-over, but I recently treated myself to the equipment and have followed this tutorial 2 days in a row so far. I *think* I might need to achieve a finer grind, and I think I’d like beans that have brighter/fruitier notes, because my cups still taste a bit dark and not super “bright”, as most of my pour-overs from coffee shops have been. That said, they do taste very clean compared to my french-press results (which I’ve been making every day for the past ~5 years). I love the focus and intention making this requires, it’s a nice new little ritual!
Jackie says
OK, trying to comment on my own comment because I’d like to update! I made two adjustments and now my cups are perfect:
1 – I bought coffee beans with flavor notes that I know I like – what I had previously been using were darker/cocoa-y beans, and I tend to love brighter/fruitier notes.
2 – I had my local coffee shop grind it to ‘pour-over level’ so that I could experience / see it.
I believe prior to this, I didn’t have a fine enough grind. The process also gets much easier after 2 or 3 tries! I can’t go back to french press now that I’m able to make great pour overs :)
Thanks so much for sharing, Jackie!
Paul Curtis says
Grind is based solely on the quality of your coffee. The better the quality, the finer you grind it, the lessor the quality the more course you grind it. Best to purchase an indexed burr grinder so that you can grind your own fresh.
Start by grinding too fine, brew, taste – if it’s bitter, bump your grind back until the bitterness leaves the cup. That is the grind for that coffee. Grind has nothing to do with method, not even espresso.
Edward Todd says
I’ve used a Chemix for years but last year I bought a moccamaster and have never looked back the coffee is better tasting than the Chemix and I like that they’re put together by hand , although I do still use the Chemix from time to time just for a change .
I use a 30g to 500ml ratio in both and only use lightly roasted single origin beans.
Thanks for sharing, Edward!
Lexi says
Hi! I know you got a lot of lash about this and as a barista I rarely measure my coffee at home ? because I do it so much at work lol I kind of just know how much will make a coffee I like by eye balling it. but i got a fancier bean and wanted to try it today and it came out Perfect! I was a little Nervous when I saw how little grounds i was using but stayed true to the measurements and it was sooo yummy and I could taste all the notes! It’s such great info for everyone and I really appreciate it.
Caroline Phelps says
I’ve been searching for a good set of glass mugs! Could you link yours? Thank you!!
I believe they’re from Crate and Barrel!
Ida says
Let me start by saying that I have a high $$$ coffee machine but I’ve been searching for that great cup of coffee still. I bought the Chemex and I used the locally roasted beans I’d been buying. WOW and YES…sign me up!! Coffee incredible and exactly what I’d been looking for. Rich, full of flavor, and no bitterness. YAH :)
Thanks for sharing, Ida!
Molly R Larch says
Thank you!
Miriam Kearney says
I have never used a Chemex but have seen lots of articles about them. For the last 40 years I have made coffee using a plastic Melita single serve cone and a paper filter. Other than that I do everything you say in the article. My sons have Keurig machines and the coffee from them is barely drinkable IMO. Since I usually only make one or two cups at a time, using 2 filters is just easier than having another device although very rarely when I have several people in the house (like when the kids visit) I do think maybe having a few more filters would be a good idea. Maybe there’s a Chemex in my future. But there is certainly more good coffee. I recently read somewhere that the use of the paper filter removes some toxin or something from the coffee. Anyone know something about this?
luca says
I have read that there are various compounds in coffee that are thought to raise cholesterol and the concentrations of those compounds in the brewed coffee can be reduced through the use of filter paper. You can find a summary and links to some of the primary research on the nutrition facts website.
For my own part, I haven’t read the literature and don’t know to what degree any of this is important, relevant or worth worrying about.
Cassandra Thuvan Tran says
Pour over coffee, huh! I have only heard of it a couple of times but I didn’t know its popularity was expanding a bit. Personally, I would very much rather enjoy coffee from just mixing it with water and not having to deal with a coffee machine. But maybe if I try this method, this just might be my cup of coffee (or tea, haha)!
Nele says
Thank you for this thorough tutorial! Me and my hubby have been obsessed about speciality coffee and correct preparation for years! Thanks for educating people!
P.S. I saw your stories about being kind and I feel exactly the same! I haven’t had any hostile comments on my blog yet (I guess it’s not big enough lol), but FB can be a place where people vent themselves :( Of course, over the years my skin has grown thicker and I have a different perspective, but still… as you said, we’re all human!
All the best to you Dana!
Ah, thanks Nele! Your kind words mean so much! And we hope you love this coffee method as much as we do!
Nele Liivlaid says
I definitely do! Thanks again!
Kelsey says
Can the used filter and grounds be composted?
Yep!
ammie says
I’m jealous of your kettle! We just decided not to buy that one recently because it wasn’t in the budget but now I’m having Kettle Envy. :) We use our Chemex every morning (and sometimes a couple more times throughout the day…we like to stay jittery) and it’s one of my favorite daily traditions. Thanks for sharing- I needed the brush up on grams and ml!
Thanks for sharing, Ammie!
Sanaya says
Hi, just made this and mine turned out Super “bland” . I’m so sure I followed it correctly but it tasted yuck. HELPPPPPP PLEASEEEEEEE. I have all sorts of coffee machine and I used the one that you’ve shown in the photograph .
Maybe because my filter is a cloth filter?
Thanks so much
Hmm, and you followed the water:coffee ratio? And your coffee was fresh?
luca says
You probably need to grind finer. You know that you have gone too fine once (a) it starts to taste too bitter or (b) it starts to choke up. If you can’t get a good level of flavour and aroma in the cup before it becomes bitter or before you grind fine enough to choke up the flow, then this probably indicates that either or both of your grinder or your coffee are not up to scratch. You will probably only have a small margin of error. If you can’t hit it, you can get a better margin of error by grinding coarser, steeping all of the coffee with 1/2 of the water in a separate vessel for a longer time, tipping all of it into the filter and then using the remainder of the water as a pourover brew like you ordinarily would. The steep time is a variable that will depend on your grind size and quality and you will need to experiment (or the very quickest way to get it right is to borrow someone’s refractometer to get the extraction readings). Total brew time with this method could end up much longer; 10mins could be fine. Good luck!
Molly says
Yes!! Love pour over and love how you broke it down. Do you happen to know the temperature of the water you are pouring? I’ve found it makes a difference n tine but haven’t nailed down the perfect temp!
Around 200 degrees!
Stephanie says
Love all that you do!!! Thanks for the post and inspiring ideas ?
Thanks Stephanie!
Lena says
I am obsessed with the photography here Dana it’s beautiful!
Thanks, Lena!
Kevin says
This is what I need right now! Thanks for your clear instructions
Yep!
Andi Jansz-Gallent says
What is the difference between this method and a French Press?
Mainly that you pour the water on and it it bloom, and the water doesn’t sit with the coffee for nearly as long (it just passes through), so in our opinion it just creates a lighter, yet somehow more nuanced flavorful cup!
Luca says
Longtime reader; nice to finally have something I can contribute!
Because you are constantly pouring fresh water over the beans, you end up with more of the solubles extracted into the cup, so if all goes correctly, you should end up with more of the flavour of good beans. Matt P has a good explanation on YouTube.
Having said all of that, I think filter brews have a much, much lower tolerance for different grind sizes than immersion brews like French press, since for filter you can’t independently control steep time. Even in high end cafes, I don’t think that many people get it right for single serve filter brews.
Also, the paper filter makes the cup much cleaner.
Lauren says
Thank you for ugh great and thorough content!
Thanks, Lauren!
mailoha says
nice!! :)
can you do a post for how to make a shot? would love to make a dirty chai at home like the starbucks one :D
I can add that to our list! We have an espresso machine, and we’d be happy to demo it if you’d like!
Jessica Marquis says
Yes I second this! I try to make lattes at home sometimes but they never quite taste like the ones I get from the coffee shops.
Daniela says
Like a hug for your soul!
you get it ;D