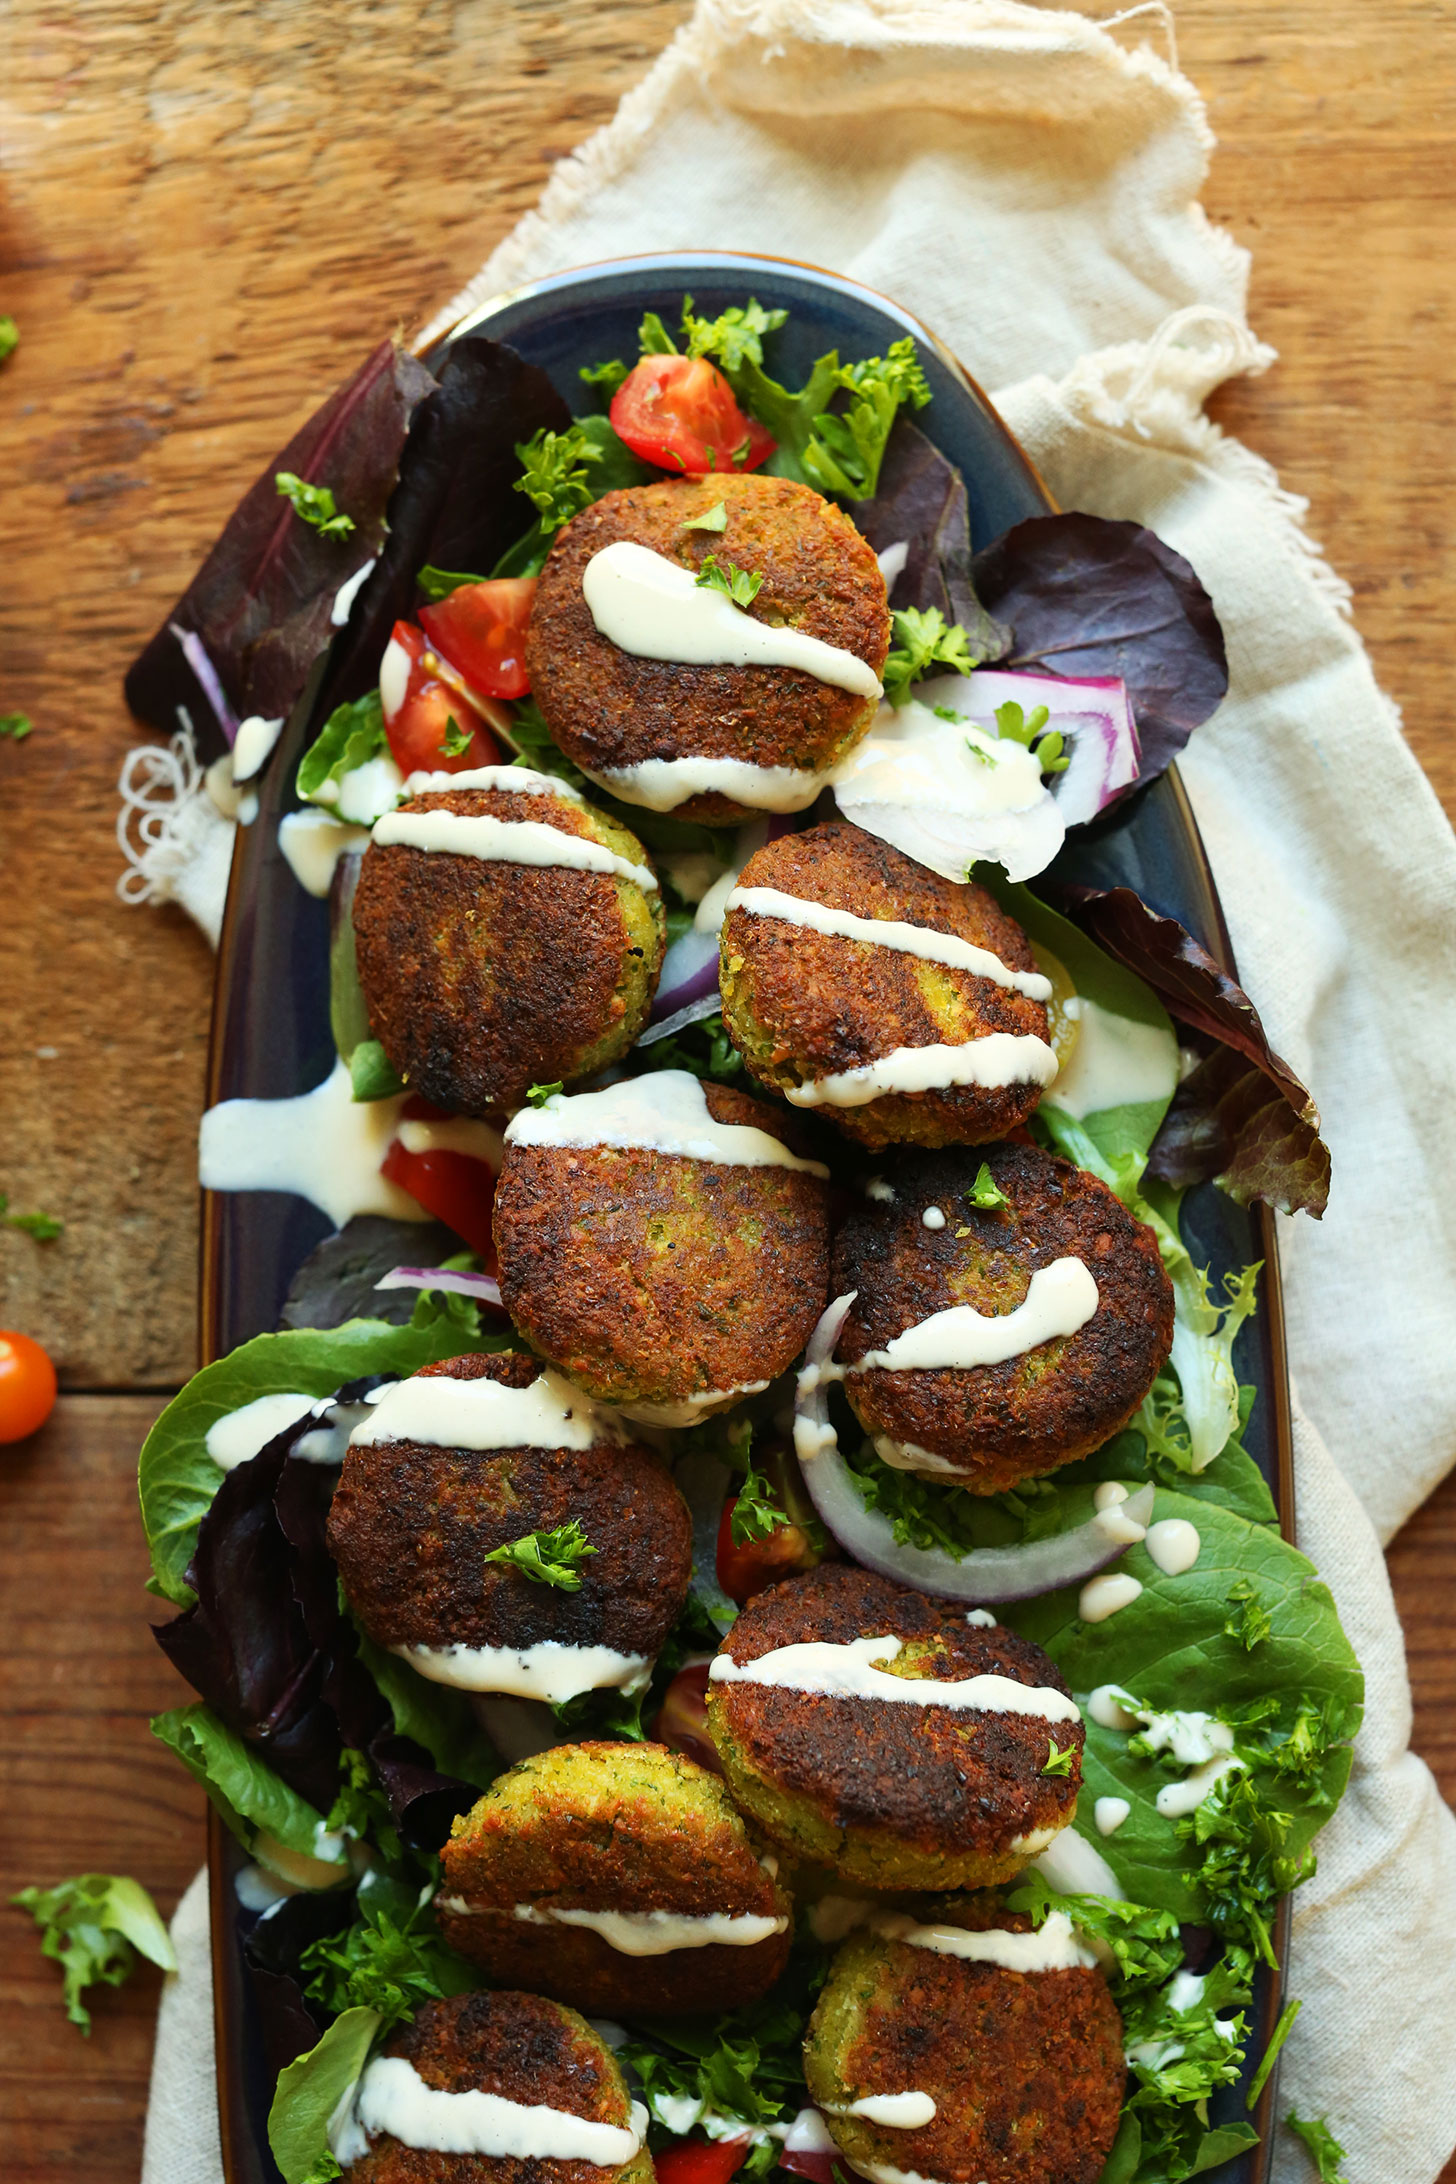
How many falafel recipes can one person have on their blog?
Five. The answer is five. Proof: 1 – 2 – 3 – 4.
Either I’ve lost my mind or I’m getting really good at making falafel. Fingers crossed it’s the latter.
We’ve been exploring our new Portland neighborhood for about a month now, and we’re getting to know our favorite food spots (very important on our list of priorities).
One place I’m loving is Wolf and Bear, which serves up vegetarian and vegan Middle Eastern food with lots of gluten-free options. My go-to has been the gomasio salad with falafel. You can add two but I ask for three, because obviously.
Now that I’ve had this falafel a few times, I’ve studied its flavors and texture and was convinced it was time to up my falafel game. I think you know where this is going.
Origins of Falafel
The origin of falafel is an ongoing and heated debate. Some would say it’s a quintessential Israeli food, while Palestinians claim its Arab roots, and still others claim it originated in Egypt, Lebanon, or Yemen.
While we claim no expertise on the origins of falafel, we do know we absolutely love its crispy texture and rich flavor. Falafel is traditionally a fried ball or patty made from fava beans, chickpeas, or both. What’s not to love?
Those looking for a deeper dive into the much-debated history of falafel can find more information here and here.
The following is our inspired version made with a shortcut! For a more traditional version of falafel, check out this recipe from Tori Avey, or this recipe from The Kat Chef.
How to Make Falafel
This recipe requires just 10 ingredients and is expedited with the help of a quick-soak chickpea method I borrowed from The Kitchn.
The primary differences between this recipe and my previous attempts are that I start with dry chickpeas, and instead of baking, they’re pan-fried – two improvements I believe make all the difference.
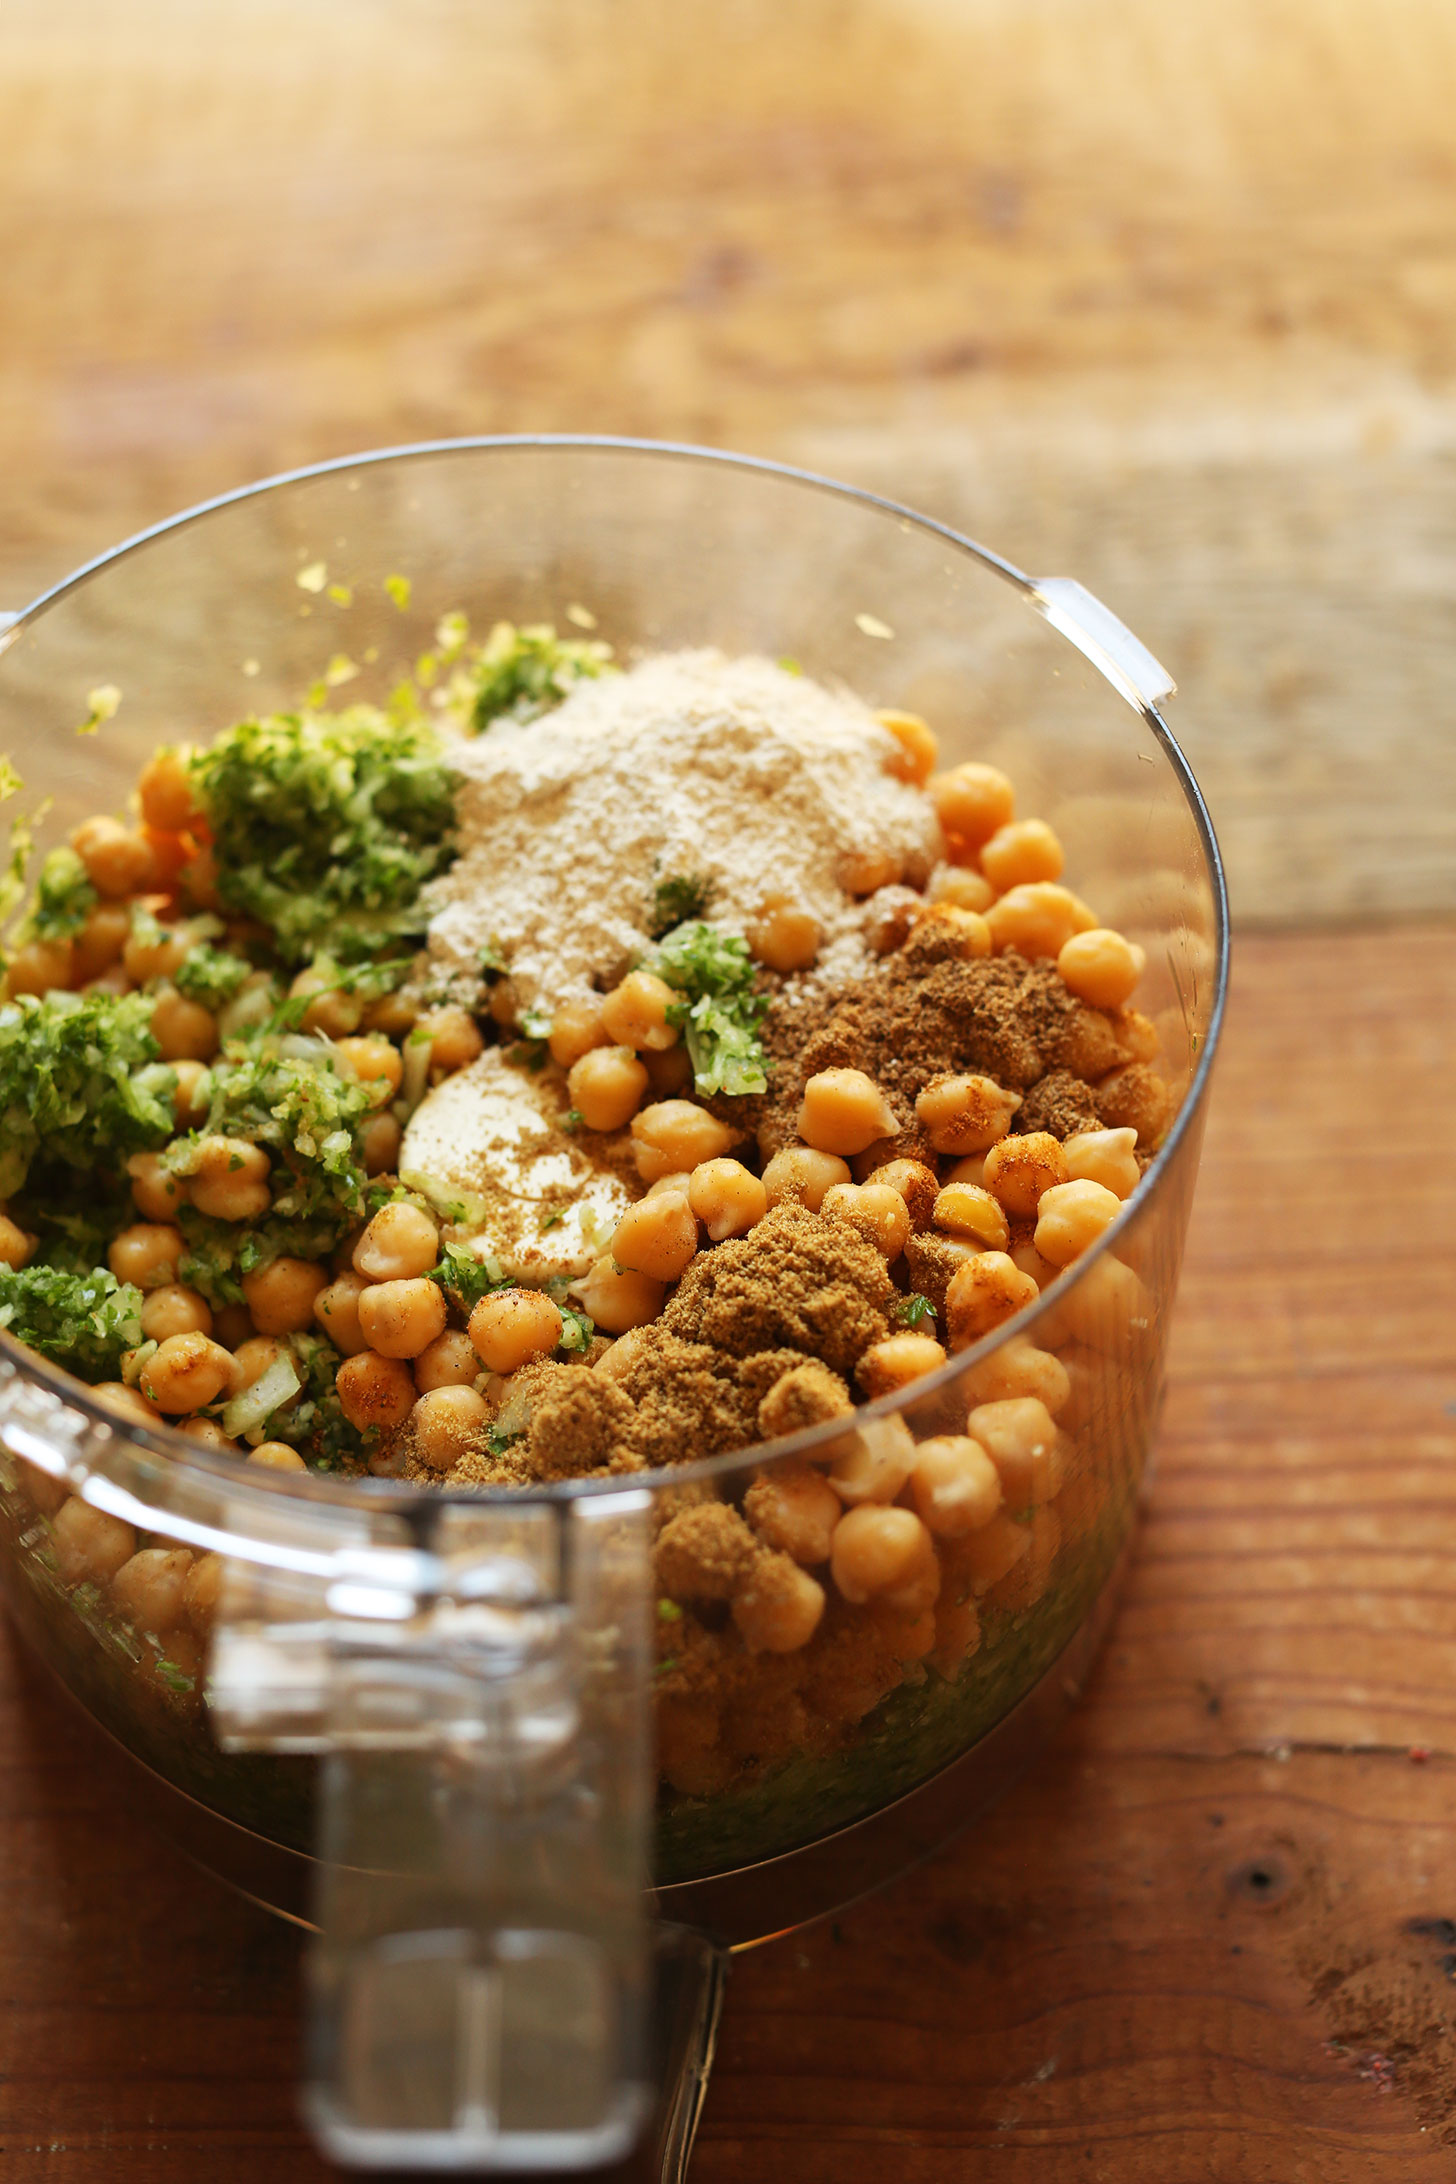
The ingredients are so simple, and the flavors are complex and wonderful.
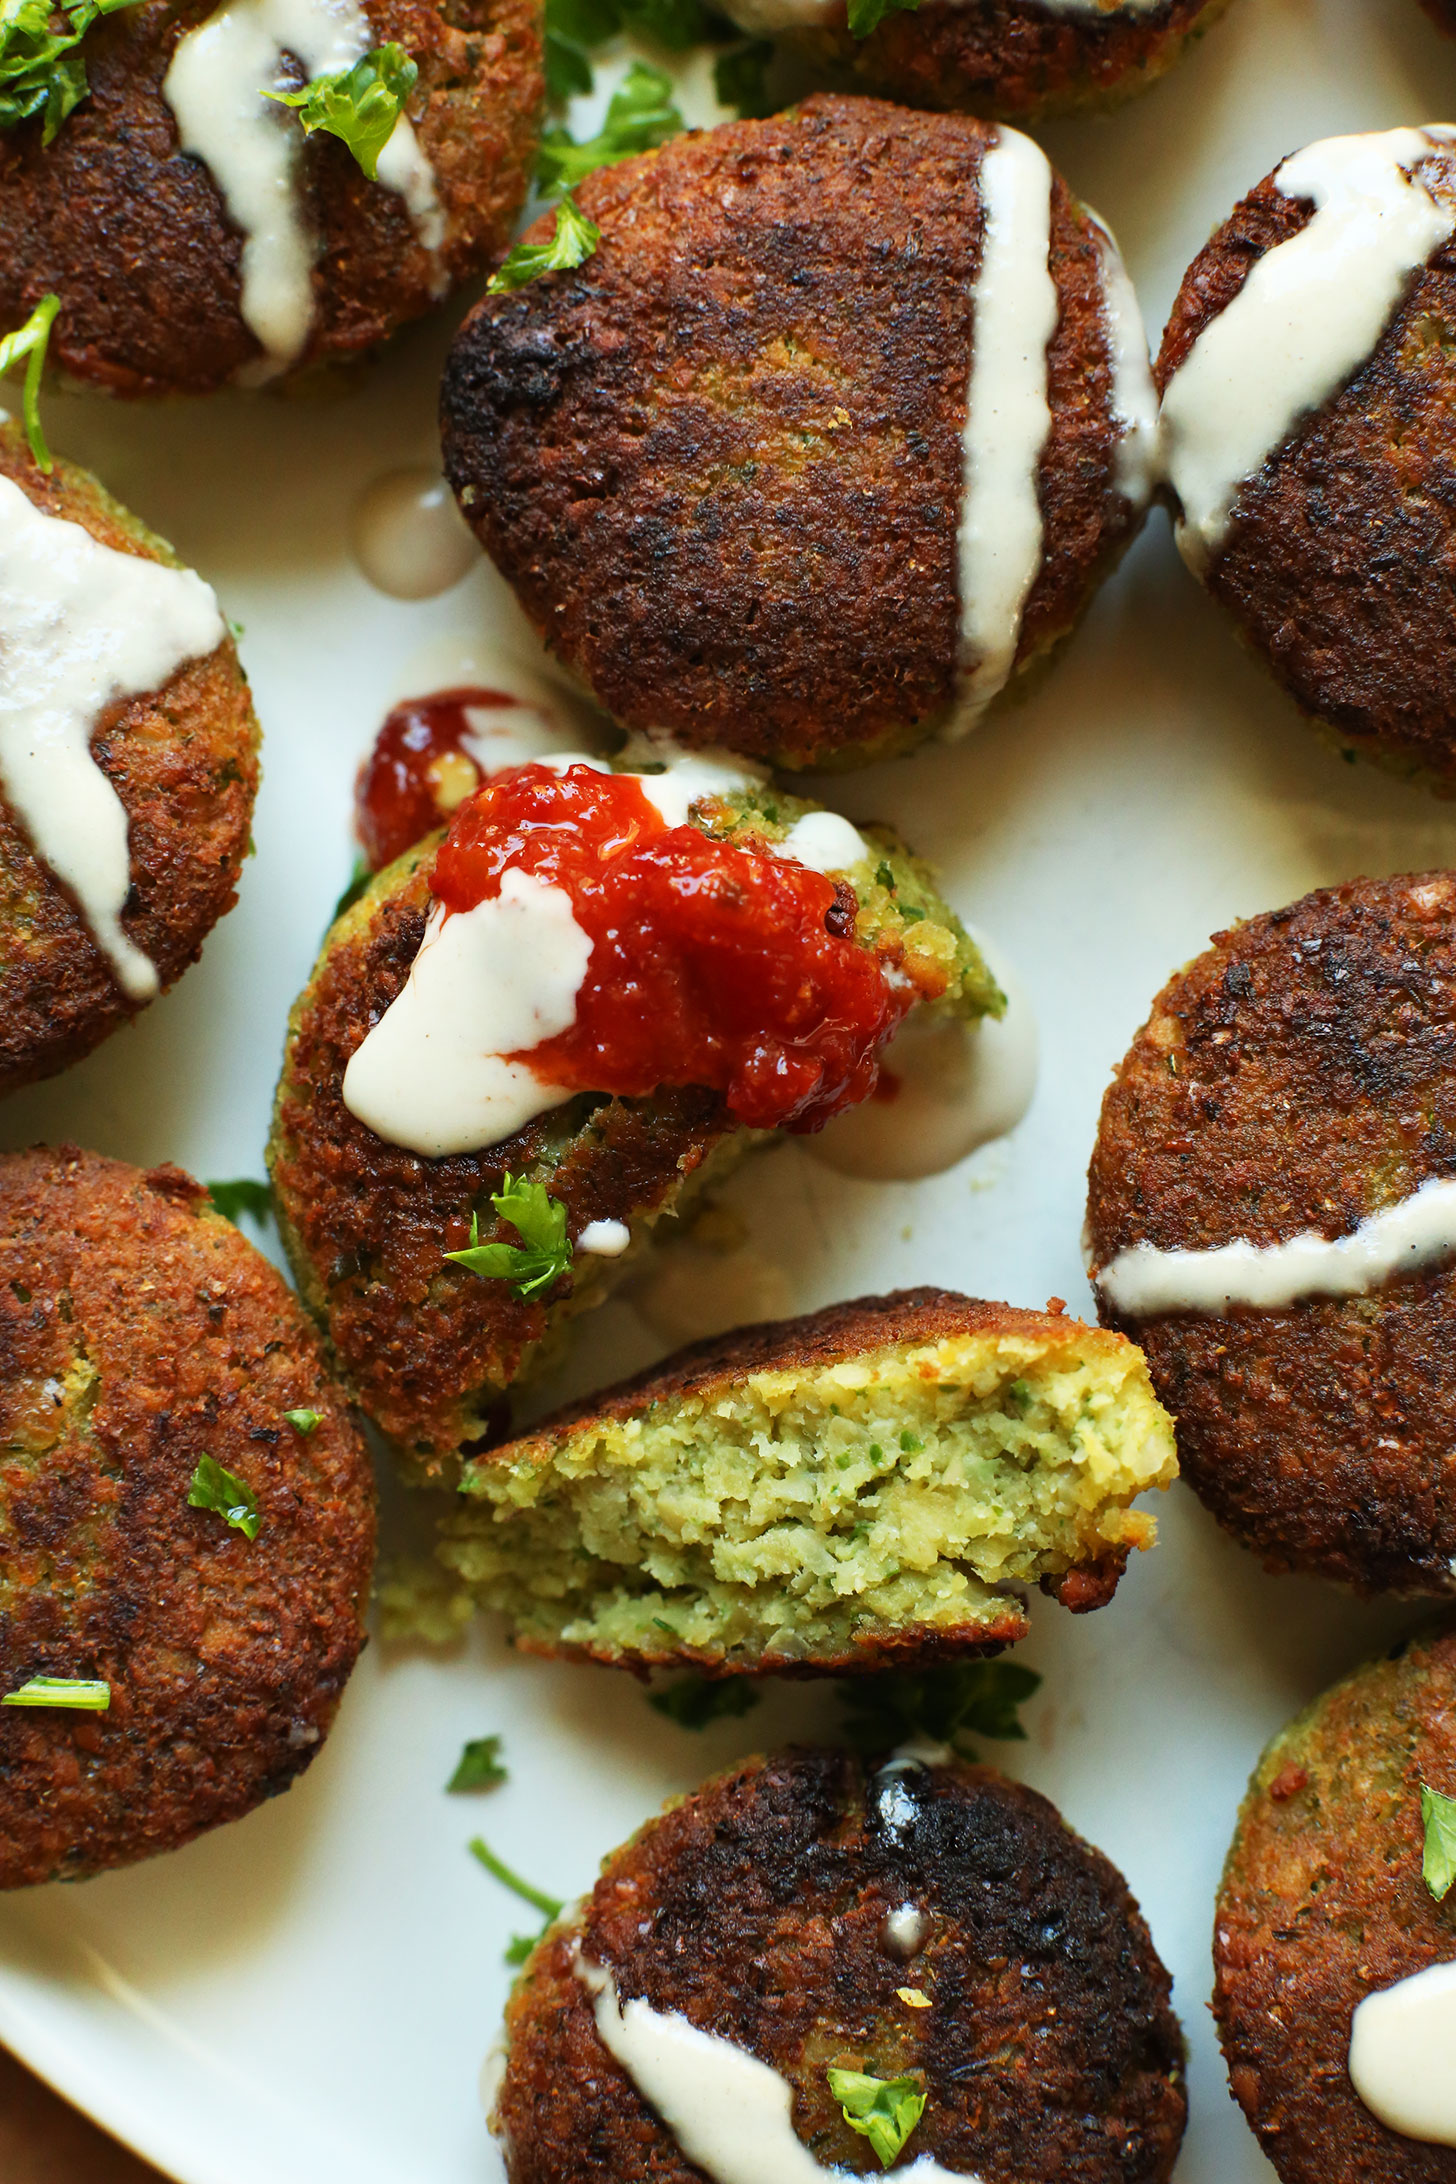
Soaked chickpeas are blended with onion, garlic, parsley, cumin, cardamom, coriander, and sea salt. A little gluten-free oat flour keeps these gluten free while also helping them bind/form into a dough. After letting the mixture chill in the refrigerator for 1 hour, simply form into balls or discs and pan fry. Look at the crispy, golden perfection. Swoon! Find my selection of go-to sauces in the instructions.
We hope you love these falafel. If you try them, let us know what you think! Leave a comment, rate it, and don’t forget to tag a picture #minimalistbaker on Instagram! We’d love to see what you come up with. Cheers, friends!
Classic Vegan Falafel (GF)
Ingredients
- 1 1/2 cups dry chickpeas
- 1/2 cup chopped fresh parsley
- 1/2 cup chopped white onion
- 4-7 small cloves garlic
- 2 Tbsp gluten-free oat flour (or gluten-free flour blend)
- 1 – 1 1/2 tsp sea salt (plus more to taste)
- 2-3 tsp ground cumin
- 1 pinch ground cardamom
- 1 tsp ground coriander
- 1 pinch cayenne pepper (optional)
- Grape seed (or other high smoke point) oil for pan frying
Instructions
- Rinse (uncooked) chickpeas in a fine mesh strainer and add to a large pot. Cover with 2 inches water and bring to a boil over high heat. Boil for 1 minute. Then cover, remove from heat, and let set for 1 hour. Then drain and lightly rinse and dry thoroughly (method from the Kitchn).
- In the meantime, add parsley, onion, and garlic to a food processor. Mix until well processed. Set aside.
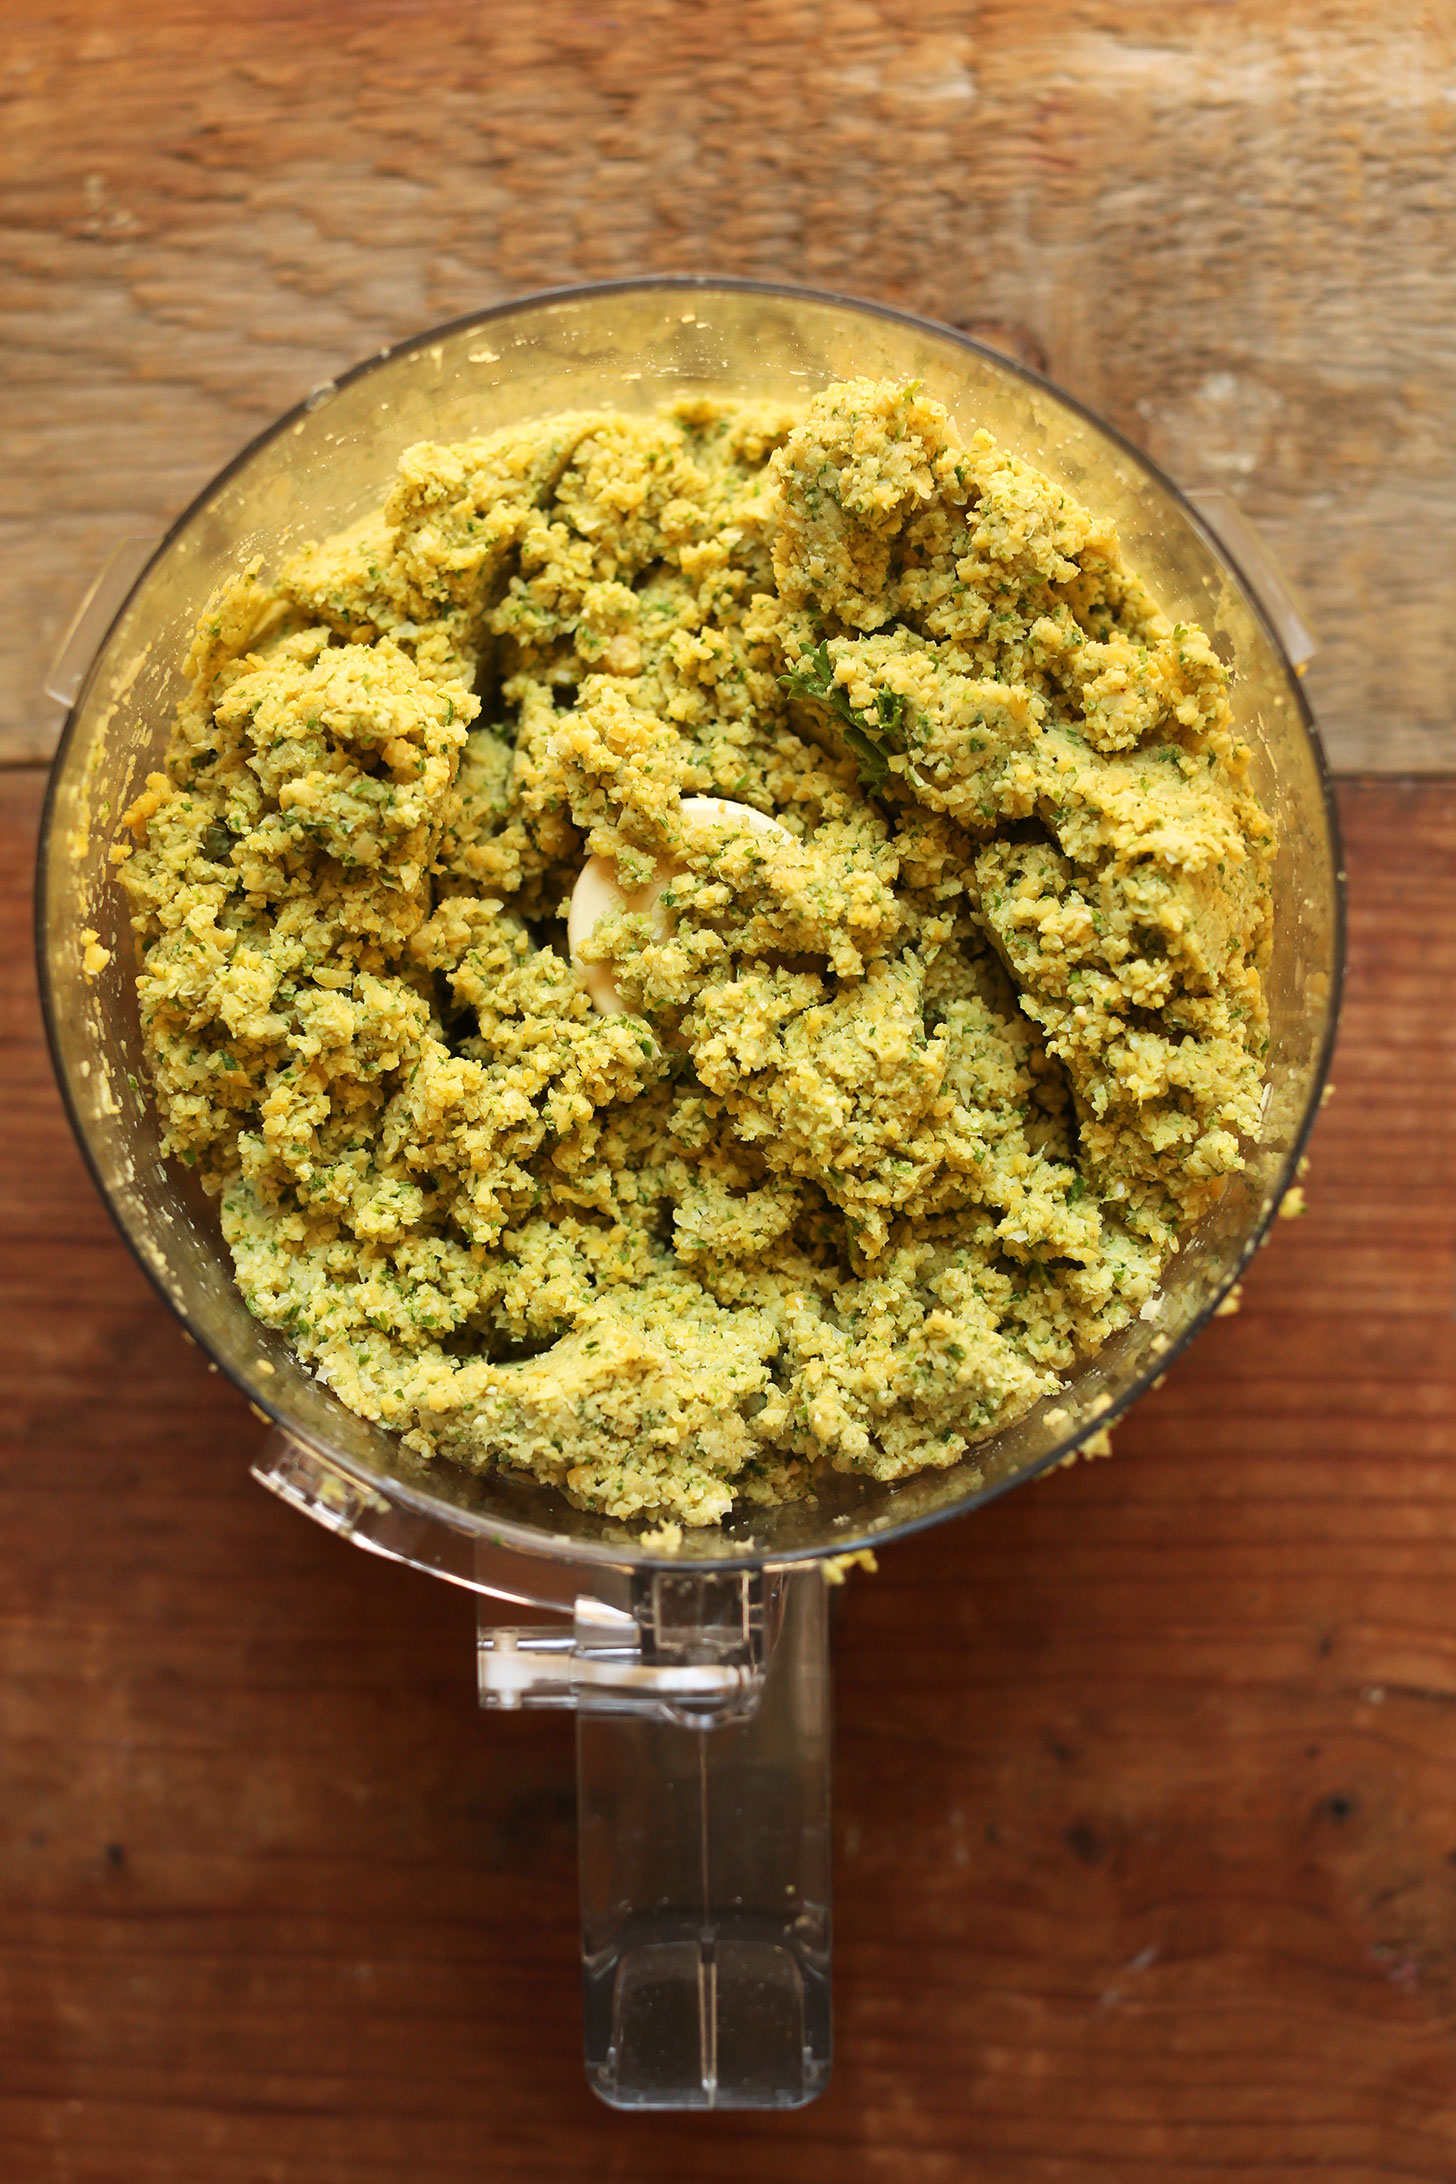
- Once the chickpeas are slightly cooled and dried, add to the food processor, along with gluten-free oat flour, salt, cumin, cardamom, coriander, and cayenne (optional). Mix to combine thoroughly, scraping down sides as needed. This may take up to 4-5 minutes to fully incorporate all of the spices and herbs. You’re looking for a near paste with only very small bits of chickpeas and herbs.
- Sample a small bit and adjust spices/salt/herbs as needed. Then cover and set in the refrigerator for 1 hour to allow the flavors to meld and the texture to become more firm.
- Once cooled, remove from refrigerator and scoop out 1 1/2 Tbsp amounts (using this scoop or a Tablespoon) and gently form into small discs using your hands. If the falafel isn’t sticking together the mixture may need to be blended more thoroughly, or dusted with a bit more oat flour if too wet.
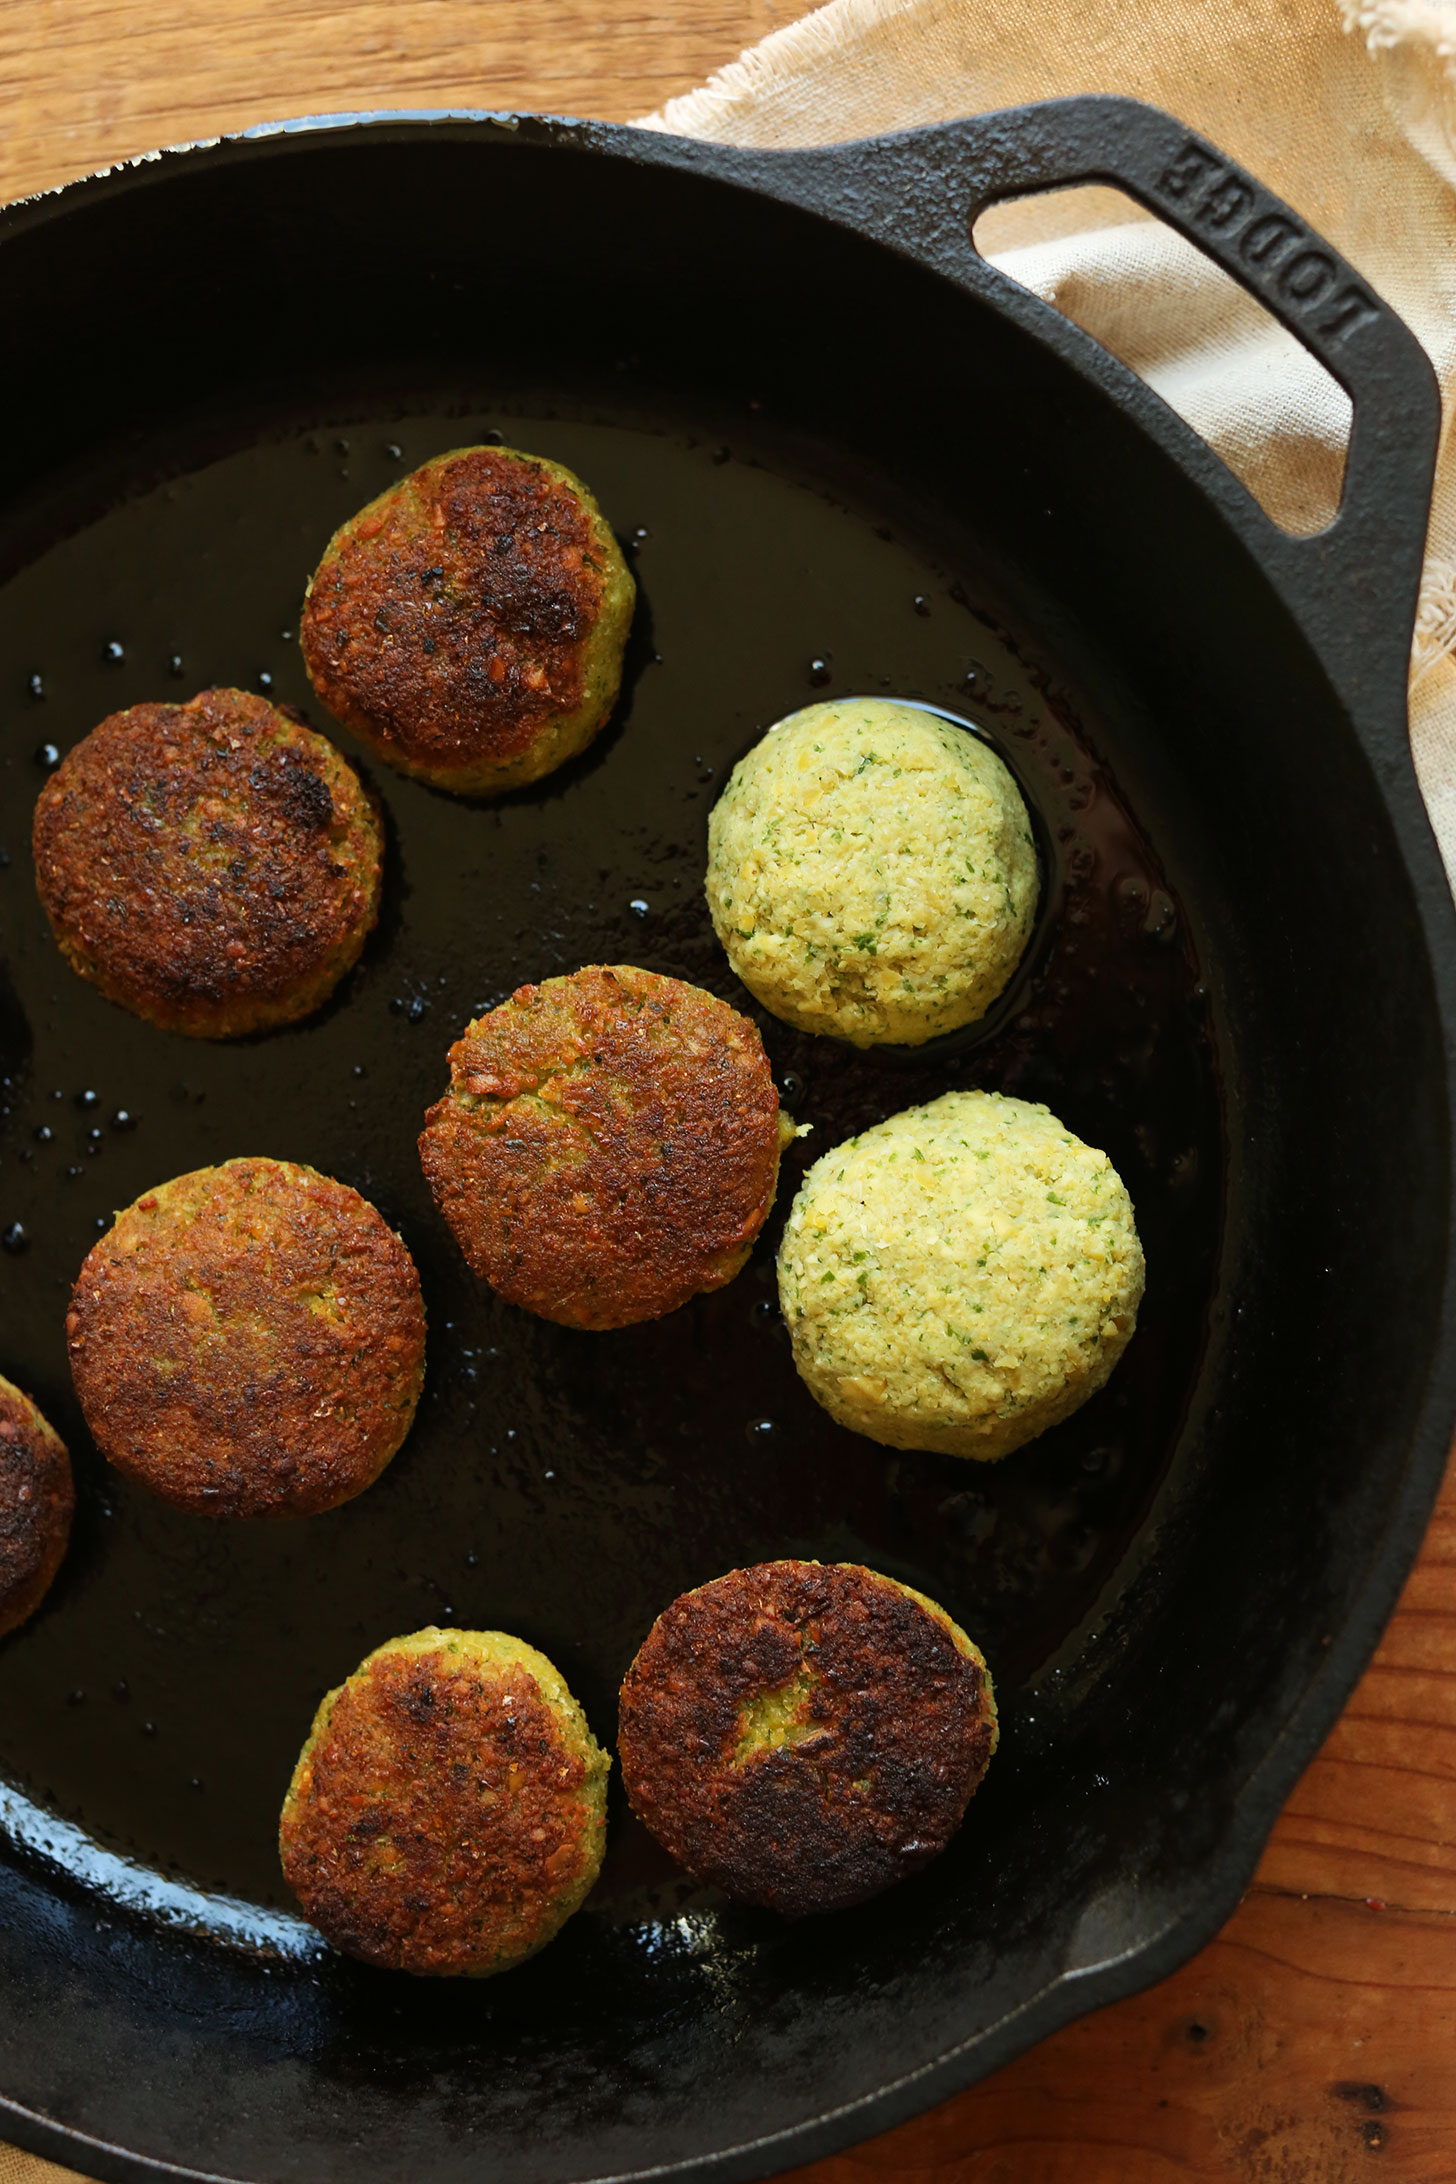
- Once your falafels are formed (~24 total // amount as original recipe is written // adjust if altering batch size), heat a large metal or cast-iron skillet over medium/medium-high heat. Once hot, add enough oil to create a thin layer on the bottom of the pan and wait 1-2 minutes for the oil to heat up. Then place only as many falafel as will fit comfortably in the pan and cook 2-3 minutes on each side. Once the bottom side is browned, flip gently as they can be fragile. Continue until all falafel are cooked. Adjust heat as needed if they’re browning too quickly, or aren’t cooking quickly enough.
- These falafel are delicious on their own with hummus,garlic dill sauce or tahini sauce. I also love garnishing them with chili garlic sauce for heat. Serve over greens, in pita, or enjoy as is!
- To freeze, pan fry falafel and let cool. Then add to a freezer safe container and freeze up to 1 month. Reheat in a 375 degree F (190 C) oven until warmed through.
Notes
*Recipe adapted from the talented Tori Avey.
Nutrition (1 of 24 servings)



Abigail says
This was my first time making falafel and I was SO IMPRESSED! I was a bit worried since some other people who commented had trouble with the consistency, but I followed the recipe pretty much exactly and they came out perfect. The only thing I did differently was after patting the chickpeas dry with paper towels I let them sit spread out on a baking sheet for a couple hours occasionally moving them around. I served them on salad greens with the tahini sauce drizzled on top. I was blown away by how authentic they taste! Next time I will definitely be making 2 batches — these are way too yummy to make just one batch!
Yay! We’re so glad you enjoy the falafel so much, Abigail. Thank you for sharing your experience! xo
Cyn says
Ooooooommmmyyyyygooooodnessssss!!!!!!!! This recipe is sooooooooo freaking amazing!!!!!!!! We paired the falafel with spring greens, a quinoa/brown rice mix, hummus, black beans (seasoned with bell peppers, onions/cumin),, vegan ranch, and naan. Garnished with baby kosher dills. Sublime perfection!!!!!!!!!!!! This recipe seems like it should be hard, but really isn’t. Yes, it takes a little more time to do it properly, but it’s SO worth ithe the end result!!! 1000% keeper!!! Yes!!!! Google search where to find dried chickpeas near where you live. Totally worth the effort!!!!!!!
Yay yay! Thank you for the incredible review! We’re so thrilled you loved it! xoxo
Jasmine Gray says
Delicious recipe! It turned out great on the first try.
Can’t wait to make this again.
Yay! We’re so glad you had success with this recipe, Jasmine. Thank you for sharing your experience! xo
Valerie Cameron says
I made your recipe as posted, left the completed ingredients in the frig for 3 hours, and used the frying method using avocado oil. What could/should I have added as my husband said they were too dry. I used GF flour as listed and wondered what else I could add (in the next batch) to make the taste more acceptable.
We’re so sorry they turned out too dry, Valerie! What brand of gluten-free flour were you using? Using less flour should help them be less dry. If it was a GF blend that included bean flours, that would be more drying and also could contribute a flavor that not everyone loves.
Brie says
I used oat flour, the amount in the recipe. I do live at a very high altitude in a dry area, maybe that’s why?
Thank you for the additional info. Hmm, that could be! We don’t have much experience with cooking at high altitude.
Brie says
The flavor on these is super good but they would not stay together and were extremely difficult to pan fry. They basically disintegrated in the pan and made a huge mush. I put some in the air fryer which worked a little better. I saw in the notes it said to food process more if they weren’t holding together, so I did – mine was definitely a paste. I think they need something to bind them together a little more. The quick boil method for the chickpeas did work really good.
Bummer. Sorry the recipe gave you trouble, Brie! They may have needed additional flour. What type of flour did you use?
Chris says
How are these chickpeas actually cooked? The method for quick soak you linked to says this is just a starting point. But then this recipe doesn’t say anything about cooking the chickpeas further. Isn’t this dangerous to use undercooked chickpeas?
Hi Chris, we haven’t had an issue with it and find this method creates the best texture for the falafel. Feel free to cook them more, if concerned!
erin says
Can you use canned chickpeas?
Hi Erin, canned will contribute more moisture, so this recipe works better with dried beans! Perhaps try this one instead?
Mae says
Can I bake these instead of frying? Thanks
Hi Mae, We’ve only tried baking ones that had already been pan-fried and frozen. They weren’t as good as the fresh ones, but still good. We would still highly recommend pan-frying, but if you want to bake them, we’d suggest 15-20 minutes at 400-425 F. Spray them with a little cooking oil for crispness. Hope that helps!
Scout says
Yum. Yum. Yum. These are sooo good. Although best hot out of the pan I also enjoyed eating them cold
I didn’t have cardamom and I subbed cilantro for parsley. I also did the long soak method but will try the boil and quick soak next time. Because there definitely will be a next time!
Thanks so much for the great review, Scout. We’re so glad you enjoyed these!
Nancy says
I’ve made this recipe twice as directed, using Bob’s GF all-purpose flour blend as a listed substitute for the oat flour. It’s the closest I’ve ever come to making the crispy, delicious, herbaceous falafel I’d get from restaurants. It makes me so happy. :)
The second time I made them, I did a better job drying the soaked chickpeas before adding them to the food processor, but I’m wondering how we are meant to dry them after soaking. Any tips? I laid them out on some paper towels but they were still a little damp. From my limited experience, it seems that the drier the batter, the better they hold together.
Hi Nancy, so glad you’ve enjoyed this recipe so far! For drying the chickpeas, we usually dump them into a clean kitchen towel and rub/roll them around to dry them off. Hope this helps!
Ella says
Hello, just wondering if you can make the mixture and leave it in the fridge overnight? Thank you.
Hi Ella, yes that should work!
Scout says
I have made the “ dough” and kept it in the fridge for 36 hours and it turned out great
Pam says
Yay!!! Good to know. Making “batter” now for dinner tomorrow evening
Marylee Dunbar says
okay so I made this but I needed a baked version and I made it with Gluten free all purpose flour.
I also used canned chickpeas for this because I was baking it not frying it.
(when you fry it will have too much moisture in it to use canned chickpeas, but for baking canned is perfect to keep it from drying out!)
This recipe is a good base and its easy to adjust the flavors to your liking.
Would definitely use this again.
Thanks for sharing, Marylee!
Tegan Fuller says
Hey, so we are making them now, and they just totally disintegrated in the frying pan, like completely just melted. What did we do wrong? Maybe added too much oil, we used avocado oil and put more than suggested. So we drained out the oil and did exactly the amount suggested in the recipe. It looks better this time around, but the falafel melted just the area that touched the oil. Did maybe with over processed it in the food processor? Really wanting this recipe to work. They are not holding up. Going to try baking and see what happens to try to salvage the double batch we made. The melted blobs do taste delicious, my 4 year old is really enjoying them.
Warmly
T
Sorry to hear they gave you some trouble, Tegan! They definitely shouldn’t fall apart. Typically that means they need additional flour as it acts as a binder. But excess oil could be part of the issue too. Otherwise, you could try letting them chill for 1-2 hours to firm up. Hope that helps!