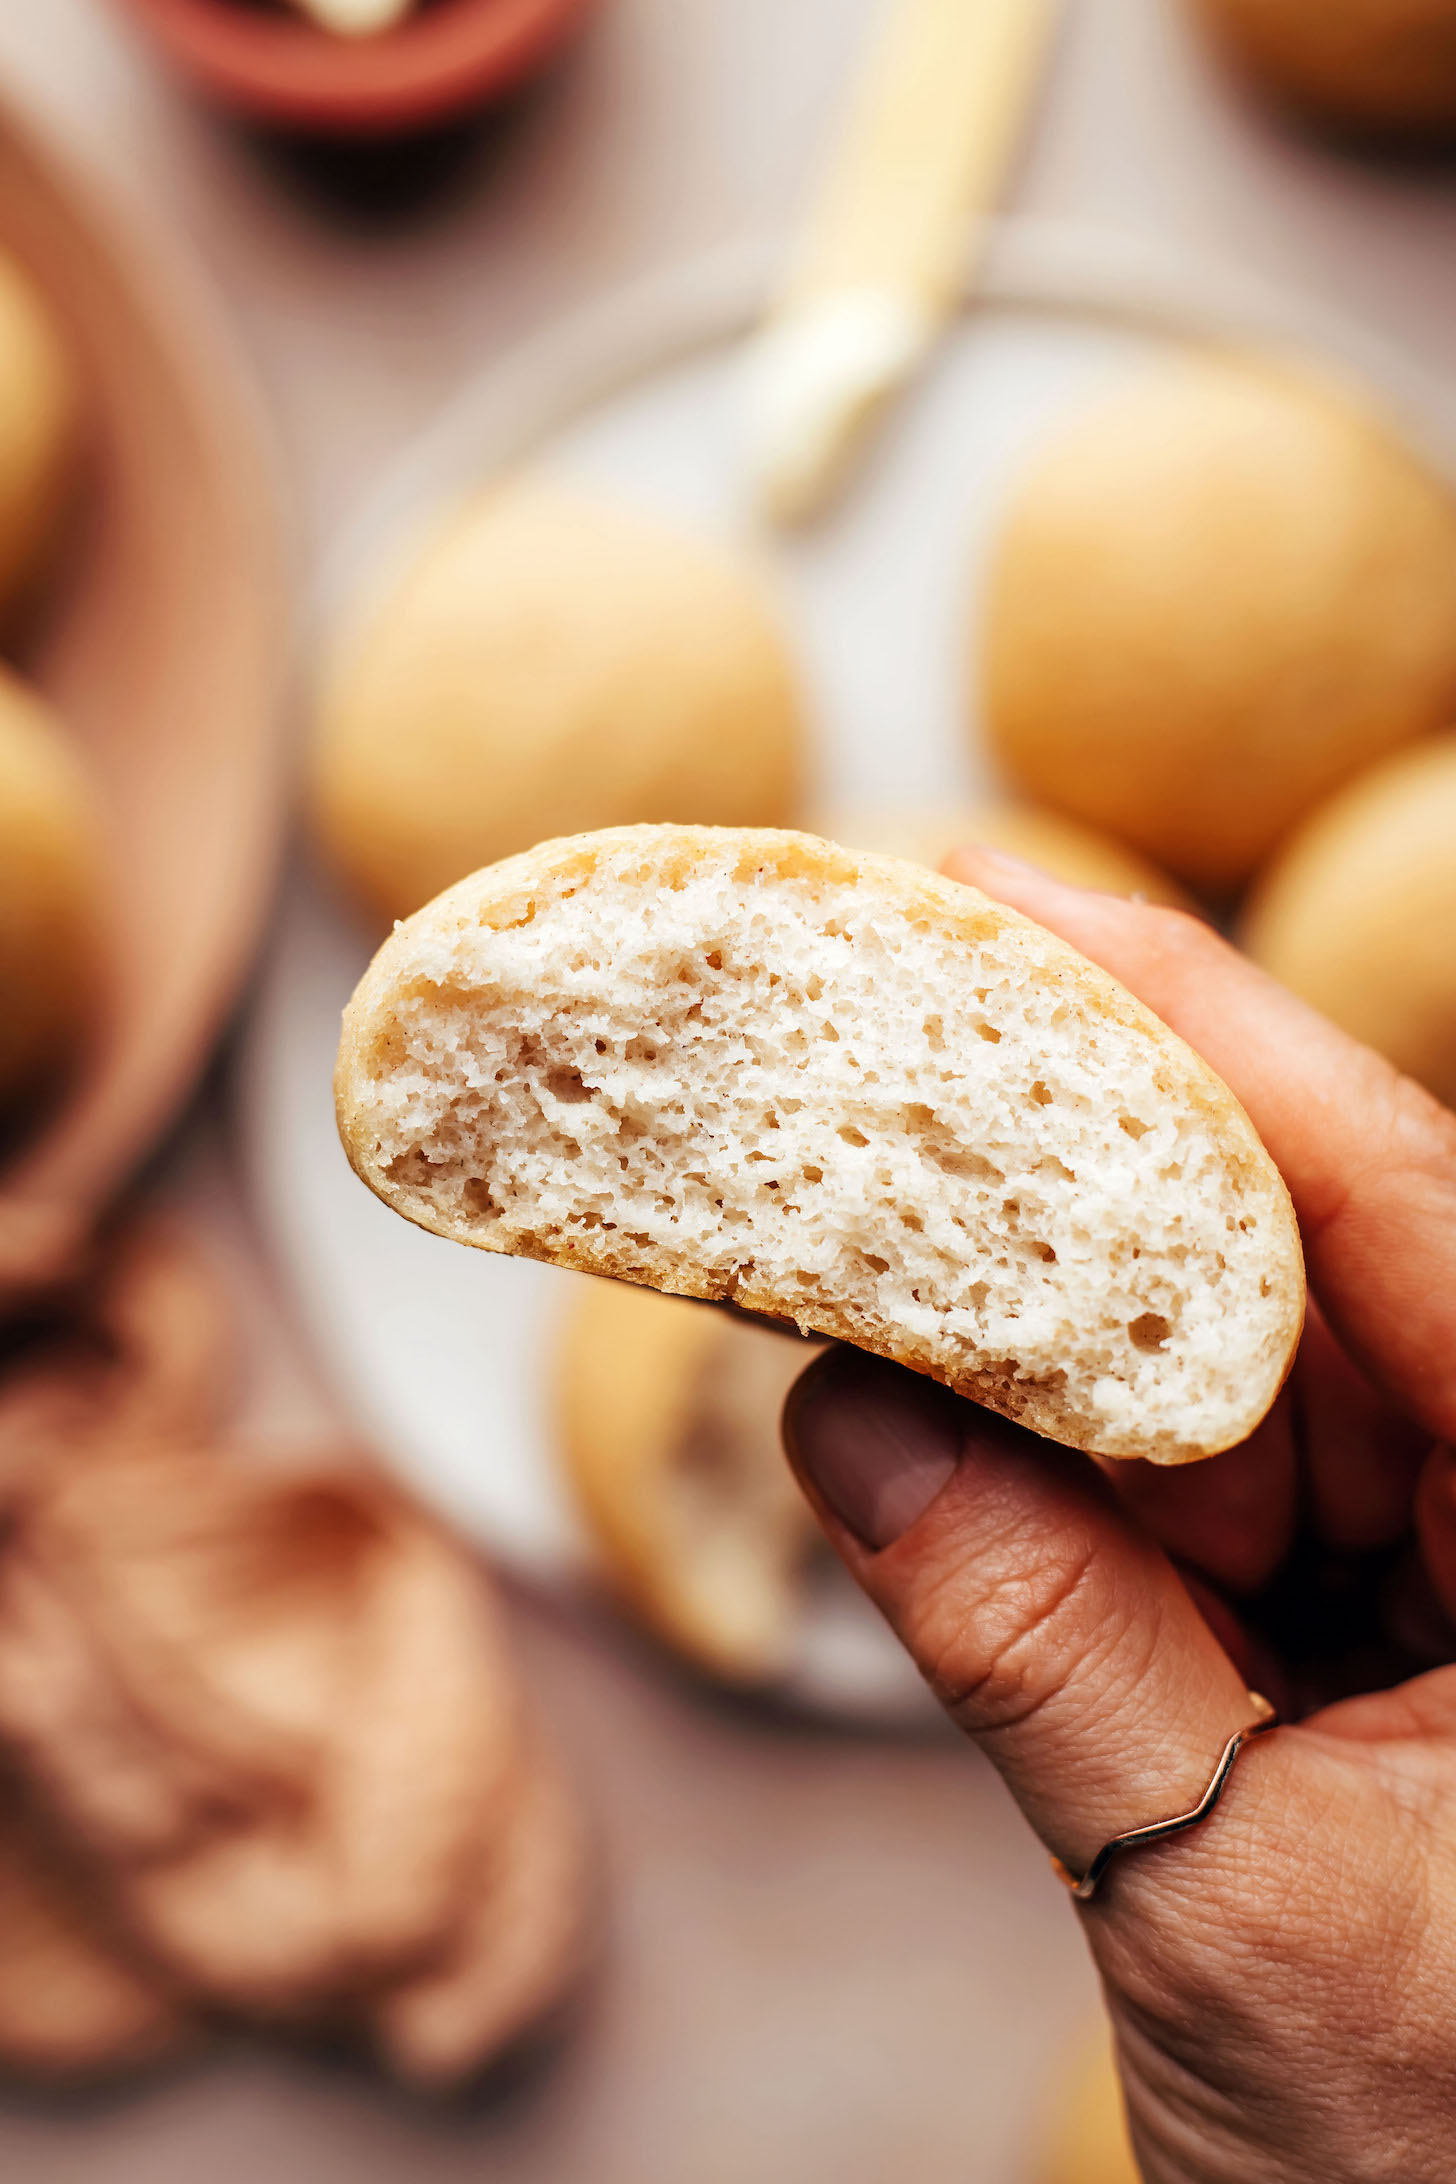
Friends, we can’t WAIT for you to try these! What started as a different recipe morphed into these amazing gluten-free dinner rolls (and we’re not mad about it)! Not to be dramatic, but they might change your life.
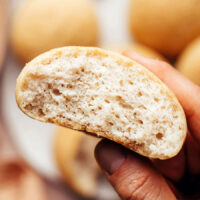
What you need to know: They’re perfectly crusty on the outside, soft and tender on the inside, and have an incredible toasty, whole-grain taste just like your favorite artisan rolls (but gluten-free and vegan)!
Did we mention they’re also easy to make? With just 9 ingredients and simple methods required, they’re begging to be on your holiday table. Let’s bake!
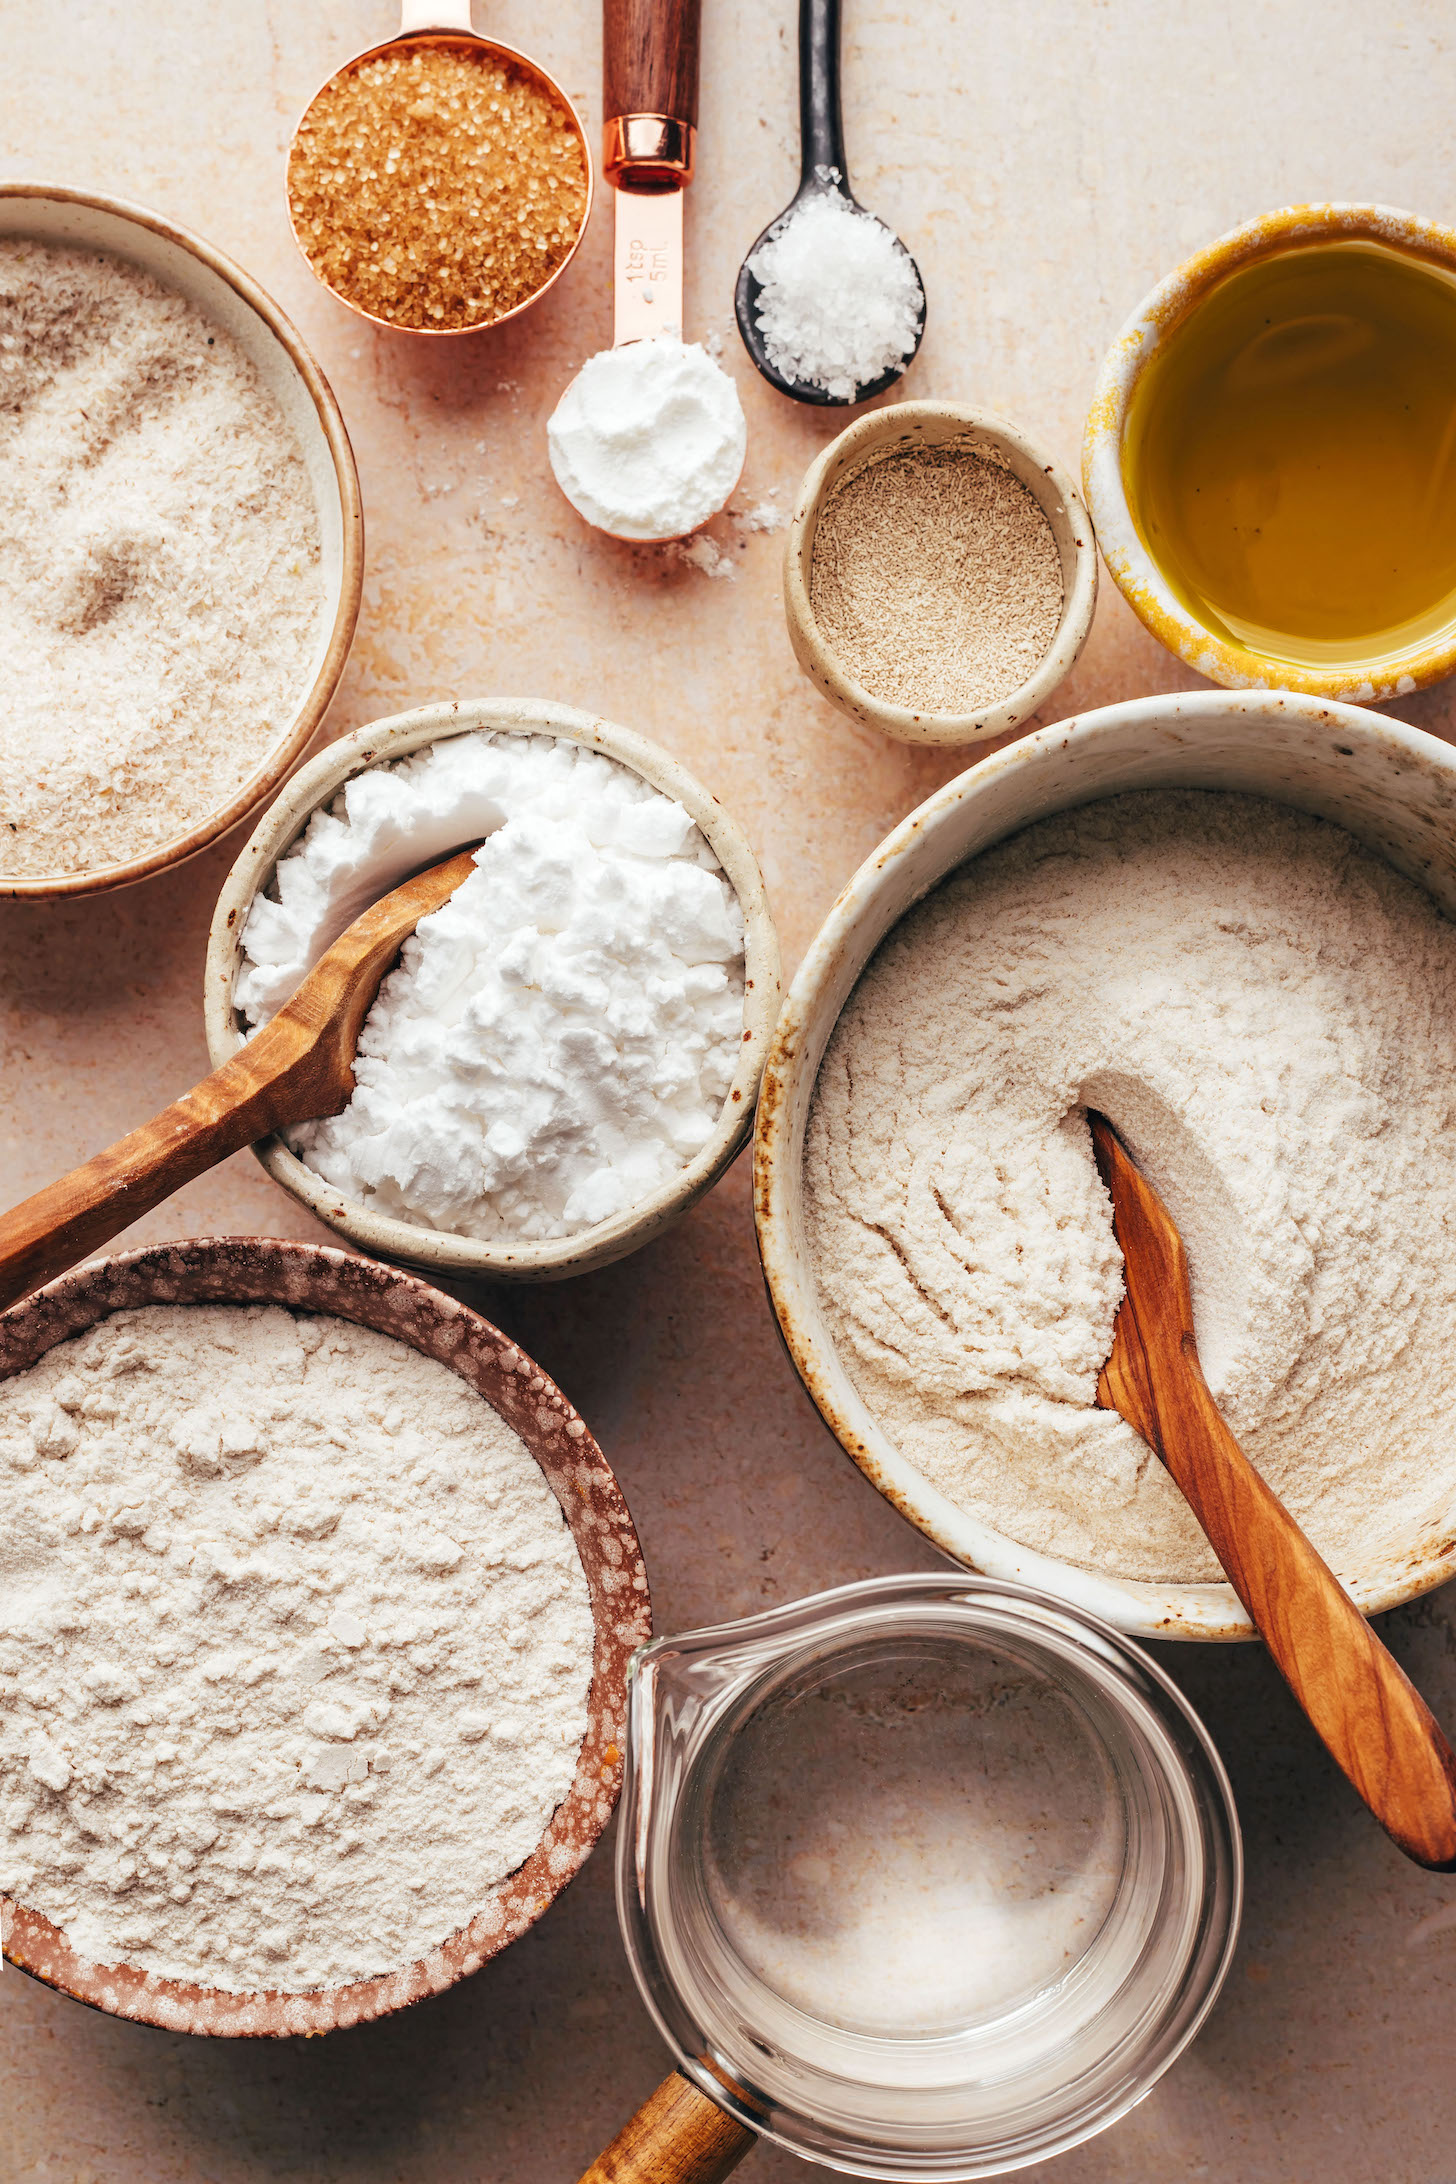
How to Make Gluten-Free Dinner Rolls
These rolls start with a combination of brown rice flour, sorghum flour, and potato starch to create an undetectably gluten-free taste and texture. Psyllium husk adds gluten-like structure and tenderness, while a smidge of baking powder adds fluffiness!
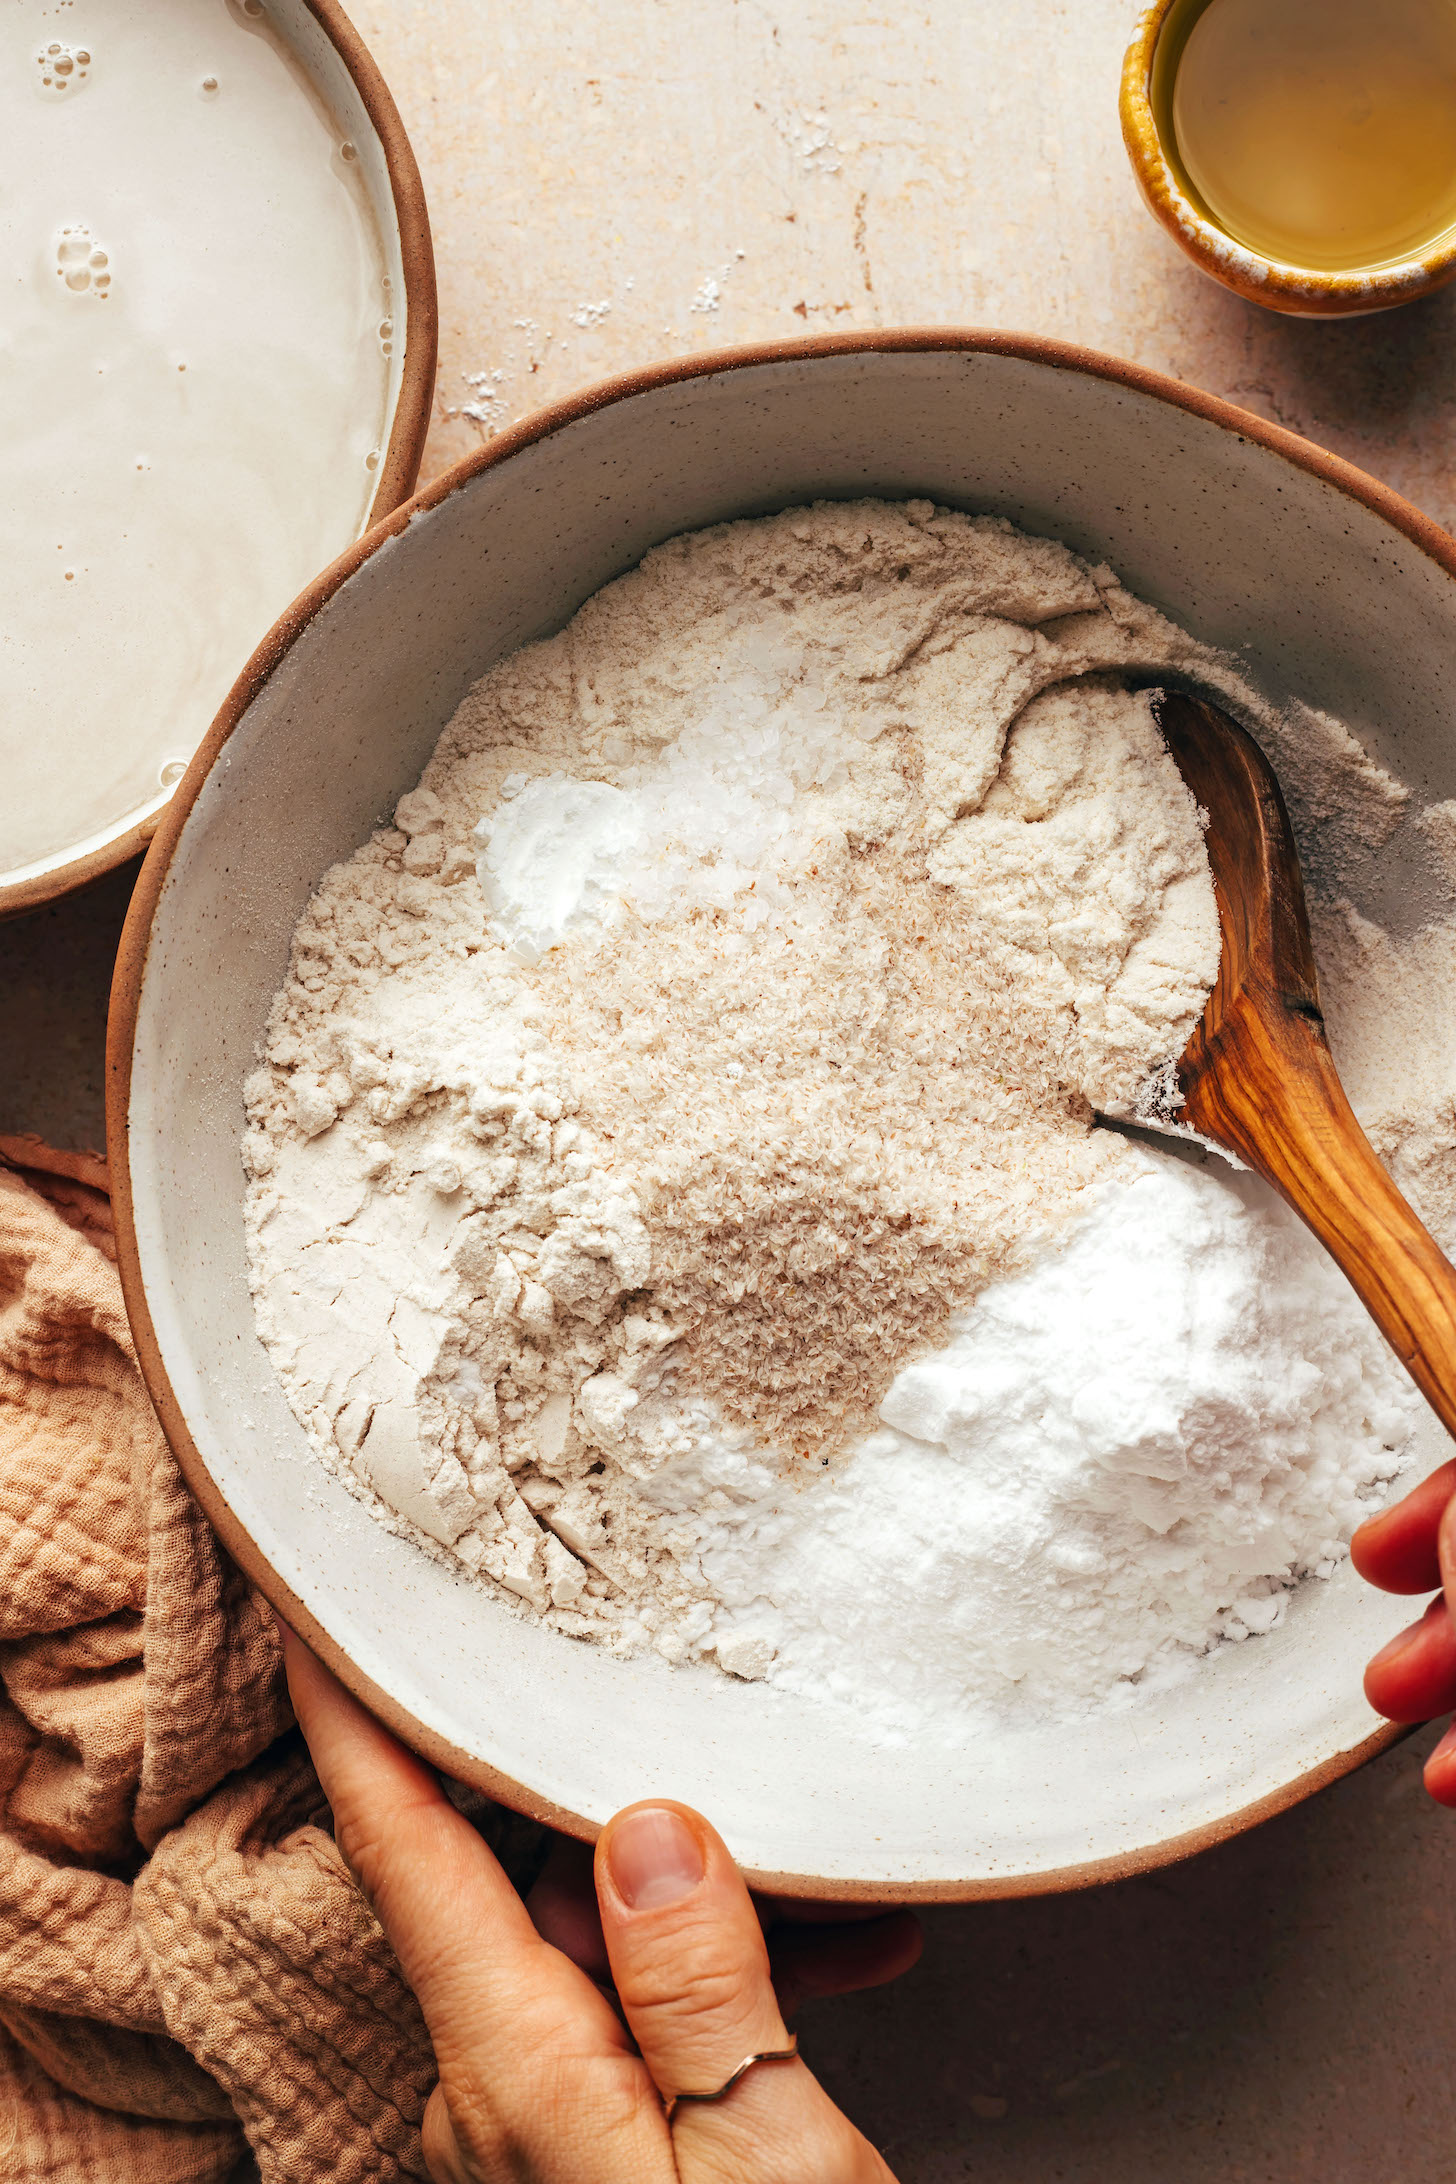
Next come the liquid ingredients! Yeast adds a classic artisan bread taste, while olive oil keeps the rolls perfectly soft.
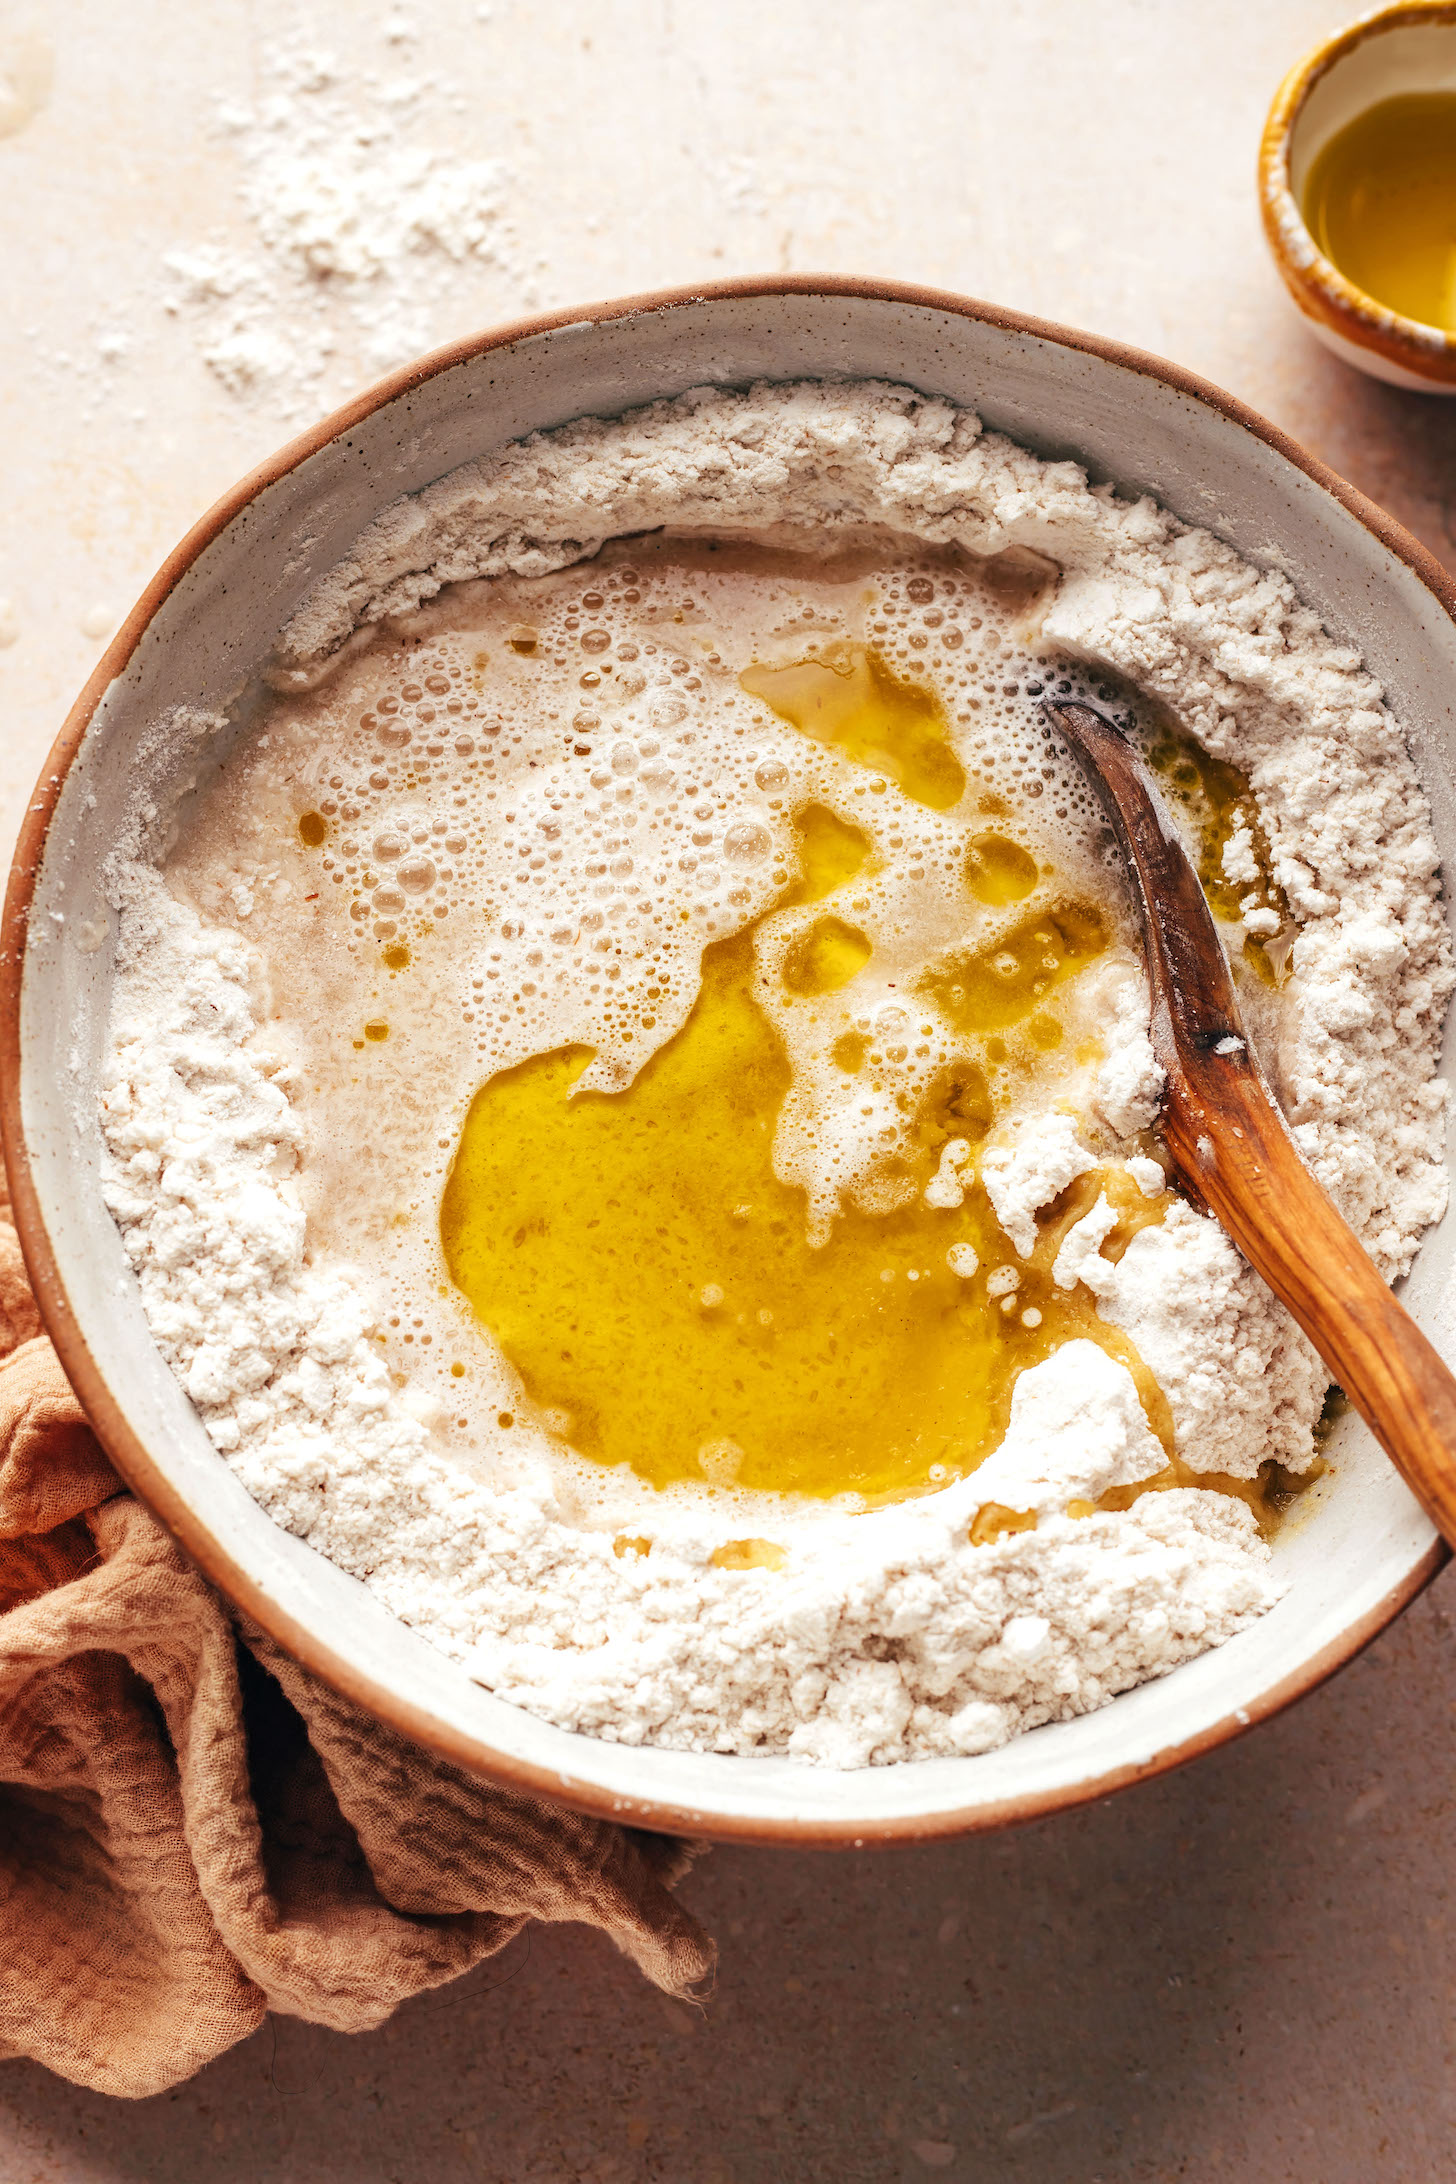
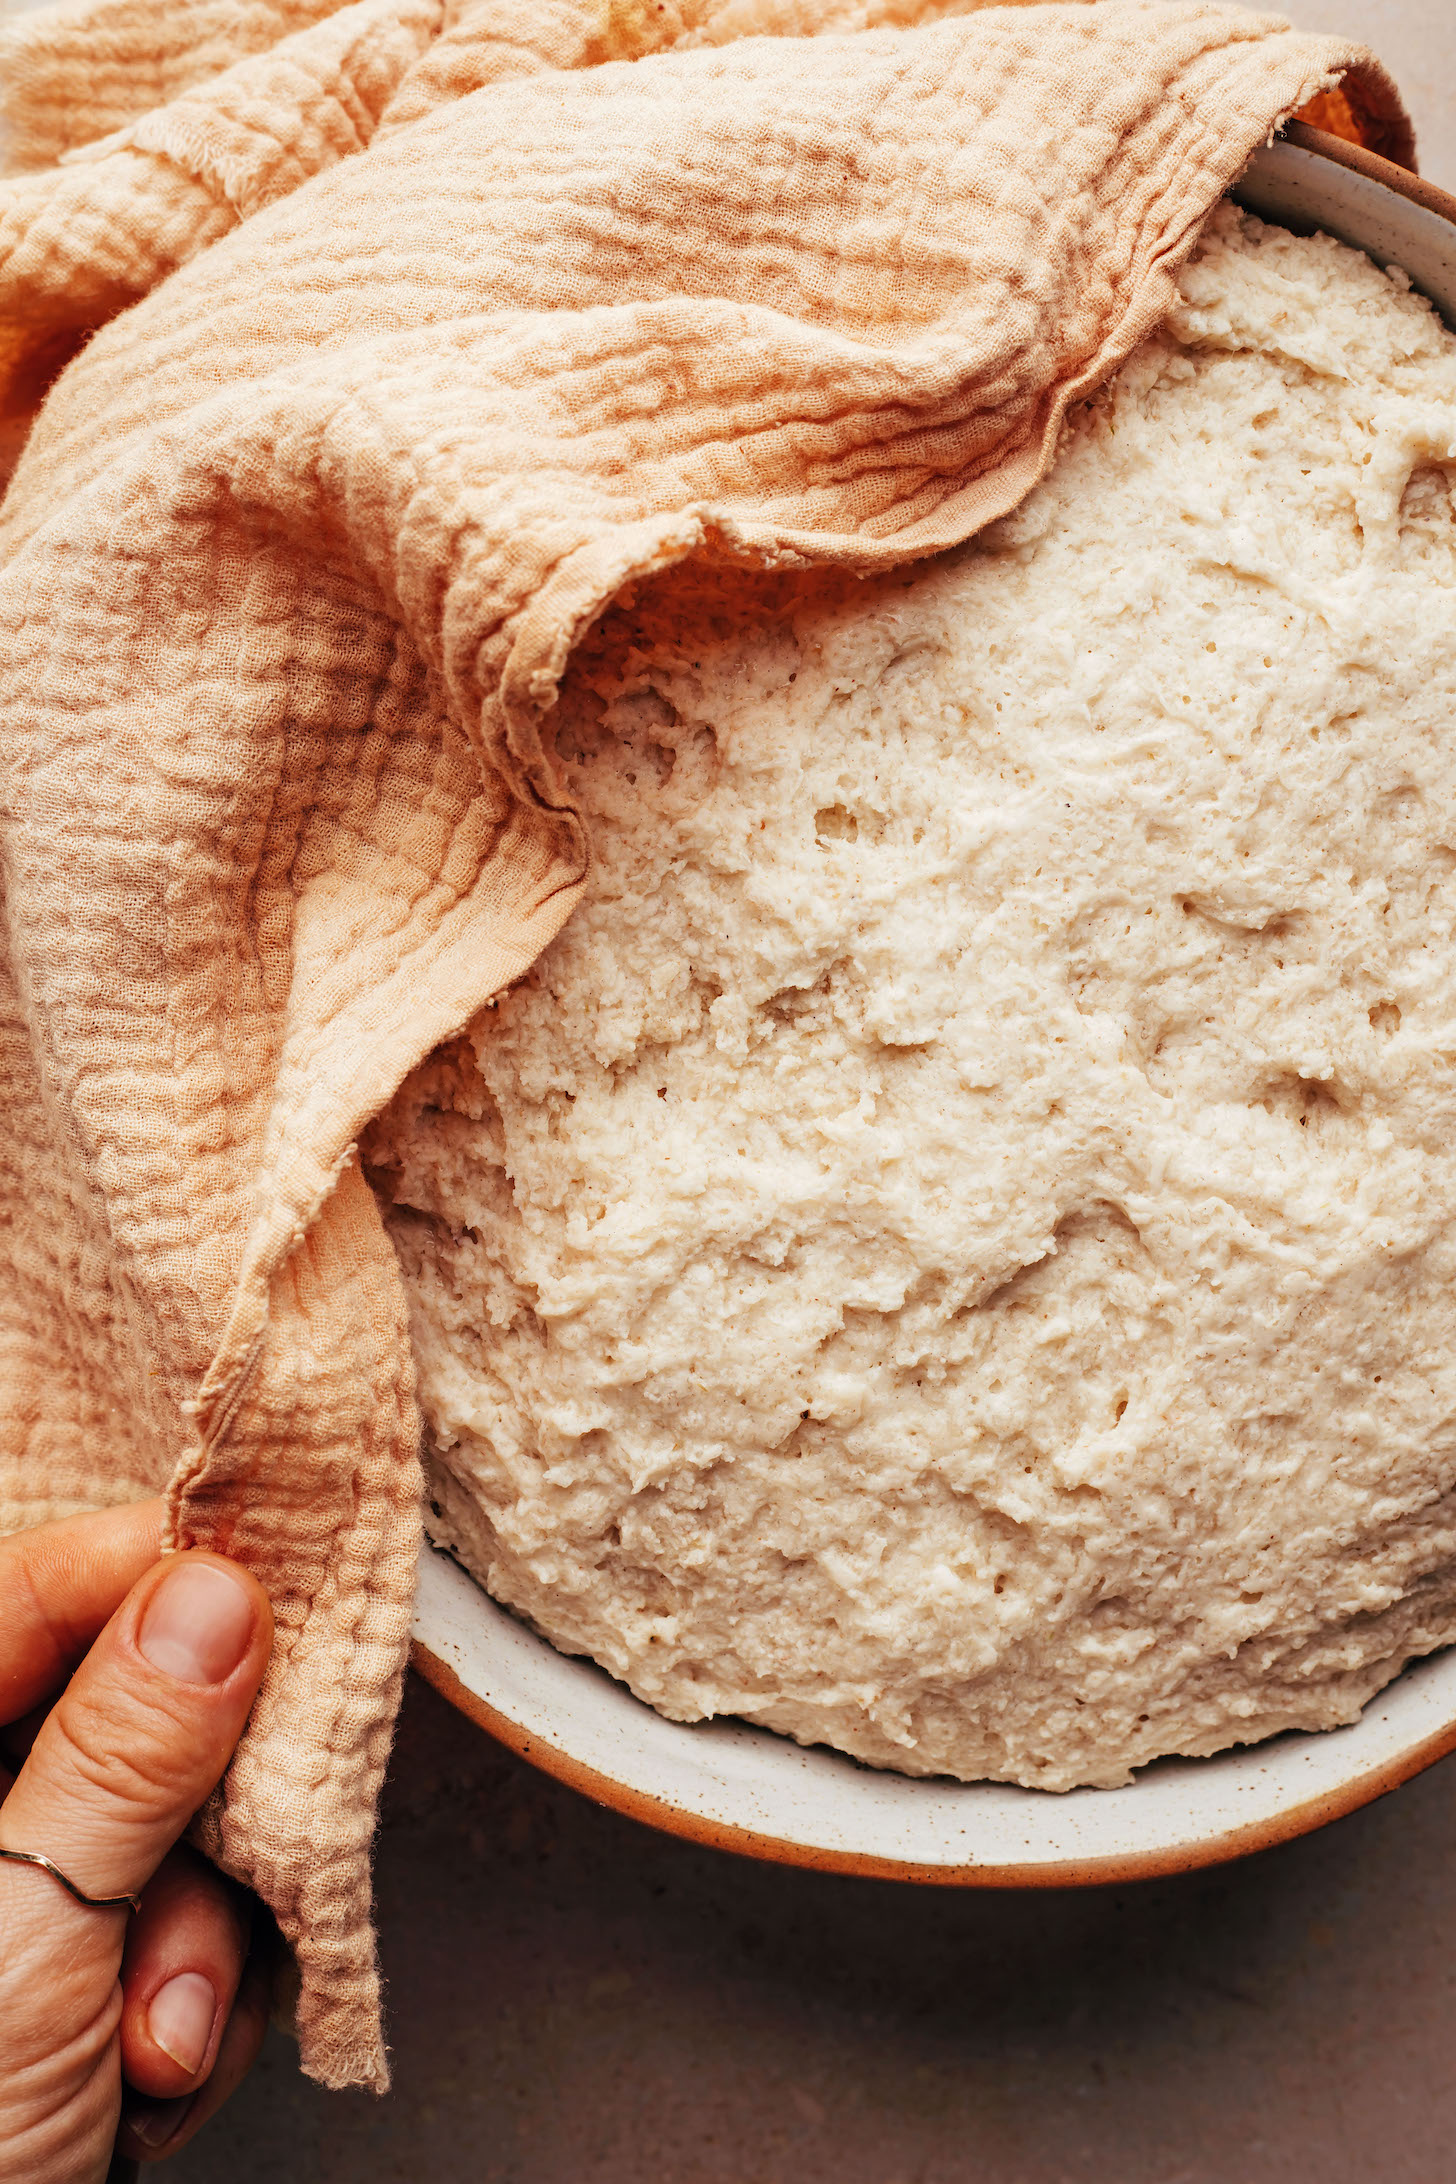
After mixing the dough, it rests and rises for 45 short minutes. Just enough time to clean up, preheat the oven, and daydream about your finished rolls.
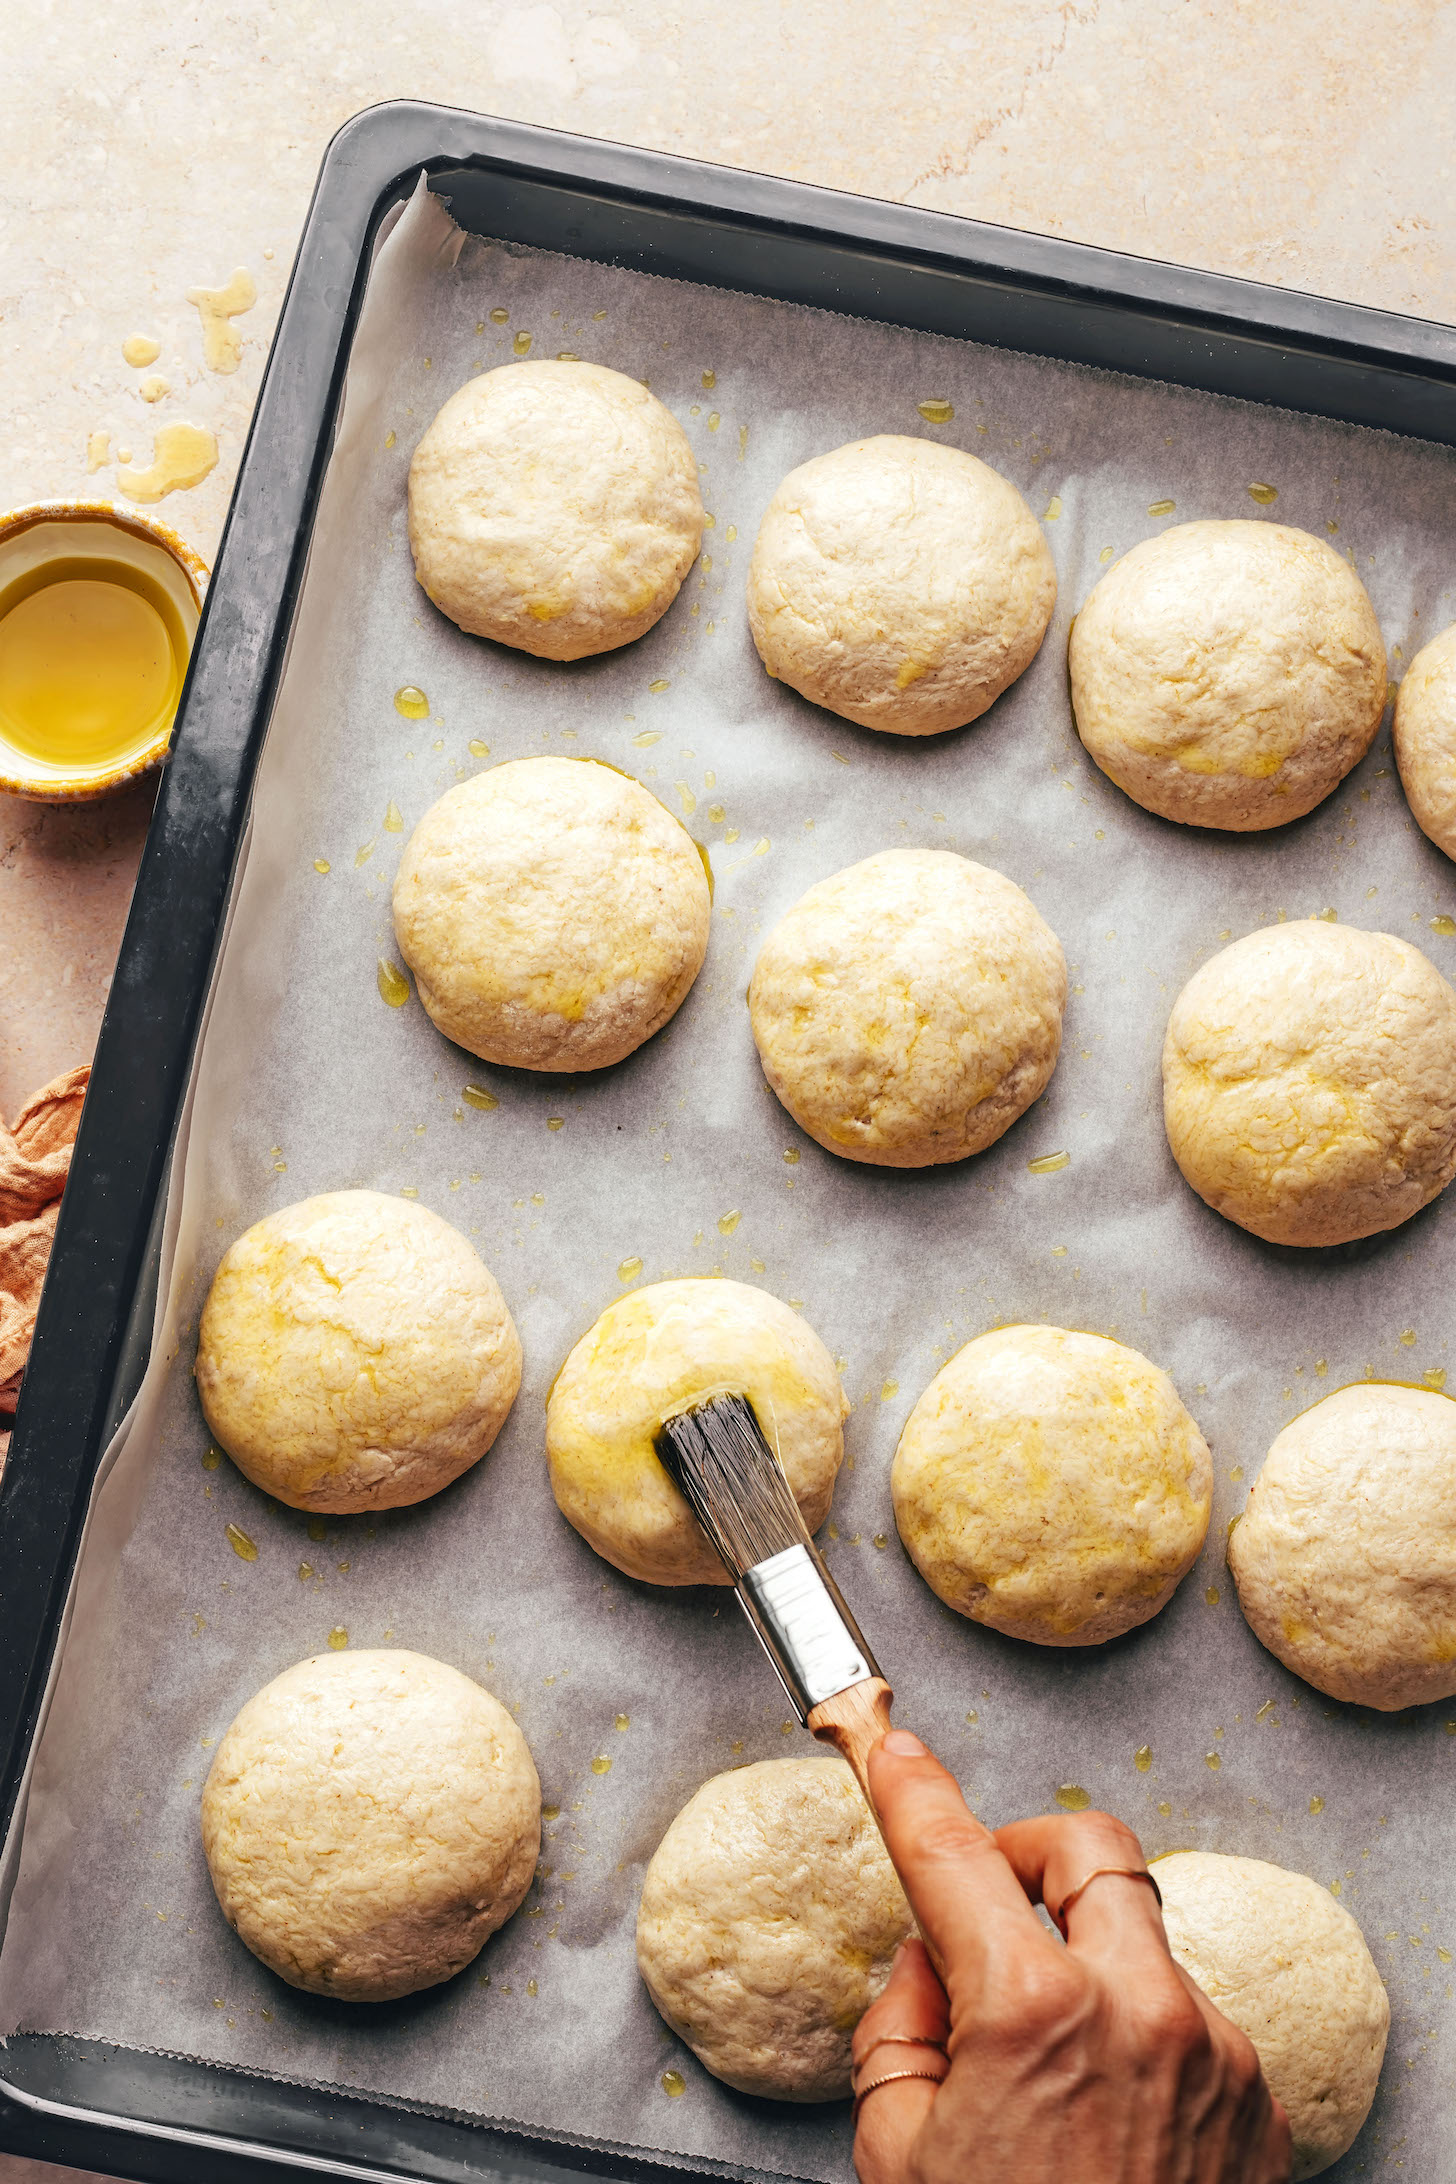
After rising, the rolls are shaped into adorable little domes and topped with additional oil for a savory, golden crust.
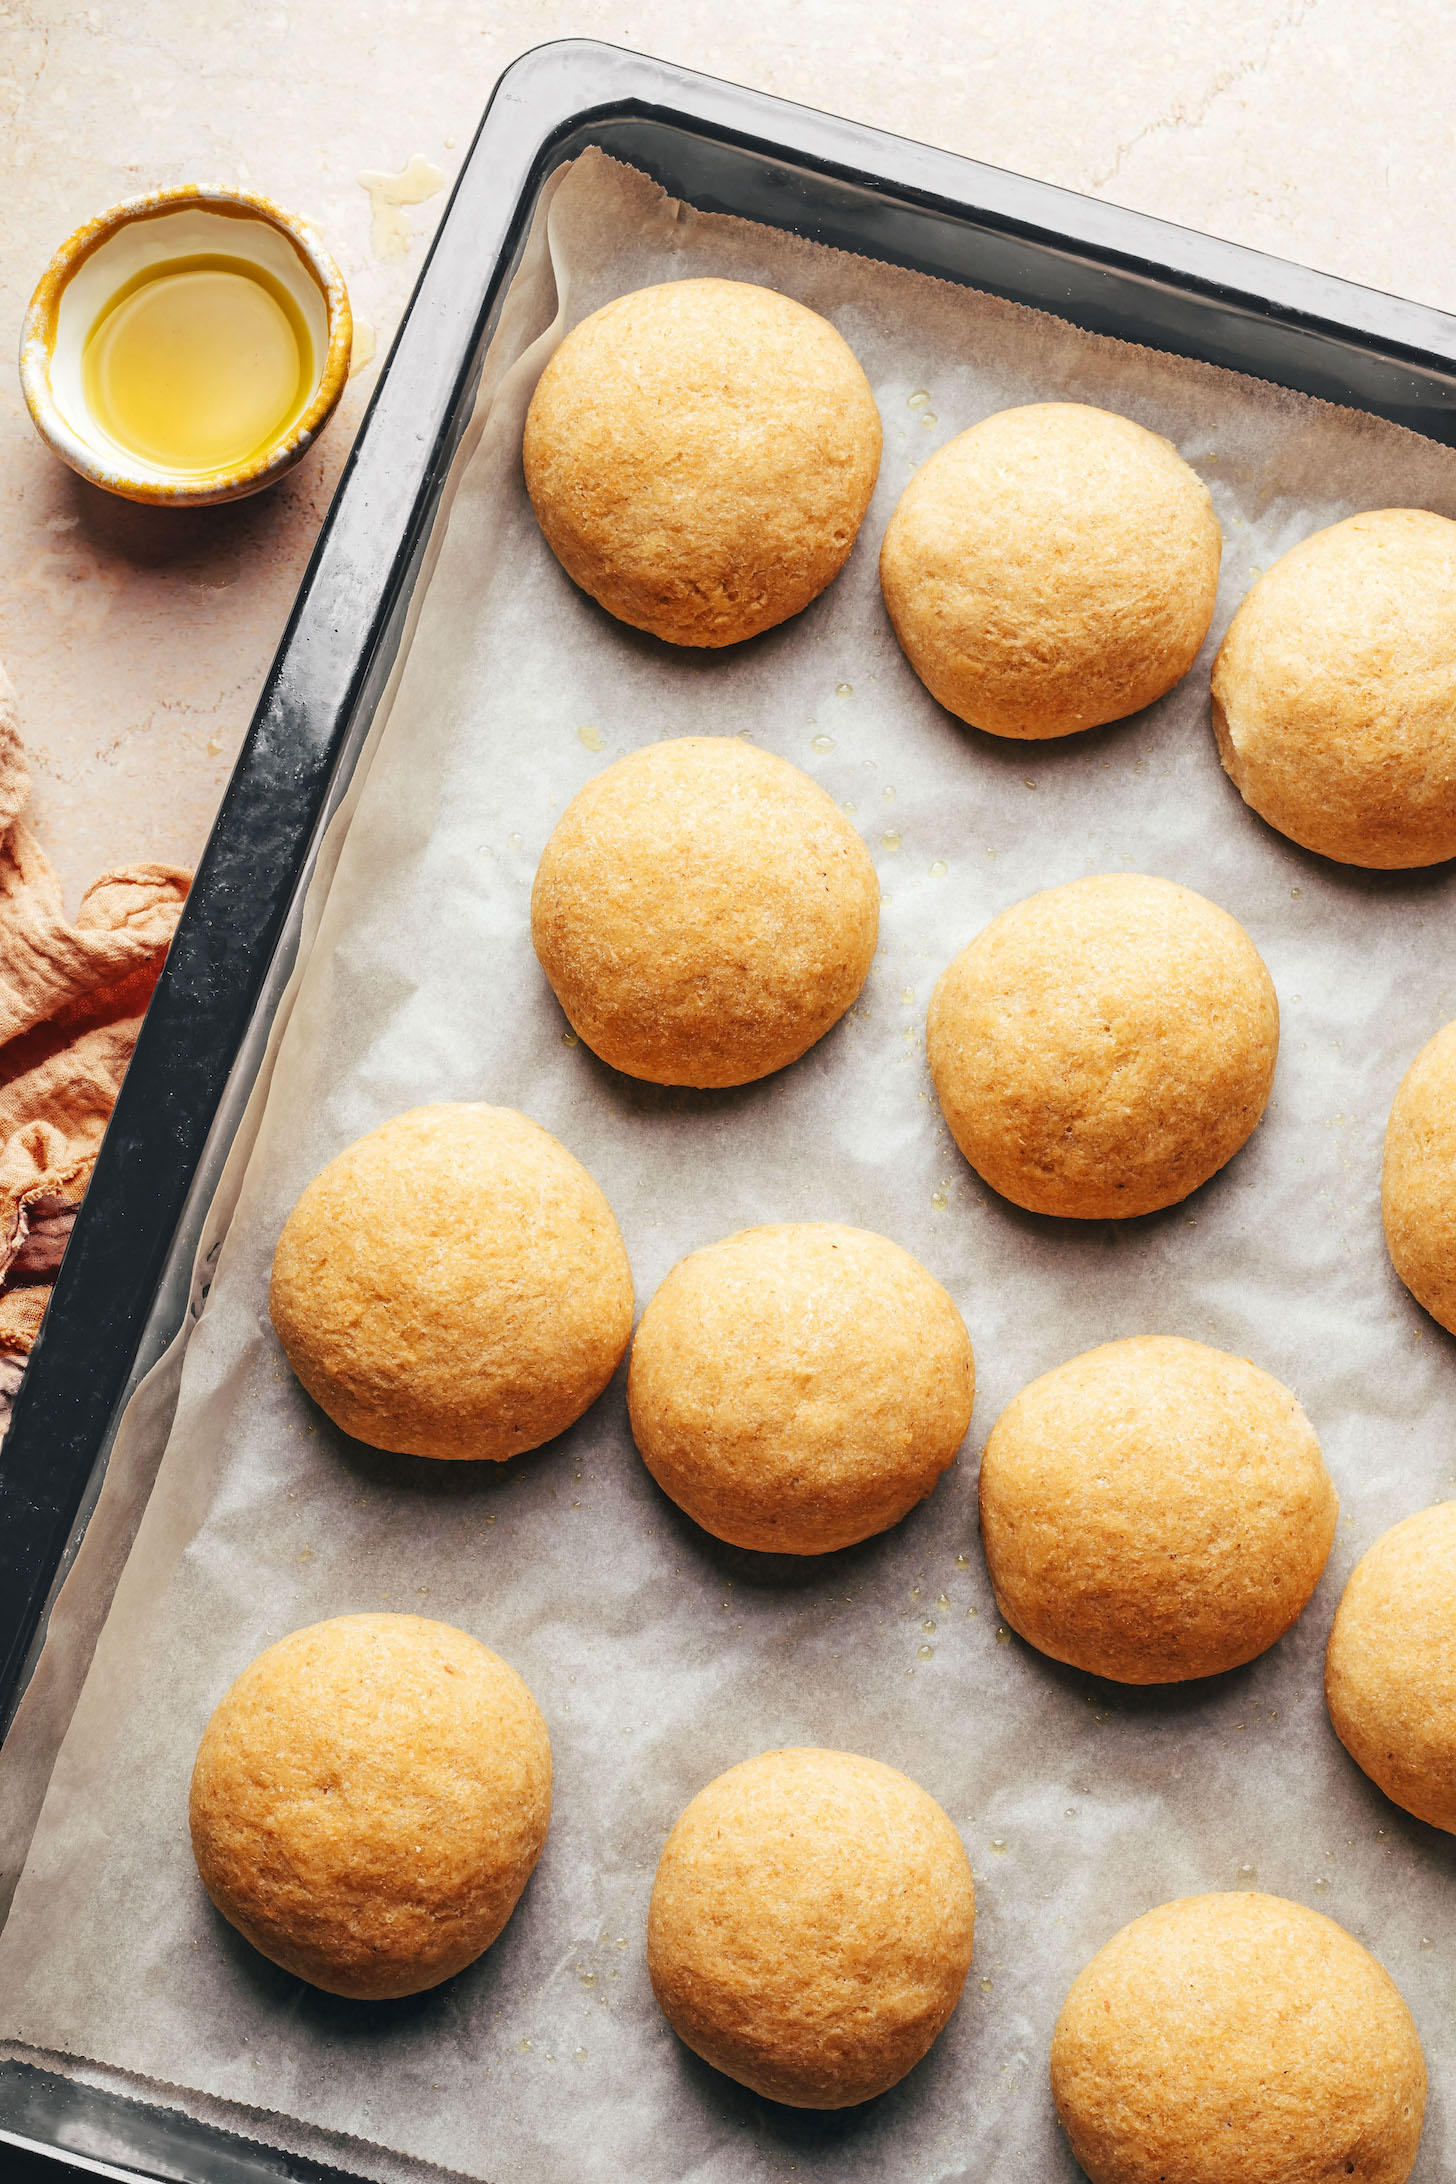
Once baked, the rolls cool for just a few minutes before they’re ready to enjoy! Slather them with (vegan) butter or dunk them into soup. YUM.
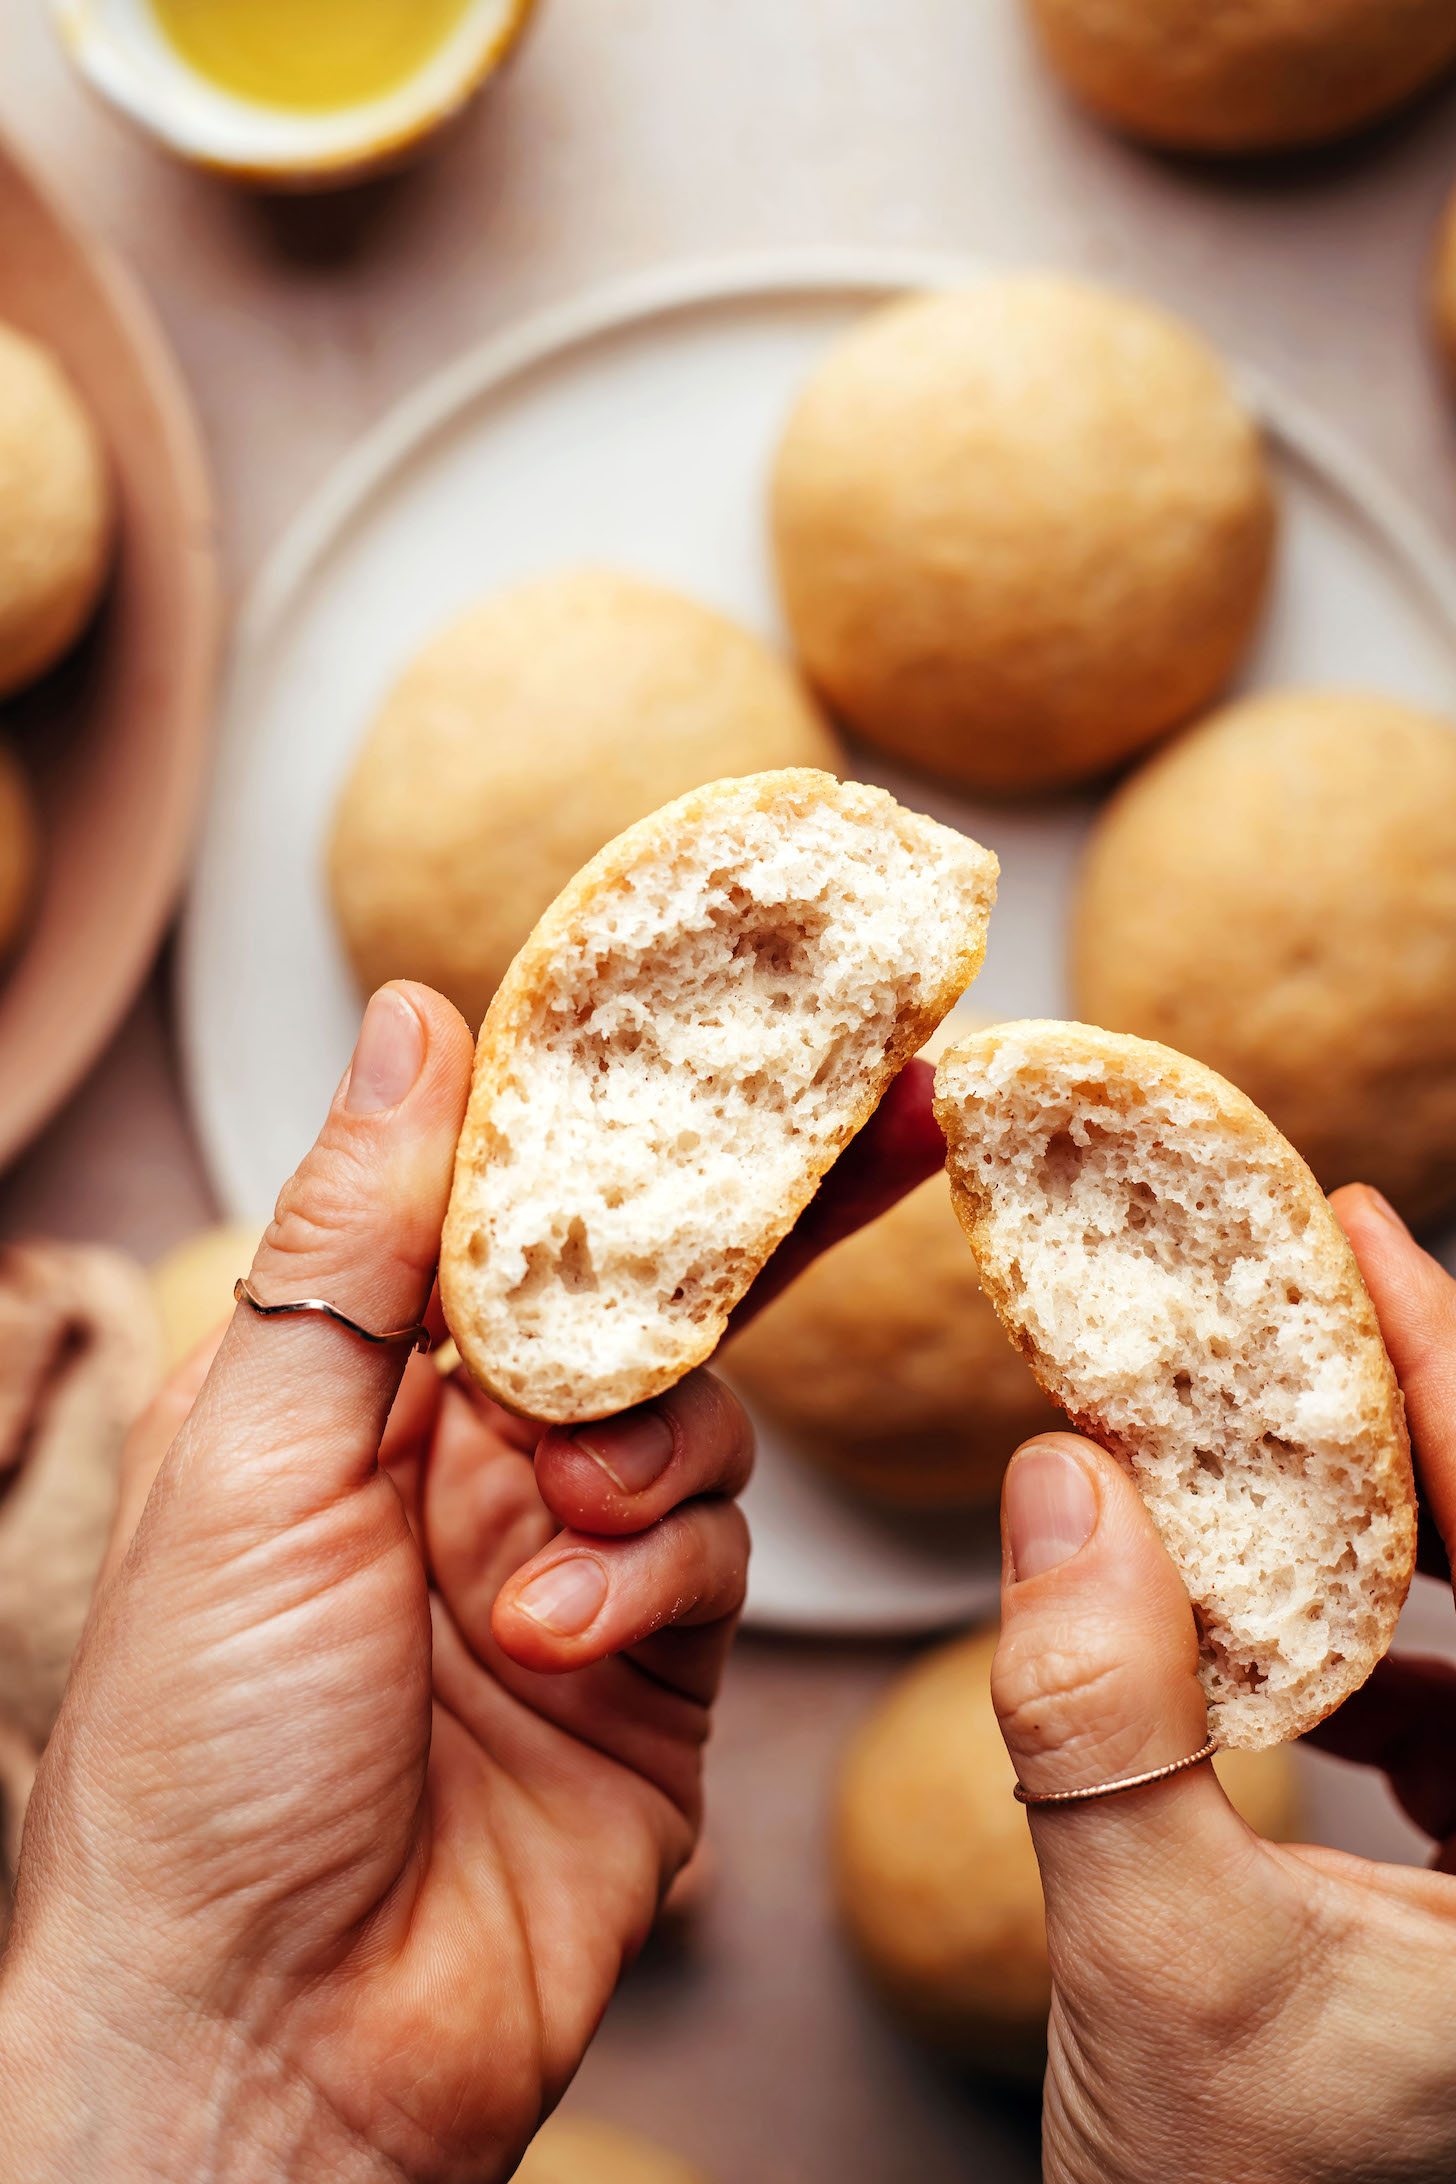
We hope you LOVE these gluten-free dinner rolls! They’re:
Chewy
Wholesome
Crusty on the outside
Tender on the inside
Perfect for the holiday table
& UNDETECTABLY gluten-free!
Pair these rolls with sweet toppings like Orange Thyme Jam or 1-Pot Apple Butter (Date-Sweetened!) or savory dishes like Creamy Tuscan White Bean & Kale Soup (1 Pot!) or Lentil Mushroom Stew.
Your Next Gluten-Free Baking Adventure?
- The BEST Gluten-Free Bread (No-Knead!)
- The Ultimate Gluten-Free Bagels (Vegan)
- One Bowl Gluten Free Banana Bread
- Fluffy Gluten-Free Focaccia Bread
If you try this recipe, let us know! Leave a comment, rate it, and don’t forget to tag a photo @minimalistbaker on Instagram. Cheers, friends!
Artisan Gluten-Free Dinner Rolls
Ingredients
- 1 Tbsp cane sugar (or maple syrup)
- 2 cups warm water
- 1 packet active dry yeast (we used Red Star // 1 packet yields ~2 ¼ tsp or 7 g)
- 1 cup brown rice flour (plus more for flouring pan)
- 1 cup sorghum flour*
- 1 cup potato starch
- 1 tsp baking powder
- 4 Tbsp psyllium husk (whole, not powder)
- 1 ½ tsp salt
- 2 Tbsp olive oil
FOR GLAZING
- 1 Tbsp olive oil (or sub melted vegan butter)
Instructions
- In a glass measuring cup or mixing bowl, whisk together the warm water (100-110 degrees F / 38-43 C) and sugar (or maple syrup) until the sugar is mostly dissolved. Whisk in the packet of yeast and let it bloom on the counter for 10 minutes until frothy. If it doesn’t foam, start over — your water may have been too hot or the packet of yeast was expired.
- Meanwhile, in a separate mixing bowl, combine the brown rice flour, sorghum flour, potato starch, baking powder, psyllium husk, and salt. Whisk well until thoroughly combined and any lumps of potato starch are broken up.
- Once the yeast has proofed, make a slight “well” in the middle of the flour mixture, add water/yeast mixture and the olive oil to the “well,” and use a wooden spoon to begin mixing immediately. The mixture will start out quite loose and liquidy, almost like pancake batter, but don’t worry! As the psyllium husk absorbs the water, it will thicken considerably.
- Once the mixture has thickened slightly and has no lumps (~1 minute), cover it with a thin kitchen towel and let rise at room temperature for 45 minutes. Once the dough has risen, preheat the oven to 400 F (204 C) and line a large baking sheet with parchment paper.
- Dust a clean work surface with a little brown rice flour. Turn the dough out onto the surface and make it into a rough “log,” then divide it into 12-14 equal pieces. Shape each piece into a neat ball and transfer to the baking tray.
- Brush each roll with olive oil or melted vegan butter and set aside to rise for another 10 mins. Bake the rolls on the middle shelf of the oven for 28-32 minutes, or until they are slightly golden and hollow-sounding when you tap the bottoms. Allow to cool on the pan for ~10 minutes. Enjoy these rolls while they’re still warm, with a bit of vegan butter, or cool completely and reheat in the oven when ready to serve.
- These rolls are best on the day they’re made. To keep the rolls fresh and soft, let cool fully then store at room temperature in an airtight container for 1 day. Then transfer to the refrigerator and reheat in the oven or microwave. Freeze for up to 1 month.
Video
Notes
*Nutrition information is a rough estimate calculated with olive oil.




Becky A Evertz says
Can these be made with gluten free flour blend? I’m trying to find an easy GF vegan dinner roll recipe for Thanksgiving.
Hi Becky, gluten-free breads are tricky and benefit from a specific blend of gluten-free flours vs. using a 1-1 blend, so unfortunately, we don’t have a great recommendation for that!
Jen Beddia says
HI! Just made the dough but had to unexpectedly run out so stuck it in the refrigerator. Will it still work or should I throw out and start over? If you think it will work how long should be in the fridge?
Hi Jen, It may be a little overproofed if you let it proof and then put it in the fridge for a long time, but otherwise it should still work! If you already let it proof on the countertop, then as little time in the fridge as possible would be best. But if you stuck it in the fridge before proofing, you can let it proof in the fridge up to 12-24 hours, then let rise while the oven preheats, and bake as directed. Hope that helps!
Paty Shaulis says
Hi there! I was wondering if you have some insight in what I am doing wrong. I have baked your crusty loaf and your burger buns very successfully but I have tried to make these twice with the same results. When I add the liquid my dough is not watery like you say. It is dry from the beginning. Of course, when baked, the rolls come out hard as rocks. I use the metric measurements and in my former life I was a chemist so I know how to measure. My yeast blooms beautifully and I’m using husks not powder for the psyllium. And I’ve made them twice with the same results so I am not doing some random thing wrong. Have you seen this before? I would love to be able to bake these properly! Thank you so much!
Hi Paty, we’re so sorry this one has been giving you trouble! We just double checked the metric measurements and mostly everything looks correct. The only thing we can think of is that the psyllium husk measurement could be slightly off and causing an issue since small variations in psyllium can make a big difference in texture. Our metric measurements document shows 1 Tbsp psyllium husk is 6 grams and another brand we looked up online says 1 Tbsp psyllium husk is 5 grams. When multiplying to 4 Tbsp, that would be 24 grams vs. 20 grams. We think it could be worth trying with 20 grams psyllium instead of 24 to see if that makes a difference. Hope that helps! We’d love to hear how it goes!
prashanthi atluri says
Soo good! These were so easy and delicious. You should make gluten free garlic knots too!
Ooo, great idea! We’re so glad you enjoyed this recipe! xo
Lori says
Is there a way to sub psyllium powder for the husks? I only have the powder and would LOVE to make these!!!! Thanks!
Hi Lori, using less could work! Maybe 3-3 1/2 tablespoons?
Lori says
exactly what I was thinking… Thanks😉
We’d love to hear how it goes! 😊
Maria says
Hello from Wimbledon, London in the UK! I was diagnosed with coeliac about 10 years ago and have yearned for wonderful fresh bread since. I have made these rolls five or six times since I found the recipe in November. I really do think these are the best-tasting/textured bread I have eaten since diagnosis. Yum! I haven’t managed to make the ‘true’ recipe as I haven’t had sorghum or potato starch to hand. Instead I subbed a mix of oat flour and more brown rice flour. Even with this, they are absolutely delicious. Like all gluten free bread/rolls, they get pretty hard after a day or so, but even after a few days either toasting the sliced rolls, or popping a roll into the microwave, restores oven-baked texture.
I love the MB website! It’s amazing and caters all things for my diet-diverse family. Thank you!
We’re so glad you have been enjoying them, Maria! Thanks so much for the support! xo
LJ says
Hello! I just wanted to say as someone who has been gluten free for over a year now Minimalist Baker has some of the best gluten free recipes on the internet and in her cookbook! I made these rolls for my family’s Thanksgiving and Christmas gatherings. I also enjoy making her Best Gluten Free Bread (No Knead!) recipe. I make this on biweekly basis to put in my lunches. Her recipes are super easy especially since I am a teen and don’t always want to make extravagant recipes.
This is amazing, LJ! We’re so glad you enjoy our gluten-free recipes. Thank you for sharing!
Tara says
My rolls came out a bit dark in color and I wondered what type of Sorghum Flour you recommend. I used Bob’s Red Mill Stone Ground but I also saw there is a sweet white Sorghum Flour. I used Yerba Prima Whole Psyllium Husk powder which also may have darkened the rolls? Would appreciate your advice. The color you achieve is gorgeous.
Hi Tara, that sorghum should be fine! It’s likely the brand of psyllium husk causing variation. The color can vary quite a bit depending on the brand! We used Organic India brand for this recipe. Hope that helps!
dee says
I can’t use psyllium husk. Is there a substitute for it?
thank you, Dee
Hi Dee, psyllium is pretty unique in its ability to mimic the texture of gluten! You could possibly sub a greater amount (~6 Tbsp) of flaxseed meal or ground chia, but the result will likely be different.
Suji Upasena says
Great recipe. I modified this by making it using my sourdough starter instead of commercial yeast. It worked great! Thank you :)
Amazing! Thank you for sharing your experience, Suji! xo
Kat says
Very good, love that they were soft and not gummy inside while not being burnt on the outside. Shaped some as burger buns and they turned out just as good. Will definitely make again!
We’re so glad you enjoy them, Kat! Thank you for sharing! And great idea to make them into buns :)
LJ says
Hello,
Is there a substitute for the potato starch? Also could I use avocado oil in place of olive oil?
Thanks!
You can definitely use avocado oil! It’s possible that corn starch could work. We haven’t tried it, though.
LJ says
Hello, I was wondering if there is a substitute for the potato starch? Thanks!
P.S. I have made so many of your vegan recipes they are amazing!
Hi LJ, so glad you have enjoyed some of our vegan recipes! These rolls work best with potato starch, which gives them structure and fluffiness, but it’s possible that corn starch could work. We haven’t tried it, though. Hope this helps!
Alice says
Hi, can I use white rice flour instead of brown rice flour in this recipe?
Hi Alice, white rice flour might make them a bit more gummy and possibly gritty. It could work though. Let us know if you try it!
Ashley says
I made these to use as hamburger buns. They’re really quick and easy to make. I used a pre-mixed gluten free flour without any problem. The dough is very wet and sticky so I recommend greasing your hands before you start shaping. I’ll definitely make them again.
Amazing! Thanks so much for the lovely review and for sharing your modifications, Ashley!
Alyssa says
Made these last night to go with some Butternut Squash soup, and they turned out! The dough didn’t rise as much as I anticipated and rolling them out into small buns was a challenge at first, but I figured out a rhythm halfway through. 28 minutes in the oven gave a perfect texture, but they were kind of bland so they were great with the soup. Might heat one up with some jam today, too. Overall great recipe!
Thanks for the review, Alyssa!
Valerie says
Thank you for this! Can I try this recipe with your gluten free bread mix?
Hi Valerie, do you mean our gluten-free flour blend?
Valerie says
yes! sorry!
Great! We haven’t tried it but unfortunately we don’t think it would work well in these rolls. You could try it but the results will probably be less fluffy, more gummy, and more dense.
Jill says
These rolls are great. The recipe is easy to follow. I did toggle to the metric measurements as I find I get better results when weighing flours. I made a few a bit bigger and used them as sandwich rolls.
Yay! Thanks so much for the wonderful review, Jill. Sandwich rolls are a great idea!
Emily says
I made these for Thanksgiving and followed the recipe exactly. I baked them for 28 minutes – they turned out perfect!! Everyone loved them – I’ll make this as often as possible.
Mayen says
I made these yesterday for thanksgiving and when I tell you they turned out perfect, my goodness do I mean it! These are fabulous! As someone who suffers from about 30 food allergies and intolerances, recipes like this with every ingredient being safe for me to consume are so rare. When I read the ingredients and realized I had most of it at home (just had to buy two things at the store), I knew I had to try it! I haven’t had a roll in almost 5 years! These will be made often! They are so delicious and easy to make. Crusty on the outside and very soft on the inside. Taste is wonderful especially with vegan butter! Waiting for the dough to rise and then bake is the hardest part! The smell that they gave my home as they baked was fabulous as well! Thank you for this recipe!
We love to hear this! Thanks so much for the wonderful review, Mayen. We’re so glad you enjoyed these!
Liana says
Can I use active Dry yeast in this recipe and not have to proof the yeast?
Liana C Percoco says
i mean the Instant Yeast!
Hi Liana! We haven’t tried it with instant yeast, but we think it should work!
C. Tracy says
I made the rolls and I am sorry, but they were really dry.
We’re so sorry that was your experience! Did you make any modifications? Other readers have really enjoyed these, so we wonder if something may have gone wrong?
Anna says
Unfortunately, I had a similar experience. I spooned my ingredients into the measuring cups and did my best to make sure they weren’t overly compacted. There was no “watery” stage and by the time it finished raising it just crumble. Part of it is just the “fun” of gluten free baking, but most of it is the inconsistency in ingredient weights when you’re dealing with cup measurements instead of grams (and even the difference in scales can make it a bit of a crapshoot). With something like potato starch, how I fill a measuring cup versus how someone else does and the cups themselves can be the difference between sucess and a rock. I ended up with the latter this time.
Hi Anna, sorry to hear that was your experience. Is it possible you were using super fine brown rice flour? It’s more absorbent, which can lead to drying.
Stephanie Pohlmann says
Hi! Can we use your flour blend for this? Or maybe you already had a recipe using that and I just didn’t see it? Thanks!!
Hi Stephanie, this recipe works best with the specific blend of flours listed. We haven’t had success yet with a dinner roll with the blend, but we’ll add it to our requests list!
Stephanie Pohlmann says
Ok thank you!!
Margaret says
Hello!
Can I make the dough the day before baking them? I would like to bake them on Thanksgiving, but was hoping to prep the dough the day before.
Thank you!
Hi Margaret, We haven’t tested making the dough ahead of time and can’t guarantee results, but we think you could prep it the night before! Instead of letting them fully rise we suggest making the dough and then placing it in the refrigerator overnight to slowly rise. Thanksgiving day you can shape them, let them rise on top of the oven while it’s preheating, and proceed with the recipe. Hope this helps!
Margaret says
That sounds like a great idea! Thank you so much!
Danielle Asp says
Could I use an oil substitute? I prefer to be oil free.
Hi Danielle, we haven’t tried these without oil but you could try coconut milk or coconut yogurt? A small amount of fat is helpful for the best taste and texture. Let us know how it goes!
Becca says
These are my new favorite thing.
I made the recipe to the instructions and got a delicious result. I will be making these as often as I can justify.
Thanks so much for the lovely review, Becca. We are so glad you enjoyed them! Next time, would you mind leaving a star rating with your review? It’s super helpful for us and other readers. Thanks so much! xo
Doreen says
How can I use sourdough starter for this receipt?
Hi Doreen, we haven’t tried this recipe using a sourdough starter and are not sure how it would go! Let us know if you try it though. xo
Dolly says
Hi Doreen,
I’ll be doing that, and I can share my method with you! I have a brown rice flour starter (just brown rice flour and water) so I plan on simply subbing out a portion of the water and brown rice flour called for with my starter. (For example, if your starter is 100% hydration, you can simply replace 100g of water and 100g of brown rice flour with 200g of active starter. Mine is 120%, so requires a little more math, but worth it.) This, in addition to increasing the rise time, usually works well for me! I typically whisk the psyllium into the water, leave it a few minutes to gel, mix the starter into that, then add into dry mix.
Cheers, Dolly <3
lana says
These are absolutely delicious!!!
We’re so glad you enjoy them! Thank you for the lovely review! xo
SD says
Could I use this recipe and make a loaf bread?
Hm, possibly if you cooked longer! Let us know if you try it!
Mari says
Just made these, perfect dinner roll! These will become a staple at our house. Thank you!
Aw, yay! We’re so glad to hear it, Mari! Thank you for the lovely review! xo
A.M. says
I love your recipes and can’t wait to try this simple and delicious-sounding recipe! Thanks for sharing it. I was wondering if I can leave out the baking powder and if so, would I need to make any adjustments like add more yeast?
Hi, we haven’t tested it that way, but it might work! Let us know if you try it!
Sonia says
I decided to make this recipe but only had psyllium husk powder- I guessed two tablespoons would be about right because I have a bit of experience baking with it, and they worked perfectly and look just like the pictures! I saw a lot of questions in the comments so figured I’d post here.
Yay! Thanks so much for sharing your experience, Sonia! xo
Nana says
Just ordered your GF flour blend, could I use that for this recipe?
We’re so glad! This recipe does rely on the specific amounts of flours listed instead of a GF flour blend.
Ewa says
Hi. Can I substitute psyllium husk with flaxseed? If yes, is it the same ratio? Thank you.
Hi Ewa, flax isn’t as absorbent as psyllium, so you’d likely need to use much more of it (maybe ~6 Tbsp total). However, we haven’t tested with flaxseed meal and can’t guarantee it will turn out the same. Let us know if you give it a try!
SHall says
Prepping to make this but only have psyllium husk powder. Is there an measurement adjustment for using the powder vs the husk?
Hi there, we haven’t tried this with powder ourselves but we think 2 Tbsp powder would be worth trying. Let us know how it goes!
Magda van der Zande says
Can you please explain what’s the difference is between using whole psyllium versus the powder? I haven’t been able to find the whole ones so far.
Thanks!
Hi Magda, psyllium husk powder is just the ground version of whole psyllium husk, usually you need more of the whole psyllium, so you could try using 2 Tbsp powder in this recipe. We haven’t tried it ourselves though, so no promises!
Jana Shows says
I only have powdered psyllium husk. Would I just use less? Anyone else tried it with powder?
Thanks,
Jana
Hi Jana, we haven’t tried this recipe with powder but we think using 2 Tbsp (instead of 4 for whole) would be worth trying. Let us know how it goes!
Amanda says
Hello!
These look so delicious.
I’m on a low glycemic index diet, so would it work with substitutes for the rice flour & potato starch?
Thanks so much, love the blog :)
Amanda
Hi Amanda, unfortunately the combination of flours in this recipe is what really makes the rolls fluffy and reliable! We haven’t tried any substitutions. It’s possible that sorghum flour could work in place of brown rice, but potato starch is pretty essential.