Peanut butter is one of my favorite foods. In fact, I think I ate it so much growing up that my body started telling me to slow my consumption. There would be days in college that I’d put peanut butter in my oatmeal at breakfast, peanut butter in my smoothie at lunch, then have a peanut butter and jelly wrap at dinner. Whoops. What can I say! I love this creamy, salty nut butter.
So why then, I ask, not make it into a healthy, 3-ingredient mousse so I can put it on everything? That’s what I want to know!
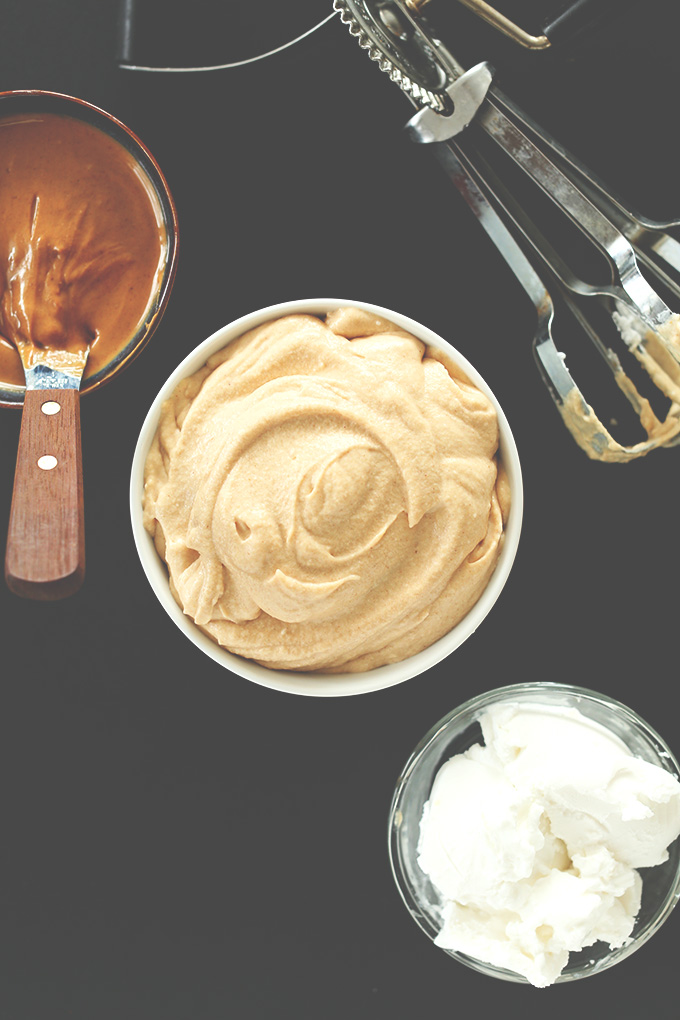
The basis of this recipe is simple:
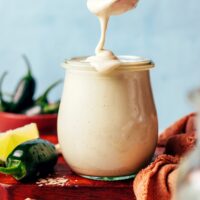
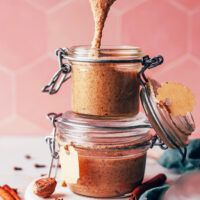
Coconut whipped cream + peanut butter + sweetener of choice
I went for agave nectar, but you could also use maple syrup, powdered sugar, or stevia for a lighter option.

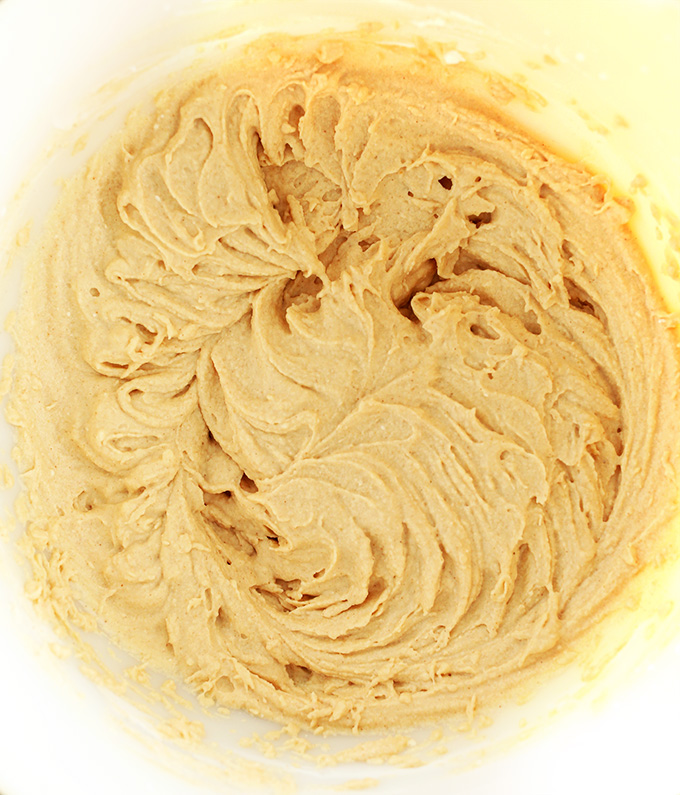
Whip, whip, whip. Then bring on the peanut butter!
This delicious spread doubles as both a stand-alone dessert – peanut butter mousse – as well as a healthier peanut butter frosting. I would put this on brownies, muffins or cupcakes and go to town. Another option? Protein-boosted fruit dip! Put this on a banana and experience instant bliss. Go wild and put it on everything (including drinking chocolate for the win – yeah I said it).
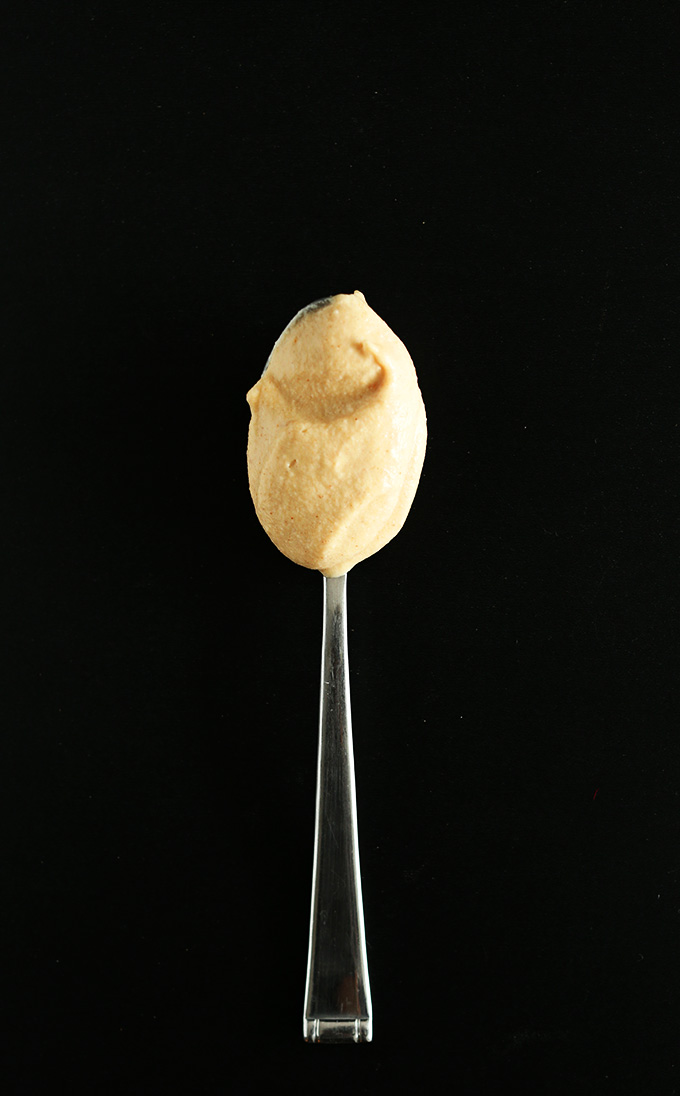
Dig in!
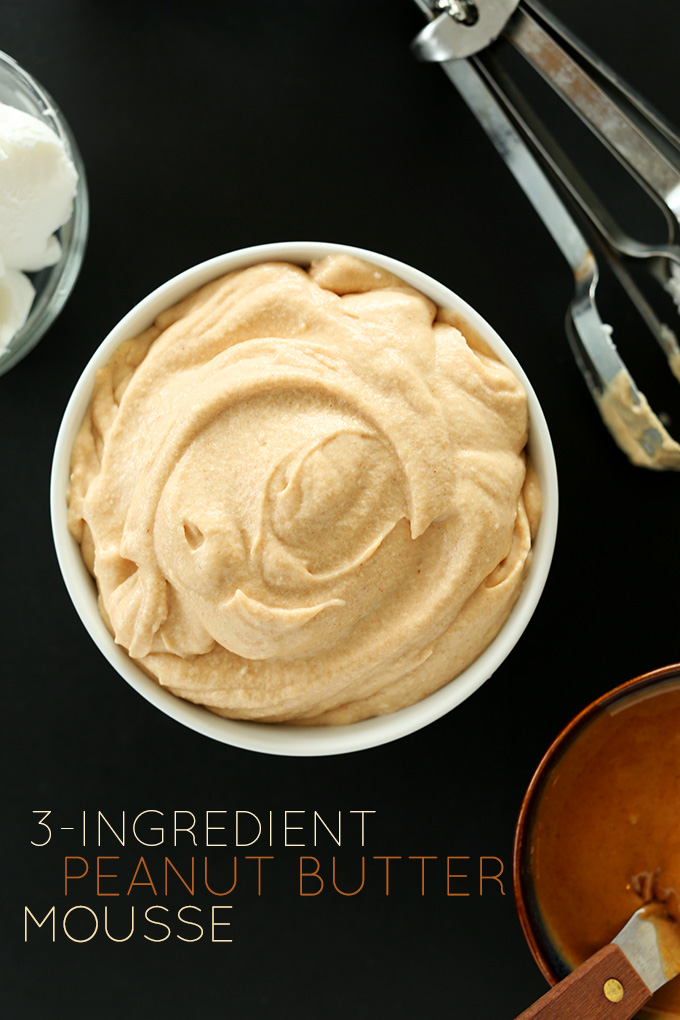
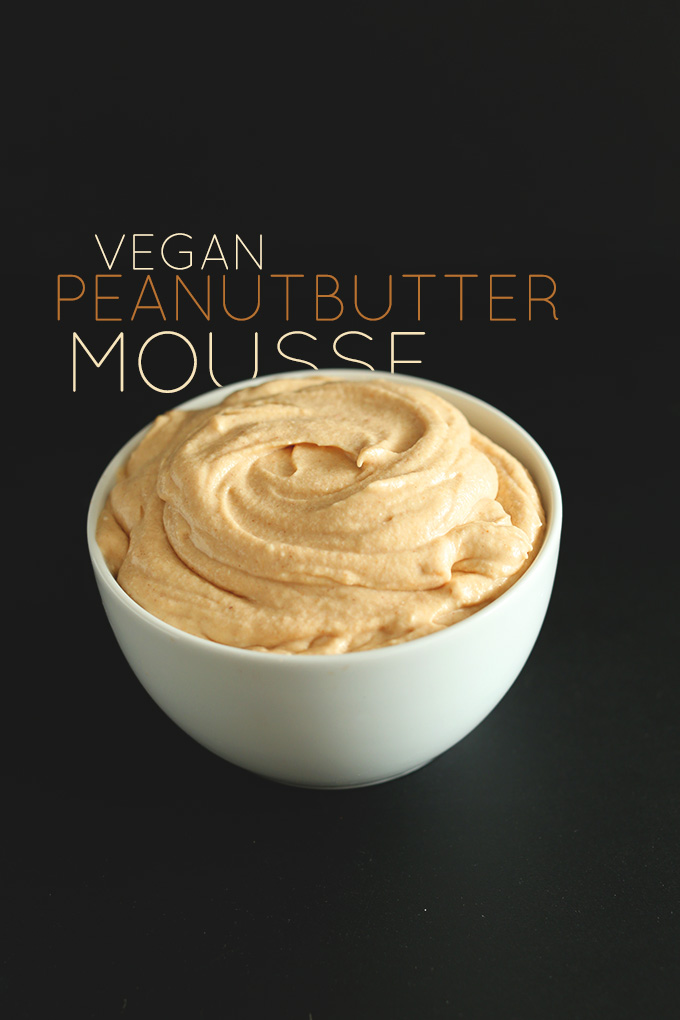
3-Ingredient Peanut Butter Mousse
Ingredients
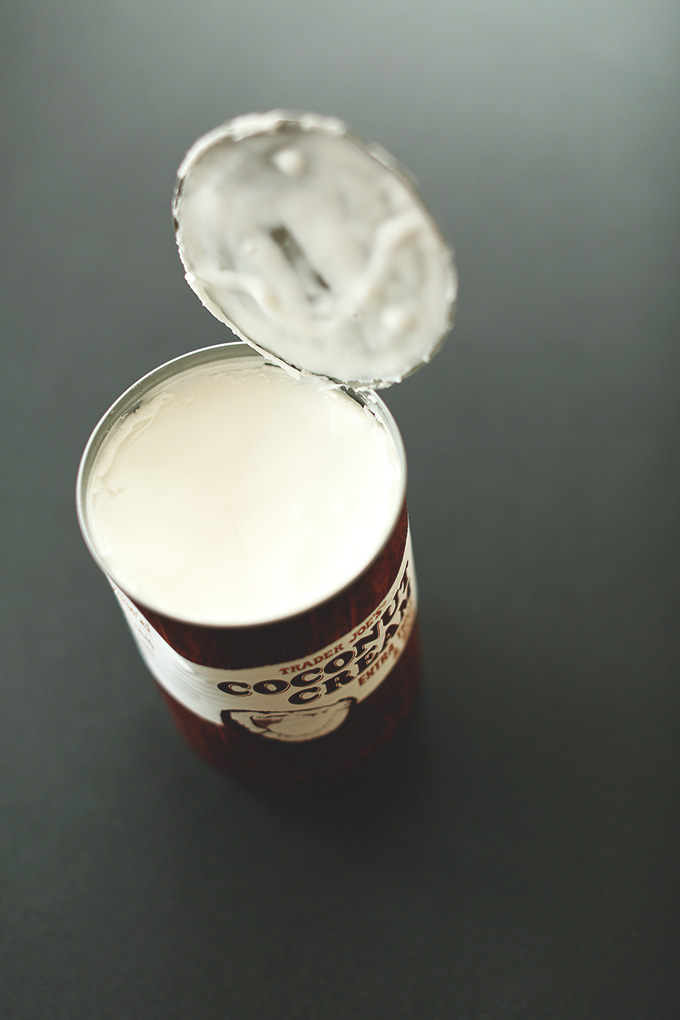
- 1 (14-oz) can full-fat coconut milk* (or coconut cream – see notes)
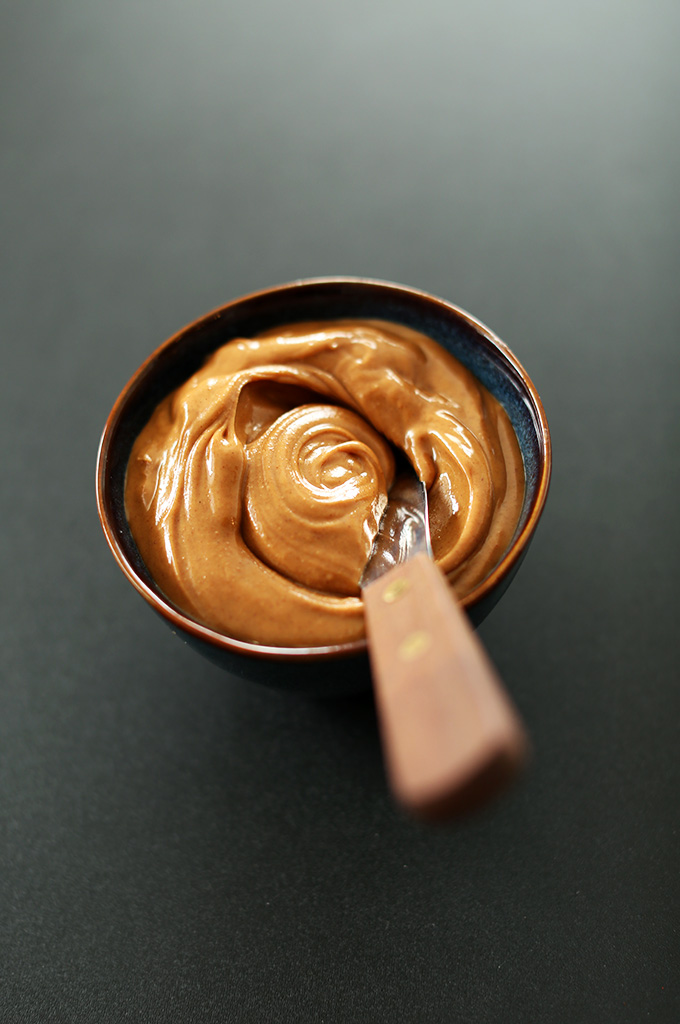
- 2-4 Tbsp salted, natural creamy peanut butter
- 2-3 Tbsp agave nectar, maple syrup, or powdered sugar (or honey if not vegan)
Instructions
- Chill your coconut milk overnight. In the morning, without shaking or tipping, remove the lid and scoop out the solid cream from the top into a chilled bowl. Leave the liquid in the bottom of the can and reserve it for use in smoothies, baked goods, etc. (If your coconut milk didn’t harden, see this post for tips on how to save it.)
- Using a mixer, beat until creamed together, light and fluffy – about 45 seconds.
- Add peanut butter, starting with lower end of range (2 Tbsp as original recipe is written) and adding from there to desired taste.
- Add sweetener of choice to desired sweetness, observing that the more liquid you add the less firm the mousse will be.
- Either use immediately as a spreadable frosting, or chill for several hours to let it set and firm up as a mousse.
- Eat as a mousse topped with plain coconut whipped cream, bananas or chocolate sauce. Alternatively, use as a dip for fruit/baked goods. If using as a frosting, don’t frost your muffins, cookies and cakes, etc., until just before serving as it needs to be chilled right up until serving.
- Reserve leftovers in a covered container in the fridge. Will keep for up to 1 week.
Video
Notes
*NOTE: Not all coconut milk is equal. The brands I know and recommend are Thai Kitchen, Trader Joe’s (coconut cream, canned – pictured above & no longer available), and Whole Foods 365. Other brands of coconut milk have different sourcing/processing that results in a different fat make-ups, which can (and often does) affect the consistency of this mousse. See this review for more options.
*Nutrition information is a rough estimate.
*Prep time does not include chilling coconut milk overnight.


Jess says
I would add a note about possible separation. I just made this recipe and when I added the peanut butter to my coconut cream, it curdled. I put it back in the fridge but this did not help. I had to make buttercream instead. I would definitely make a note that coconut cream might separate like this. It could be that I added too much peanut butter or it was the oil content in it – not sure.
So sorry to hear that, Jess. It might be the temperature difference that caused it to separate. We will definitely look into it!
Simcha says
Do you know if this recipe will work by putting all the ingredients into a whipped cream canister (like iSi or eurkitchen etc)?
We’re not sure, sorry! Let us know if you try it!
Ann says
I failed to read the full directions and threw everything, including one full can of TJ coconut cream into my mixing bowl. It turned out kind of gritty with the powdered sugar and definitely not like frosting. I put in refrigerator to see if if gets thicker. Disappointed with it so far but looks like it was my fault.
Jess says
This happened to me also and I mixed the cream with the vanilla first, then added peanut butter. It started to separate. Then I added powdered sugar to see if it would make it come back together, but it just separated more.
AnnieMorris says
Can I freeze left over coconut cream or milk..n how long can I freeze the milk/cream n use it again
Hi Annie, you can definitely freeze leftover coconut milk/cream, but we wouldn’t recommend making mousse from it after freezing as the texture may be impacted. We like freezing leftover coconut milk/cream in an ice cube tray to use in smoothies, lattes, soups, and more. It will keep for several months. Hope that helps!
Serena says
it came out perfect and so delicious! I topped with melted chocolate and crushed peanuts and will let set in the fridge for later 😄
Yay! We’re so glad you enjoy the pudding, Serena. Thank you for the lovely review! xo
Holly says
Yummy – so delish! I had to use powdered peanut butter and it was still so good.
We’re so glad it was a success! Thank you for sharing, Holly! xo
Todd says
Yummy! I put mine into small shallow glass bowls then into the freezer for about 60 mins…comes firmer then mousse yet softer then frozen solid…Can easily eat with a spoon; alot like eating gelato😋. Amazing!! Even dusted it with a little cacao powder too! Cuz everything taste better with some chocolate…LOL! Love so many of your recipes too!!
YUM! That sounds amazing. Thank you for your kind words and lovely review, Todd!
NIKOLA says
How long cupcake with this kind of frosting can stay outside fridge?
Hi Nikola, this one would need to be enjoyed right away as it would start melting fairly quickly. If you’re looking for one that can stay out for a little longer, we’d suggest this recipe. Hope that helps!
Beth says
So good and easy!! I added sugar free chocolate chips too. 😋
Ooo yum! Thank you for sharing, Beth!
Dolly says
Would it be over the top to cover the Pretzel Peanut Butter Chocolate Pie with this? I’ll report back…
I don’t think so! Let us know how it goes!
Dolly says
Holy cow. So good! I layered this on top of your Pretzel Peanut Butter Pie (chose not to add any sweetener in the chocolate pie since I used maple syrup in this mousse and coconut sugar in the pretzel crust). I also am a big nut butter fan so I really enjoyed this combo and would highly recommend :)
We’re so glad you enjoyed it, Dolly! Thanks so much for sharing!
Stephanie says
So easy and so good! I used the Thai Kitchen coconut milk from the 6 pack boxes at Costco and it worked great. I don’t have a hand mixer but do have an immersion blender with a single whisk attachment and it totally worked! Used maple syrup and added a few turns of Himalayan salt and it was perfect. Awesome and easy! Thank you!
Yay! Thanks for sharing, Stephanie! xo
Kelly says
If using coconut cream, in a pinch could I just whip it at room temperature? (About to try)
We don’t think that would work. But let us know how it goes!
Chandni says
This came out really well. I made double the recipe (1 full can coconut cream) to frost a 2 layer chocolate cake (the minimalistbaker simple vegan cake). I added more peanut butter, but that’s because I wanted a stronger flavor. Keeps well in the fridge
Thanks so much for sharing! xo
Irene Nicola says
I just took it out to taste test. Delicious. However, I advise to leave it out of the fridge maybe 10 minutes or so before serving as it was almost too firm. I followed the recipe to the tee and it is soooo yummy.
Thanks for the feedback, Irene!
Irene Nicola says
Any one else have a time blending the coconut milk? Out of the refrigerator, it was almost rock hard. Been waiting for it to come to room temperature so I can blend and be assured there are no lumps.
Hi Irene, it sounds like the brand you got may be the issue. We’d suggest checking out our review of different brands here: https://minimalistbaker.com/how-to-make-coconut-whipped-cream/
Sascha says
I accidentally ordered “creamed coconut” only to realize it’s the equivalent of basically coconut manna/coconut butter.
Would this still whip up if combined with the peanut butter?
Hi Sascha, unfortunately it wouldn’t work. But you could use it in this recipe instead. We’d suggest using 1/2 cup coconut butter and adjusting as needed.
kate says
I’m in heaven. Used this as a frosting for your ‘simple vegan chocolate cake,’ which will get its own review soon, and holy plant-based cow, it’s so good. So simple.. sweetened with powdered sugar, I found it light and perfect. Not too coconut-y, but didn’t skimp on the peanut butter, either. Definitely needed to make sure the coconut cream from Trader Joe’s I used was very chilled for it to work. The cake was even better after I let it refrigerate and set for a few hours. Pairs SO well with chocolate. Adding to my go-to book, thank you so much! xo
Whoop! We’re so glad you enjoyed it, Kate! Thanks so much for the lovely review! xo
Ryan says
Can you add cream cheese?
Hi Ryan, we haven’t tried that and aren’t sure how it would turn out, but if you give it a try, we would love to hear how it goes!
Liv T says
I had a leftover 1/2 can of coconut milk from a Thai noodle recipe, and was searching all over to find a SIMPLE recipe to use the rest of it up. Very easy to make (took like 2-3 mins), used a whisk to aerate since I had such a small amount of milk. Added cocoa powder. Very tasty, will definitely be making this recipe again and trying out different variations.
Anita Nessin says
Question:
Do you think this could be made with pumpkin puree replacing the peanut butter to make a pumpkin mousse?
Cristina Chuquillangui says
Is this enough to place in a graham cracker pie crust to make a pie, or do you think I should double up on the recipe?
We’d say probably double (or 1 1/2 batches). You may also like this recipe!
Mel says
I am hosting a shower for a friend who is gluten and dairy free, so I thought this would be a perfect dessert. For my trial run I made it for my family. I followed the directions for the mousse to the letter- only adding dark chocolate shavings and crushed peanuts to the top. I served it in small 1/2 cup parfait glasses. My family thought it tasted good, but felt it was more banana forward in taste. We also felt it did not have the consistency of a traditional mousse- it was more creamy like a yogurt and less ‘whipped’. All in all, it’s a great option if you are dairy free or if you just want a light dessert. Adding the chocolate and peanuts to the top will help boost the sweetness and peanut flavor, and the toppings also give it a restaurant-worthy presentation!
Deirdre Hill Brown says
I made this and OMG!!! It was SO good!!! Seriously good!! I had previously made a gluten-free press-in piecrust, baked and cooled it. Then, I made this Peanut Butter Mousse, but doubled the recipe and spooned it into the crust. I also used 1/2 Almond Butter and 1/2 Peanut Butter. It was SO delicious! I topped it with min-chocolate chips. Mmmmmmmmmmmmmmmmm
Thank you for such a wonderful recipe! :)
Yay! We are so glad you enjoyed it, Deirdre!
Erica PM says
pure genius
Rachel says
Hi! I have been frantically looking for a vegan frosting recipe for a cake I made on the fly that doesn’t require powdered sugar or vegan butter because of course I’m out. I do have 2 cans of coconut milk. However they aren’t kept in my fridge ??♀️ and I need to make this ASAP. How does putting a can in the freezer for a little bit do? I have no idea how long to keep in the freezer. I will from now on always keep these cans in the fridge. Otherwise I’m stoked about this.
You’ll want them to be as cold as you can get the in the time you have!