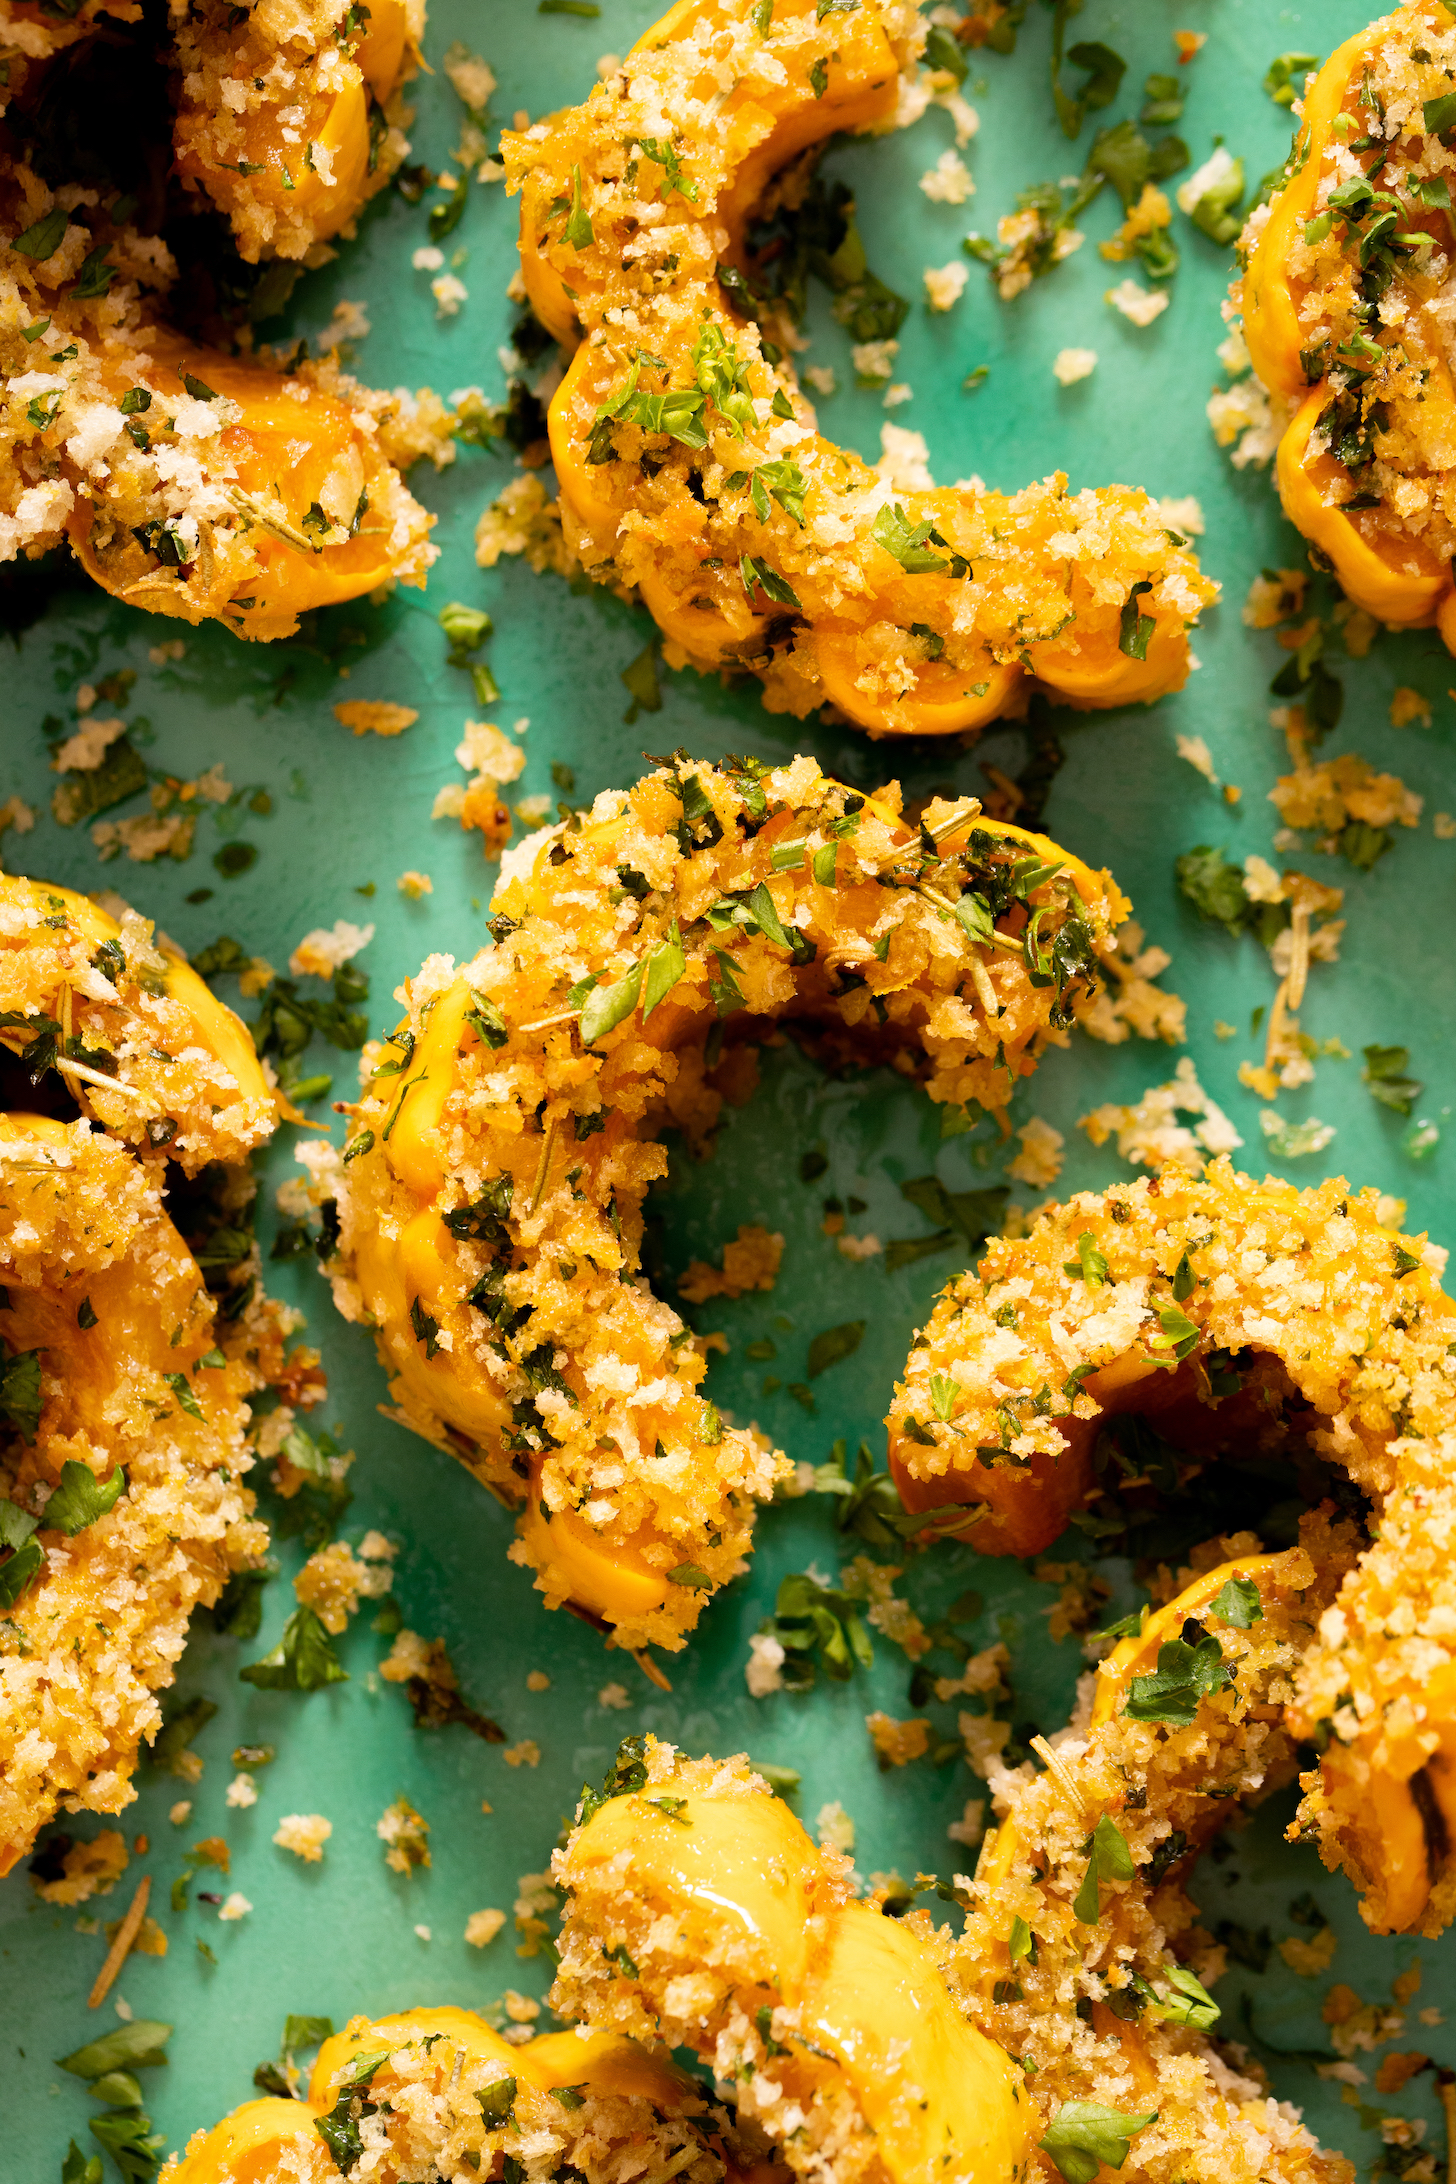
Say hello to your new favorite fall side! This roasted delicata squash has a savory, salty, garlic & herb breading that’s kind of irresistible. Let’s just say, there may or may not have been leftovers in the test kitchen…
Just 7 simple ingredients and 30 minutes required, making it perfect for everything from weeknights to busy holiday dinners (you’ll be able to SQUASH it in). Let’s get to it!
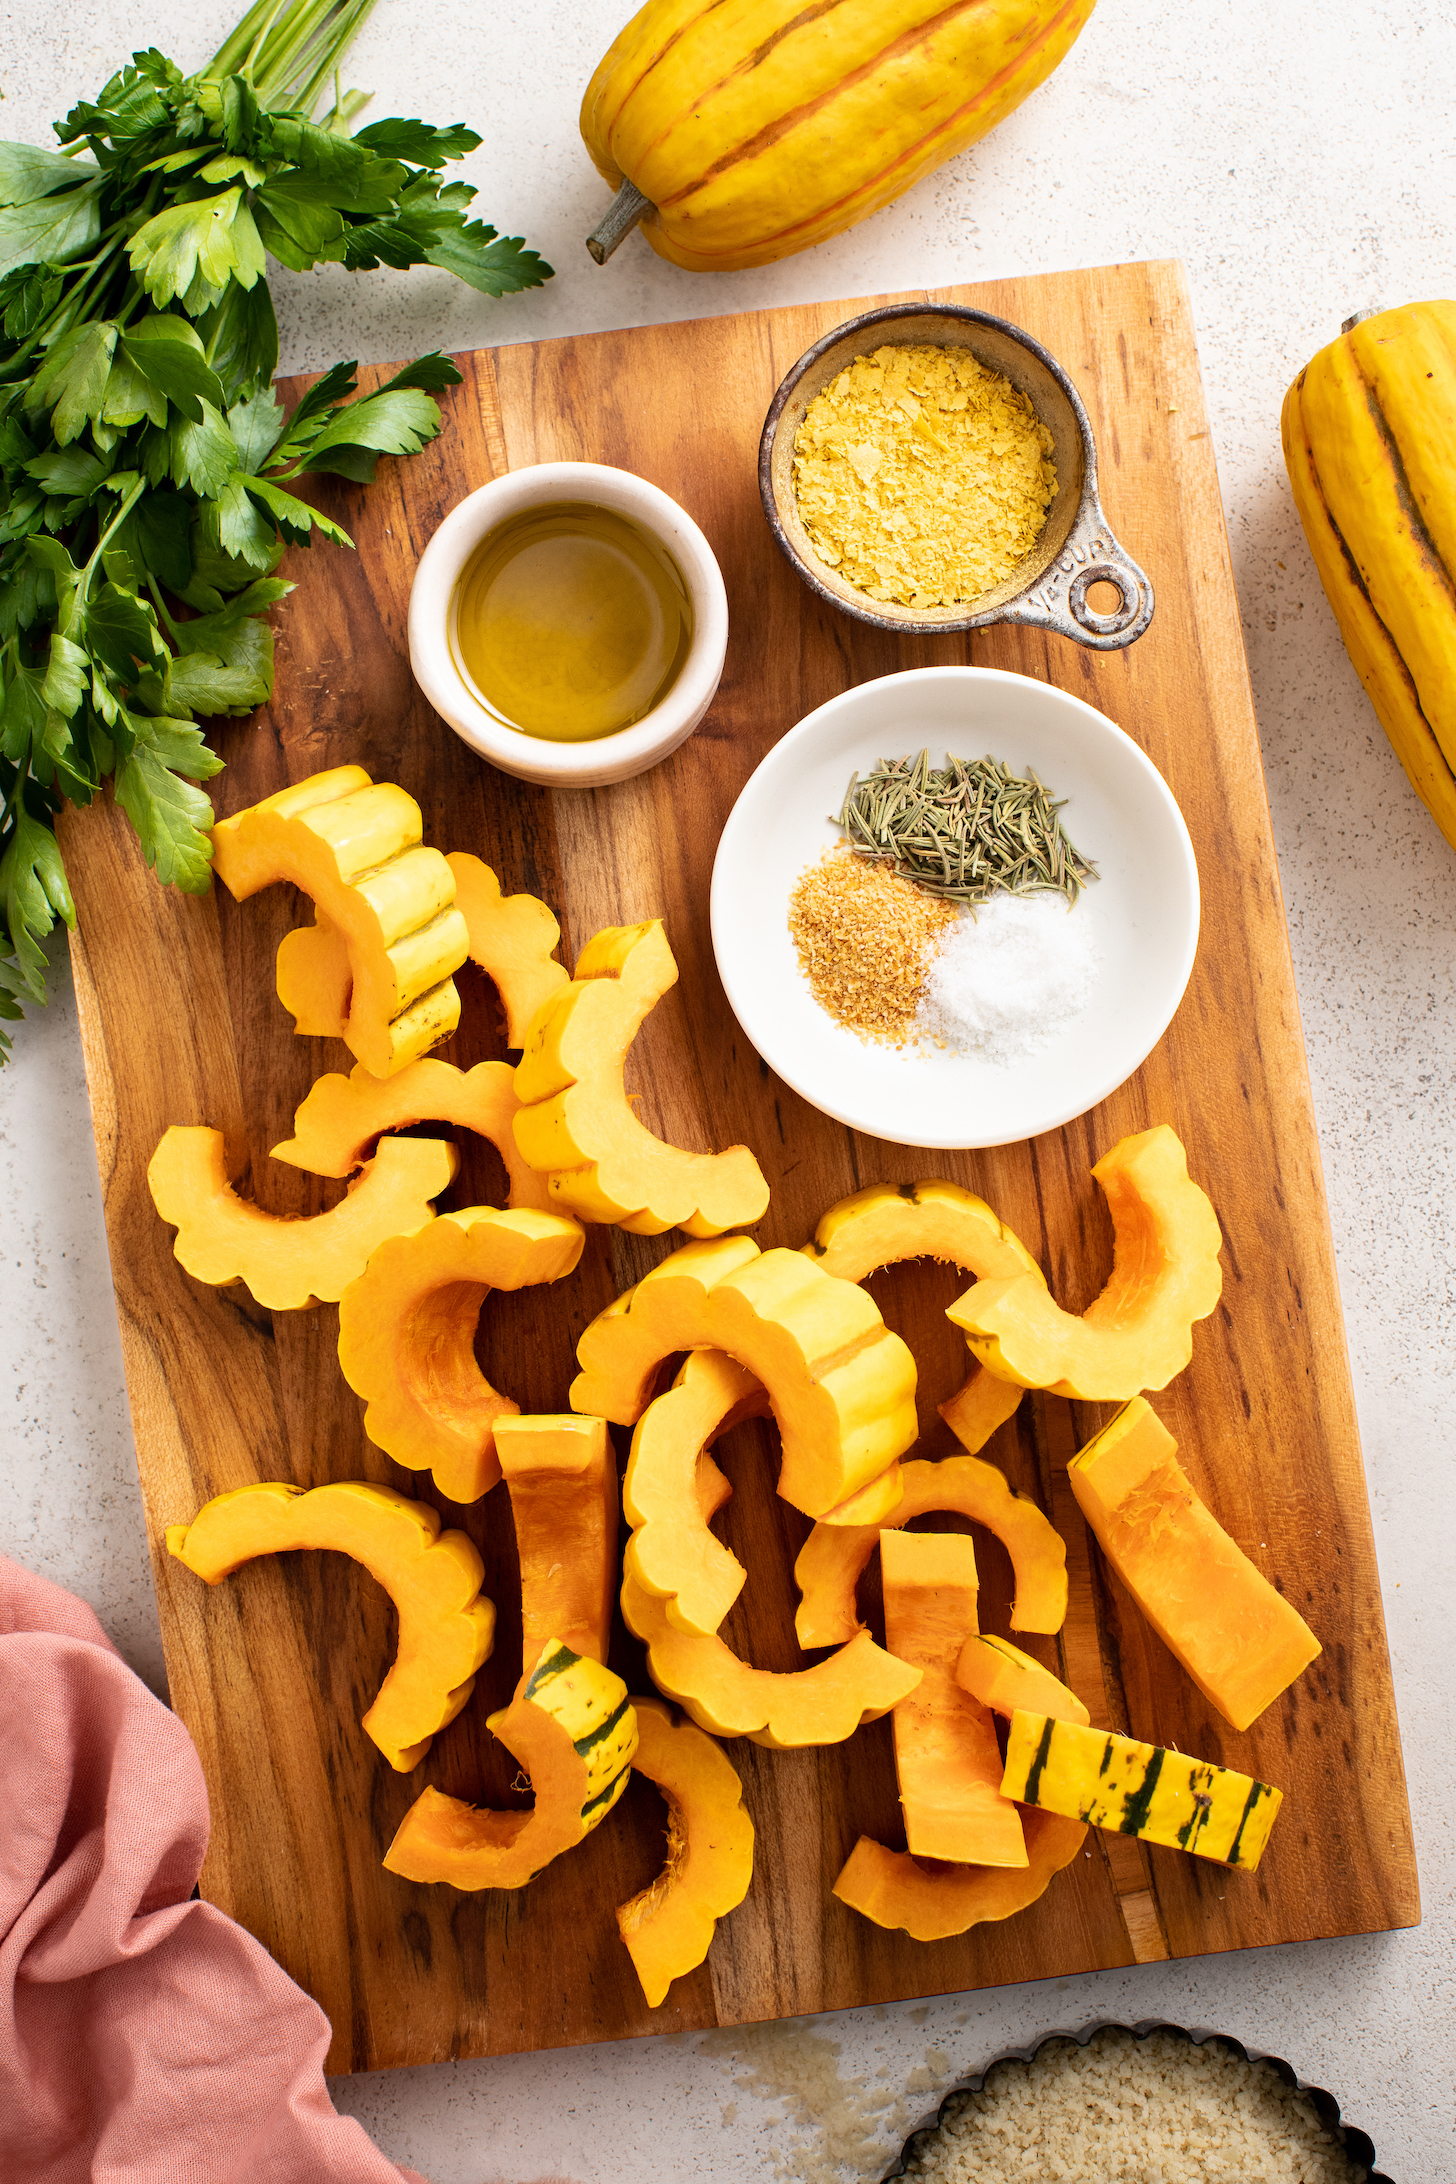
This EASY roasted delicata squash recipe starts with making the garlic & herb breading. Simply mix together panko breadcrumbs, nutritional yeast, rosemary, garlic powder, and sea salt. Adding fresh parsley is optional for a pretty pop of color!
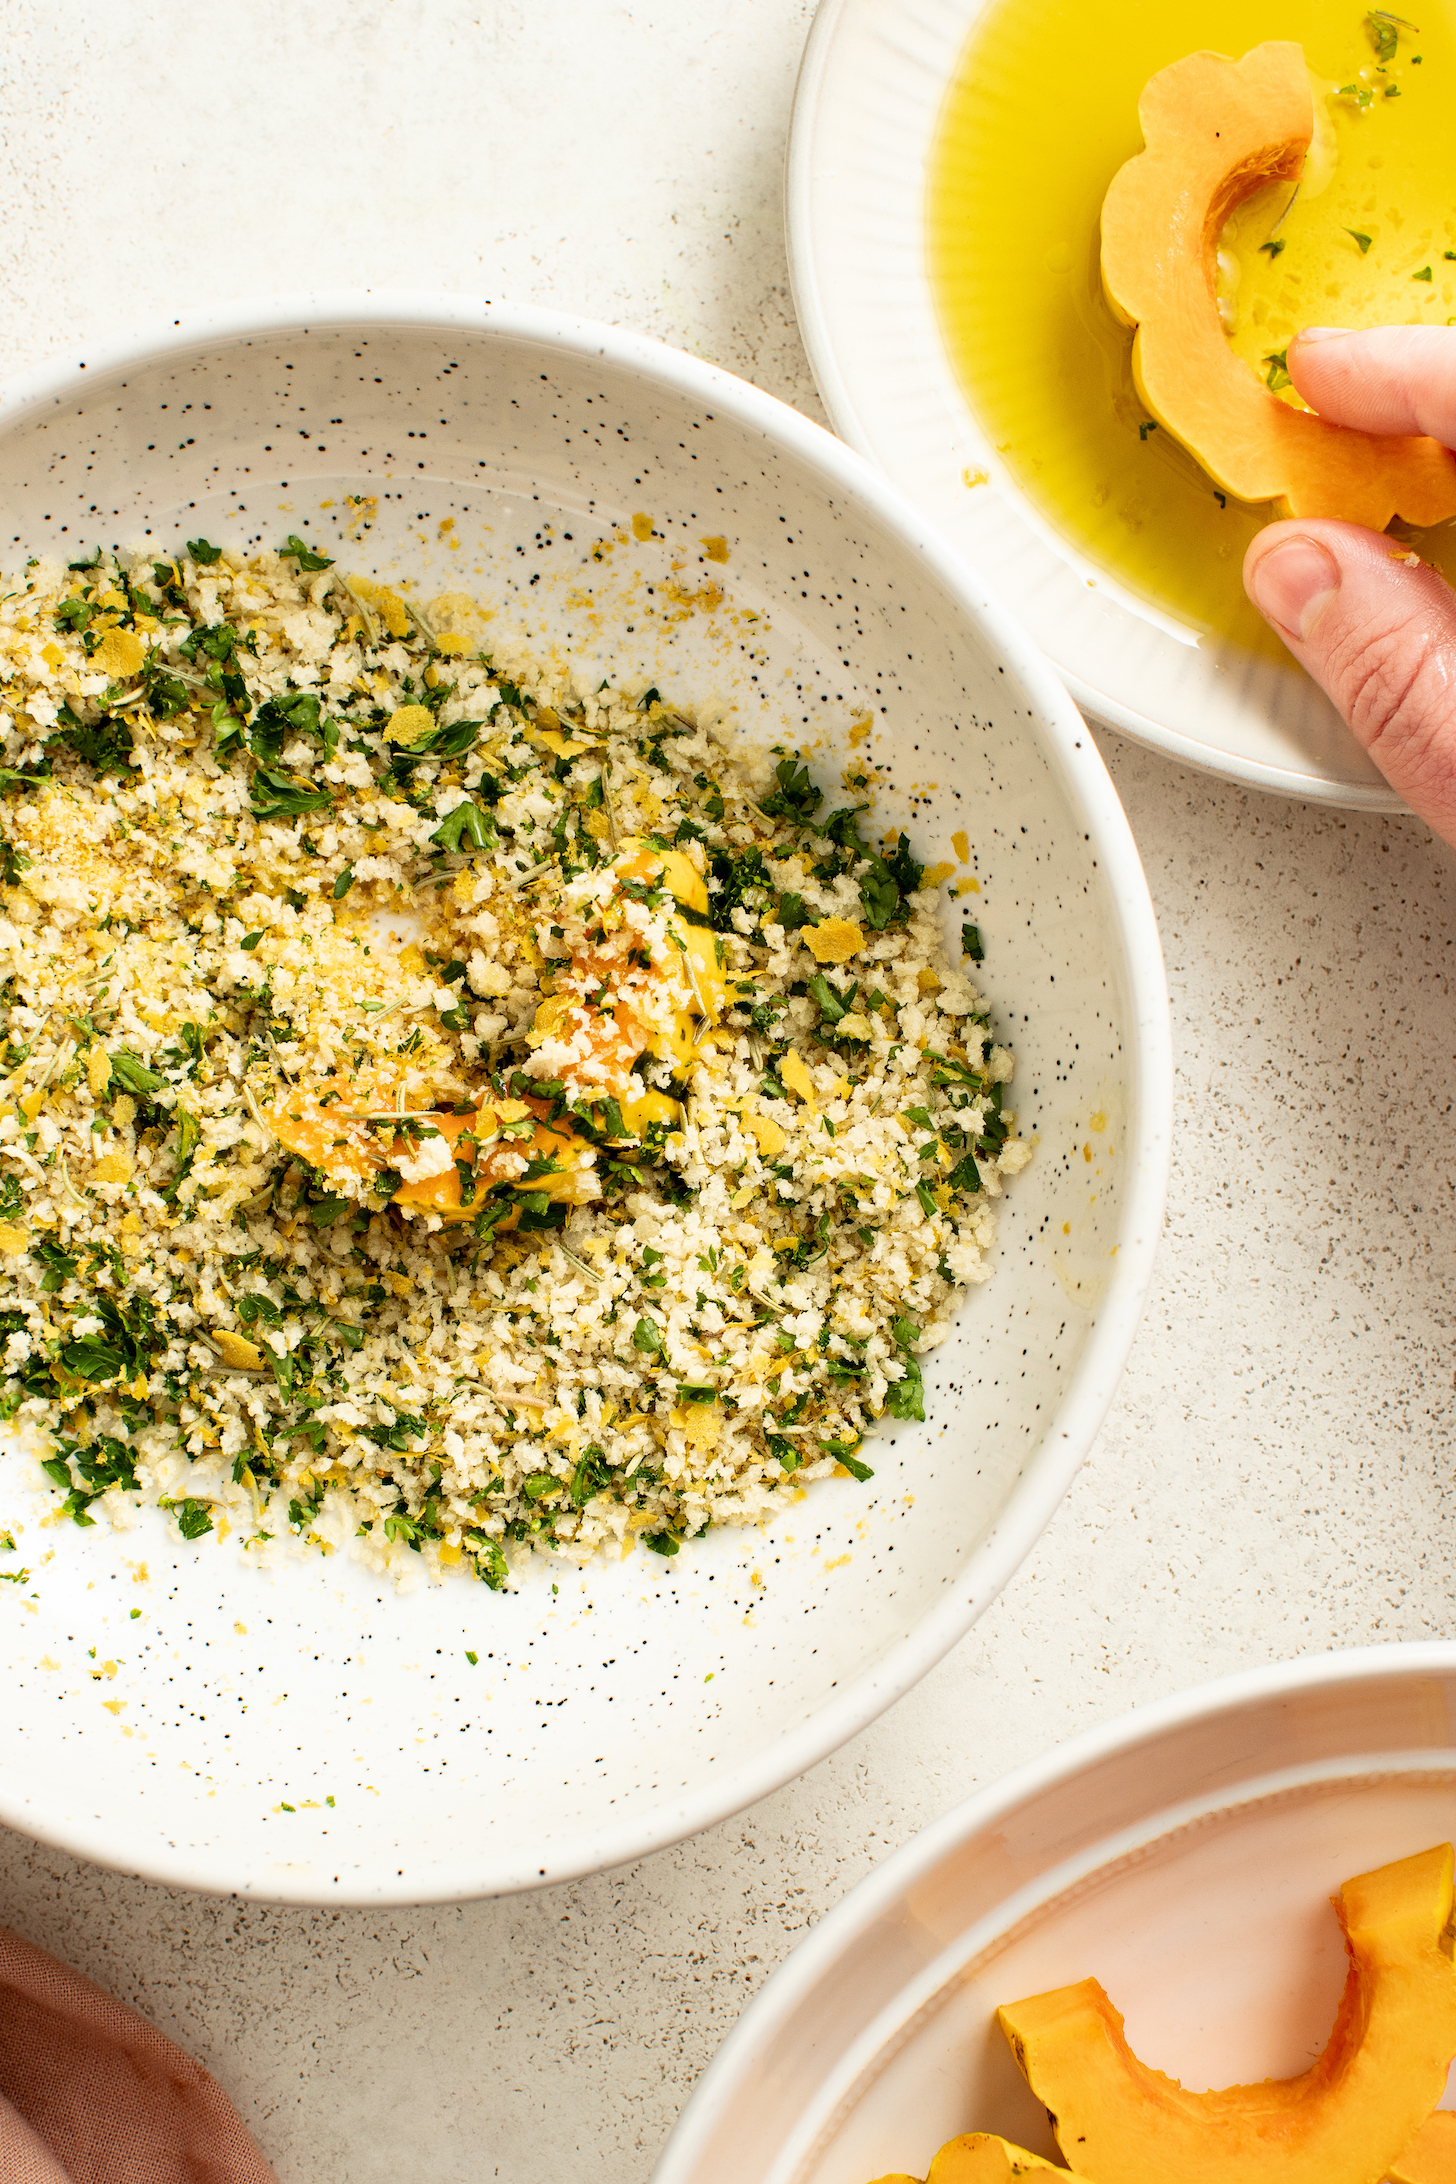
Then slice your squash into 1/2-inch pieces and dip each one into a bowl of olive oil, which will help the breading stick. Press the oiled squash into the breading mixture, coating it on all sides.
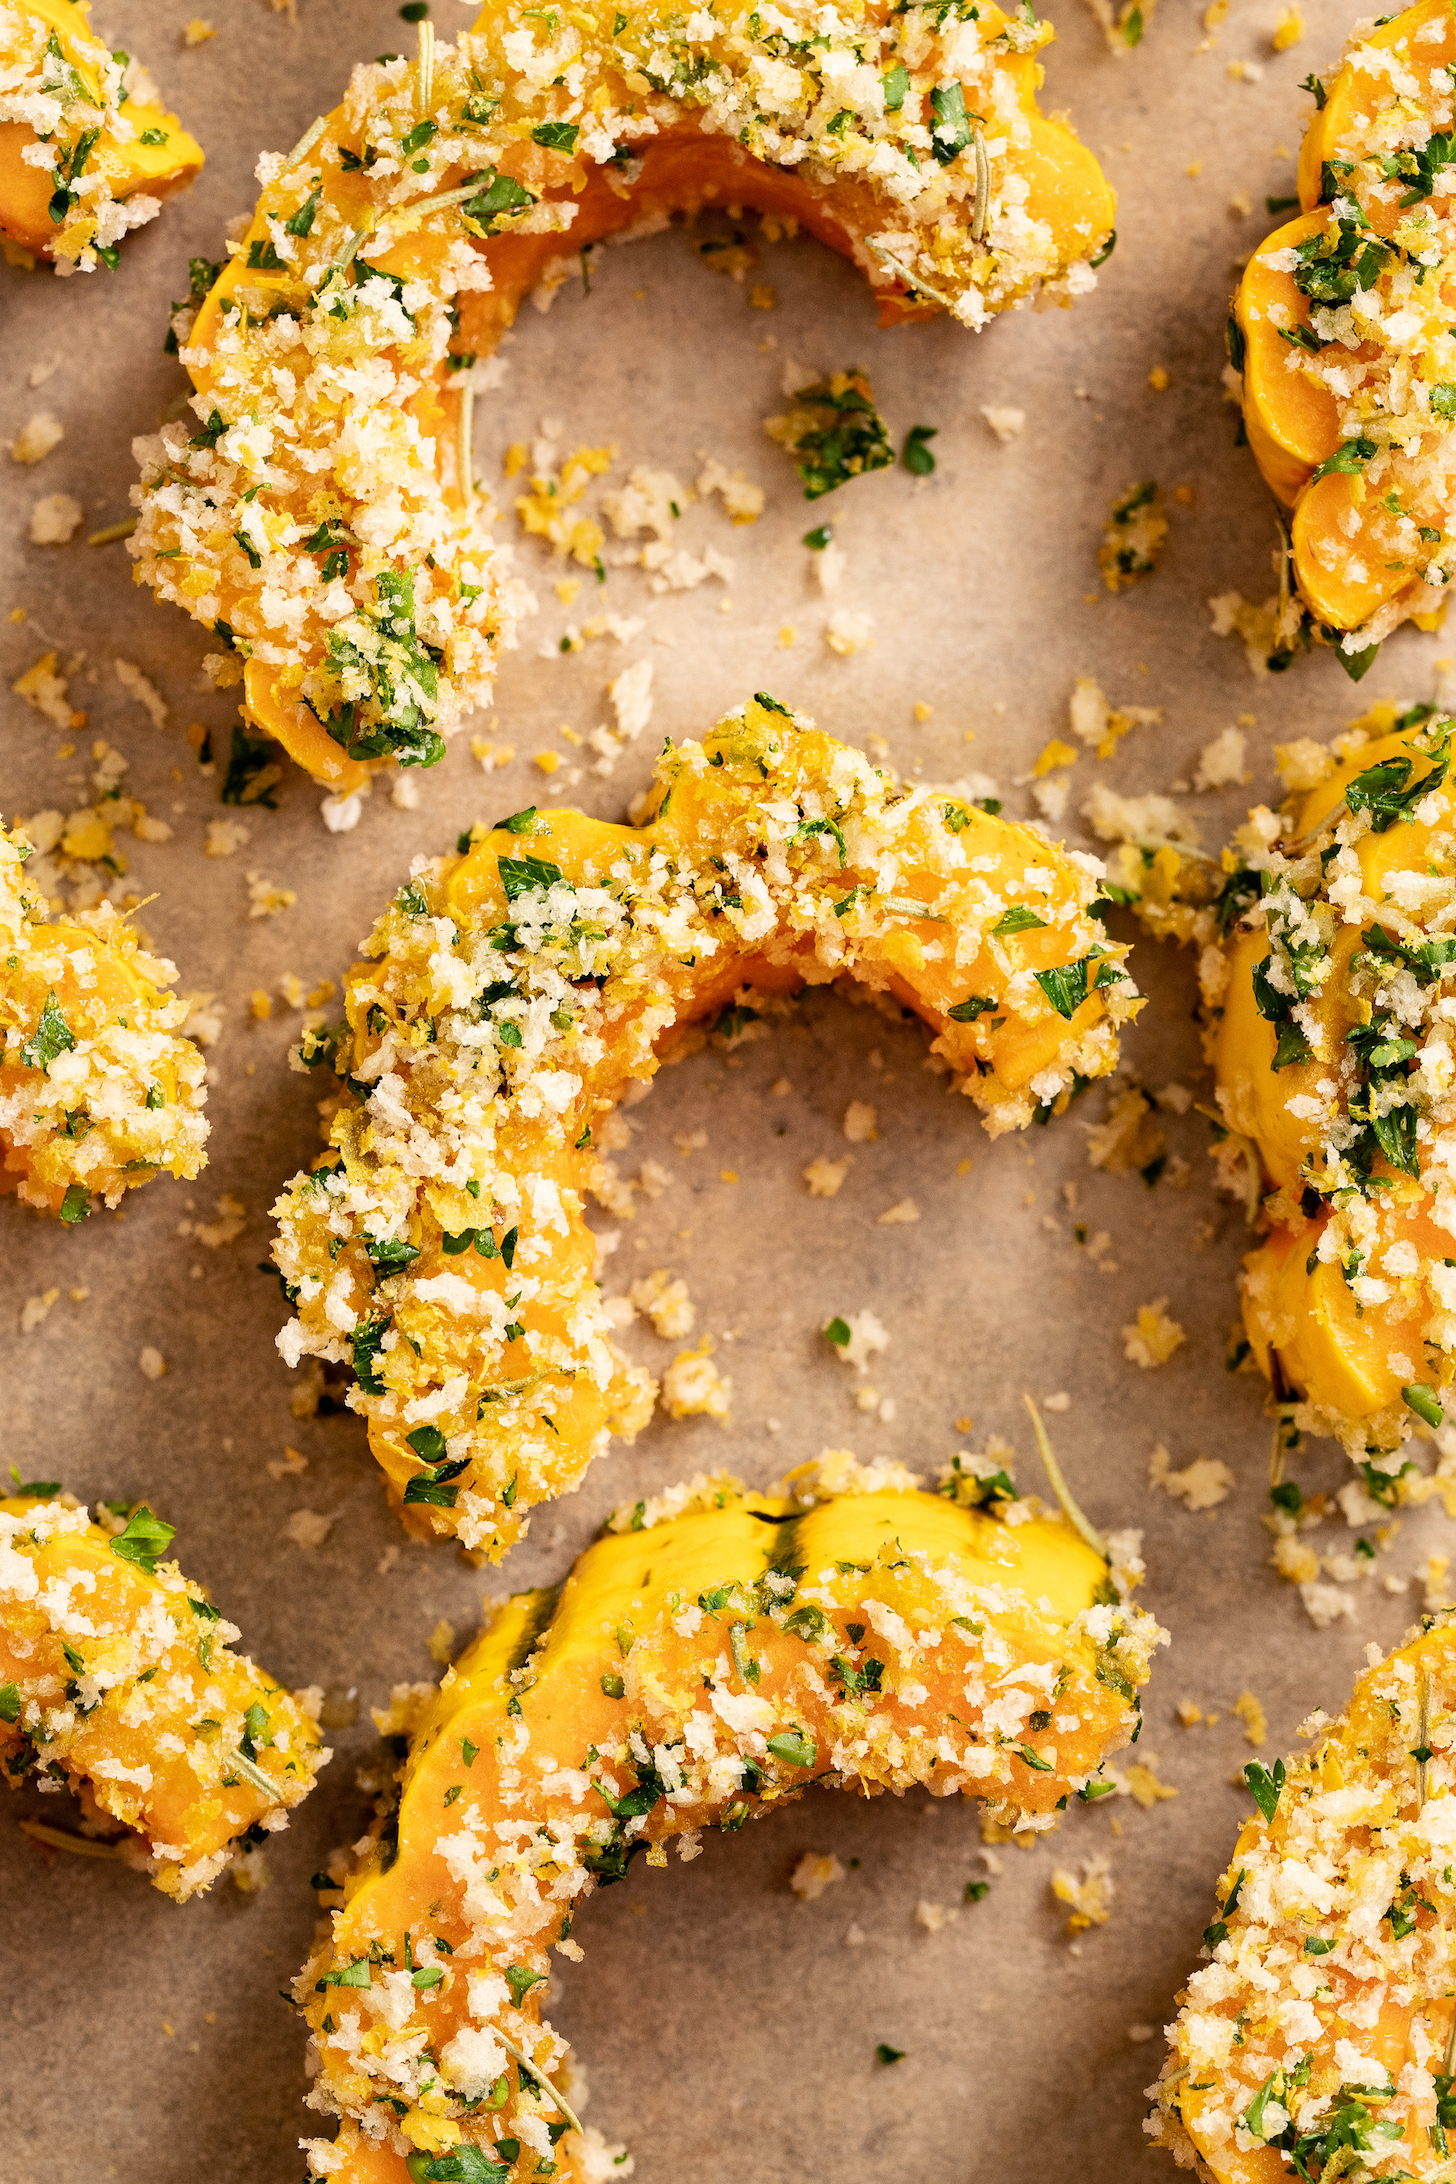
After a quick 15 minutes or so in the oven, the breading will be golden brown and the squash will be perfectly tender!
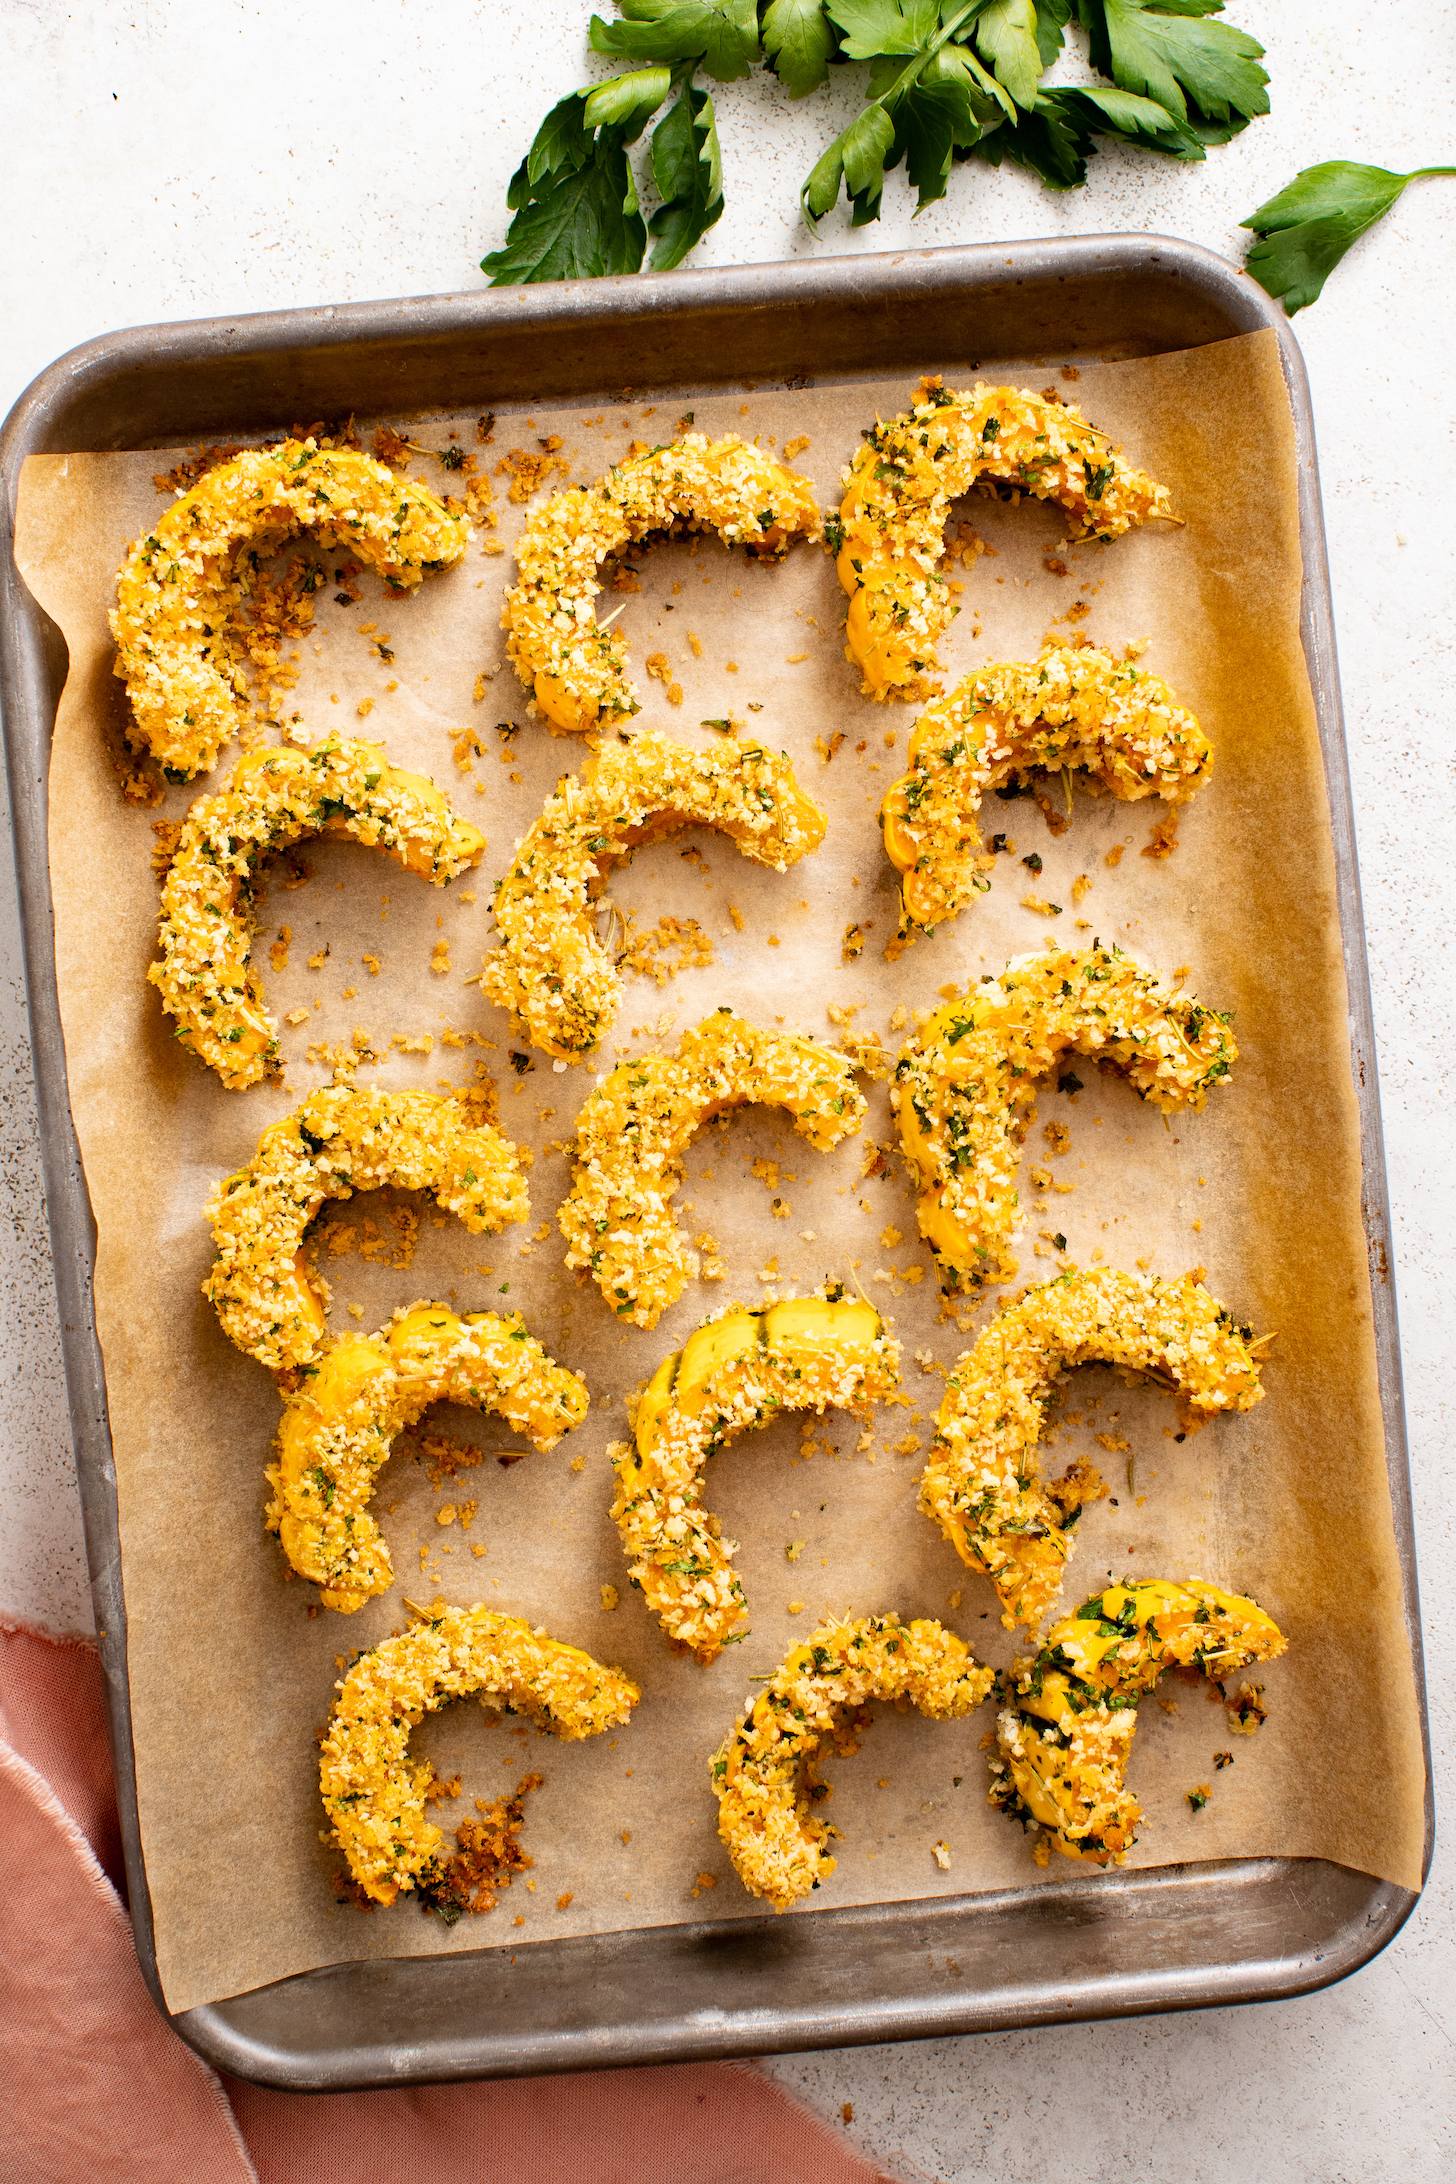
We can’t wait for you to try this roasted delicata squash! It’s:
Crispy
Tender
Herby
Garlicky
Lightly cheesy
Super flavorful
& SO irresistible!
This is the perfect quick side to accompany fall and winter dinners, to serve at holiday gatherings, or to enjoy whenever you’re lucky enough to snag some delicata squash!
Pairing ideas? Try our Simple But Perfect Vegetable Soup, Easy Vegan Sausage (Soy- & Gluten-Free), or Lemon & Herb Roasted Chicken Thighs.
More Winter Squash Sides
- Delicata Squash Bake with Tahini Sauce
- Roasted Squash Arugula Salad with Crispy Shallot and Balsamic Reduction
- Butternut Pecan Sweet Potato Mash
- Creamy Fall Soup in Acorn Squash Bowls
If you try this recipe, let us know! Leave a comment, rate it, and don’t forget to tag a photo @minimalistbaker on Instagram. Cheers, friends!
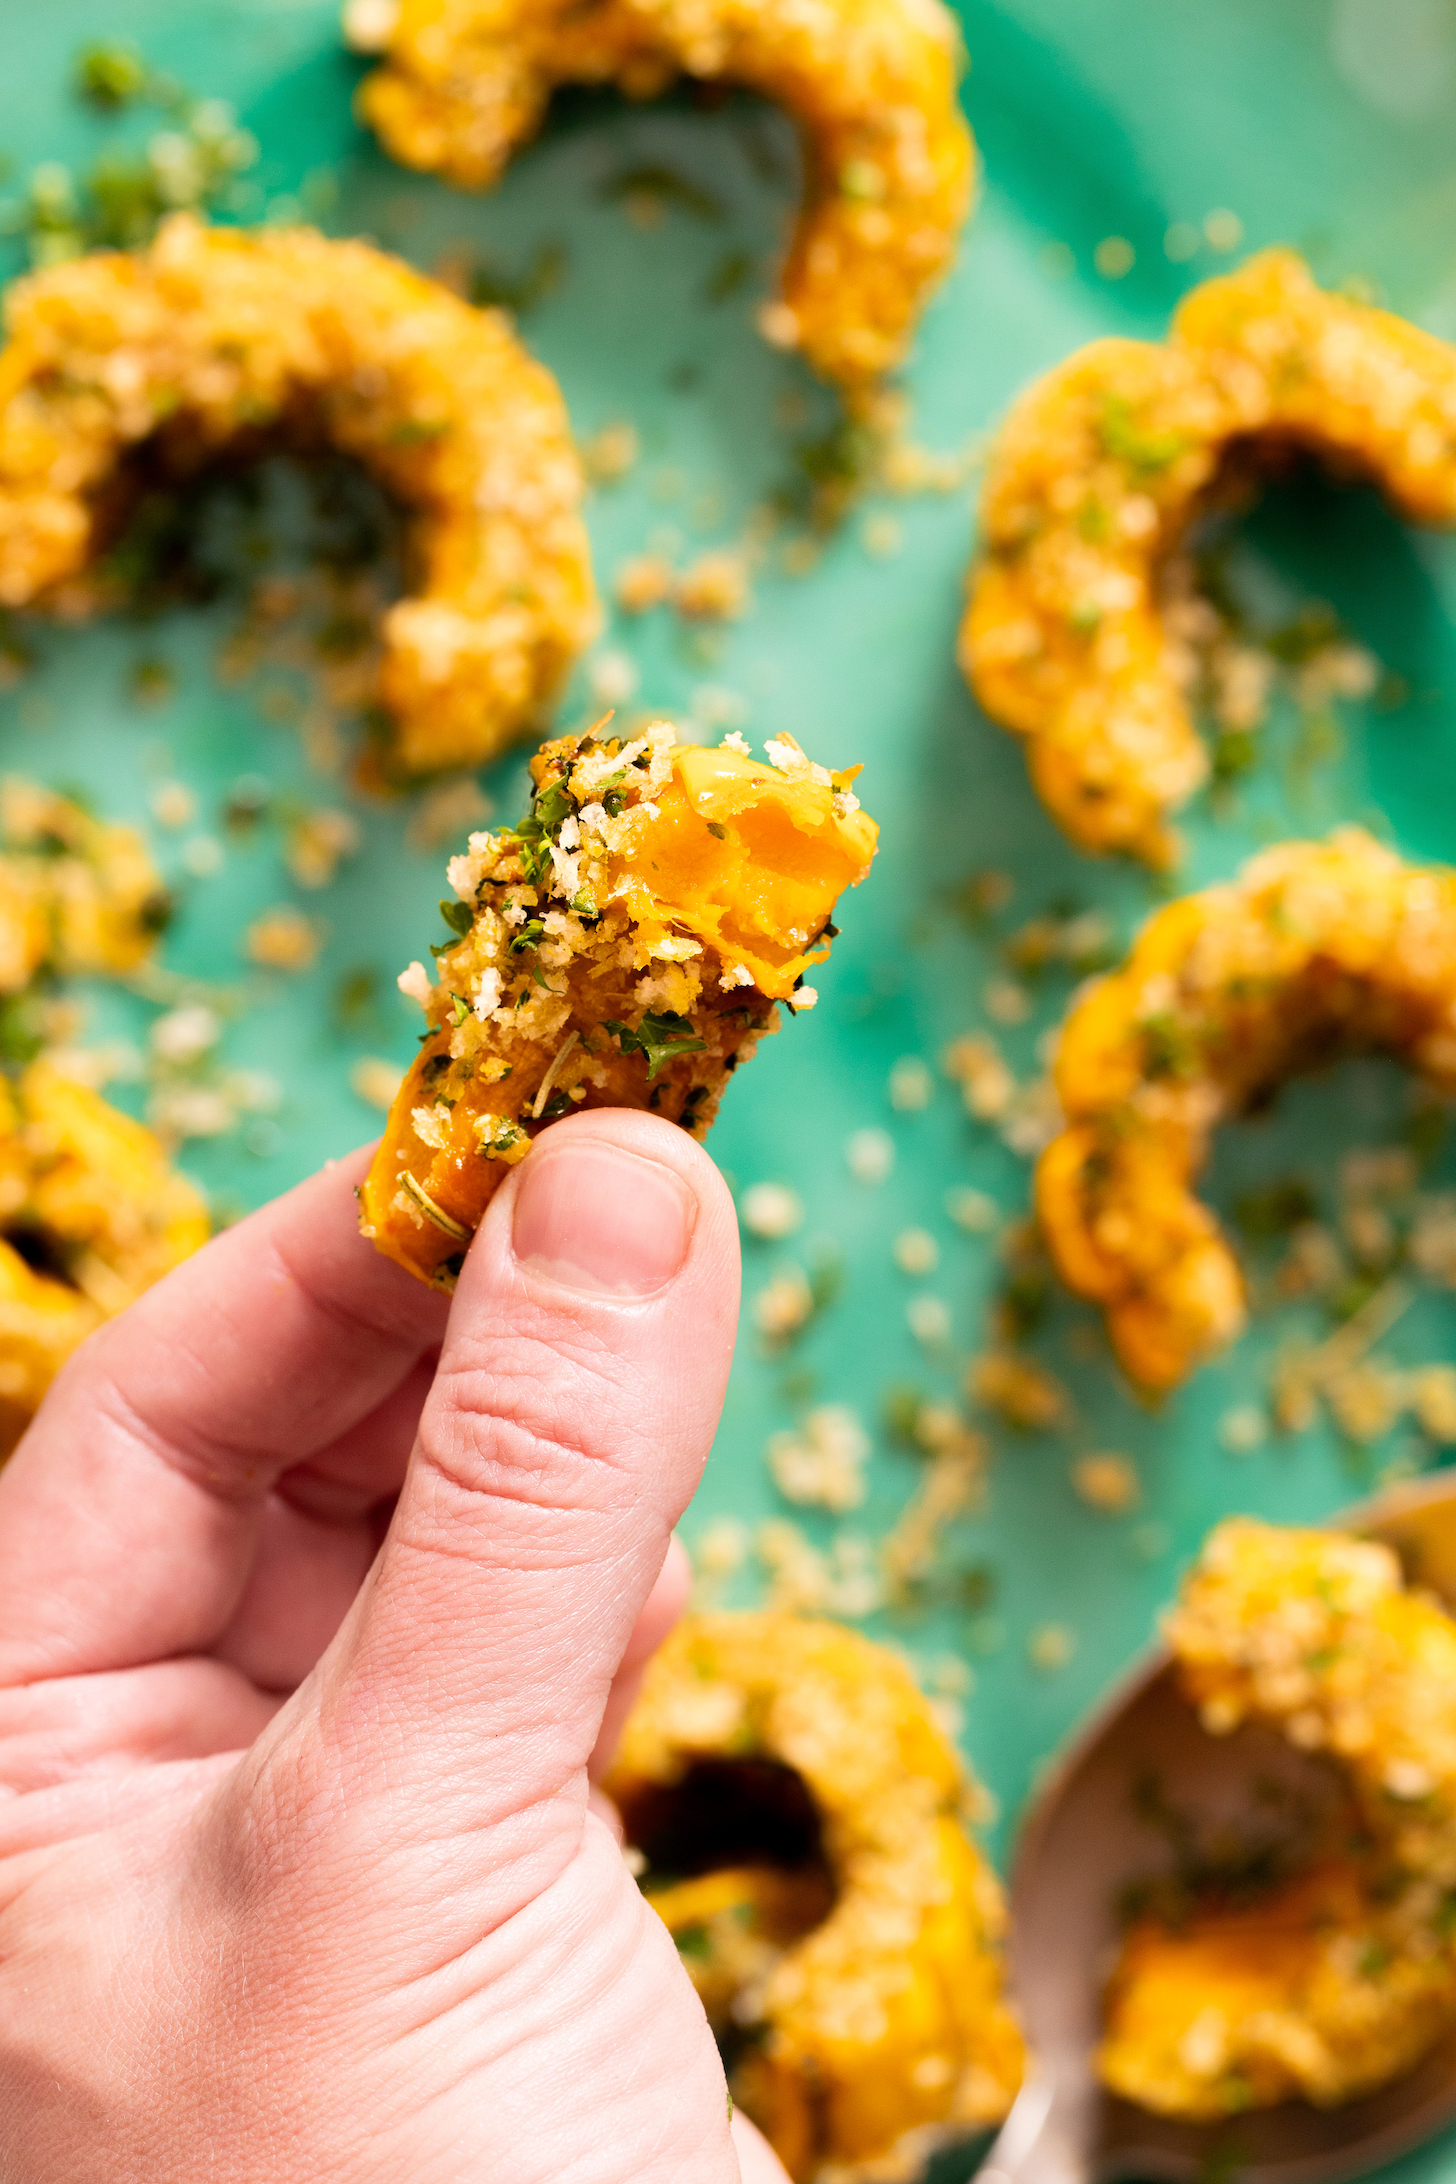
Garlic & Herb Breaded Delicata Squash
Ingredients
- 1 medium delicata squash, halved lengthwise, seeds removed, cut into 1/2-inch slices (1 squash yields ~3 cups or 300 g sliced)
- 1/3 cup panko breadcrumbs (gluten-free as needed // or homemade)
- 2 Tbsp fresh parsley, very finely minced (optional for a pop of color)
- 1 ½ Tbsp nutritional yeast (parmesan cheese also works if not vegan/dairy-free)
- 3/4 tsp dried rosemary (or sub fresh, minced)
- 1/2-3/4 tsp sea salt
- 3/4 tsp garlic powder
- 3 Tbsp olive oil
Instructions
- Preheat oven to 425 degrees F (218 C) and line a baking sheet with parchment paper. Set nearby.
- In a small mixing bowl, combine the breadcrumbs, parsley (optional), nutritional yeast, rosemary, salt, and garlic powder. Stir until well combined, then taste and adjust, adding more salt as needed. To a separate bowl, add the olive oil.
- Place a slice of squash into the olive oil, flip to evenly coat, pick up, and let excess oil drip off before dropping the squash into the breadcrumb mixture. Flip to evenly coat, pressing lightly so the breading sticks. Add the breaded squash to the baking sheet and repeat with the remaining slices.
- Bake for 14-16 minutes, or until the breadcrumbs are golden brown and the squash is fork tender. Serve immediately!
- Best when fresh. Leftovers keep for 2-3 days in the refrigerator but note that the breadcrumbs will lose their crispiness. Not freezer friendly.
Video
Notes
*Convection bake: If using a convection oven, bake at 400 F (204 C) for 12-14 minutes. The coating will be slightly more crispy.
*Inspired by Ottolenghi’s Crusted Pumpkin Wedges with Sour Cream in Plenty.
*Nutrition information is a rough estimate.




Ruth says
How does your breadcrumb mixture stick so well? Mine just fell right off. I had to really smash it in & it still slipped right off. I tried playing with the oil coverage & nothing helped. I will say that I did not put any nutritional yeast it it. I planned on it, but realized I didn’t have any in my pantry 😏
Do you think that is a factor?
Thank you!!!!
Hi Ruth, we do think that could be a factor. The breading can have trouble sticking if the breading mixture gets too wet/oily. Another idea could be the type of breadcrumb! What type did you use?
Ruth says
I bought some wheat free crumbs at Thanksgiving – Ian’s Panko Breadcrumbs. They don’t look to be any different size than your photos. Oh well, I’ll try again with nutritional yeast and see how that goes. It’s a fun way to eat Delicata!
Hi Ruth, Those breadcrumbs should work well! Let us know how it goes with the nutritional yeast. The breadcrumb mixture doesn’t stick quite as well as if there were something like an egg wash coating, but it should stick! You can reference the video to get an idea of how much it stuck for us. Hope that helps!
Ruth says
Ok, I finally had the time to make this again. The nutritional yeast made all the difference! I did also crunch up my breadcrumbs a bit more, but really it seems the yeast was the missing ingredient. It was also much more flavorful. This recipe is a winner!!
Yay! We’re so glad it worked well this time. Thank you for the update, Ruth!
Megan says
This was soooo good. Honestly just bursting with flavor. I made breadcrumbs from a loaf of sourdough, used celtic sea salt (and all the other seasonings!!). Low effort, big pay off. Will be doing this again for sure.
Yay! We’re so glad you enjoyed the recipe and we’re excited you’ll be making it again. Thank you for the amazing review, Megan! xo
Antonia Meachin says
Hi! Do you have a sauce to recommend to go with this dish? It looks amazing!
Hi Antonia, this one is really good without a sauce! But we think marinara could pair nicely. Let us know if you try it!
Antonia Meachin says
Yum, good to know!
Michelle says
It didn’t have as much flavour as I wanted. I found the coating a little too bland.
Hi Michelle, sorry that happened! We’re curious what type of salt you used? These should be nicely salty and flavorful, but if using a coarse (vs. fine) salt, we could see how it might not turn out as flavorful.
Michelle says
I don’t have garlic powder so used garlic salt instead. Perhaps using regular salt wil enhance the flavour?
Hi Michelle, Using garlic salt in place of garlic powder is fine, but if you don’t add any additional salt, then it likely won’t be flavorful enough! Depending on the brand, garlic salt can have anywhere from ~1/4-3/4 of the amount of salt that table salt has. We hope that solves the mystery of why it didn’t turn out as flavorful!
Gina says
Beautiful recipe. Thank you!
Aw, thank you for your sweet words, Gina! xoxo
Janice says
What is delicata squash? Are there any substitutes I can use?
Hi Janice, it’s a variety of squash that cooks quickly and has a skin that’s edible and tender once baked. You could try this method with another type of squash (perhaps butternut that’s been peeled and cut into half moons – similar to how we do in this recipe, but a little thicker). Hope that helps!