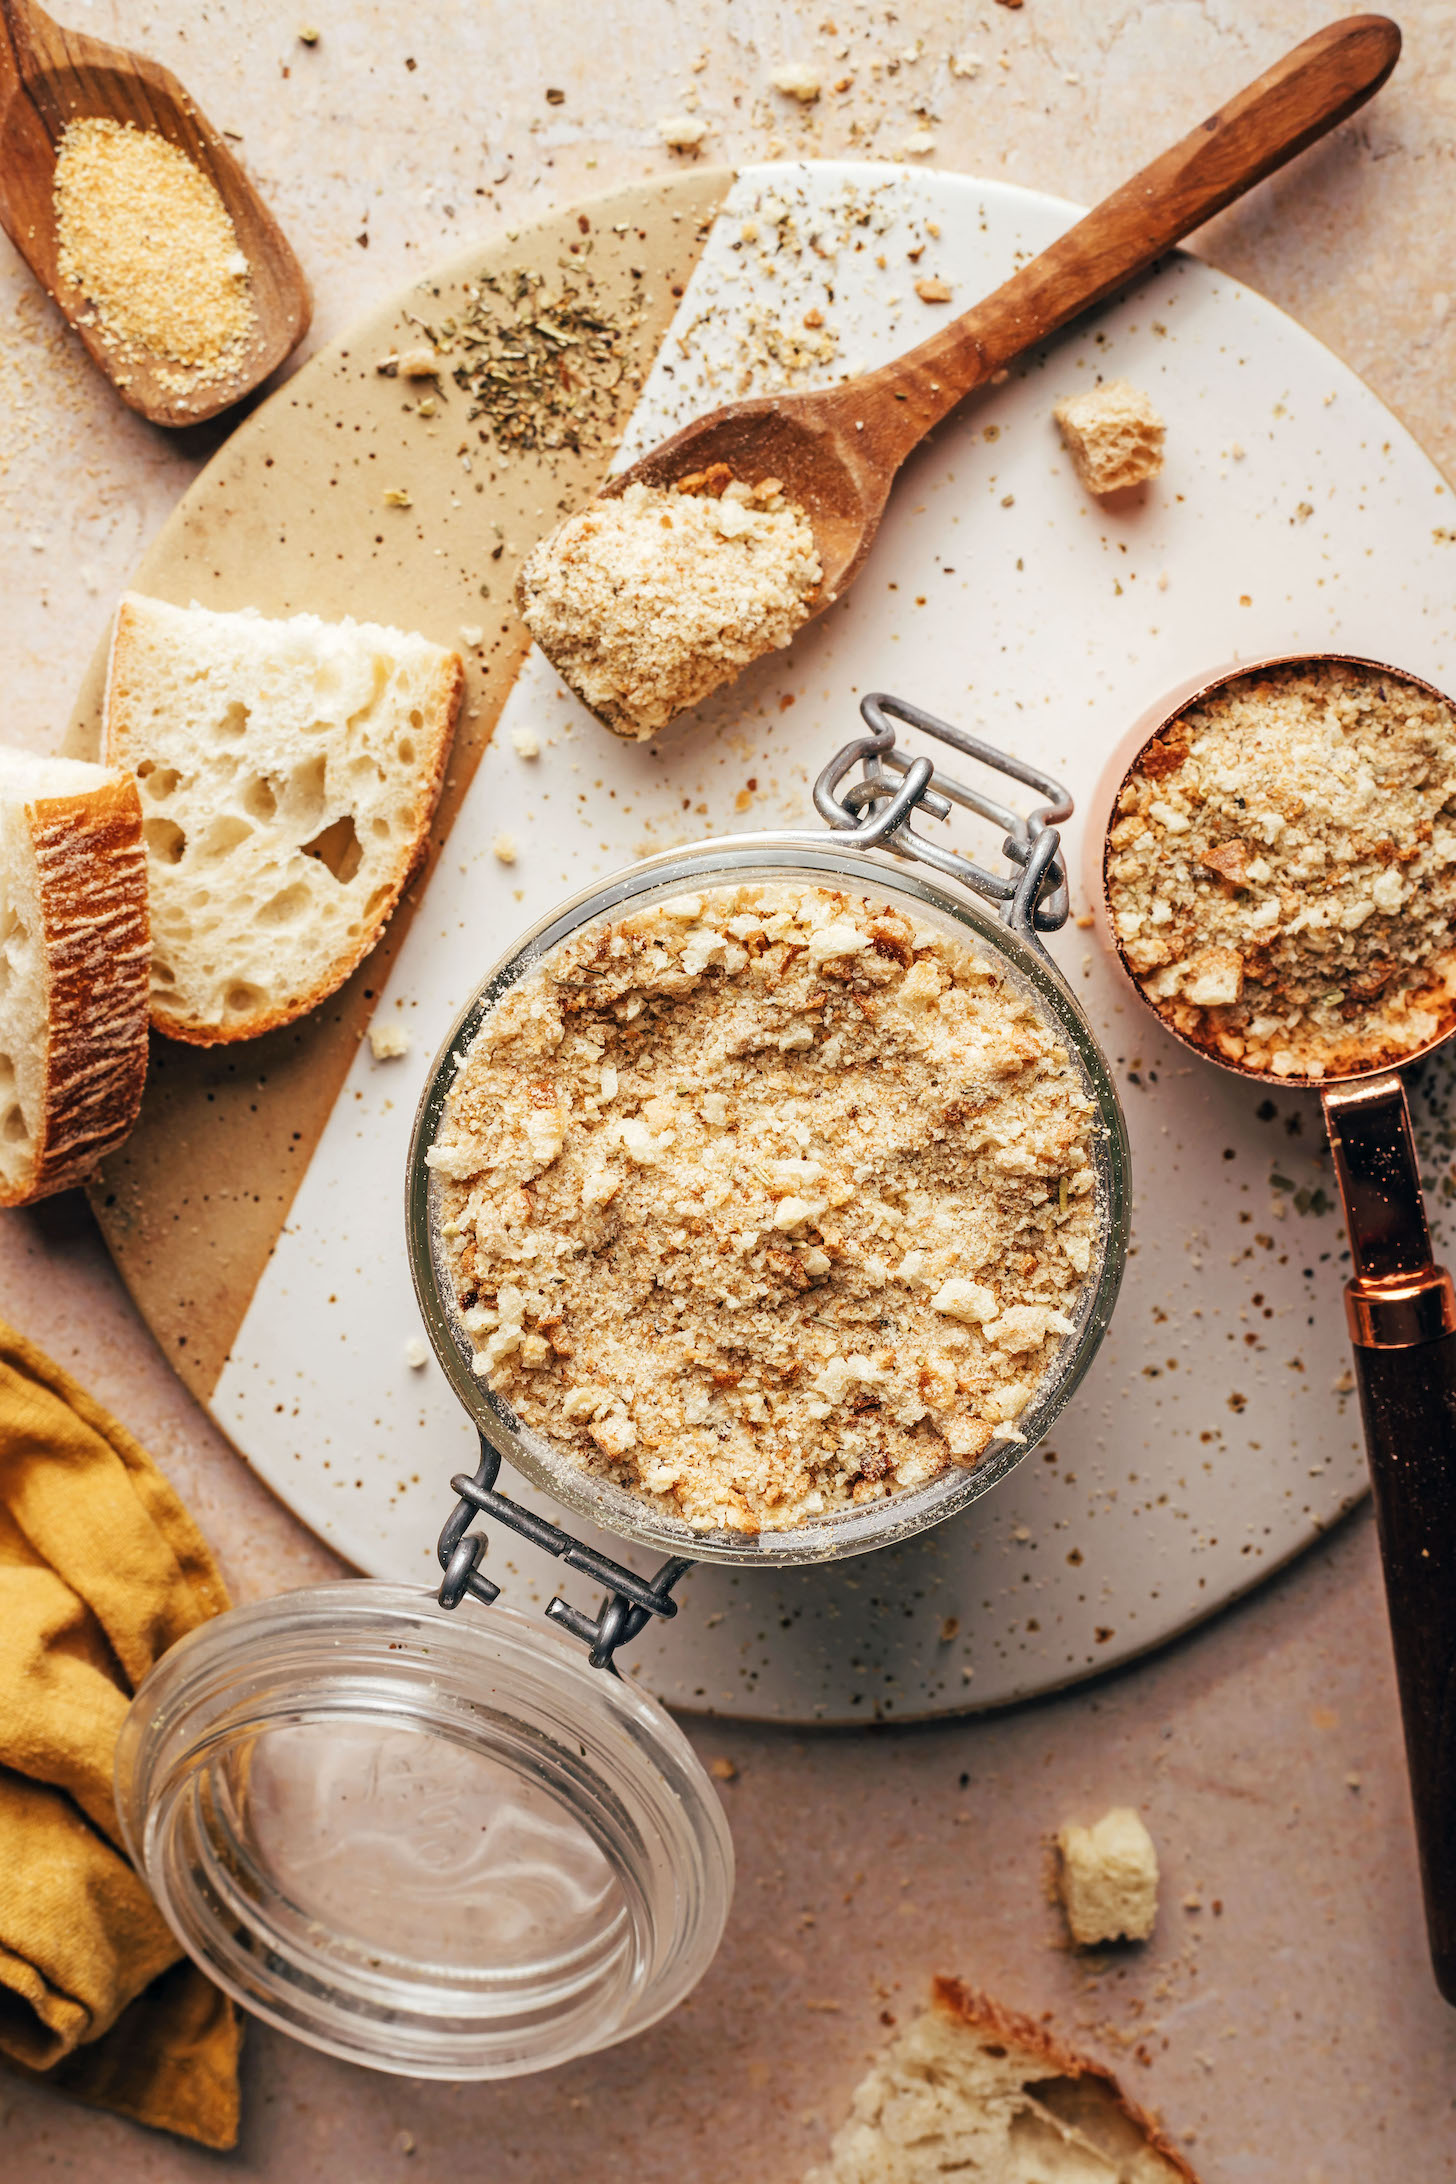
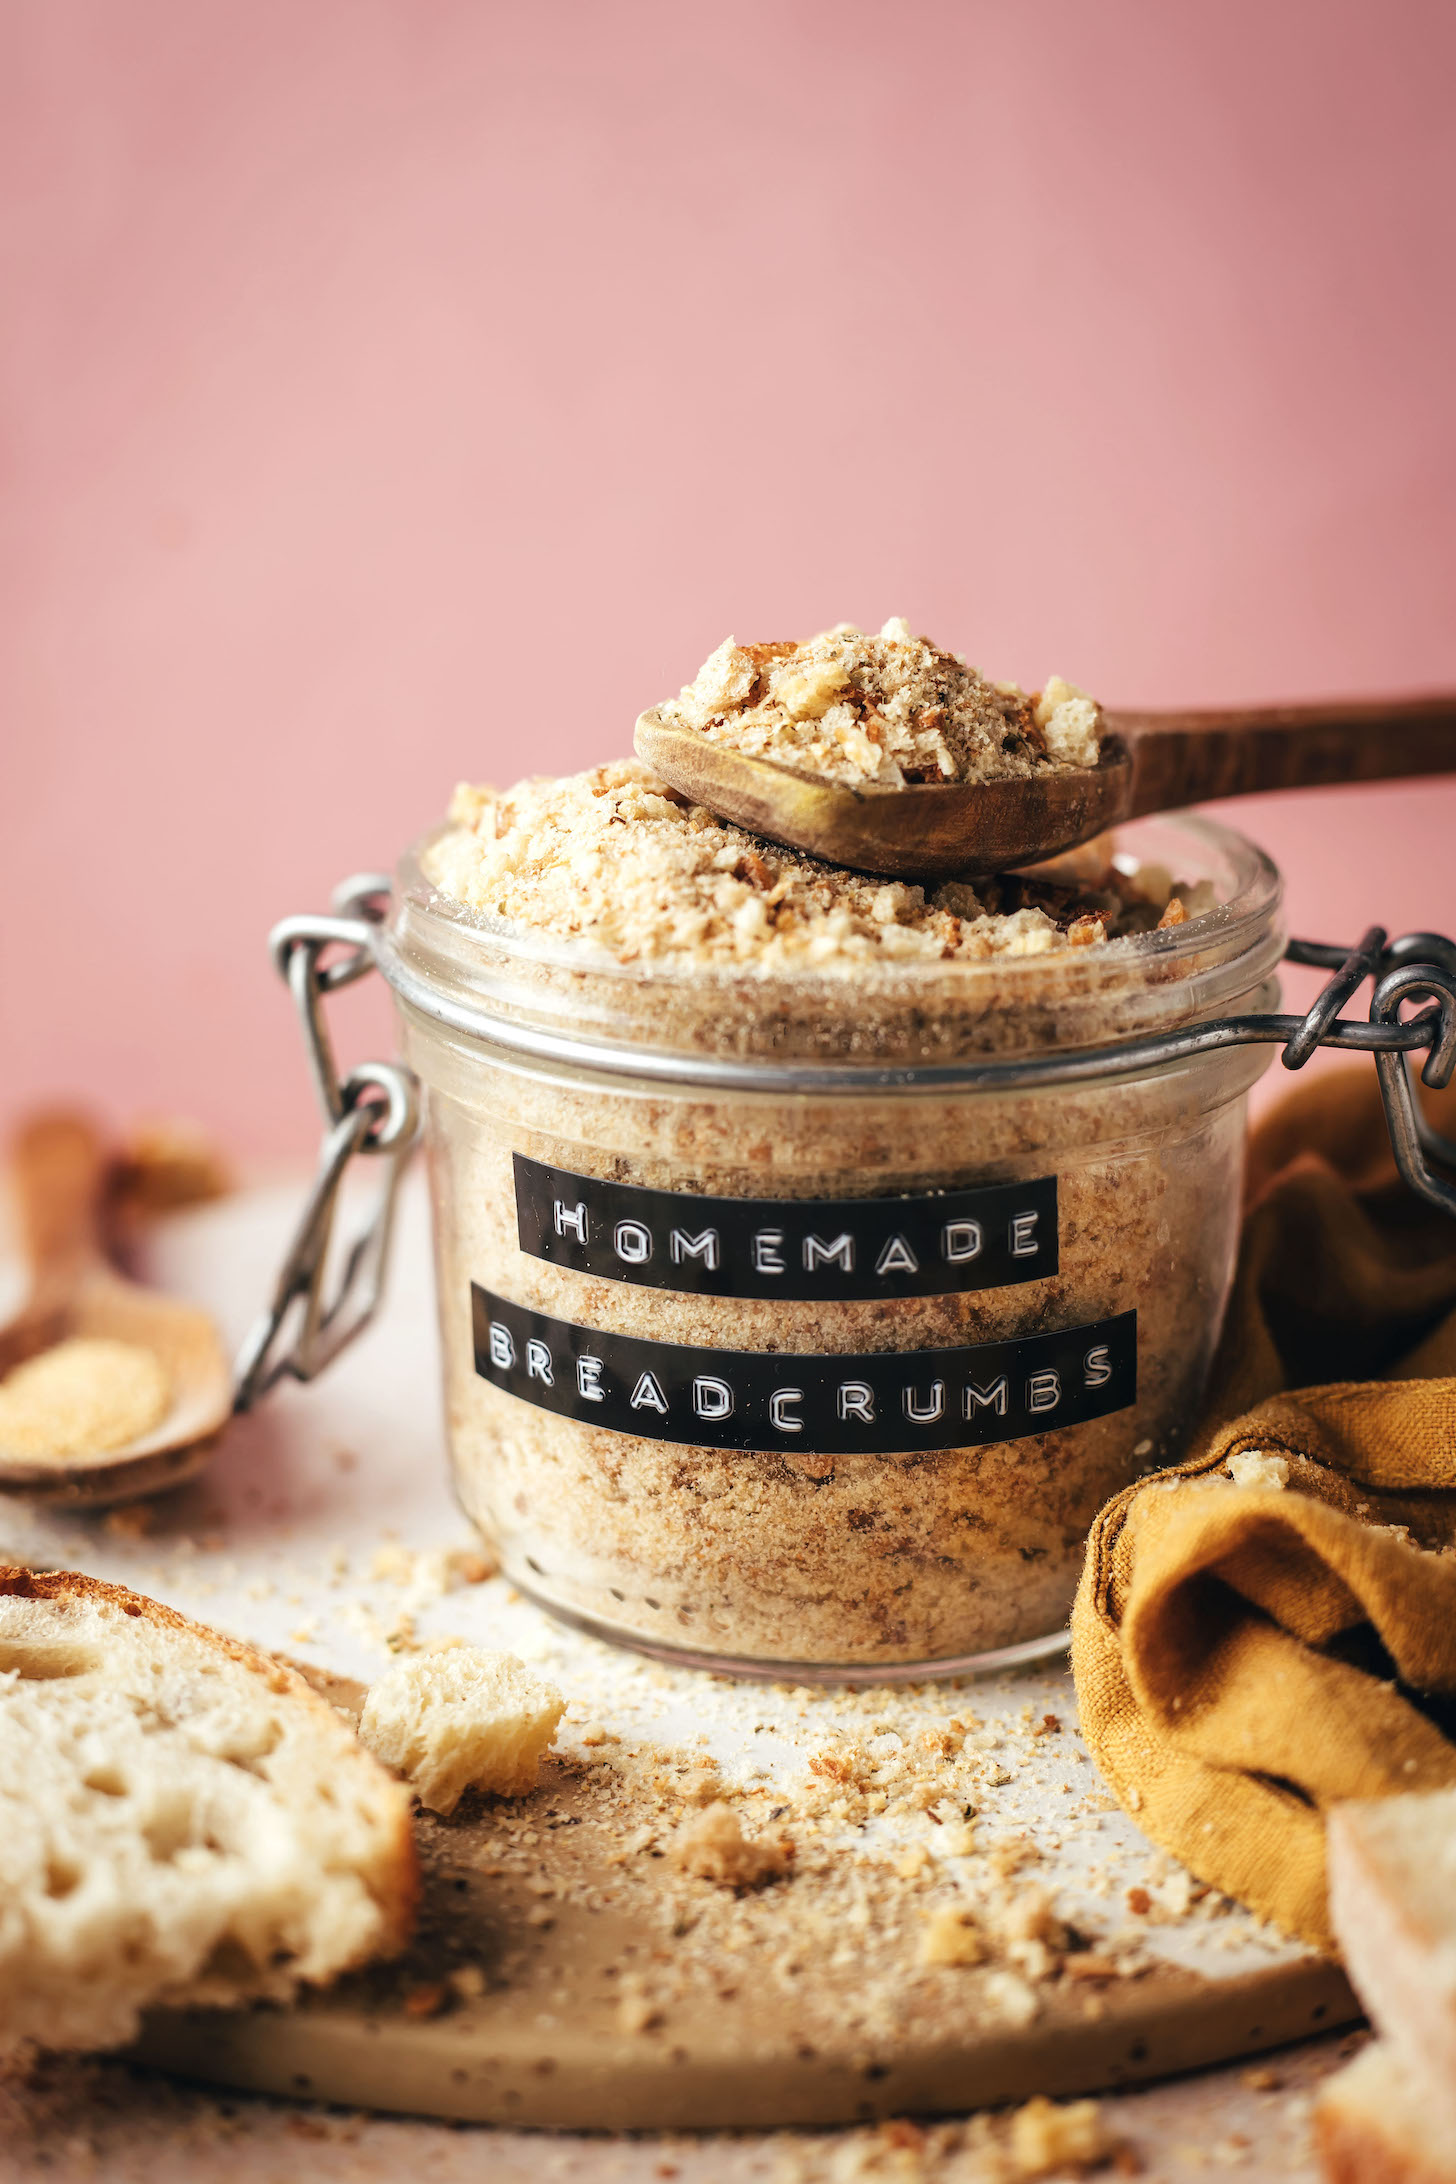
You’re out of breadcrumbs but need them for a recipe? Been there, friends! Luckily, there’s an easier option than running to the store. Homemade breadcrumbs are super easy to make (just 1 ingredient and 25 minutes), a great way to use up stale (or fresh) bread, and keep well for months in the freezer. Plus, they taste so much better than store-bought!
Add them in any recipe that calls for breadcrumbs, including gratins, casseroles, veggie burgers, “meatloaf,” or meatballs. Let us show you how to make breadcrumbs!
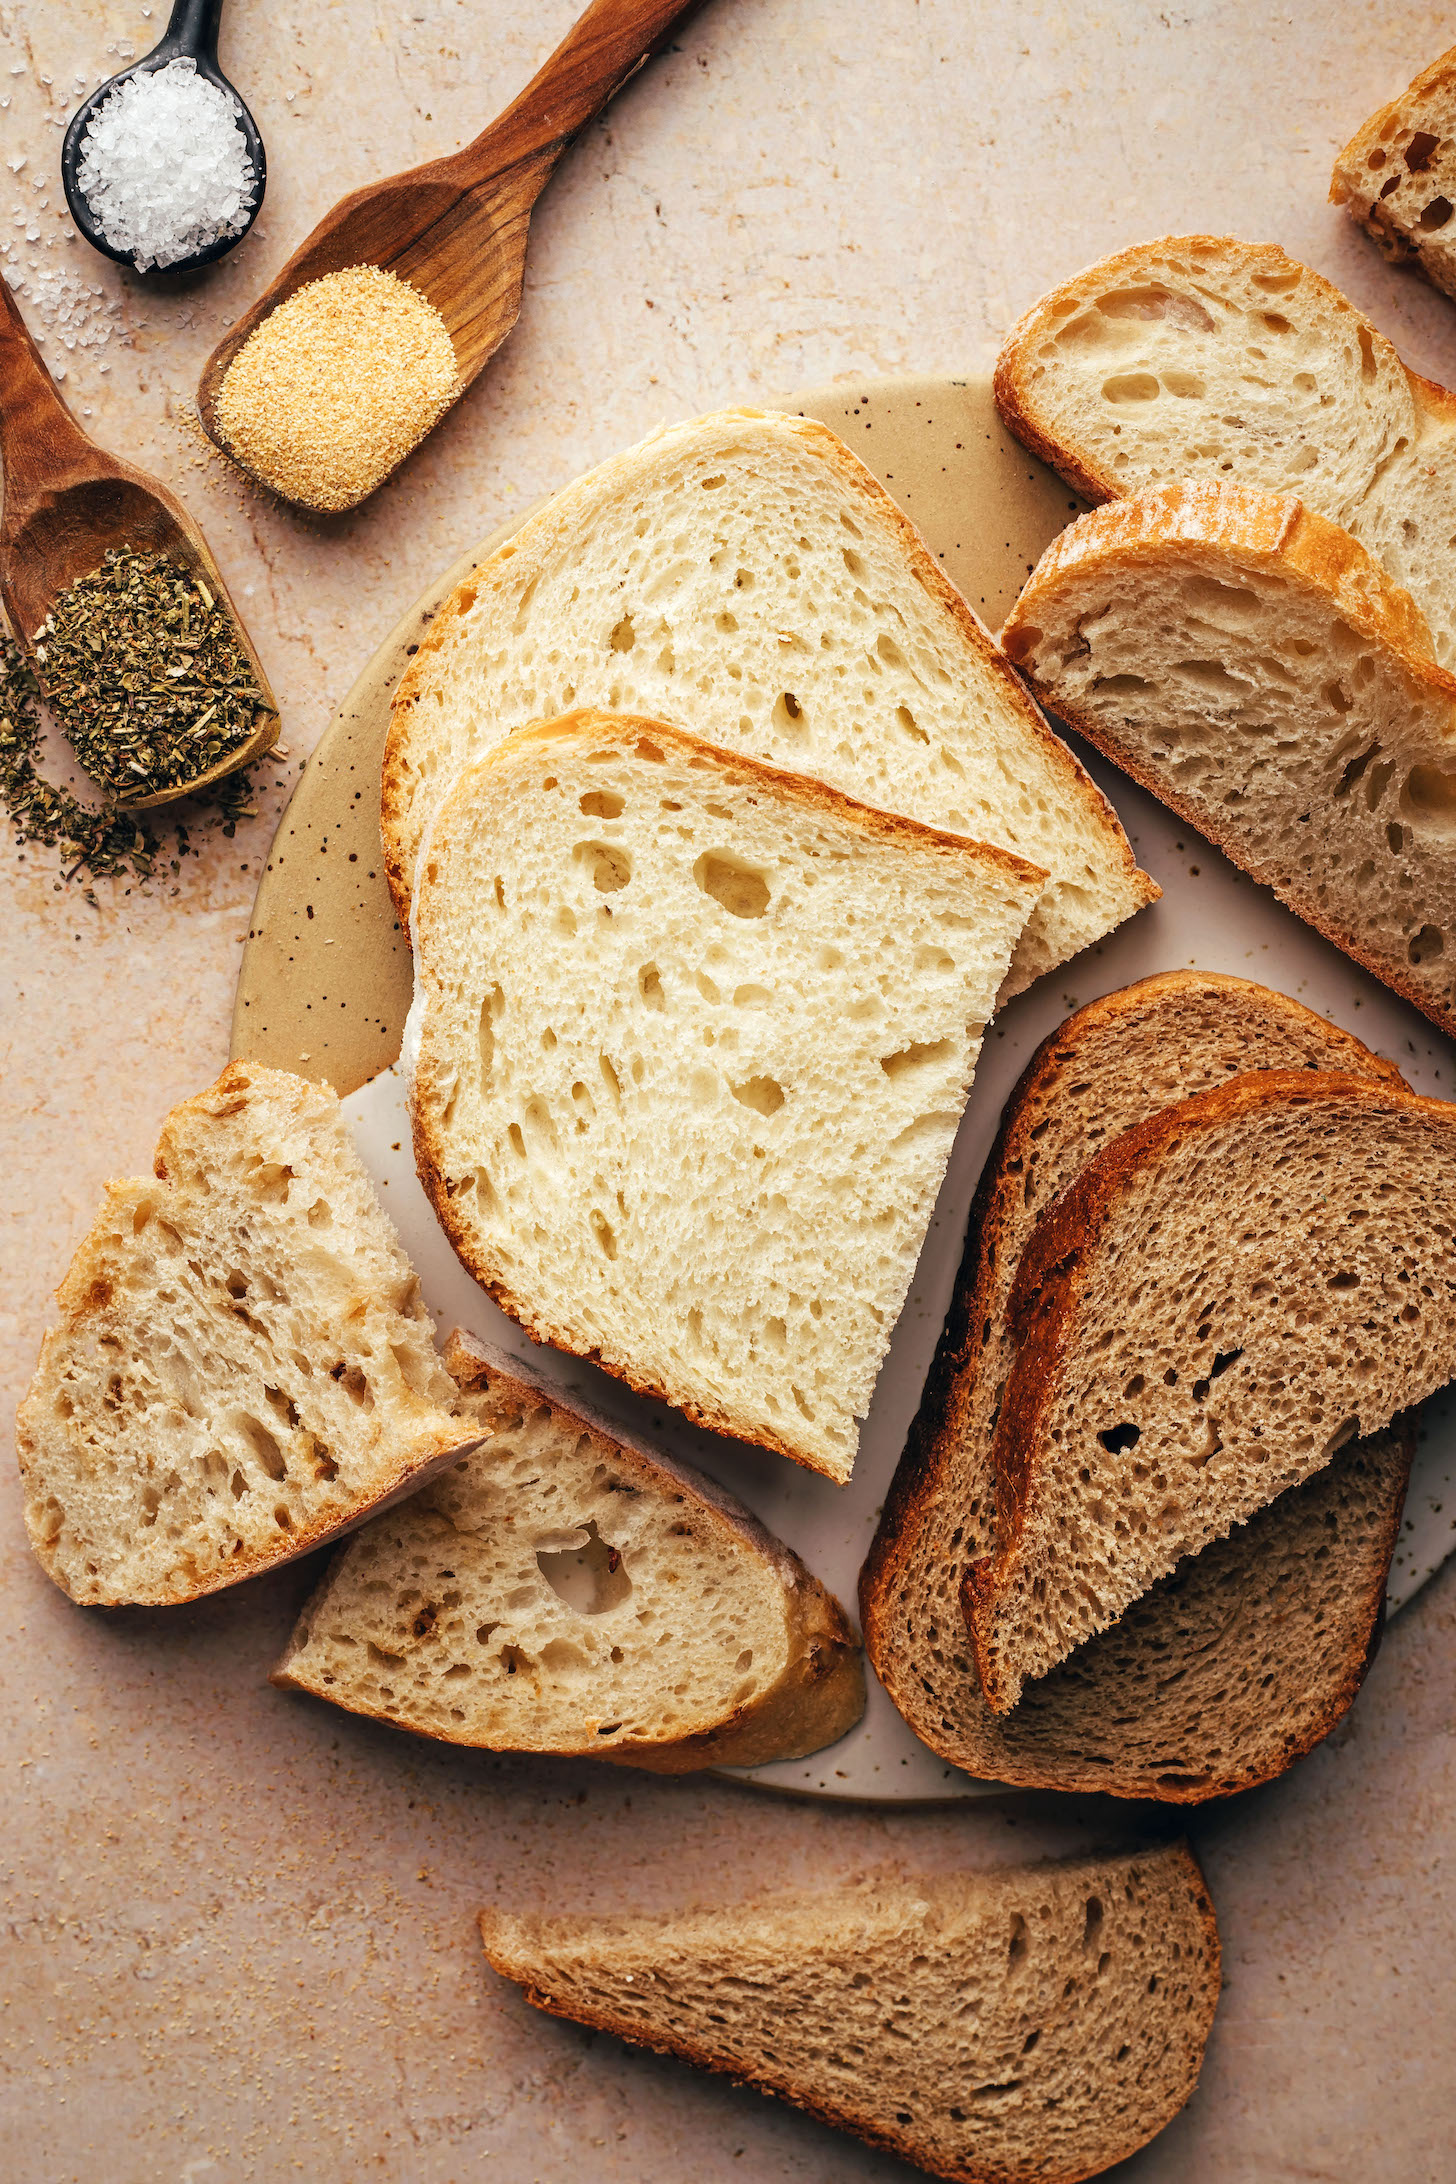
Best Type of Bread for Breadcrumbs
You can use almost any type of bread to make breadcrumbs, but for versatility, it’s best to use one that’s neutral in flavor. In our testing, we found white bread (vs. whole grain or sourdough) to create a more classic and neutral taste. In a pinch, use any bread you have around as long as it’s not sweet like cinnamon raisin bread (unless you’re putting breadcrumbs on ice cream — ooh, recipe idea noted!).
Fresh or stale bread? The older the bread, the better because drier bread makes breadcrumbs in less time. If using fresher bread, you’ll just need to bake it longer to dry it out.
Can you use frozen bread? Definitely! Defrost it at room temperature or in the microwave, then press out any extra moisture using a clean dish towel or paper towel before baking it.
How to Make Breadcrumbs
Just two required steps, and one optional:
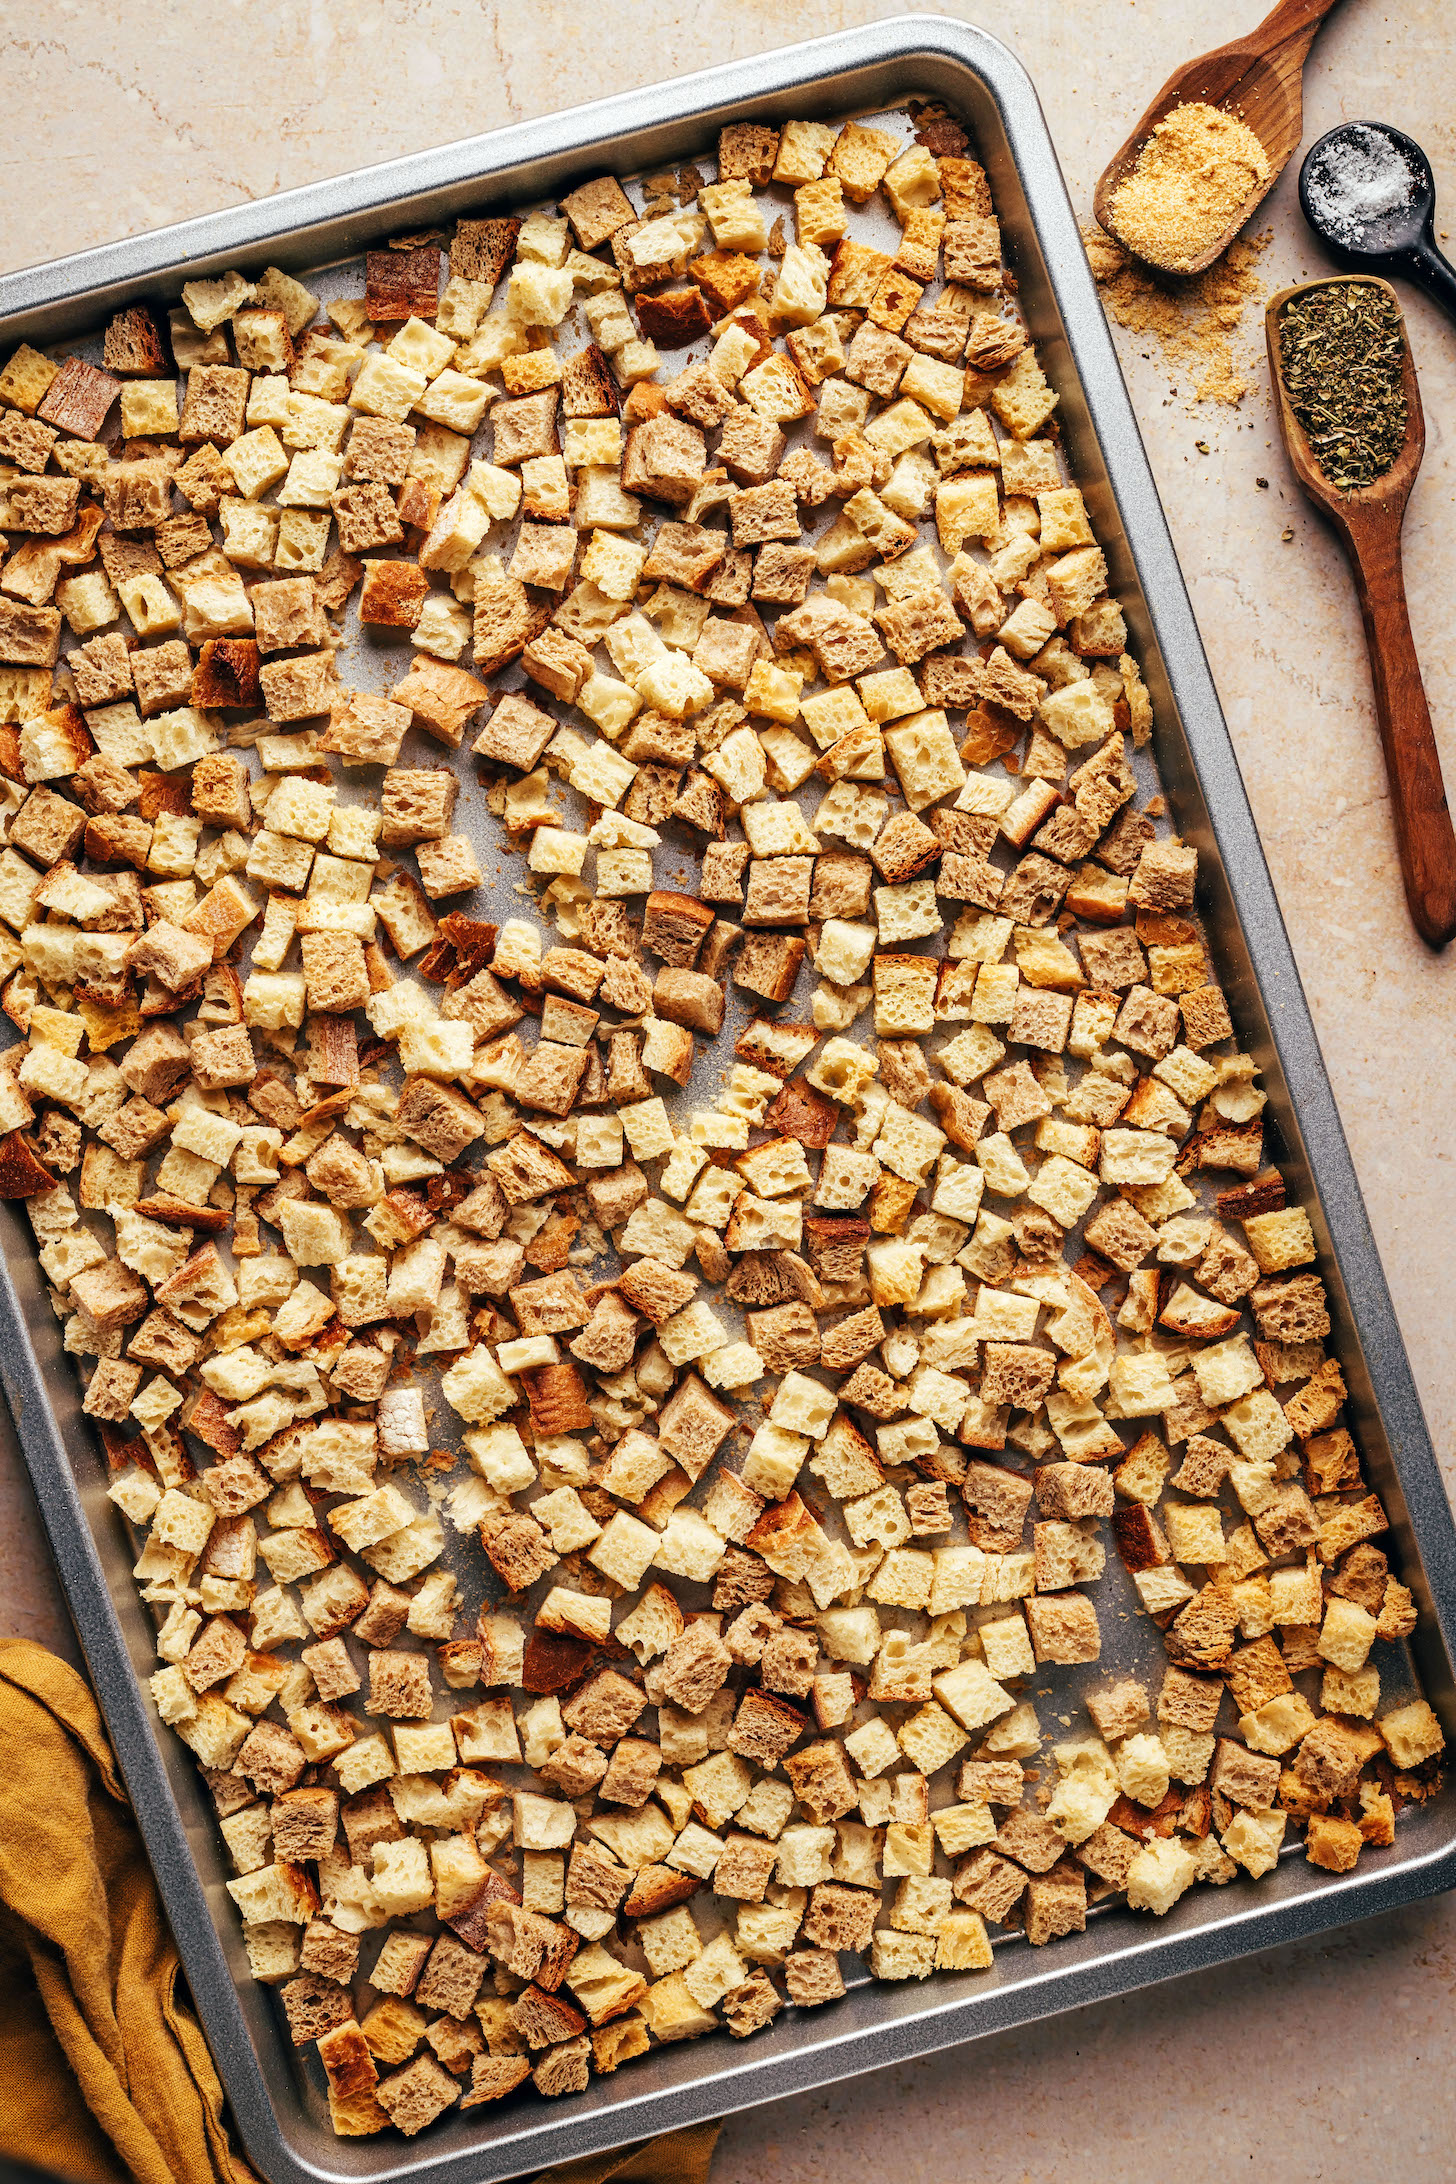
- Bake torn or cubed bread to dry it out — you want the bread to be dry but not brown or toasted and not rock hard or soft.
- Transform it into breadcrumbs by blending or using a food processor or immersion blender, or add the bread to a bag and crush with a rolling pin.
- Optional: Add seasonings, if desired!
Bread to Breadcrumbs Ratio
1 slice bread = 1 cup cubed bread = 1/4 cup breadcrumbs
Oil vs. Oil-Free
We tested using oil vs. no oil and found breadcrumbs made with oil were slightly more flavorful, but we preferred the ease, versatility, and simplicity of the ones without oil. The ones without oil are also more similar to what you’d get at the store, making them easy to swap 1:1 in recipes. Plus, they keep longer and you won’t have to worry about the oil becoming rancid.
Should You Use the Crust?
It depends! If your bread has a tougher crust (like a rustic sourdough), remove it. Otherwise, include the crust for best flavor.
How to Make Italian Breadcrumbs
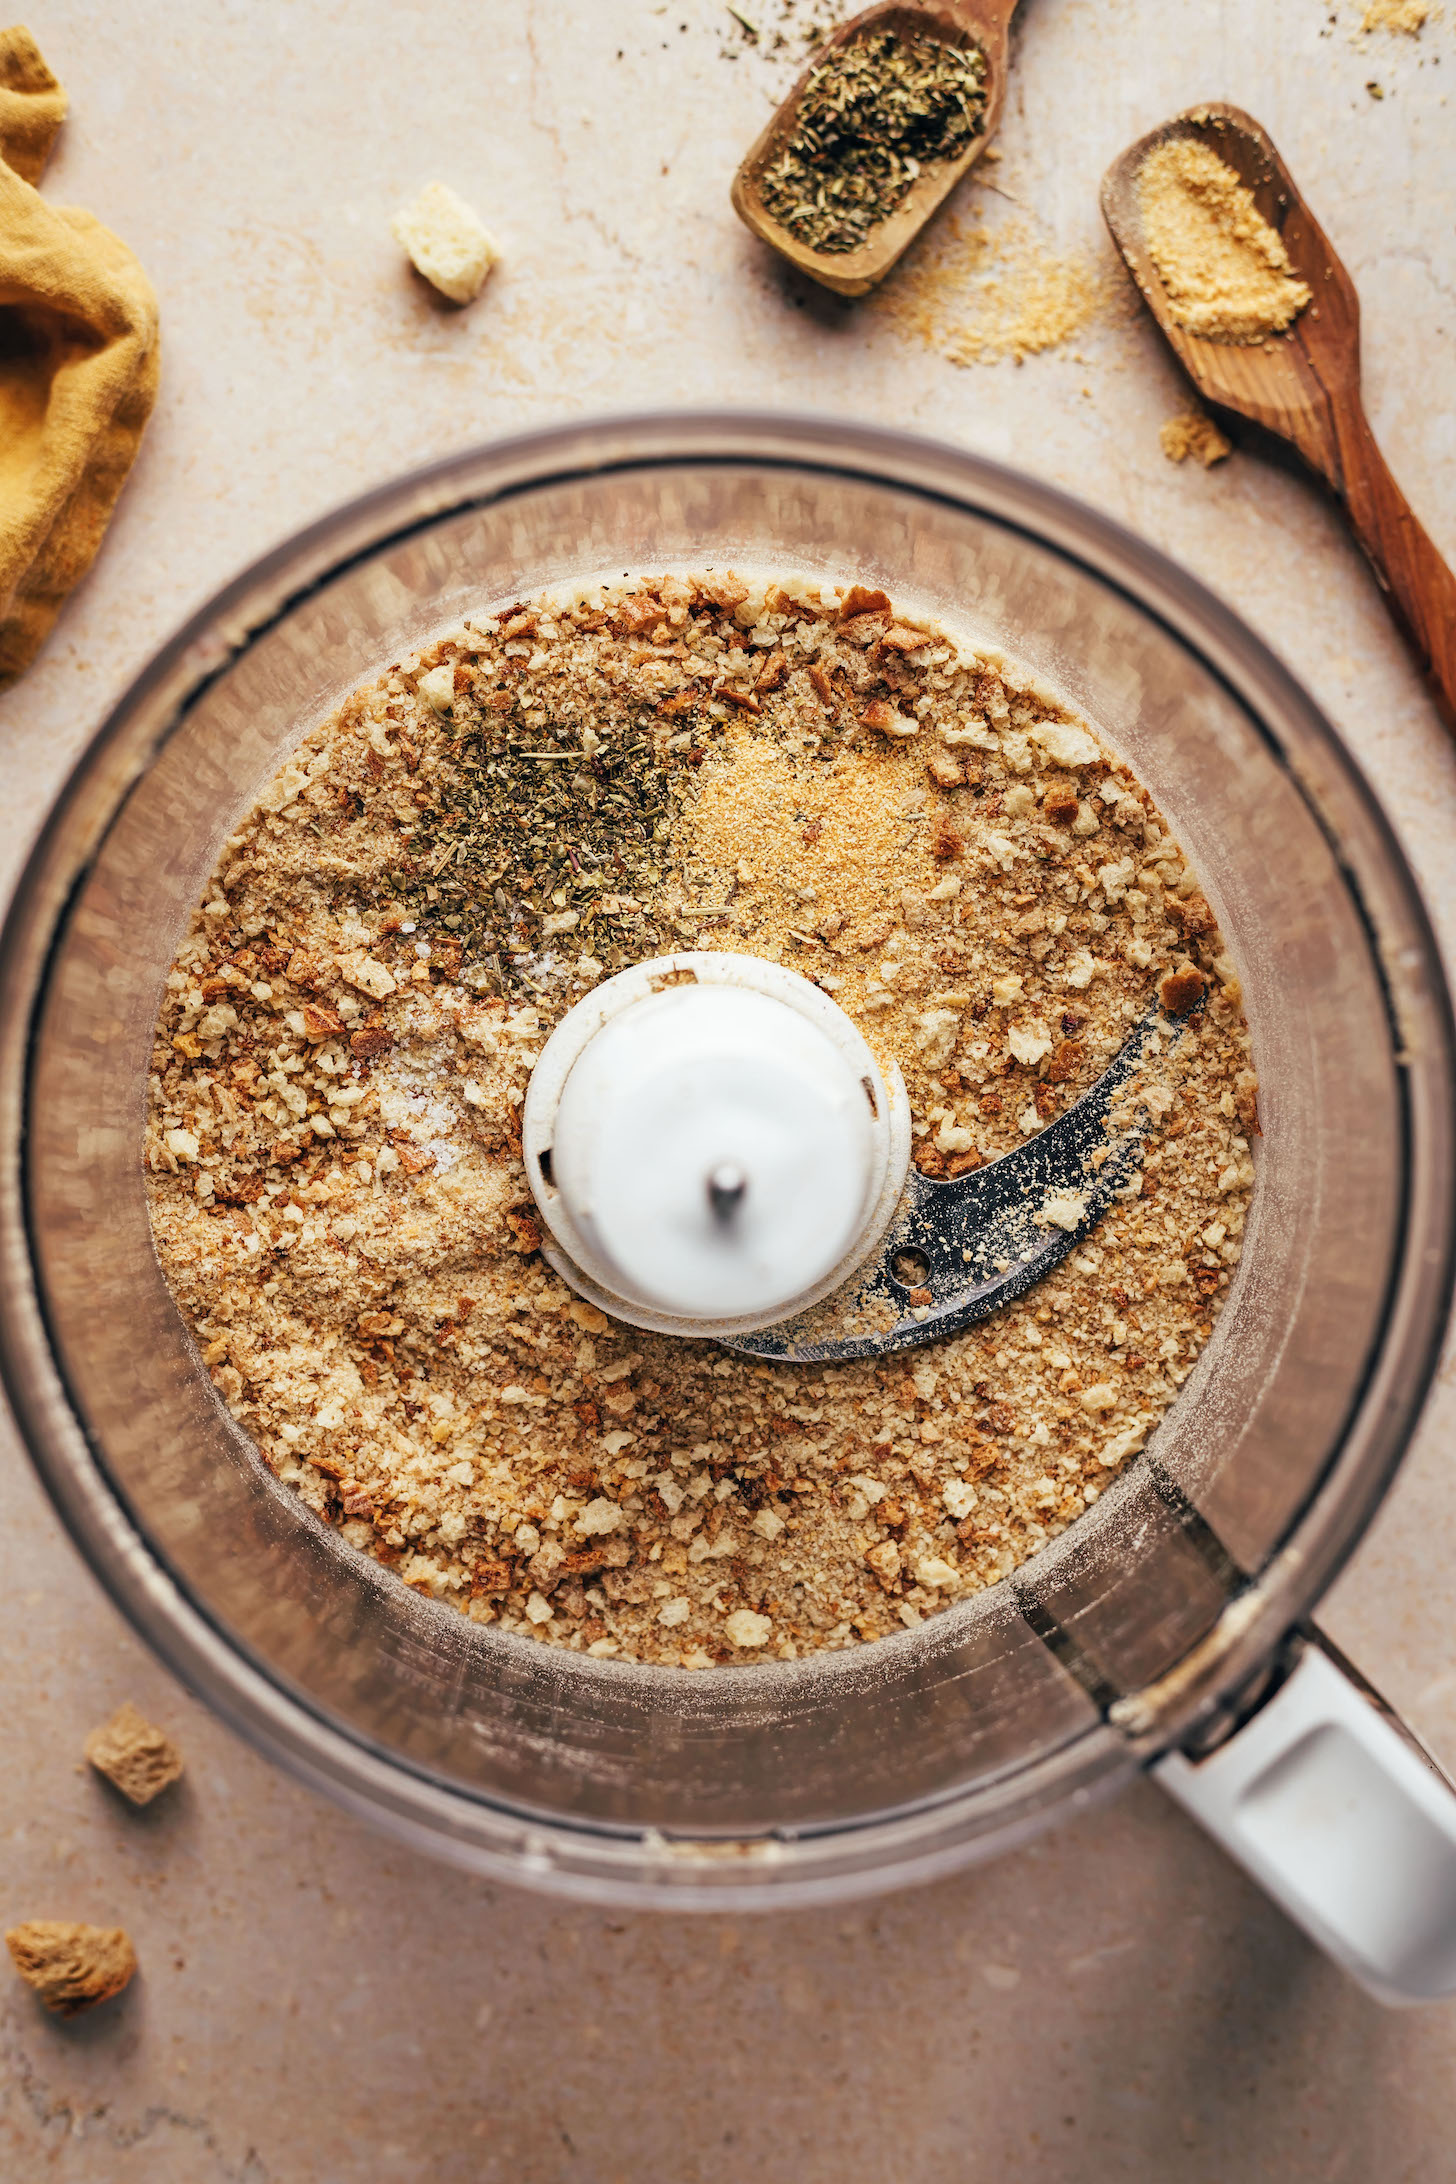
For Italian-seasoned breadcrumbs, simply add dried Italian herbs (basil + oregano), garlic powder, and salt.
They’re delicious in Italian-inspired recipes, including our Simple Chickpea Bolognese, Easy Pizza Burgers, Crispy Gluten-Free Eggplant Parmesan, and Vegan Sun-Dried Tomato & Basil Meatballs.
What are Panko Breadcrumbs?
Panko is the Japanese word for breadcrumbs. Most panko breadcrumbs are made from crust-free bread and have a unique, coarse texture that’s good for breading and frying.
How to Store Breadcrumbs
As long as you dry out the bread well, you can store breadcrumbs in an airtight container at room temperature for about 1 week. To keep them fresh for longer than that, it’s best to store them in the refrigerator or (better yet!) the freezer. In the freezer, they’ll keep for several months. Bonus: No need to defrost them before using.
We hope this guide is helpful! It makes breadcrumbs that are:
Crispy
Savory
Quick & easy
Versatile
& SO much better than store-bought!
How to Use Breadcrumbs
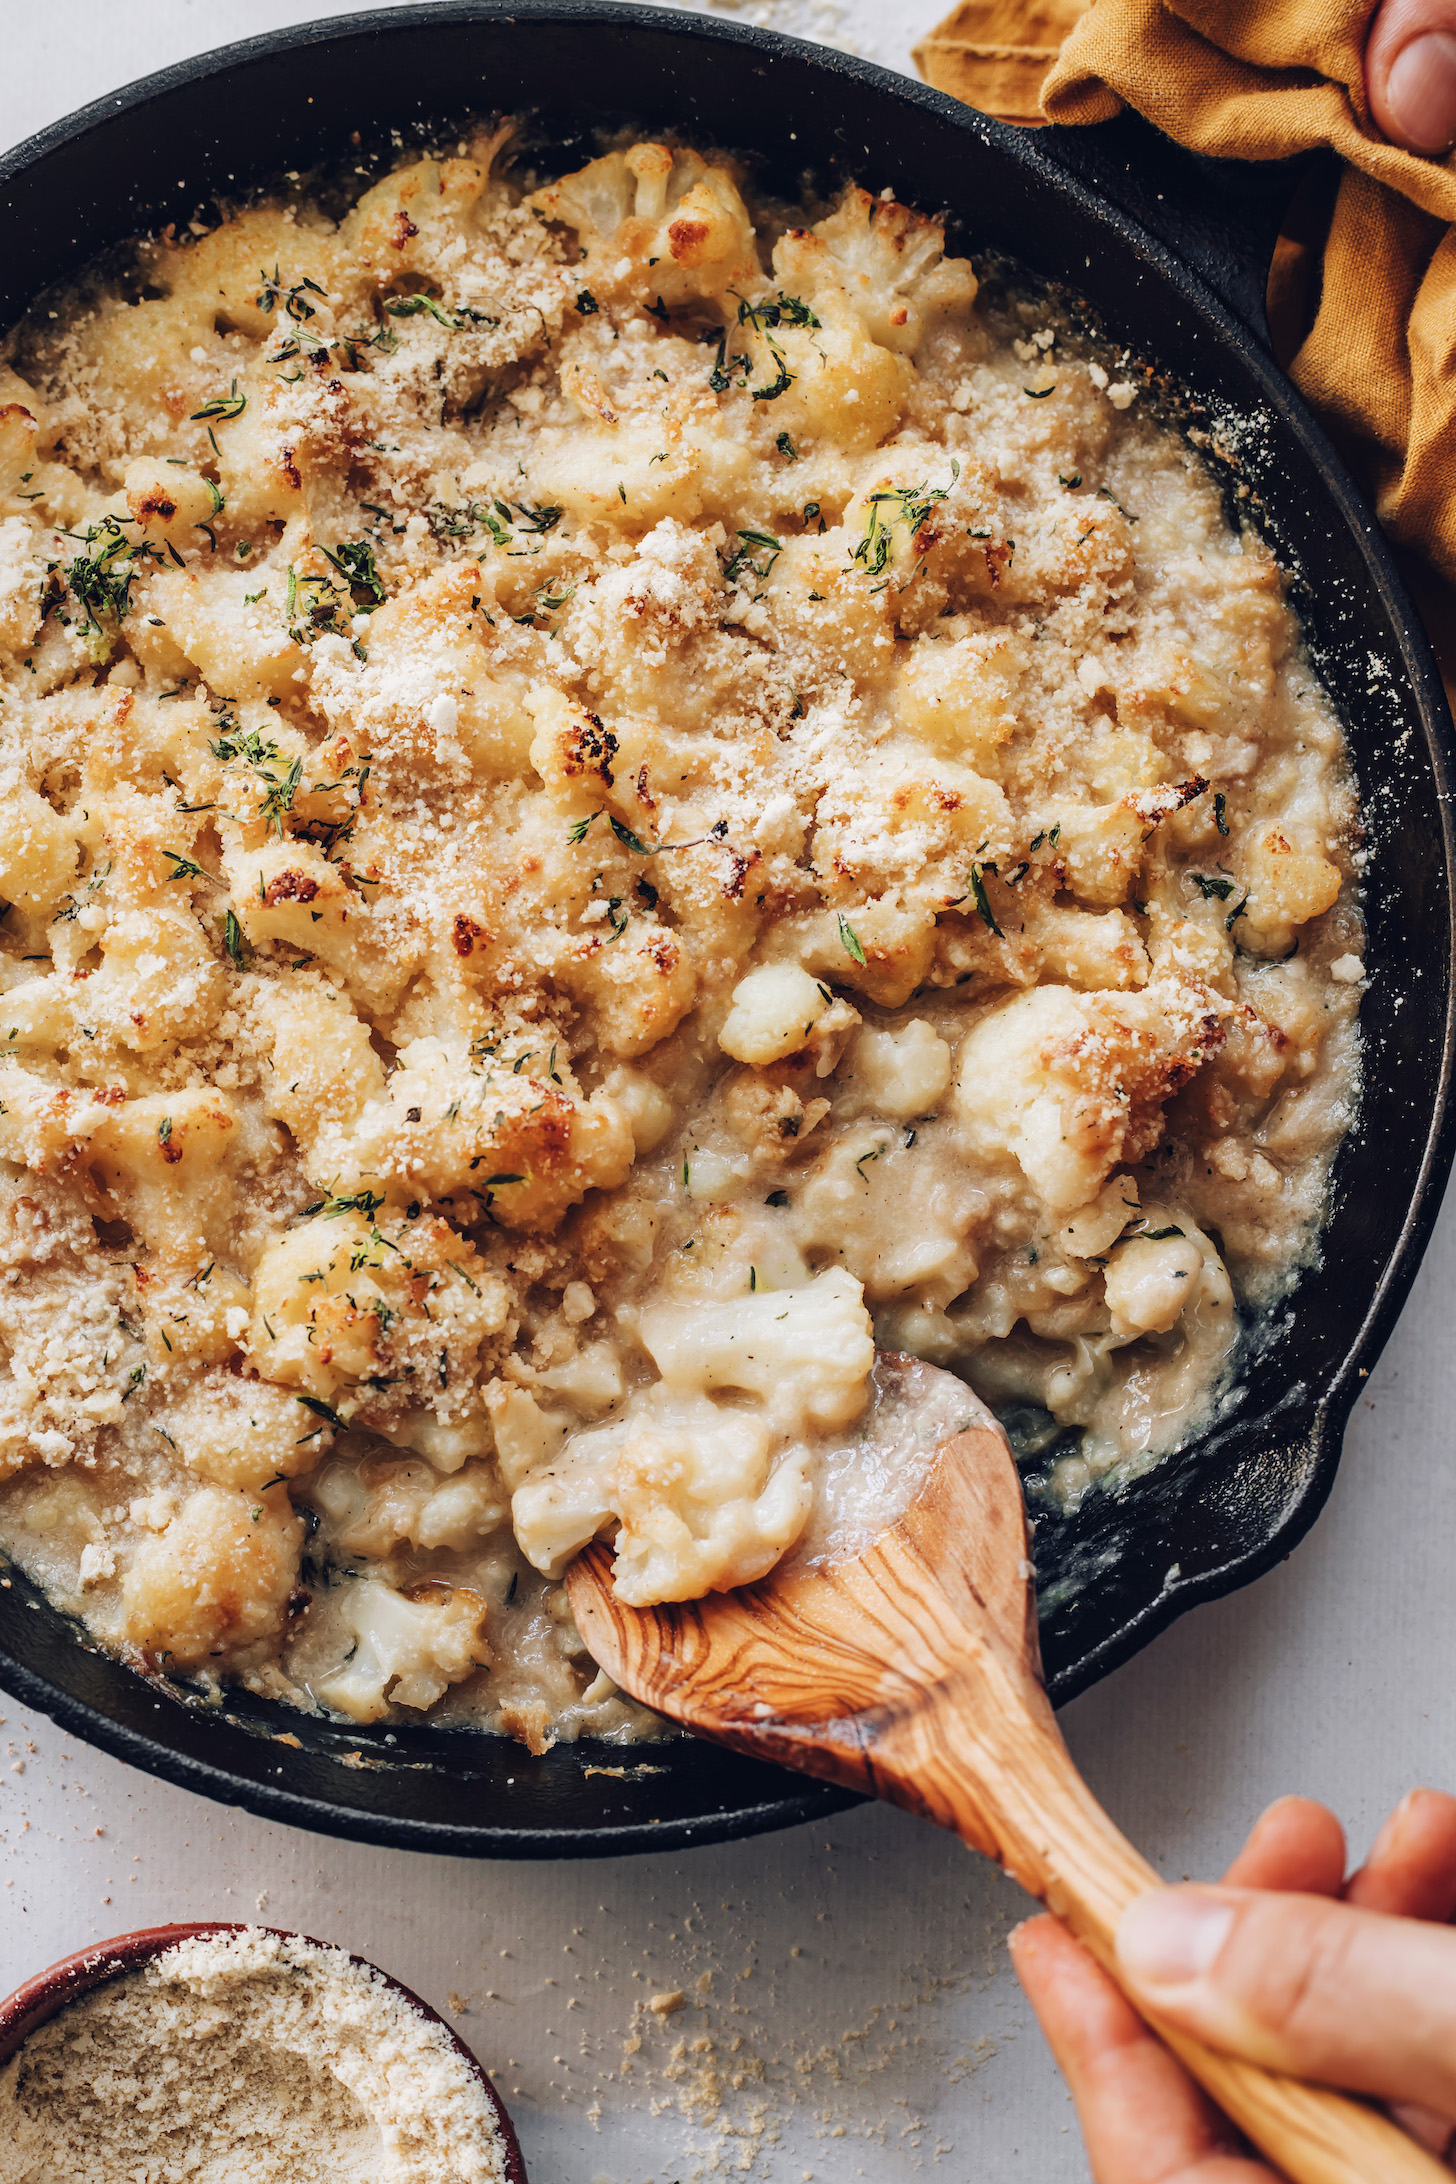
They’re great anytime you want to create a crispy topping or coating or to soak up moisture in a dish. You can add them to pasta, soup, stuffing, gratins, casseroles, veggie burgers, “meatloaf” or meatballs, and more.
If you try this recipe, let us know! Leave a comment, rate it, and don’t forget to tag a photo @minimalistbaker on Instagram. Cheers, friends!
How to Make Breadcrumbs (Plain or Italian)
Ingredients
PLAIN
- 3 cups torn or cubed bread of choice (vegan and/or gluten-free as needed // 3 slices sandwich bread yield ~3 cups or 120-180g cubed)
ITALIAN HERB optional
- 1/2 tsp Italian herb seasoning (dried basil + oregano)
- 1/2 tsp garlic powder
- 1/4 tsp sea salt
Instructions
- Preheat the oven to 325 degrees F (163 C).
- If using frozen bread, defrost it in the microwave or let thaw at room temperature, then press out excess moisture using a clean dish towel or paper towel.
- Tear the bread into small pieces or finely chop and place on a bare baking sheet in a single layer (use more baking sheets if needed). Bake for 10 minutes, then toss and bake for another 5-15 minutes until fully dry and firm to the touch. Bake time will depend on the moisture content, type, and age of the bread. Gluten-free bread tends to be more dry, requiring a shorter baking time.
- Transfer the dry bread to a food processor or blender and pulse/blend until only small crumbs remain. If you don’t have either, there are a couple workable but messier options — you can place the bread in a tall jar and pulse with an immersion blender or add the bread to a plastic bag, seal, and use a rolling pin to break up the bread into small pieces.
- ITALIAN HERB (optional): Add Italian herb seasoning, garlic powder, and salt and pulse/blend again. Or, add to a bowl and stir.
- Use these breadcrumbs in gratins, casseroles, veggie burgers, “meatloaf,” meatballs, and beyond!
- Let cool fully before transferring to an airtight container. They will keep at room temperature for up to 1 week or in the freezer for up to 3 months.




Suzanna says
I just used this recipe to make breadcrumbs to go on homemade chicken tenders and it worked great!
Amazing! Thanks so much for sharing, Suzanna!