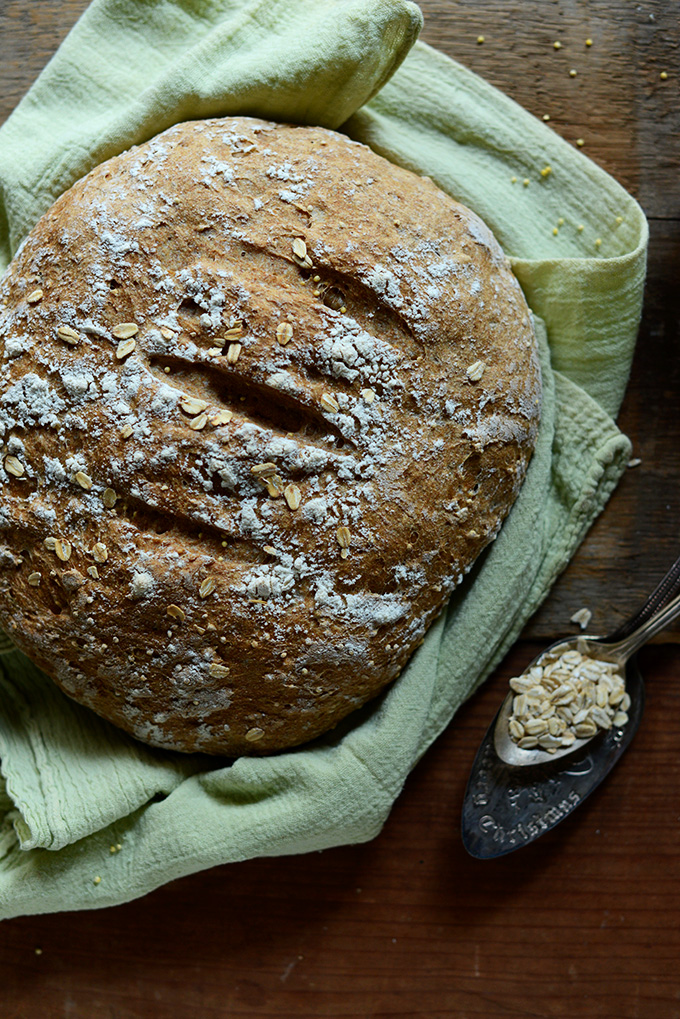
The first time I attempted real homemade bread was with my 7-Ingredient Muesli Bread recipe. I was so thrilled with how it turned out I decided to try it again, only this time with whole grains. Mmmm, I love me some whole grains.
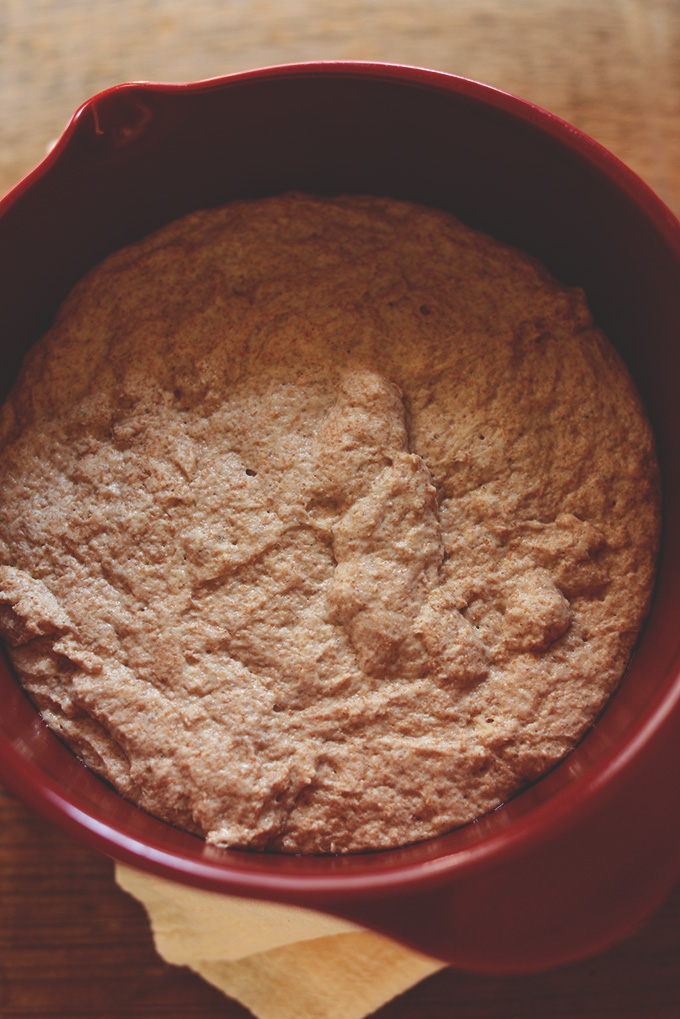
In my original recipe I let the dough rise TWO hours in the fridge. But for this loaf, I was impatient and only let it rise ONE hour in a warm spot. It still puffed up just fine. The only difference was it didn’t hold its “loaf” shape as much and kind of spread out, but I was totally OK with that. It still tasted great.
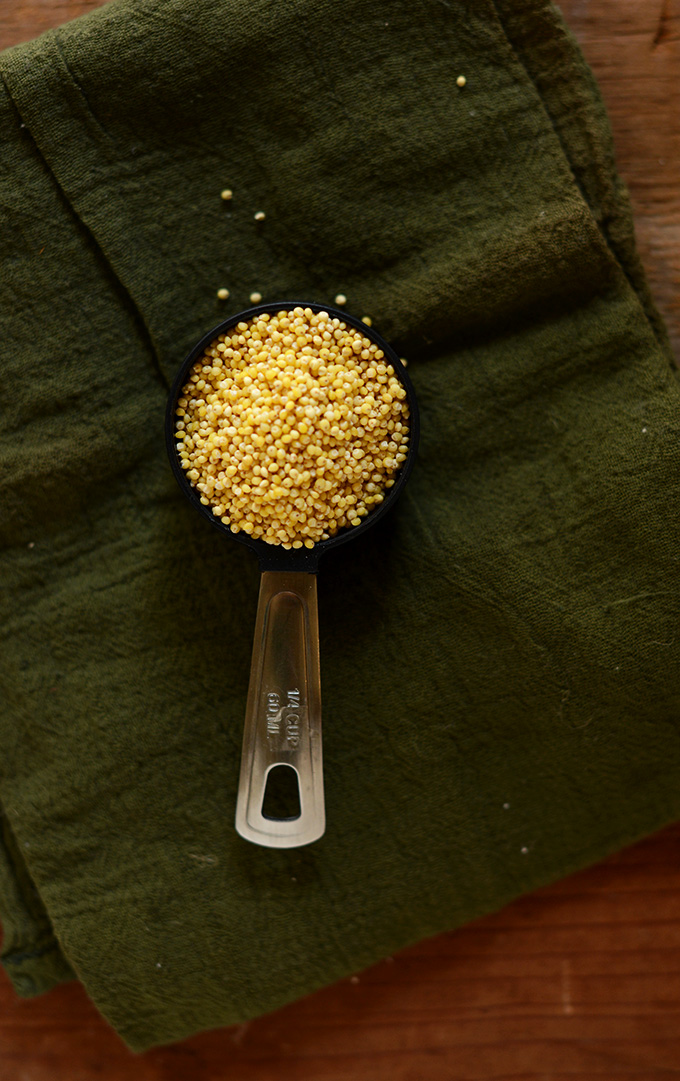
To add more whole grain goodness I kneaded in rolled oats and millet after the first proof. I LOVED the result – the little grains and oats made me feel extra good about all this extra bread I’ve been consuming (wink).
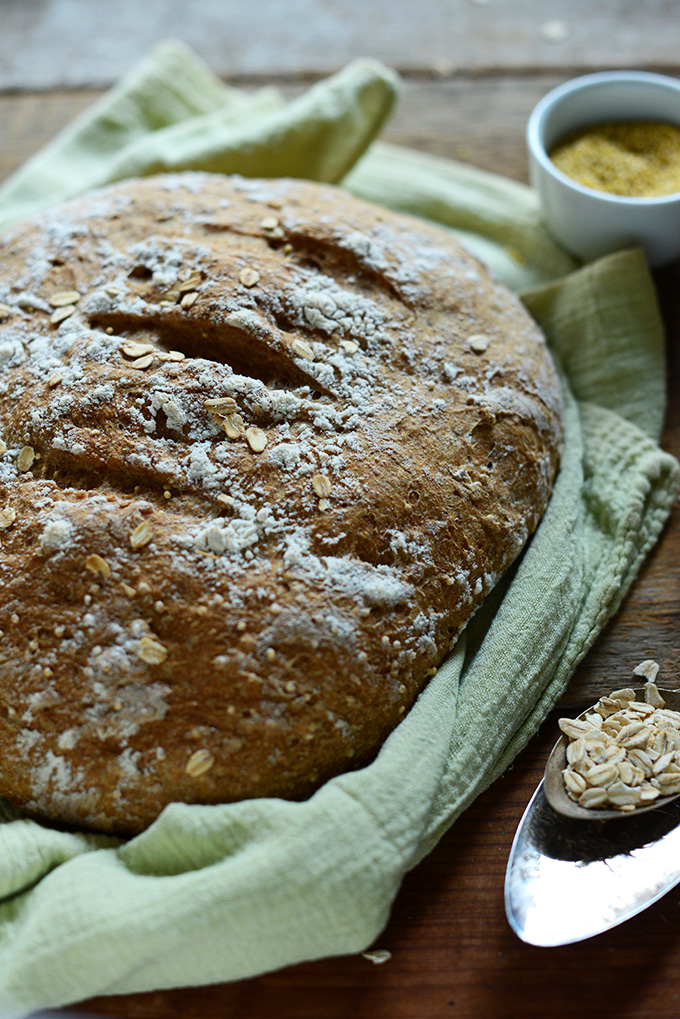
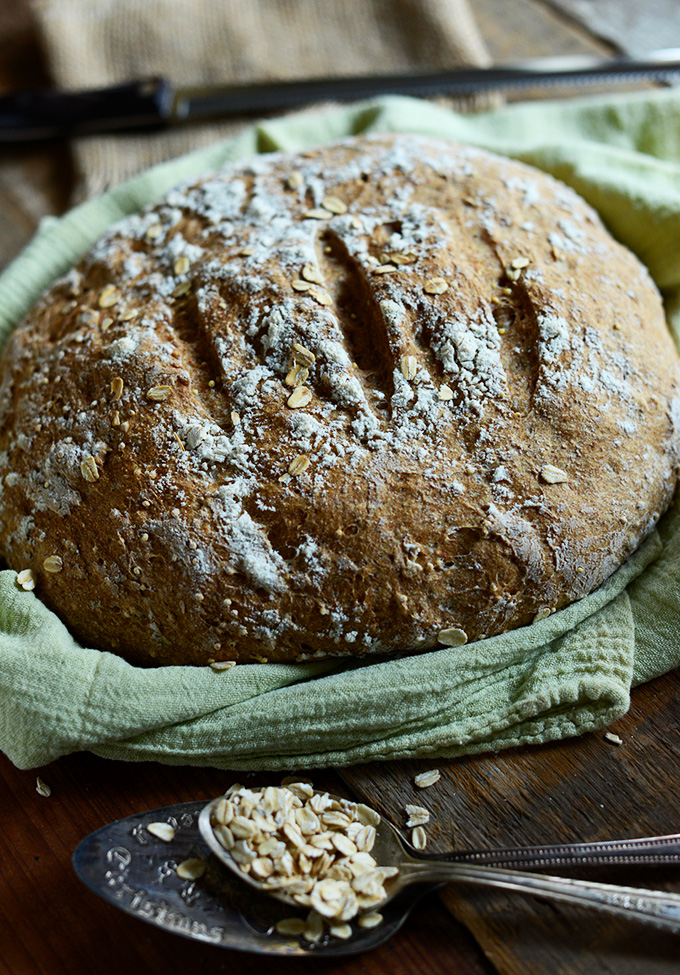
This bread requires just 7 ingredients.
Instant yeast
Water
Salt
Wheat flour
Unbleached all-purpose flour
Oats
Millet
That’s it. And it’s virtually foolproof. Just mix, let rise, knead in the grains, proof once more, and bake! The result is a beautiful, grainy loaf that’s tender on the inside and crusty on the outside – just how it should be.
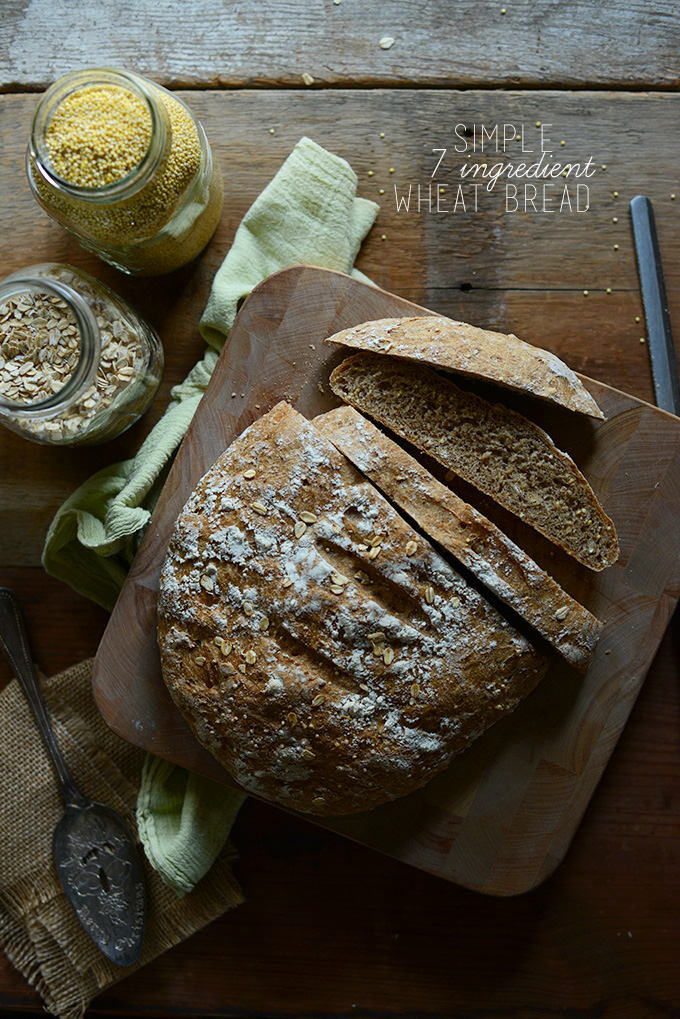
I hope you enjoy this bread! We’ve been enjoying it toasted with butter and jam for breakfast. It would also make lovely sandwich bread.
NOTE: But be sure to check back Tuesday for a NEW french toast recipe featuring this bread! Trust me, it’s worth holding on to the majority of this loaf for. Stay tuned!
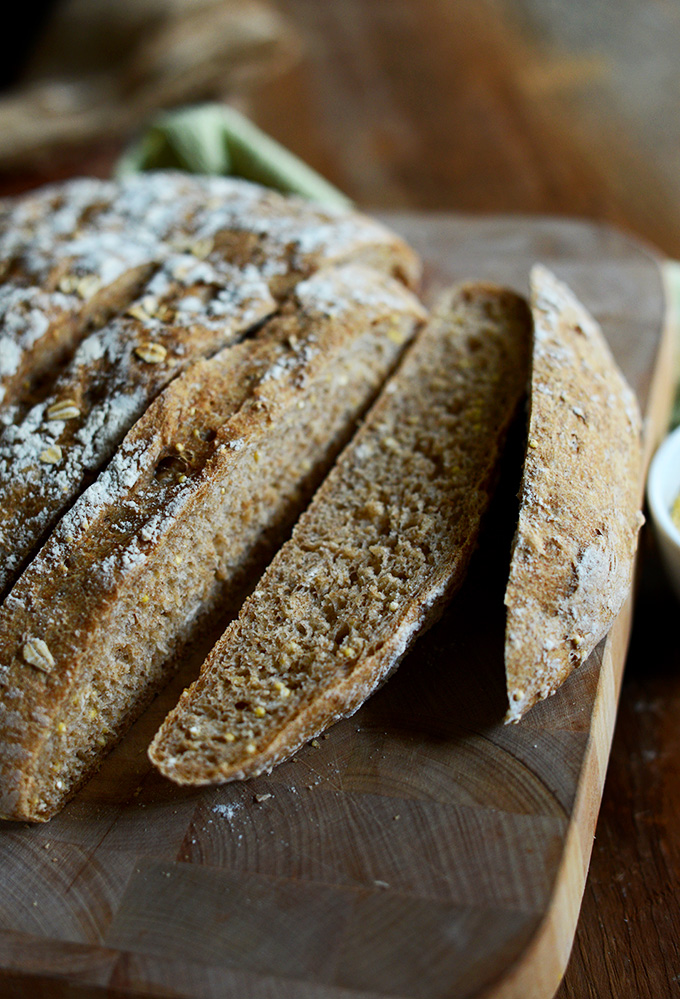
Easy Homemade Wheat Bread
Ingredients
- 2 cups whole wheat flour
- 1 1/4 cups unbleached all-purpose flour
- 1/2 tsp salt
- 1 packet instant yeast (1 packet yields ~3/4 Tbsp)
- 1 1/2 cups warm water
- 1/4 cup millet
- 1/4 cup rolled oats
Instructions
- Combine warm water (like bath water, or about 110 degrees F / 43 C) with yeast in a large mixing bowl and let set for 5 minutes to get foamy. Then add salt and flours and stir with a wooden spoon. The result will be a sticky, rough dough.
- Lift the dough out of the bowl and lightly grease the bowl with nonstick spray or olive oil. Cover with plastic wrap and let rise in the refrigerator for two hours or in a warm place for 1 hour.
- Once doubled in size, lightly sprinkle the dough with flour and transfer to a generously floured work surface. Knead a few times adding flour as needed and then add oats and millet in batches. Knead until until grains are incorporated and the dough is no longer sticky.
- Place on a lightly greased baking sheet. Sift a light coating of flour over the top to help keep the dough moist. Let rest for 45-60 minutes.
- Preheat oven to 450 degrees F (232 C) and place a metal or cast iron pan (not glass, Pyrex, or ceramic) on the lowest oven rack, and have 1 cup of hot water ready (amount as original recipe is written // adjust if altering batch size).
- When ready to bake, slash the bread 2 or 3 times with a knife, making a cut about ½-inch deep.
- Place bread in oven and carefully pour hot water into the shallow pan on the rack beneath. Close oven door quickly.
- Bake the bread for 25 to 35 minutes or until golden brown and crusty.
- Remove the bread from the oven and cool on a rack. Once fully cooled, store leftovers in a plastic bag at room temp.






Siera says
Hi! Can I make this in a bread maker?
Yes! Another reader reported success with the following: “I used my parents bread machine for the kneading and rising portion, which took about 2 hours on the dough setting and leaves you with some great dough! i even neglected to add two whole cups of flour until about 30 minutes left on the dough cycle. I followed the instructions to use a cast iron pan in the oven, and the bread still rose and looked delicious (it tasted delicious too!).”
Laurene says
I totally don’t understand the last part of the instructions. If I let it rimest the second time, am I transferring it after that? It’s flat now! I think I should have put it in the pans from the beginning of the second rise? Will see, not very hopefully it will work
Hi Laurene, sorry for any confusion! We’re having trouble understanding which step you’re stuck on. Would you mind sharing which instruction number? It sounds like something went wrong if your dough is flat. Is it possible your yeast is expired or the water was too hot when activating the yeast?
Rovibee says
My first time using a dutch oven! I was bold to try some substitutions. Substituted AP flour with Almond flour, and rolled oats with ground Flaxseeds. Everything else I kept to the recipe. I was unsure about step 4, whether letting it rise for the second proof would dry it out, so I covered it with a slightly damp towel. I also used a Banneton basket for the first time and I think it helped shaped the round dough. My bread came out surprisingly delicious!!! The round lines around the bread gave it an artisan look! My hubby couldn’t resist waiting until it completely cooled before doing a taste test! And OMG we both love it! Thank you, Dana!
Amazing! We’re so glad to hear it! Thank you for sharing your experience! xo
Jan says
This bread has great flavor, texture and color, and is delicious toasted! I subbed flaxseeds for the millet, but otherwise followed the recipe as written. I think the flours I used, purchased through a local grain mill in Western Mass, contributed to flavor depth. I would like to try baking it in a 9 x 4″ loaf pan. Should I make any modifications to the instructions?
Hi Jan! So glad you enjoyed the bread! We think this will work in a 9 x 4, but perhaps in two batches or two pans? We aren’t sure that it will all fit in one. Let us know how it goes!
The Vegan Goddess says
This looks great but I am trying to be Medical Medium-compliant and avoid yeast.
So, my challenge to you is to create a vegan whole-ingredient bread recipe that does not use yeast to make it rise. It should use baking soda/powder.
Challenge accepted?
Hi, that definitely sounds challenging, but we’ll add it to our ideas list!
Gene says
Came out great! I’ve made this a few times, but so good today! Pic on Instagram under vegan_gene.
Yay! Thanks for sharing, Gene!
jessica says
I made this once with my aunt and it turned out great. I’ve made it twice by myself but both times the yeast + water mixture doesn’t bubble :( the yeast isn’t expired and I am pretty sure I have the water the right temperature, so I don’t know what I’m doing wrong! :(
Are you supposed to mix the yeast + water mixture? I mix it right away, but then it seems like the bubbles go away after that.
Hi Jessica, hmm, what type of yeast are you using? Did you use a thermometer to check the temperature?
Jinnae says
Wednesdays are the make-up assignment day (no set classes) for high school kids. It was a cold, rainy day, so my 16 yo son and I decided to try baking his first (maybe my fifth) loaf of bread. It was fun! And easy! And oh, so delicious. Highly recommended.
Love that! Thanks so much for sharing, Jinnae! xo
tal says
Tried the recipe with few small changes- came out AMAZING:
1. Mixed the flour and salt with the addition of grains- some flex seeds, walnuts, soaked raisins. (befor adding the water with yeasts).
2. Added a bit more salt than written.
3. instead of 2 hours the dough waited the whole night. In the morning it spend another half an hour at room temprature before kneeding (5 min or so). Altough adding flour the dough was still pretty sticky but I assume It is because of the soaked raisins…
baked on baking stone for 35 min.
Best whole wheat bread I have ever made.
Thank you!
We’re so glad it turned out well! Thanks so much for sharing, Tal!
Sarah says
This is the best bread I’ve ever made! It came out really great! I especially enjoy the millet being in it.
It took longer than I expected. The recipe says it takes 1 hour and 50 minutes at the top, and I thought that included everything, from start to end. But in step 2, it rises for 1 hour, and in step 4 it rests for 45-60 minutes, then in step 8 it bakes for 25-35 minutes. So the minimum time, counting those three steps only, is 2 hours 15 minutes, not including kneading or putting the ingredients together. So I think for me, it probably takes more like at least 2 hours and 30 minutes, if I go with the minimum timing for all the steps plus kneading and putting the ingredients together. (Though I did bake it for 35 minutes, which turned out perfectly.)
Thanks for this recipe! I expect to make it many times in the future as well!
We’re so glad you enjoy it, Sarah! Thanks so much for sharing!
R Burger says
Made directly as recipe indicated. The result was a tasteless loaf of bread. This not a good recipe as printed. It was disappointing and needs something to improve the taste.
Hi there! Assuming you didn’t change anything, I’m wondering if you just prefer a bit more salt / sweetener in your bread?
Teju says
This recipe looks so great! However, I have a really tiny oven – with no racks etc. how essential is it to have the pan of water below the baking bread? Also, can this be made with only ww flour?
I’d say it’s not essential, but it helps! And WW flour *should* work, but we haven’t tried it ourselves. Let us know if you try!
Monica says
This was my second time attempting this recipe and it turned out better. The first time the bread was very golden so I pulled it out and it was still doughy in the middle. I cut that out and the rest of the bread was fantastic. That time I proofed it overnight in the fridge, this time I did it on the counter for about two hours. Everything else was exactly the same and it turned out better.
Thanks for sharing, Monica! The extra proofing seemed to help?
France Poulain says
I made the recipe as written and it’s great. Nice crisp crust and soft inside. I’ll probably make it again very soon because I don’t think it’ll last long!
We’re so glad you enjoyed it! Thanks for the lovely review, France!
Sojourna Lee says
Thank you for always being there when I look for a recipe. Simple and direct works for me. Vegan orientation is wonderful.
My 93 year old mom wanted some crusty bread and so, 10 years post bread making, I started in from your recipe. I am cooking measl in my sisters’ kitchen and so didn’t have everything…ie millet.
First, my yeast wasn’t getting active so I added a tsp of sugar and it started to foam properly. The yeast was still under it’s expiration.. so don’t know how you all get the yeast to go without a little sweet.
Instead of the millet I added a mix of chia and hemp seeds. Everything else I did “by the book”. It was sooooo good. I served it with Miyoko’s cultured vegan butter and then honey for the “dessert” slice. Had it with a garden fresh minestrone-like soup.
Mom was happy and glad that we will have bread for days to enjoy.
Thanks so much for your good recipes.
Sojo
Yay! We’re so glad you both enjoyed it, Sojo! It sounds like maybe you had dry active yeast instead of instant yeast? Glad you were able to troubleshoot though!
Pallavi says
Can I omit oats and millets from the recipe? Kids don’t like oats much 🙂
Perhaps! But we’d suggest replacing it with something else such as uncooked quinoa or flaxseed meal for best results.
Jenni says
Hey, MB!
Is there anything different I would need to do to bake this bread in a loaf pan instead of on a sheet?
Thank you!
I don’t think so but it may need to bake a tad longer? We haven’t tried it but let us know if you do!
sojo says
It was a little packet that said instant yeast good for another year or so. Maybe my sister should move it from the pantry to the refrigerator…what do other folks recommend? Any way the recipe was very helpful.
Hm, it shouldn’t require refrigeration unless opened!
Susan Lee says
This sounds delicious. I have quick cooking oats. Can I use those instead of rolled oats?
Thank you!
That should work!
Margaret says
Hi! I tried this recipe but maybe I did something wrong…the bread came out with a hard crust but inside was incredibly spongy, and it almost no flavor but the flavor it did have was plastic-y. Seeing all the other great reviews, I assume I messed something up! Any ideas?
Thanks!
Hmm, hi Margaret! Sorry you had trouble here. Did you modify anything at all?
Lydia says
Hi! I was wondering if you think this would work if I baked it in a glass loaf pan to get more of a “sandwich” bread shape?
Thank you!
Hi Lydia, we haven’t tried that and aren’t sure how it would turn out. Let us know if you try it!
Dawn says
I have made this several times and love how flaky the crust is when you use the pan of water. I have doubled the recipe a couple times, with success. Last time, I added diced fresh rosemary and doubled the salt. That was yummy, too. Love your site and your recipes.
We’re so glad you enjoyed it, Dawn! Thanks so much for the lovely review!
Ally says
Would the dough itself freeze okay?
Excited to make this!!
I think so? But we haven’t tested it! Let us know if you do.
Angie Cooper says
I’ve sliced it and frozen the loaf. It keeps terrific and is easy to toast and eat directly from the freezer. So yummy! :-)
Lovely! Thanks so much for sharing, Angie!
Matthew says
I give this recipe 5 stars! I followed the recipe exactly and it turned out great! Great comfort food during this pandemic! Thanks! Next time I plan on doubling the recipe. Any advice?
We’re so glad you enjoyed it! It should double well. Just cook in separate pans and if baking together, maybe increase bake time slightly? Let us know how it goes!
Katerina Leeger says
Yay! This was my second bread baking experience. I followed the recipe exactly and did the second proof back in the bowl used for the first proof to maintain the round shape. I proofed it for 1 hour in a warm oven and did the second proof covered on the counter.
I then preheated my cast iron pan in the over and cooked the bread in that. I forgot to slit the top so it popped out the side. Oh well. Baked for 35 minutes and is currently cooling 😋
Vanessa Ho says
Hi Dana. Thank you for this wonderful recipe. I’m new at making bread and followed step by step. Result was yummy! Quick questions:
1. In step 4 to let the dough rest, is it ok outside no cover cloth at room temperature?
2. I used a baking sheet and bread came out very flat. Could a loaf tin be used?
Thank you
Vanessa
1. Yes!
2. Yes I belive so!
Jessica says
I’m anxious to try this recipe. I’ve never made bread before. I understand putting a pan of water in the oven, but what am I cooking the bread in or on? Does the dough go on a baking sheet or bread pan?
Hi Jessica, the dough goes on a lightly greased baking sheet. Hope that helps!
Natalie says
I made this for the first time…perfection! I subbed millet for flaxseed, chia and almond.
Sierra says
this was my first time making bread, and it turned out wonderfully! this recipe is basically fool-proof. i used my parents bread machine for the kneading and rising portion, which took about 2 hours on the dough setting and leaves you with some great dough! i even neglected to add two whole cups of flour until about 30 minutes left on the dough cycle. I followed the instructions to use a cast iron pan in the oven, and the bread still rose and looked delicious (it tasted delicious too!). thanks for the recipe!
Thanks so much for sharing your experience, Sierra. We are so glad you enjoyed this recipe! Next time, would you mind leaving a rating with your review? It’s super helpful for us and other readers. Thanks so much! Xo
Monica D says
This was my first time ever attempting to make bread so I followed the directions to the letter. After 25 minutes in the oven it looked very golden brown so I pulled it out but when I cut it open it was a bit still doughy in the middle. I cut that part out and ate the rest and it was delicious! Will give it another shot.
Carol says
My dutch oven says not to exceed 400 degrees. How would I adjust the cooking time please?
Hi Carol, we aren’t sure as we haven’t tried that. But maybe 400 for 5-15 minutes longer? Let us know if you try it!
Carol Puttock says
OMG this recipes was so easy and worked perfectly! As my new dutch oven says not to go over 400° I adjusted the recipe to bake for 35 to 40 minutes. It looked perfect at 35, so took it out then.
I also made a couple of adjustments; of course I had to fiddle even though I’ve never done this before! Based on other recipes that I read:
1. I used I cup of steel cut oats in the main recipe instead of rolled oats.
2. After the over night rise, when doing the folding of the dough, I sprinkled in 1/4 cup of millet, and most of 1/4 cup of rolled oats. The balance of the rolled oats I saved and sprinkled on the top of the loaf before baking.
Not sure how to add a picture, or I would! Starting a second loaf tonight at the request of my husband, lol.
Yay! Thanks for sharing, Carol! You can tag us in a photo on instagram.